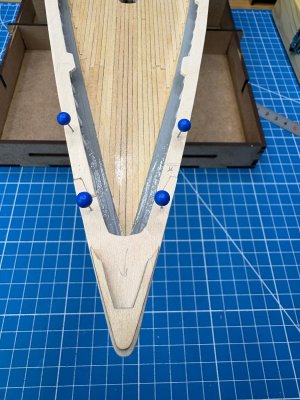
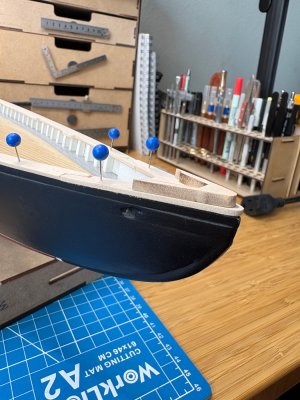
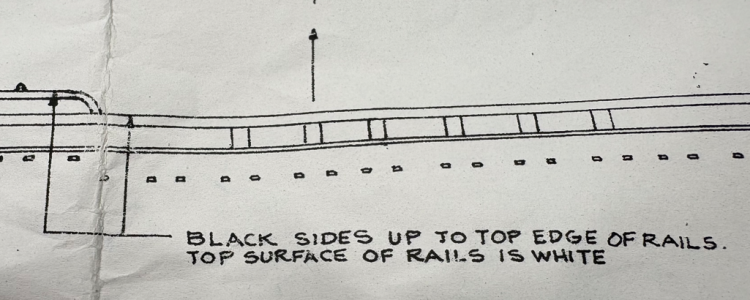
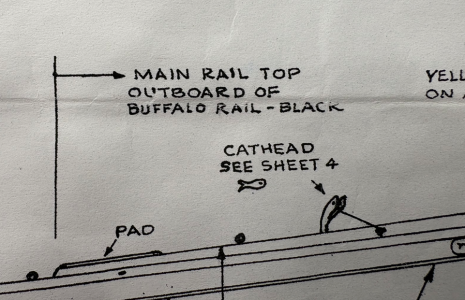
Hi Rob, thanks for the nice words on my paint. What a journey!Bill your paint job is amazing. I hope I can do half as well as you when I get to that point! For the stern rail I would seriously consider splitting it and pitting in some thin scrap "wedge pieces to get the angle and width you need.
Rob
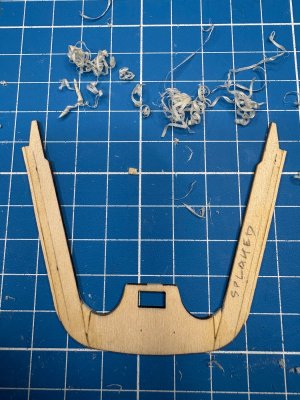
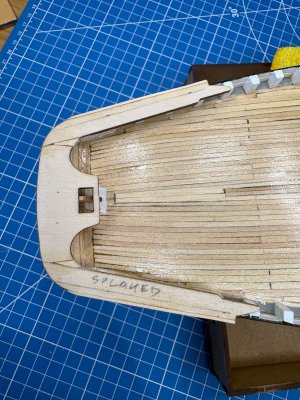
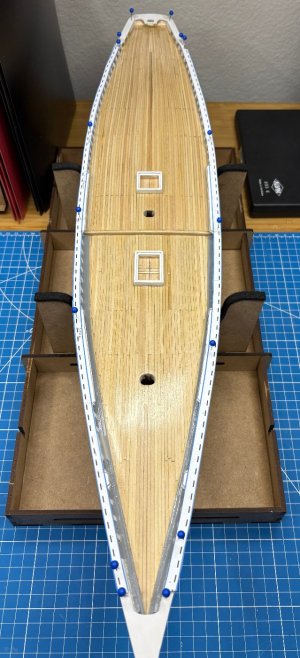
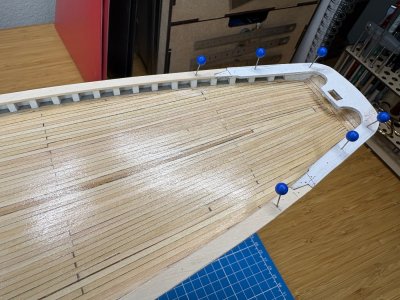
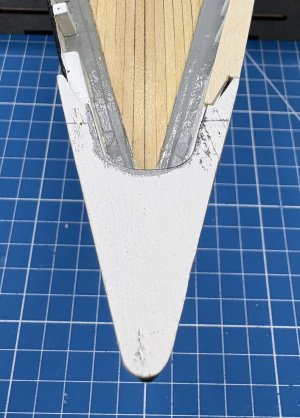
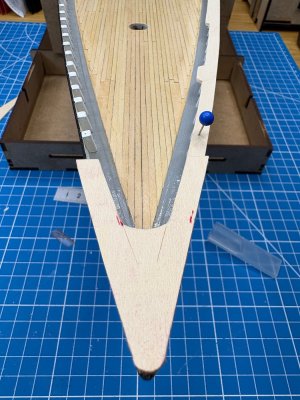
As for your suggestion on the rail piece, your timing couldn't be more perfect as guess what I'm now doing? Option 2 - Modify the existing stern piece. The minute I dove into this option, and consistent with @Rob444 's suggestion, I knew this may be the most straightforward method. Still, I did take the time for a "trial run" albeit with card stock.
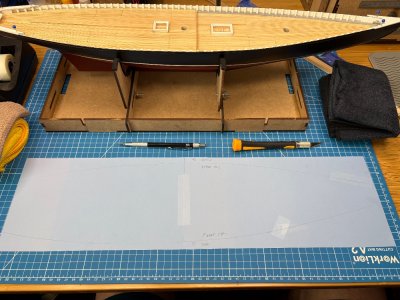
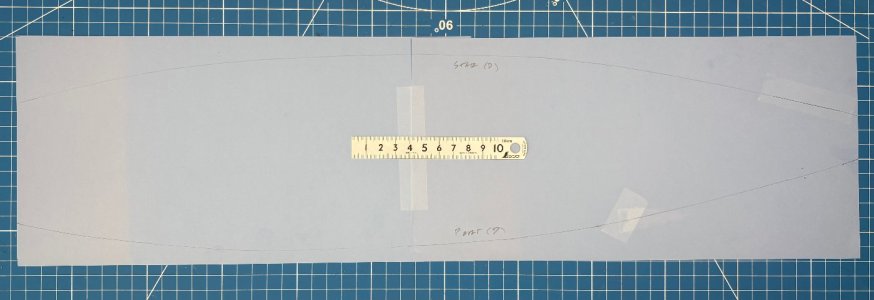
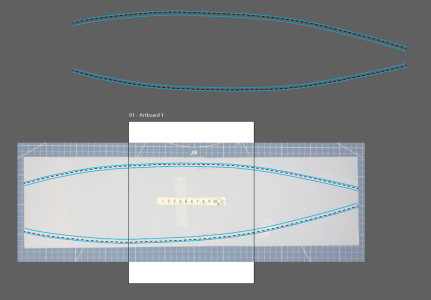
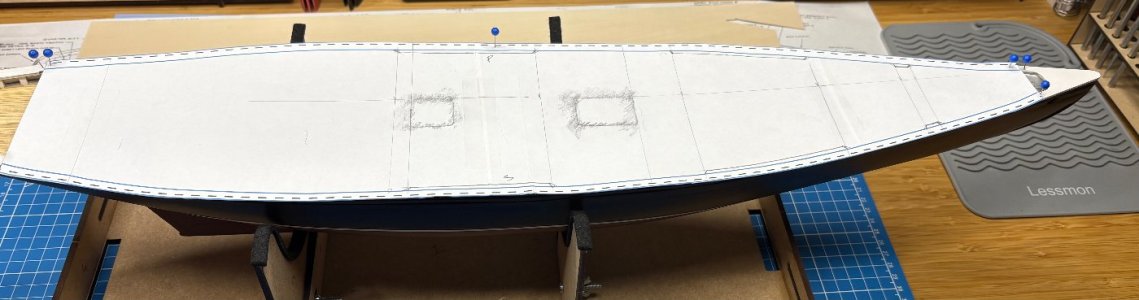
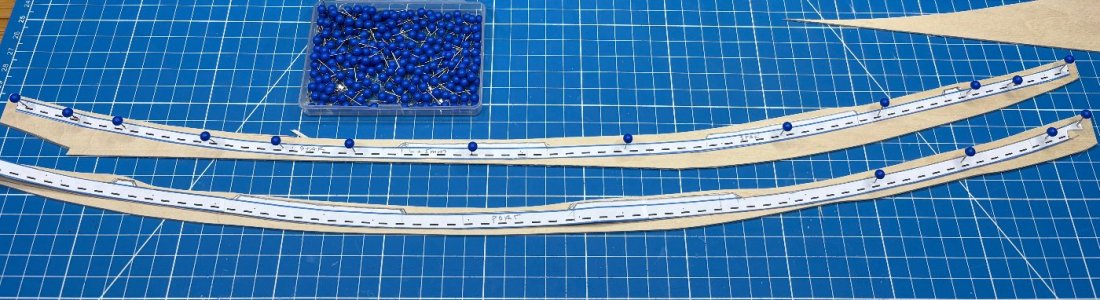
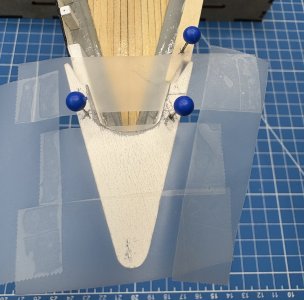
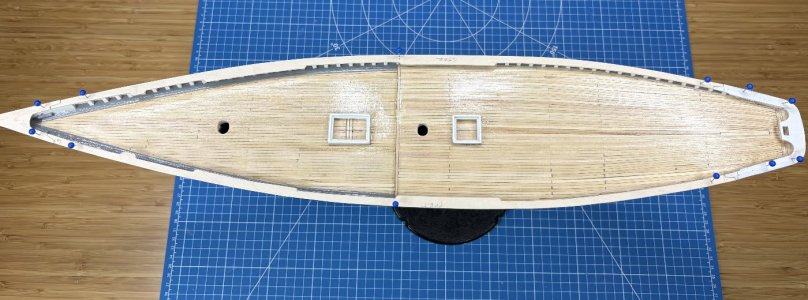
I had earlier cut templates using the kit's part so I drew in my overhang edges, highlighted the seam in red, then attached it to a print of my scan at the transom. In that pic you can see the splay of the legs is too narrow.
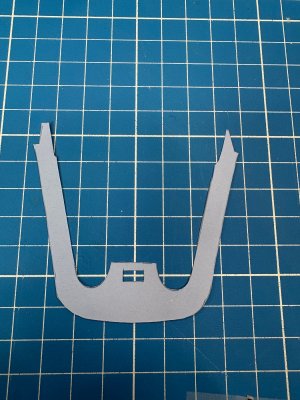
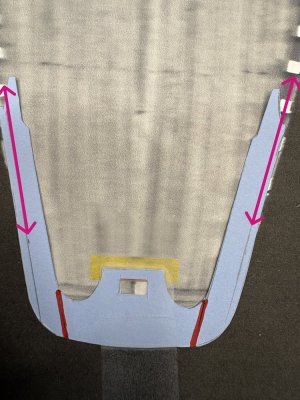
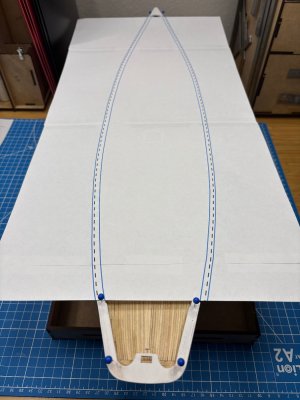
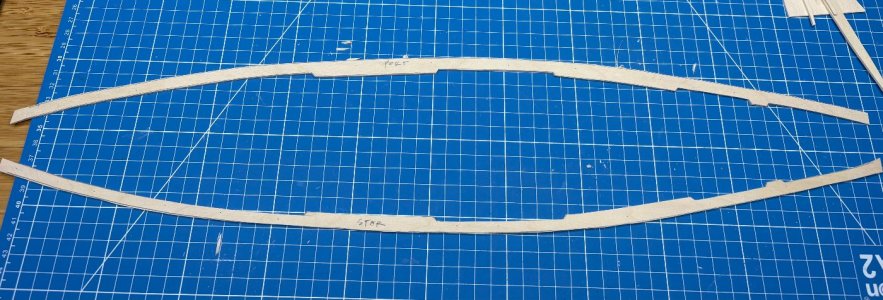
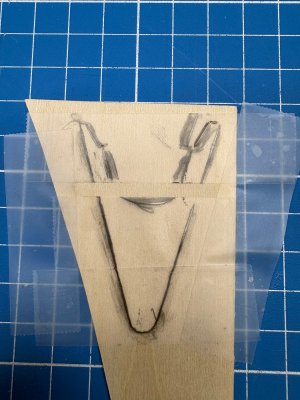
Then I partially cut the back of the transom area even with the inside edge of each leg and pivoted the legs outward until my edge lines aligned with the scan's hull edge - then taped it down. You can see the narrow gap within the red line. Finally I taped everything down and cut it out.
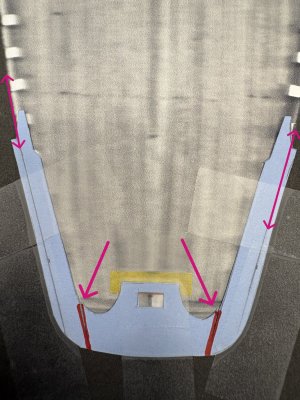
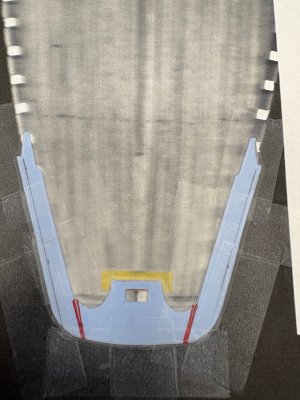
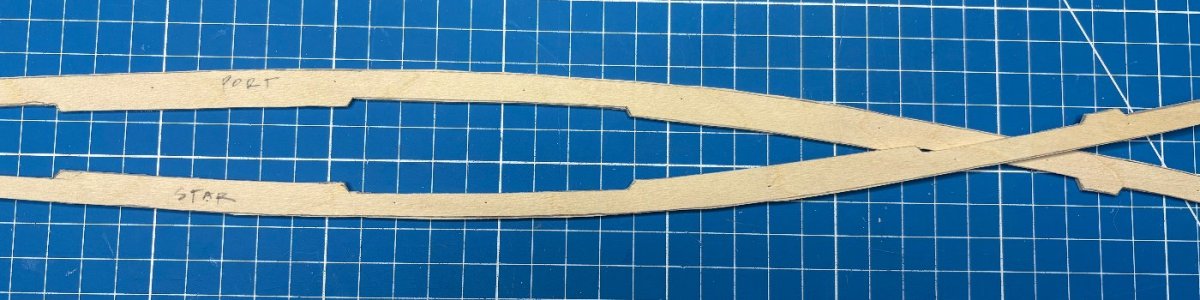
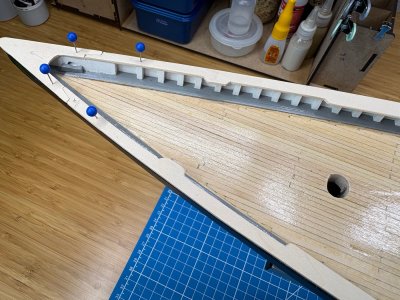
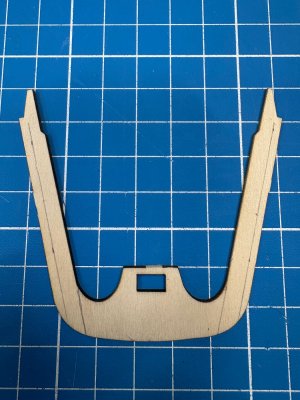
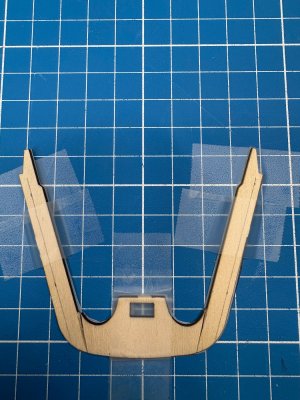
I added the same edge lines to the actual part. I then taped my new template on my mat, aligned the actual part over it, taped it down in the middle, cut the seams, then repeated the adjustment process. Currently I've left the seams accessible so I can insert and glue a piece to join the split parts. There may be a little bit of cleanup/fill to make the inside arc transitions nice and smooth but not much by my eye. I'll loop back once I join everything together as one (modified) piece.
Last edited: