• Ships of Scale has incorportated an extra level of security when you log In. Please follow on-screen prompts to acknowledge that you are not a robot via a "Check Box" or a "Pictorial Check Box Puzzle". This is needed due to higher level of AI Activity Security.
  • SUBSCRIBE TO SHIPS IN SCALE TODAY!

    The beloved Ships in Scale Magazine is back and charting a new course for 2026!
    Discover new skills, new techniques, and new inspirations in every issue.

    NOTE THAT OUR NEXT ISSUE WILL BE July/August 2026
  • Win a Free Custom Engraved Brass Coin!!!
    As a way to introduce our brass coins to the community, we will raffle off a free coin during the month of August. Follow link ABOVE for instructions for entering.

HMS Victory - Caldercraft 1/72 build log by Andi

excellent progress Andy
Congratulations .

Hi Gilbert

Thanks for taking the time to look at my build log and to assess my progress. As you no doubt know it means a lot to get some encouragement from someone who is more experienced than yourself.
Regards

Andi
 
The quarter deck mezzanine mast sleeve has been glued in place and a spirit level used to ensure the mast is vertical port to starboard

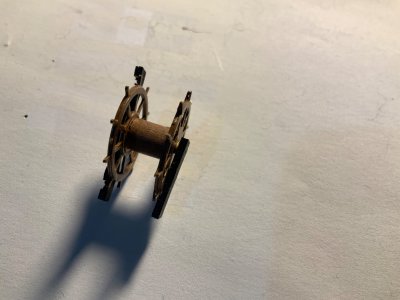
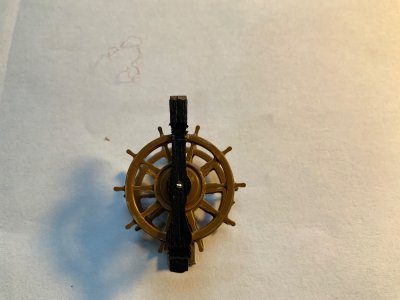
The ships wheel and the binnacle have been assembled and fitted

IMG_0705.jpeg
IMG_0703.jpeg

IMG_0701.jpeg
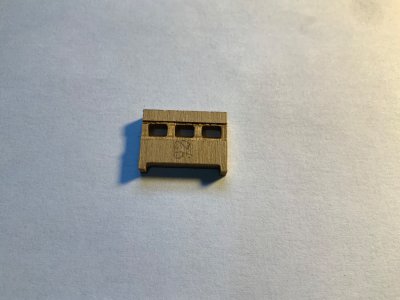
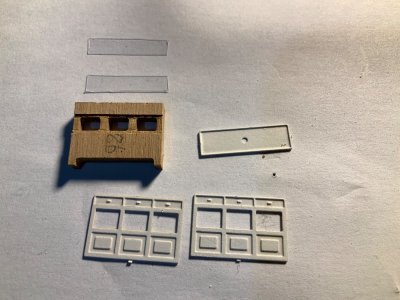
Note the Groove cut in the forward and aft faces of the binnacle to accommodate the glazing material

IMG_0704.jpeg
The brass bits for the binnacle have first been cleaned with acetone and then sprayed with white primer to hopefully make painting a little easier

IMG_0707.jpeg

The Cats tails have also been added behind the beak head bulkhead and the beak head capping assembly has been completed. Brass profile no 2 has been cut to size, painted yellow, and attached to the beak head bulkhead, tight up against the overhang of the beak head bulkhead plank sheerIMG_0708.jpeg

As can be seen from the above photo I have just started work on the Roundhouses which I hope to finish tomorrow along with planking the deck in front of the beak head bulkhead

IMG_0710.jpeg
 
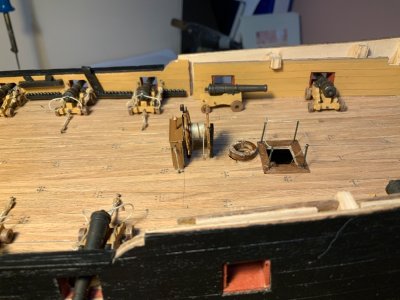
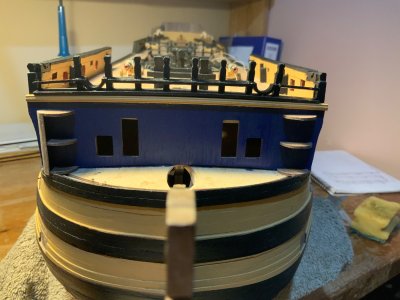
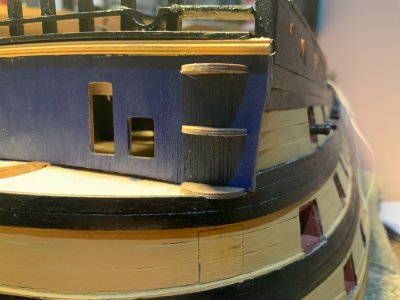
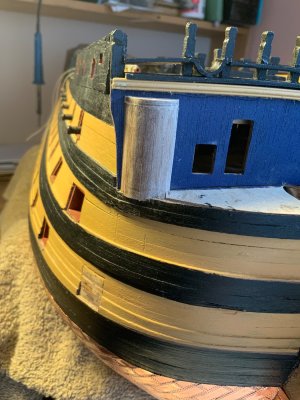
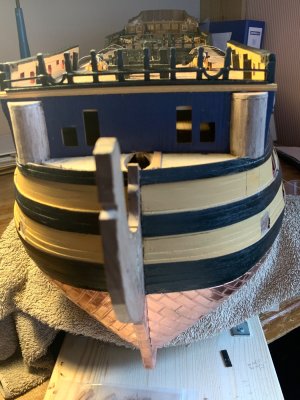
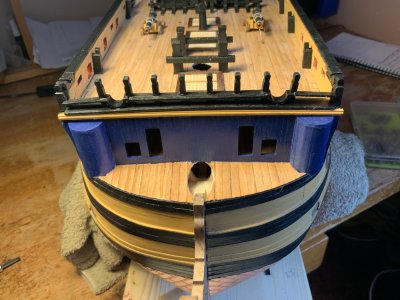
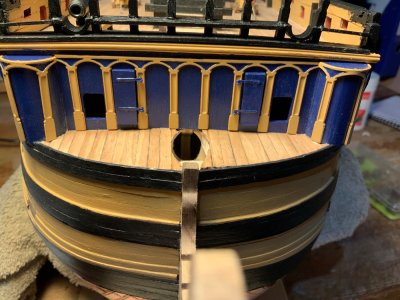
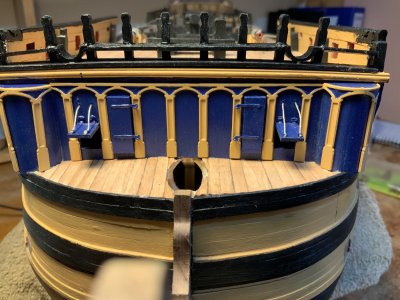
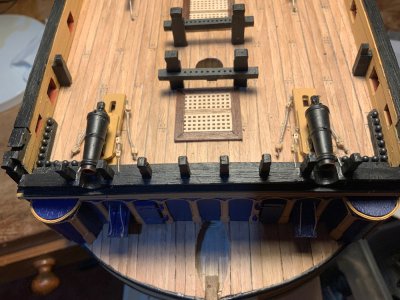
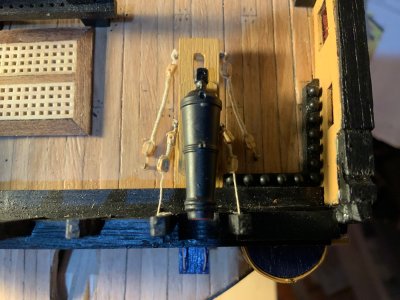
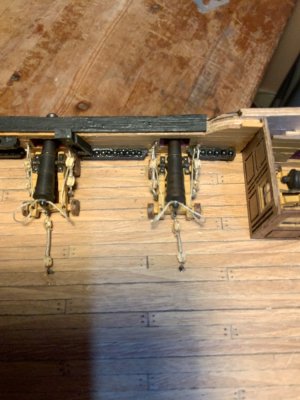
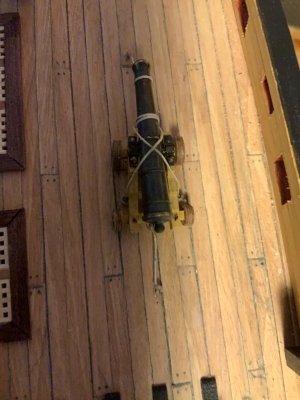
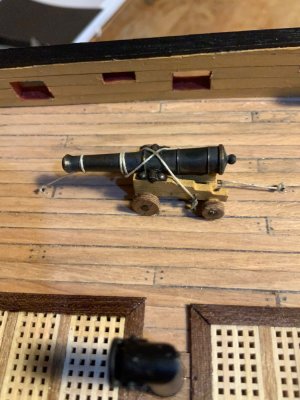
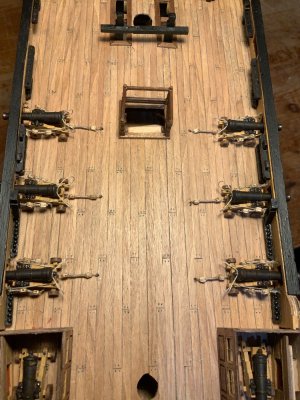
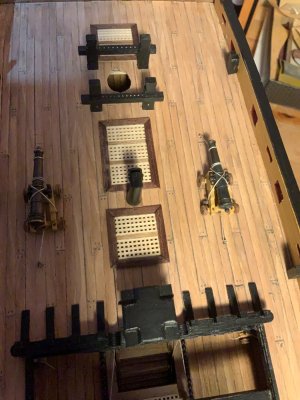
I have now completed the planking of the roundhouses, the beakhead pilasters have been painted and fitted ( I did not need to remove any material from the base of each pilaster), the beakhead doors and gunports have been painted and fitted, the forecastle shot garlands have been painted and fitted and the forecastle carronades have been assembled, rigged and fitted

IMG_0712.jpeg
IMG_0713.jpeg
IMG_0717.jpeg
IMG_0718.jpeg
IMG_0719.jpeg
IMG_0725.jpeg
IMG_0727.jpeg
IMG_0726.jpeg

Will start on the Bows tomorrow.
 
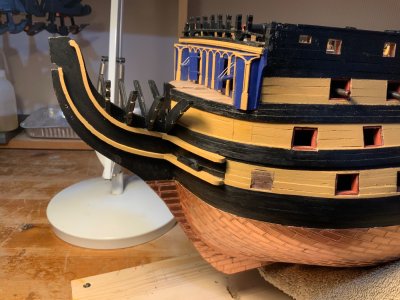
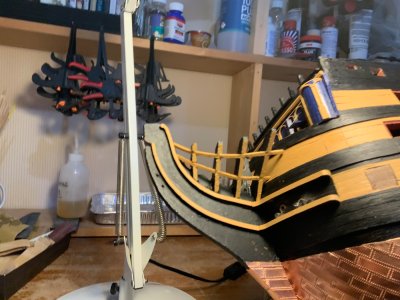
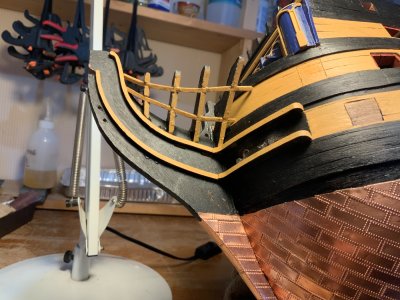
The Bows - a lot harder than I thought it was going to be, but I think I have got somewhere near in the end.

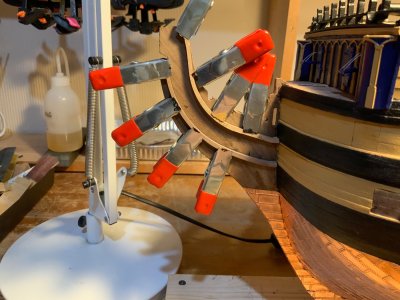
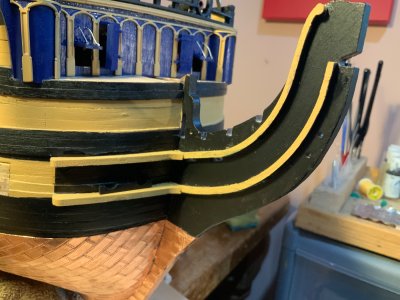
Firstly the upper and lower bow curved rails and the hair bracket and lower boat cheek rails were painted (top and outside edge painted yellow and the undersides painted black. They were then fitted to the shipIMG_0728.jpeg
IMG_0732.jpeg

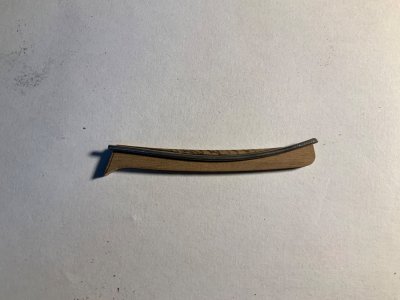
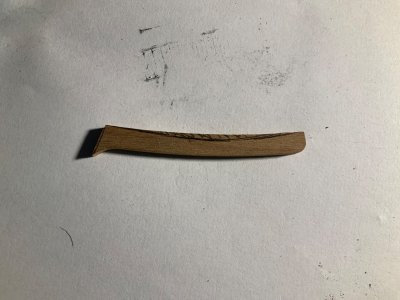
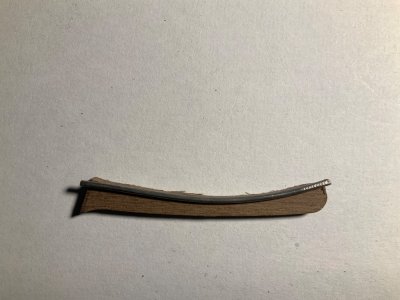
Initially the hair brackets (120) and the lower bow cheek rails (123) did not fit snuggly around the hull so I used some lead solder wire to form the outer profile of the hull and then transferred the shape onto the relevant parts and using a mini electric sanding band, the required curve was achieved.

IMG_0729.jpeg
IMG_0730.jpegIMG_0731.jpeg

The hawse hole bolsters were then painted and fitted 13.5 mm from the stem as per the instructions and the 6mm hawse holes were drilled out.
 
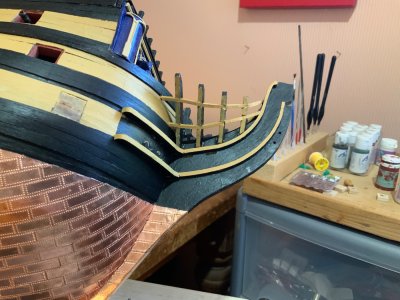
The four head timbers were next which was slightly puzzling as there was no instructions as how to fit the largest of the these ( 107). The only way to get it through the required slot was to cut a piece off one side, insert the head timber and super glue the piece back on which is what I did.


IMG_0738.jpeg
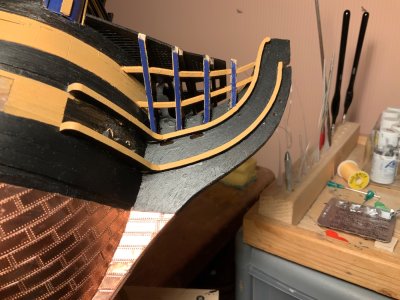
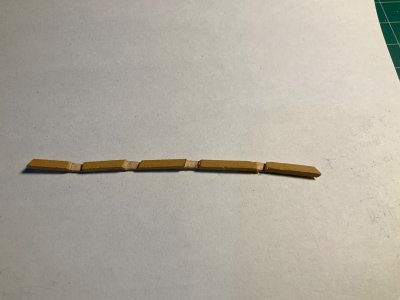
The hardest part for me was the next part which was fitting the rails using the 2mm x 2mm flexible beach. No matter how I tried I could not get the rails to lie flush against the outer face of the four head timbers. After a few hours of total frustration I decided that the only way to achieve this was to cut slots in the rails that corresponded to the slots in the head timbers. The slots in the head timbers also had to be modified, and I broke two of the head timbers trying to do this. I managed to repair these broken head timbers by reinforcing them on the backside with pieces of 1mm x 3mm walnut. It was a good job that the 2mm x 2mm beach was flexible as it needed to be when pressing the rails into the head timbers with pliers. The result is below and was the best I could do. Doing it this way allowed me to line the outer edge of the four head timbers with the 0.5mm x 2mm walnut which had to be painted blue.

IMG_0741.jpegIMG_0743.jpegIMG_0744.jpeg

IMG_0742.jpeg
 
The Bows - a lot harder than I thought it was going to be, but I think I have got somewhere near in the end.

Firstly the upper and lower bow curved rails and the hair bracket and lower boat cheek rails were painted (top and outside edge painted yellow and the undersides painted black. They were then fitted to the shipView attachment 642317
View attachment 642318

Initially the hair brackets (120) and the lower bow cheek rails (123) did not fit snuggly around the hull so I used some lead solder wire to form the outer profile of the hull and then transferred the shape onto the relevant parts and using a mini electric sanding band, the required curve was achieved.

View attachment 642322
View attachment 642323View attachment 642324

The hawse hole bolsters were then painted and fitted 13.5 mm from the stem as per the instructions and the 6mm hawse holes were drilled out.
Great idea to use the solder wire to shape the curve. I'll have to remember that!
 
Back
Top