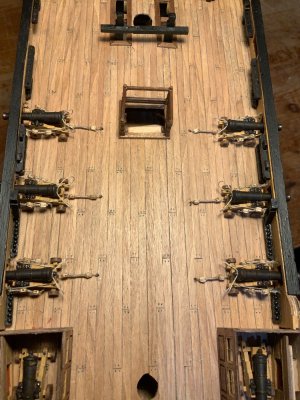
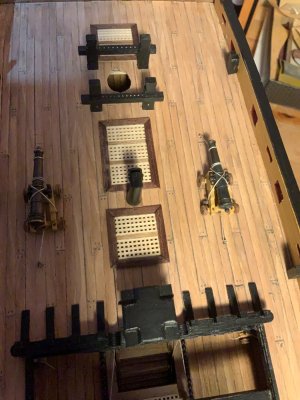
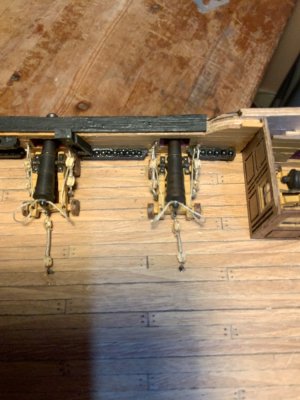
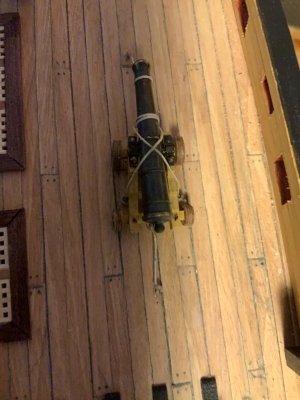
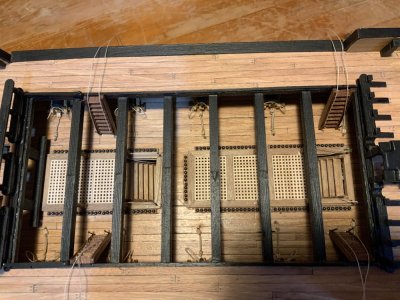
excellent progress Andy
Congratulations .

 |
The beloved Ships in Scale Magazine is back and charting a new course for 2026! Discover new skills, new techniques, and new inspirations in every issue. NOTE THAT OUR NEXT ISSUE WILL BE July/August 2026 |
|
 |
As a way to introduce our brass coins to the community, we will raffle off a free coin during the month of August. Follow link ABOVE for instructions for entering. |
|
excellent progress Andy


Hi Gilbertexcellent progress Andy
Congratulations .


Hi TexBillyExcellent work, Andi - and so fast!
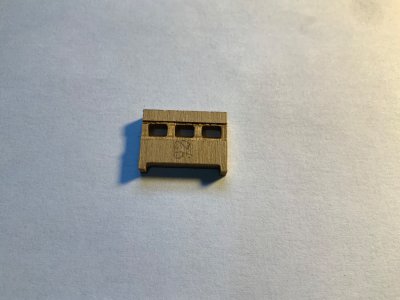
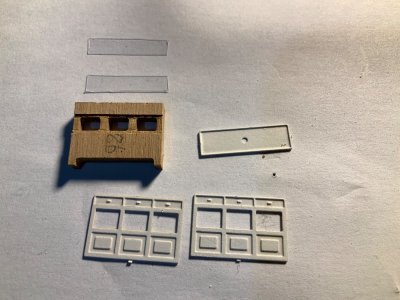
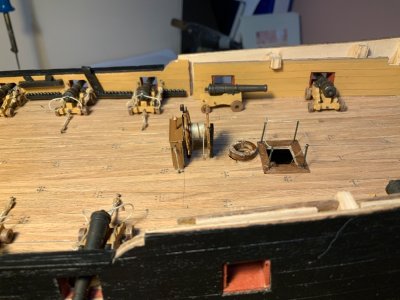
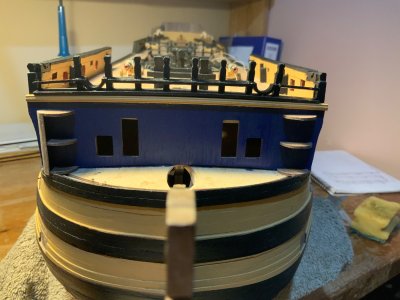
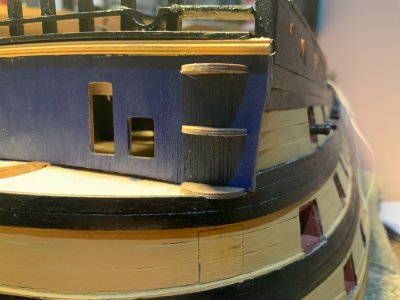
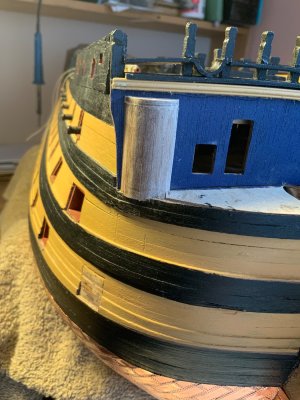
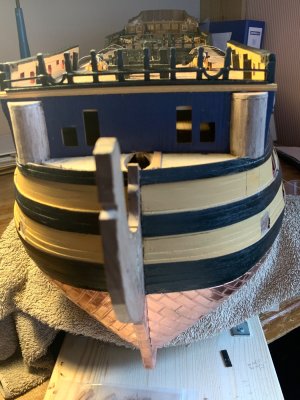
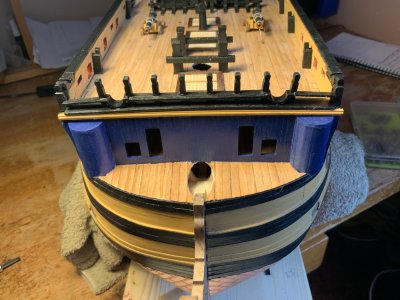
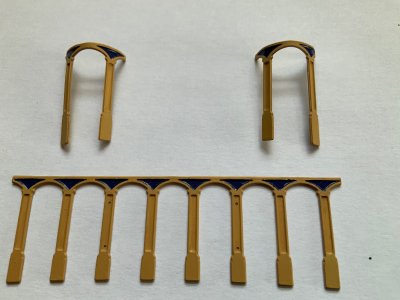
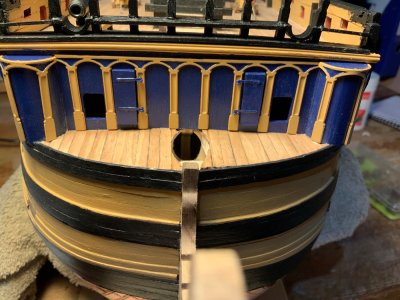
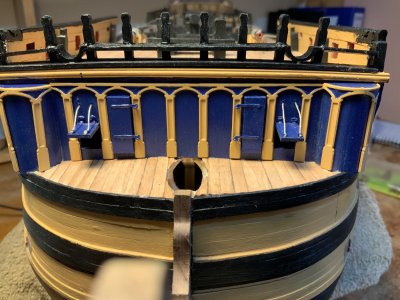
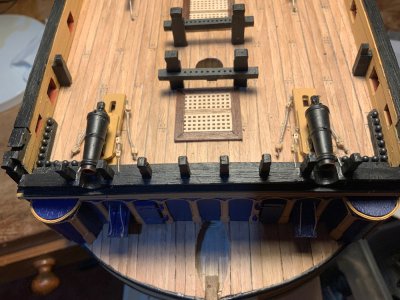
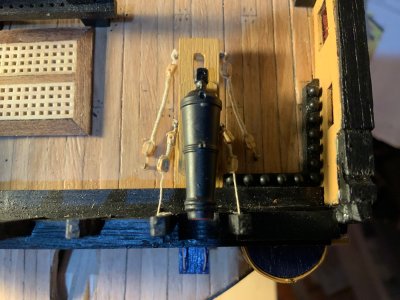
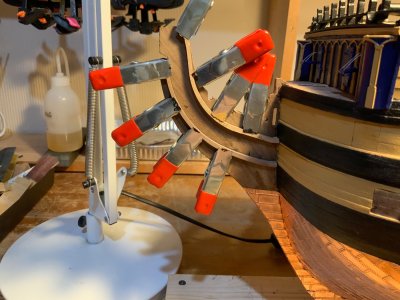
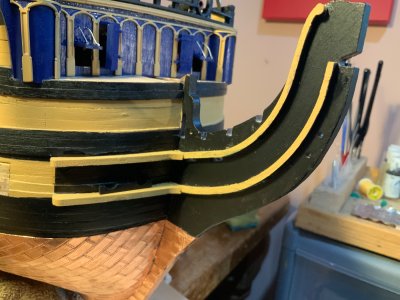
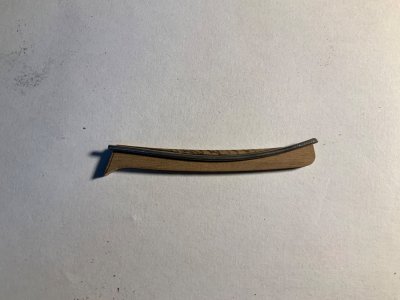
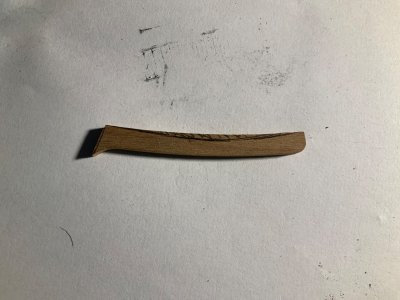
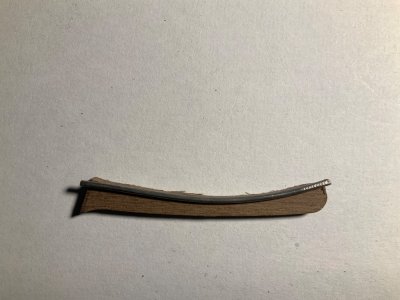
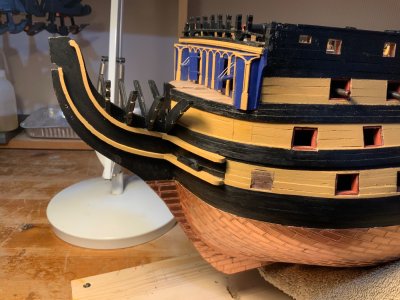
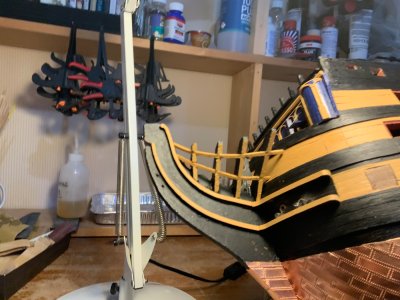
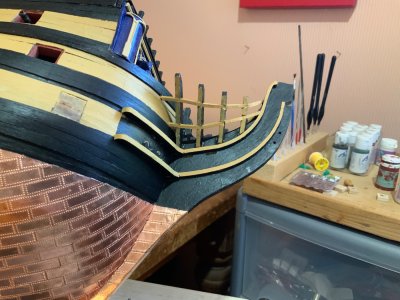
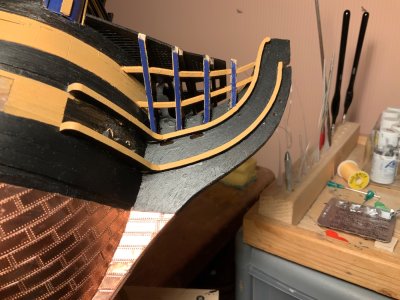
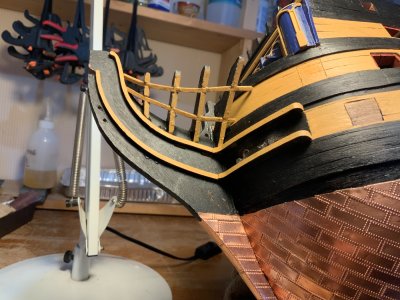

Great idea to use the solder wire to shape the curve. I'll have to remember that!The Bows - a lot harder than I thought it was going to be, but I think I have got somewhere near in the end.
Firstly the upper and lower bow curved rails and the hair bracket and lower boat cheek rails were painted (top and outside edge painted yellow and the undersides painted black. They were then fitted to the shipView attachment 642317
View attachment 642318
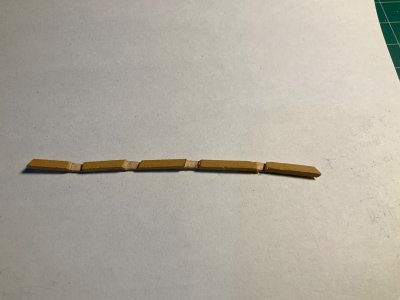
Initially the hair brackets (120) and the lower bow cheek rails (123) did not fit snuggly around the hull so I used some lead solder wire to form the outer profile of the hull and then transferred the shape onto the relevant parts and using a mini electric sanding band, the required curve was achieved.
View attachment 642322
View attachment 642323View attachment 642324
The hawse hole bolsters were then painted and fitted 13.5 mm from the stem as per the instructions and the 6mm hawse holes were drilled out.