• Ships of Scale has incorportated an extra level of security when you log In. Please follow on-screen prompts to acknowledge that you are not a robot via a "Check Box" or a "Pictorial Check Box Puzzle". This is needed due to higher level of AI Activity Security.
  • SUBSCRIBE TO SHIPS IN SCALE TODAY!

    The beloved Ships in Scale Magazine is back and charting a new course for 2026!
    Discover new skills, new techniques, and new inspirations in every issue.

    NOTE THAT OUR NEXT ISSUE WILL BE July/August 2026
  • Win a Free Custom Engraved Brass Coin!!!
    As a way to introduce our brass coins to the community, we will raffle off a free coin during the month of August. Follow link ABOVE for instructions for entering.

Soleil Royal- Re-engineering Artesania Latina's New Kit by NMBROOK

Thanks Everyone for the well wishes, likes and loves

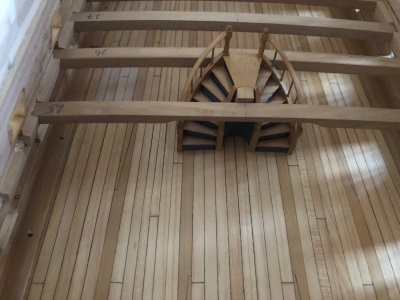
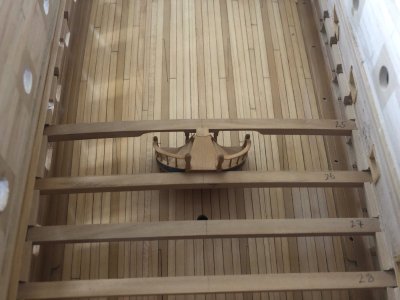
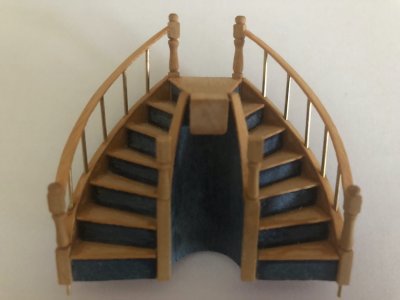
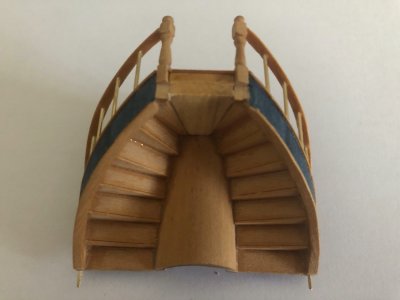
I have "wrestled" the top rails into place on the stairs. The strips of boxwood were cut well overwidth and then carefully trimmed back to size once glued in place.

I have added a short beam on the forward side to meet up to the adjoining deck beam in the centre and notched the back to sit against the deck beam behind.

The beam forward has been subject to artistic licence and had the corner relieved to increase headroom, I cannot increase the opening size because the bottom treads of the next deck's spiral will sit on here.

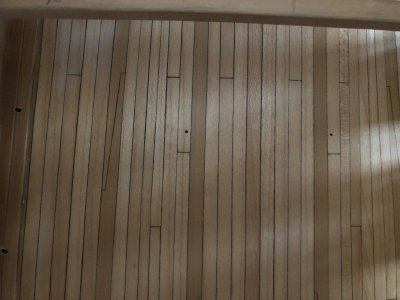
The base of the newel posts have had brass pins fitted to go into location holes in the deck.Incidentally, the hole behind the staircase is a placeholder for the mizzen. This section of deck will be removed and a boxwood block with correct size hole will be inlaid s the other mast positions.

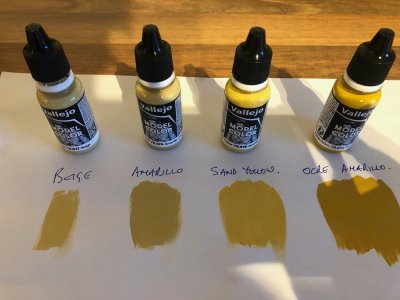
I have ordered four different shades of yellow paint to try and match the boxwood tones for the spindles.These are really too thin to use the same oil wash technique I used on the carriages

Everything is just trial assembled at this stage, much more of that to come before I finally fit out this lower deck entirely.The top step is proud of the beams to allow for the thickness of the future combing that will surround this feature and go forward down the ship's centreline.
SR232.jpgSR230.jpgSR228.jpgSR231.jpgSR229.jpg

Kind Regards

Nigel
 
hello,
how are the ornaments in your kit? Are they detailed? My kit is a ZHL kit and the ornaments are made with crappy britannia metal. I am thinking of buying a set of 32 3d printed ornaments. I have the printer and I would purchase the stl files for those ornaments.
 
hello,
how are the ornaments in your kit? Are they detailed? My kit is a ZHL kit and the ornaments are made with crappy britannia metal. I am thinking of buying a set of 32 3d printed ornaments. I have the printer and I would purchase the stl files for those ornaments.

Hi Mark

My ornaments are a combination of Brittania metal and photo etch, they are quite sharp for what they are and better than the guided blobs that the Mantua group have been churning out. They will not however match detailed 3D printing.
Only thing to be wary of is what hull form are the 3D printed parts designed around? You could end up with more work than you are bargaining on

Kind Regards

Nigel
 
A small post on paints.....

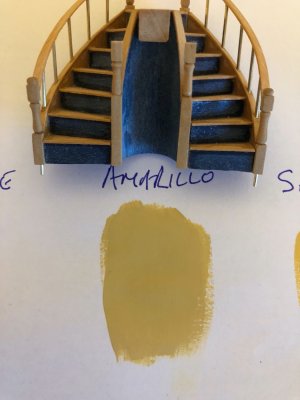
I have received my shades of acrylic's and done some tests. I did the comparisons outside in good natural light and reckon a 50/50 mix of biege and Amarillo will give me a similar tone to the newel posts.

Once these are painted, everything will be covered with Ronseal spirit based Matt varnish. The varnish had to be bought via mail order, the DIY stores only stock the water based quick drying stuff now:rolleyes: The water based stuff has it's uses but I prefer the spirit based full fat version for period ship models. There is a tint to the varnish which is due to the UV filter.This acts as a colour filter and blends the different wood tones. In this instance, it will disguise the fact the spindles are painted;)

Kind Regards

Nigel

SR233.jpgSR234.jpg
 
Hi Mark

My ornaments are a combination of Brittania metal and photo etch, they are quite sharp for what they are and better than the guided blobs that the Mantua group have been churning out. They will not however match detailed 3D printing.
Only thing to be wary of is what hull form are the 3D printed parts designed around? You could end up with more work than you are bargaining on

Kind Regards

Nigel
thank you.
they are all stern ornaments so i would imagine I would have to custom fit them to my boat. I don't think it is the same hull. Having said that, the details are outstanding. I'll have to give it some careful thought. It's 80$ CAD which is not cheap. I may be able to scale down the pieces too which could help me fit them to my hull.
 
Forgive me if you've covered this in the log already, but where do they fit and from where do they come, as in, were they present in the 1669 version?

They are positioned as in the mock up, in post 1161, just forward of the mizzen.

As I am representing the later incarnation of this vessel, I shamelessly stole the design from JLC in his Saint Philippe monograph, both ships were built at the same time and I felt M Saunier's stairs weren't grand enough for this vessel. As little is known about the interior, I am exercising my modeller's licence:)

Kind regards

Nigel
 
As I am, shall we say ‘relaxed’ about historical accuracy, I may well in turn steal them from you! They are certainly much more interesting than the utilitarian straight steps.
 
Hi William
Because it works out far more expensive when you add shipping, import duty and tax.
I dare say it may work out a similar cost to buying local for you in the US but in the UK, any order over £100 gets hammered.

Kind Regards

Nigel
Thank you for explaining that. I tend to forget how expensive some things can be in the UK as well as around the world. We often ignore just how good we have it here!
 
I'm sure you've seen this Nigel but thought I'd flag it anyway - I came across it this morning, it also utilises a spiral stairs

I think the ornamentation, which is indeed fantastic, is largely the product of a programme like Meshy AI and not hard to replicate. I didn't want to photo-bomb your log with digressive material but have just created a post about this here https://shipsofscale.com/sosforums/threads/decor-parts-from-meshy-ai.20351/
 
Thanks for the link Kevin, that is a very nice representation of Soleil Royal's earlier incarnationThumbsup

I have painted the stair spindles, applied on coat of matt varnish and added a Raw Umber oil wash to the spindles. This has been put aside to fully cure(minimum of 2 weeks) before I airbrush the final coats of varnish so the oil doesn't crinkle.

I have refitted the temporary hull support that goes through the lower ports so the hull is perfectly level.

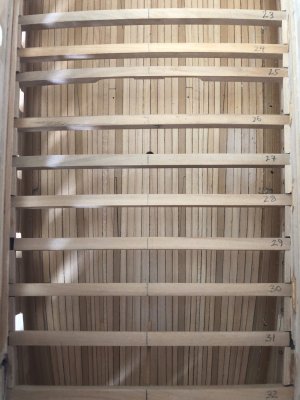
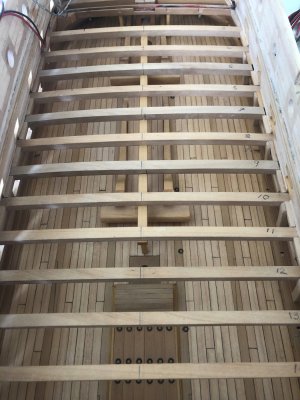
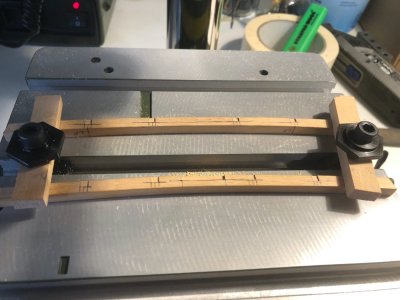
With the deck beams temporarily installed AGAIN, it is now time to mark all the beams out for the extensive milling that needs to be carried out;

Square holes to take the vertical columns to allow height adjustability in situ

Pockets to take the carlings that run full length

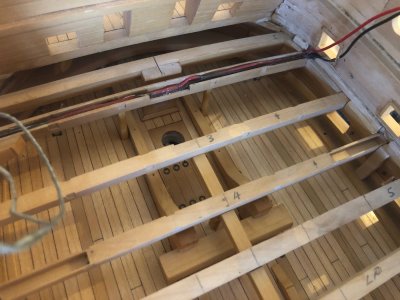
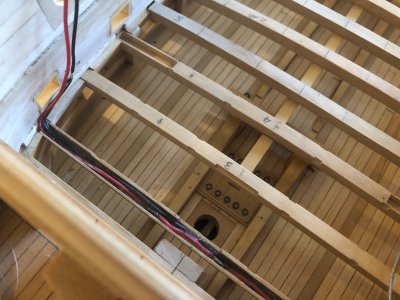
Channels to take wiring from either side of the hull to the lanterns below. The wiring will not run right across as in the first beam installed as I am omitting deck planking between the combing and binding strakes either side of the ship's centreline.The existing beam will be covered in planking up to it's aft edge

Pockets to take the mast support blocks

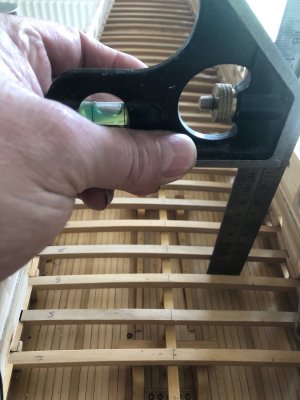
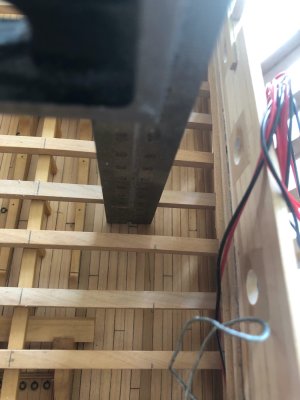
To start with, I am transferring the centreline positions of the binding stakes from the lower deck. With the hull level, this is done using the level on a combination square.

Kind Regards

Nigel

SR235.jpgSR236.jpgSR237.jpgSR238.jpg
 
Hi,
Just curious, but are you kit bashing? It's great what you are doing but seems a little different than what kits usually say to do.
Cheers!
 
Hi,
Just curious, but are you kit bashing? It's great what you are doing but seems a little different than what kits usually say to do.
Cheers!

Hi Mark

Yes in the extreme sense of the term, In short, hull length corrected, full interior, replacement armament, and eventually, full replacement of masting and rigging to historicaly correct proportions and design.

I am using the kit decorations though...........

Kind Regards

Nigel
 
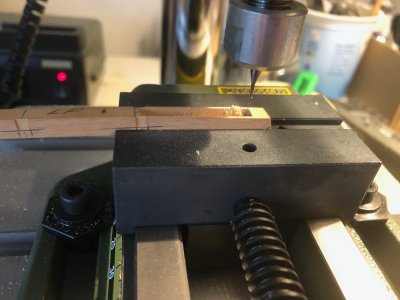
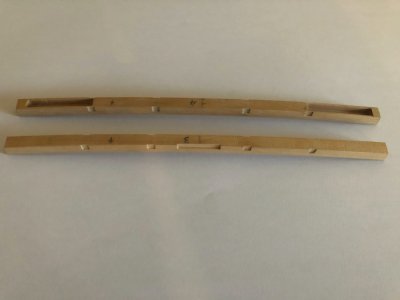
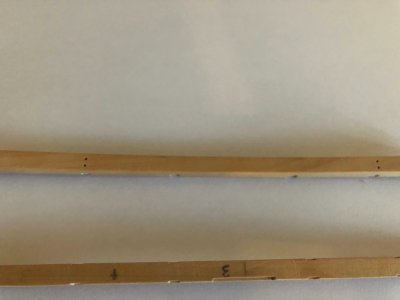
Notches are cut in the beams using a 1mm cutter in my new mill plus the channels that will take the wires and resistors for the deck Lanterns. This section will be covered with deck planks. As they say a picture is worth a thousand words....

Well, two down, just 28 to go for this deck

Kind Regards

Nigel

SR241.jpgSR239.jpgSR240.jpgSR242.jpgSR243.jpgSR244.jpg
 
Back
Top