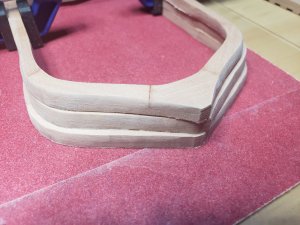
Hannah 1/48 - Lumberyard

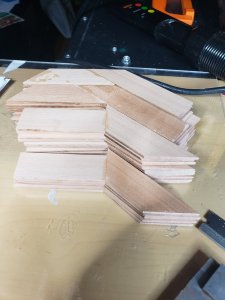
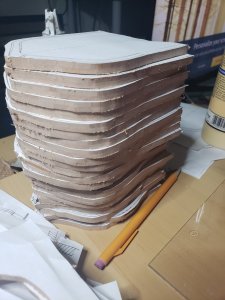
Finished gluing all the blanks together!

20190410_085631.jpg

Still need to do some clean up to clean off the rubber glue and still making the rib templates, but hopefully neither of those things will take long and then it will be on to the next step.

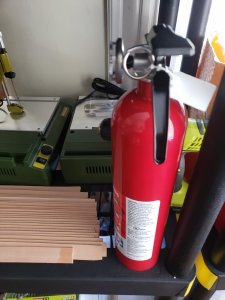
Also had a small addition to the workshop, with everything going on it now has it own dedicated baby fire extinguisher.

20190410_093455.jpg
 
Last edited:
Hope you do never need the new extinguisher :cool:

That is the hope! Haha

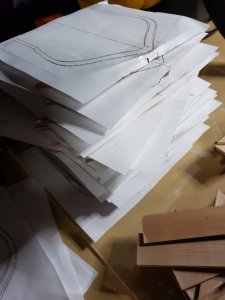
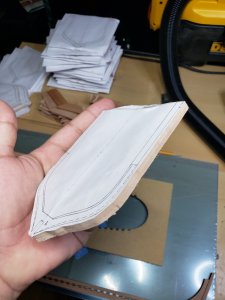
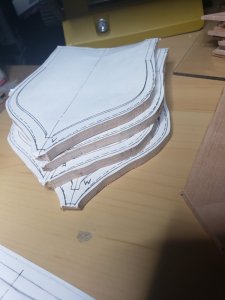
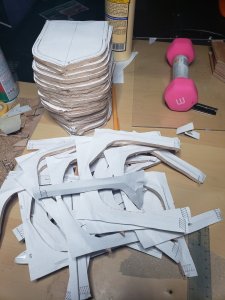
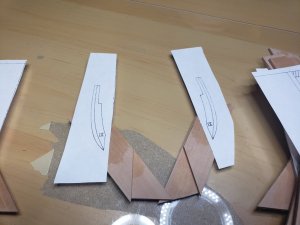
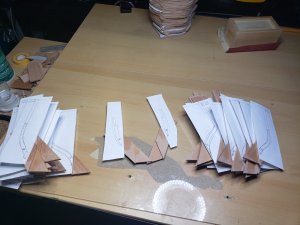
So templates were made for all the frames, and glued on the other day

20190412_223530.jpg

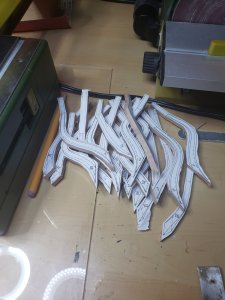
I've done my first pass on the scroll saw for the set of four frames

20190412_223541.jpg20190410_221528.jpg

Happy so far.

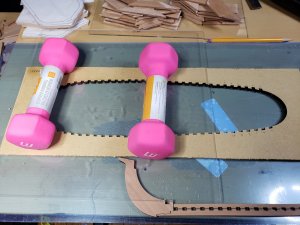
Took out the build board and weighed it down to flatten it out, it is a little warped.

20190412_223522.jpg

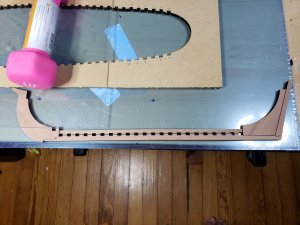
Also cut out the keel, need to sand down the char and just doing a test fit here

20190412_223519.jpg

Now I have two questions. There's a slot under the keel that looks like a strip of wood should go, as it is in the instructions. What kind of wood goes there? I have ebony with the pearwood, I feel like somewhere I saw a strip of ebony down there, but unsure.

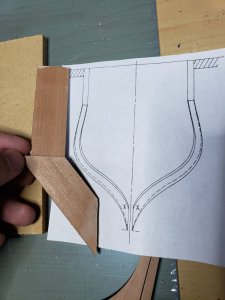
My other question is the half frames.

20190412_223601.jpg

How do these work. I glued them together per the plans but all the pictures I've seen of the Hannah show that these frames should be double thick like the rest of them. So I'm confused how this goes together.
 
Thanks to everyone for the Birthday wishes! Really appreciate them.

Did do some work over my birthday weekend and was even able to fix one of the issues I was having thanks to some information passed along to me.

20190421_233241.jpg

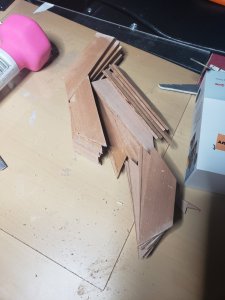
My half frame blanks were glued wrong. So I had to take them apart and glue them properly. Because I was using a mix of wood glue and water to thin the glue and make the pieces as close as possible I was able to take a one sided razor blade and separate all the pieces. They will need to be sanded before being glued together but that's not an issue since they were going to be thinned a little any way. I had made 22 blanks originally, as it turns out I needed to make 44, and 22 need a different cut then one I currently have. So while I used a little more wood for the ones I have, since they should have been cut a little shorter, there is really no serious harm in what's happened. Next I will need to make some new templates for the 22 left side blanks that need to be made and cut those out this week.

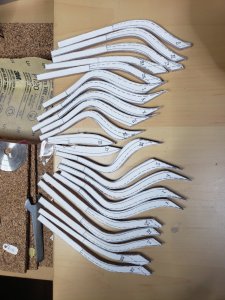
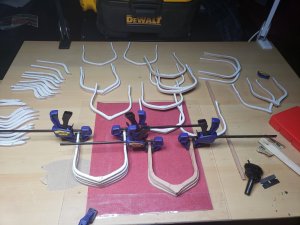
I finished my first pass on all of the frames, and they're starting to really take shape.

20190421_233219.jpg 20190421_233228.jpg

I'll be finishing up the half frames this week. Once those have been cut, sanded, and the frame templates cut out I will move on to the next part. Which is of course using a spindle sander to sand out the inside of these frames. I'm thinking the spindle sander will do the inside and depending on how good the control is on that (its actually a pretty big machine) I may switch back to the smaller dremel sander I have to do the fine sanding and shaping to finish them off. We will see what works.
 
You will produce a lot of abrasive and sanding dust :cool:
Maybe you can show later on the work with your spindle sander.....would be interesting
 
You will produce a lot of abrasive and sanding dust :cool:
Maybe you can show later on the work with your spindle sander.....would be interesting

I will try and do that!

In the meantime work continues on the half frames. So to make the blanks for these you need 44 pieces, 4 different cuts of 11/11/11/11 to do it the way the plans lay it out. Because I had made a mistake and didn't want to do more cutting than I needed/waste any more wood I did 3 different cuts, 11/11/22. The bottom piece of both sides are the same cut just shorter on the right than on the left. I just didn't shorten the right side, as you'll see below.

So that left me with needing one new cut of 11, and 11 more bottom pieces. The new cut is straightforward just a squared off piece. Which gives you this:
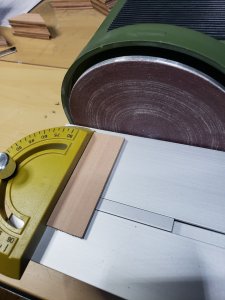
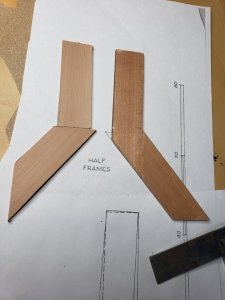
20190424_194814.jpg 20190424_194958.jpg 20190424_225626.jpg

The color differences are because the right still has the residue from the rubber glue on it. This is my first time reading plans, as this is my first build from plans, but it wasn't really intuitive at all that this was supposed to be the layout or the cut. You live and learn; next they'll be sanded to even the thickness like the other blanks were and glued together.

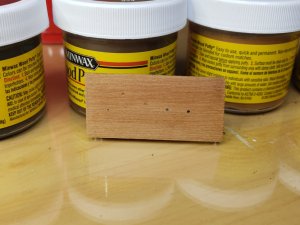
I don't think I'm going to make tree nails, instead I will just simulate them, so I've also started experimenting with different wood pastes. A method on saw being used on previous builds most recently:

Péji said:
- For the filling, it is wood paste, color "Wenge".

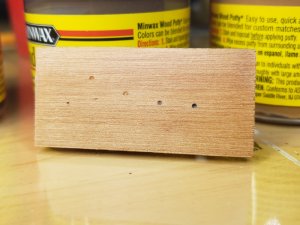
Here I tried four different colors.
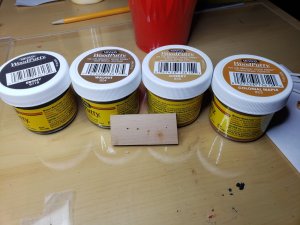
20190424_225401.jpg

Ebony, Walnut, Cherry, Colonial Maple.
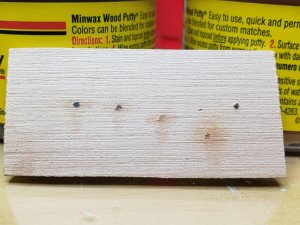
20190425_084220.jpg

The drilled holes need to be bigger. But the decision that needs to be made is how visible I want the treenails to be. The ebony is a wonderful contrast and will look good when bigger. But the Cherry is subtle like it is in the photos of all the other Hannah's. Cherry is probably the color I will go with, happy to hear opinions!
 
Last edited:
Hello Gventura. If you don't mind, I suggest you experiment and try to match the treenail imitation putty as close to the timber as possible. Another suggestion is to use a very, very sharp pencil and gently twist inside the predrilled hole (avoiding make the hole larger, and break the lead). If the size of treenails standard e.g. 3mm or 5mm, I use mechanical pencils with retractable leads. This will not enlarge the holes as the lead all the way the same size.
 
Hello Gventura. If you don't mind, I suggest you experiment and try to match the treenail imitation putty as close to the timber as possible. .....
I agree here completely with Jim, usually the treenails were made out of the same wood like the planks. Visible surface was the front edge of the wood, so 90 degrees towards the grain - and because of this the treenails are slightly darker than the planks.
 
I agree here completely with Jim, usually the treenails were made out of the same wood like the planks. Visible surface was the front edge of the wood, so 90 degrees towards the grain - and because of this the treenails are slightly darker than the planks.

This is useful information, thanks guys! I will do another test, with the appropriate size holes for better visual. Based on my first run I think the Cherry is going to be the closest to the pearwood I'm using, but we'll see what it looks like. And if that doesn't work I may end up having to make my own treenails, or something.
 
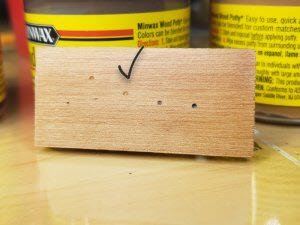
I like the one I checked:

View attachment 91694

That is the one I will be going with.

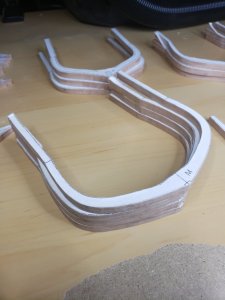
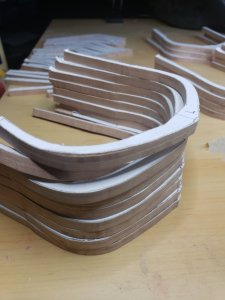
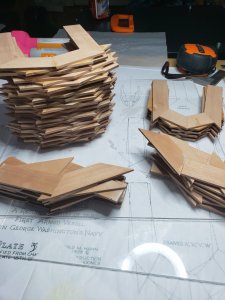
Made a lot of progress recently. After gluing all the half rib blanks properly I've gotten them shaped and cleaned up.

20190430_000242.jpg 20190430_000236.jpg 20190430_213835.jpg

After gluing I used the scroll saw to cut it down and then the sander to square off the tops and the dremmel to clean them up.

20190505_142938.jpg

I think they look pretty good. I need to do the bevel but I'm going to wait to do that until after I finish the rest of the ribs, which are currently a work in progress.

20190505_142941.jpg

But shaping up nicely.
 
Many sanding drums died to bring us these ribs.

Ready for the bevel.

Scroll saw -> 80 grit sanding drum-> 240 grit sanding drum -> 240 sand paper to clean up

20190508_234637.jpg 20190508_234643.jpg

20190508_234805.jpg 20190508_234830.jpg

I will also need to cut out the bottom where it will attach to the keel, but I've been putting that off since some of those cuts will leave very little wood left on the edges and I don't want to break anything off. Last check they're still a little thick, I'll either need to sanding them down further or open the spaces on the keel more. We'll see where we are after the bevel and after I take off the templates and clean up the tops of all the pieces.
 
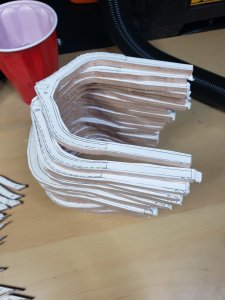
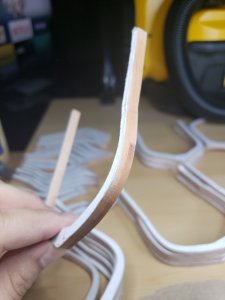
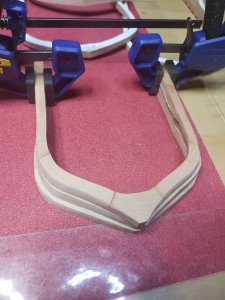
So the main beveling has been completed on the ribs.

20190515_204325.jpg

20190515_204332.jpg

20190515_204342.jpg

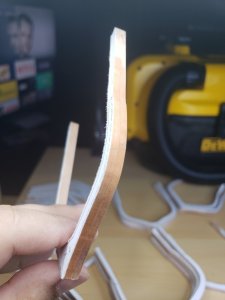
It's actually kind of hard to do without seeing the complete shape, so I'm sure more sanding will be done once the ribs are in place on the jig. Next up is doing the half ribs, but here is where I need to make a decision.

Right now the ribs are 6 mm thick, the slots on the keel (and overall spacing on the ship) is 5 mm. So it will be easier to cut the slots on the keel to a bigger size, but is that what I want to do. Or should I sand the ribs down to the 5 mm they are supposed to be. Thoughts appreciated here.
 
Back
Top