Saint-Philippe 1693-POF to the Monograph by Jean-Claude Lemineur by NMBrook-1/36

Maarten,yes it is indeed a great book and model.Just a word of warning there are one or two errors on the drawings.Something to do with the level of the deck clamps.Sorry I can't be more specific,it was a few years ago when it was mentioned.No biggy just a case of cross referencing things and double checking.

Kind Regards

Nigel
 
If it is allowed shortly to hijack your topic - here only the link to the Planset Review of the HMS Sussex


Do not forget to scroll down, here you can find the fine model built by our member @ramonolivenza
 
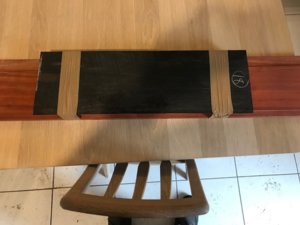
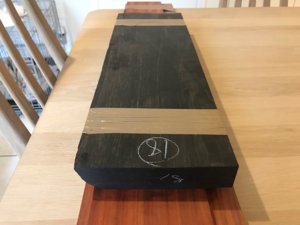
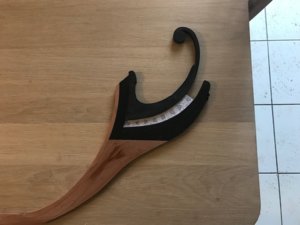
Just a small update in that another timber delivery arrived today.This one is a little bit special as it includes a rather nice billet of Premium grade African Ebony.This will hopefully be enough for the black areas of the keel and to shape the front sections of the main wales.I am not even attempting to bend these sections as they work out 5mm thick.Yes I could laminate them but feel this is just as easy in the long run.Previously I have got away with the slightly less expensive Madagascan Ebony and worked around the brown areas.Unfortuneatly on this size chunk there is far to much brown to make it viable.Needless to say this piece of timber was not cheapo_O

Kind Regards

Nigel
sp141.jpgsp142.jpg
 
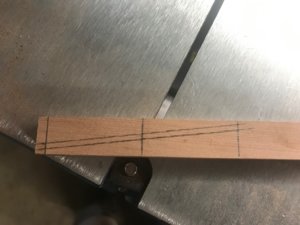
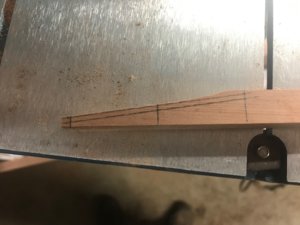
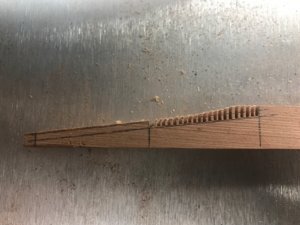
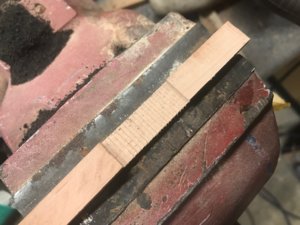
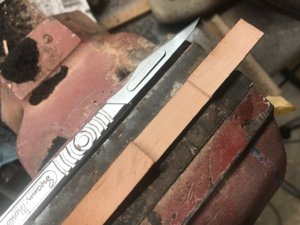
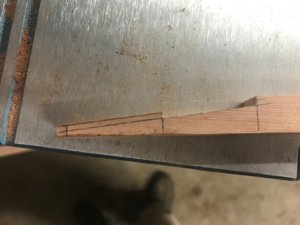
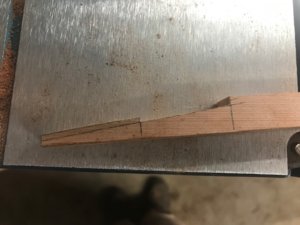
I fancied a change of tack this weekend but still moving in the right direction.Start of keel construction.After milling a stack of Pear and Ebony to the correct thickness billets I have started on the main keel scarph joints.I have taken pics of the process to show how I cut these in this large scale.The keel is 12.2mm wide by 13.5mm high.
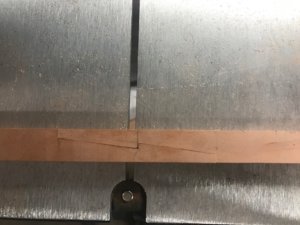
After marking out the front slope is cut rough on the bandsaw.I then employ many cuts up to the pencil line again using the bandsaw.With waste broken away the face is then shaved using a scalpel with the piece in a vice.The nose of the scarph is then trimmed to final shape on the disc sander.
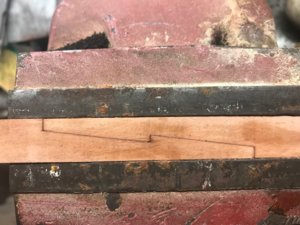
The final picture shows the joint glued together with Epoxy and clamped up in the vice whilst the glue sets.The timber is patchy as I have cleaned the excess glue off with a alcohol wipe.

Kind Regards

Nigel
sp143.jpgsp144.jpgsp145.jpgsp146.jpgsp147.jpgsp148.jpgsp149.jpgsp150.jpgsp151.jpg
 
I have joined all the keel together but won't post any pics yet as it just looks like a straight piece of wood.I have moved forward to the front end of the keel and stem.The stem is to be spliced at the water line.Pear below,Ebony above so this affects the order of construction.I am photographing each stage "warts and all" to illustrate how I go about this.
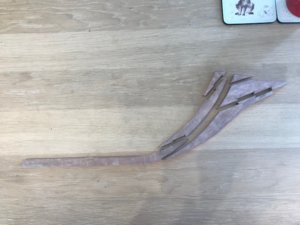
This set of pictures shows the parts cut of Pear.The shapes are drawn onto tracing paper and this is then stuck to the timber with Pritt stick.A solvent free craft glue.The parts are all cut out on the bandsaw,slightly oversize.The only face in the pictures that has been trimmed to size is the keel base.This is my point of reference.In the last picture shows the scarph that joins the rest of the keel.This is unshaped,the scarph cut on the end of the other section will be used as a template for this scarph

Kind Regards

Nigel
sp152.jpgsp153.jpgsp154.jpgsp155.jpg
 
Thank you!
Continuing on,two subassemblies were built up then the joint between the two was shaped and finally these two pieces were bonded together.I have joined this assembly to the keel I made yesterday and the scarph is clamped up while the glue dries.I couldn't resist taking some pics whilst it is in the vice just to convey how huge this model is going to beROTFThe aft end of the keel is to trim to length,but not by much!
The patchiness is just white spirit drying,I have given the stem a thorough dedusting after cleaning up.

Kind Regards

Nigel
sp156.jpgsp157.jpgsp158.jpgsp159.jpg
 
Thankyou Michael
I will say though that at first I thought the joints were a little prominent.This is due to the Epoxy.It leaves a dark line as opposed to wood glue.However,when I cleaned everything with white spirit which shows what the timber will look like when finished I was happier.
The reasoning behind Epoxy is that it leaves no glue stains that will show through the shellac to be applied later.Any Epoxy residue just blends into this finish.Before on other builds I have used wood glue but this is easier to remove from a conventional plank on bulkhead builds,on this it is a knightmare.You have to clean off with water,this and the moisture in wood glue swell the pear and stuff starts moving.Because of the zero water content in Epoxy you can get away without clamping things that you would have to using wood glue.

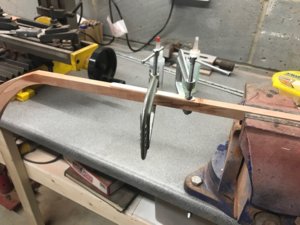
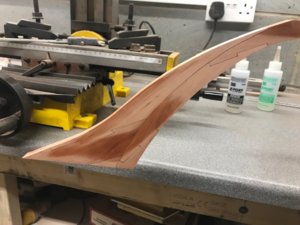
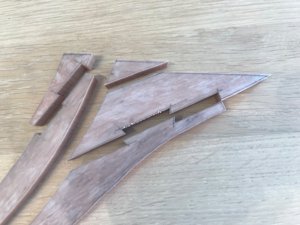
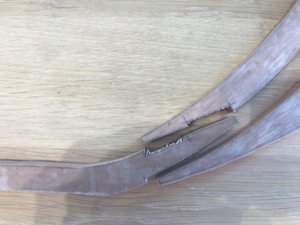
Moving on,some seemingly random pictures but I hope they will help explain what is next.Firstly I would add that I have lowered the waterline 2mm as the intersection on the rudder blade would result in a splice between Ebony and Pear in an awkward and aesthetically unpleasing place,right at the return of a scroll.
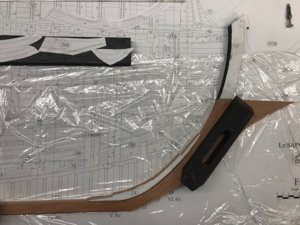
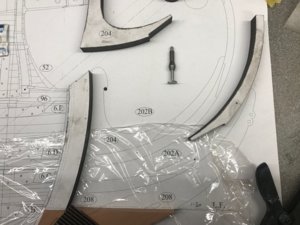
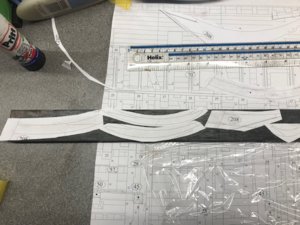
I have bit the bullet and had to go with getting numerous copies of the drawing to cut up and make templates.There are too many parts and pencil lines do not show up on Ebony.I am deviating from Frolich's approach of morticing the two timbers together and also from the two housing joints shown on the plan.I propose on drilling from the back and inserting brass pins epoxied in place.These are overscale but will not be seen inside or out when finished.I am undecided as to whether I illustrate the bolts on the cutwater's front edge.These could not be used for structural purposes as I cannot get a 1mm drill long enough to go through all the timber sections.If I could,I doubt it would follow the correct line,even with everything set up in my pillar drill.
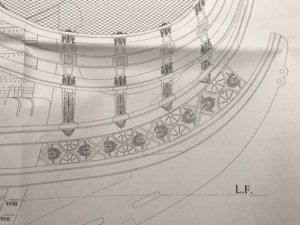
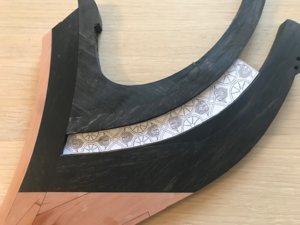
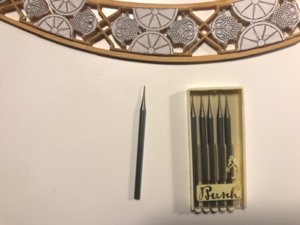
The hard part here is the carved trailboard which is a very ornate piece of fret work.It is not solid but is more of a lattice as seen on Soleil Royal according to Berain's drawings.In order to prevent this very fragile piece from collapsing I am going to add a slim frame incorporated in the boxwood carving.This will fit in a channel in the prow timbers.The cutter to produce this channel is shown in one of the pictures.
This channel will need milling in the respective pieces before final assembly and the carving will also have to be fitted during assembly.I am reasonably proficient at carving,but this is not only going to stretch my ability but also going to take a considerable amount of time to produce.Some of the details are ridiculously small and it is a long time since I did the 1.6mm diameter faces on my Sovereign build:rolleyes:

Kind Regards

Nigel
sp160.jpgsp161.jpgsp162.jpgsp163.jpg
 
Thankyou.
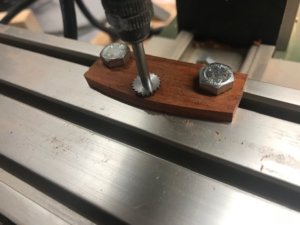
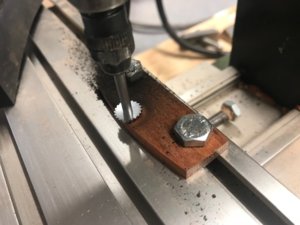
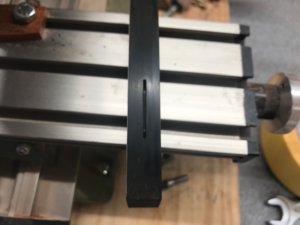
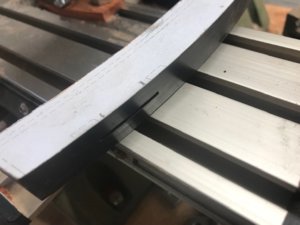
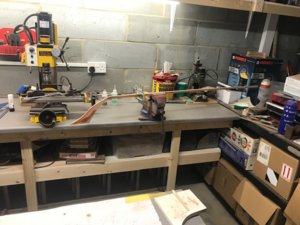
I have set the simple jig up in the Proxxon mill.As I said early,this is a better machine for these smaller jobs rather than the big machine.The RPM to do these slots was set at around 15000 rpm,unattainable with big brother.
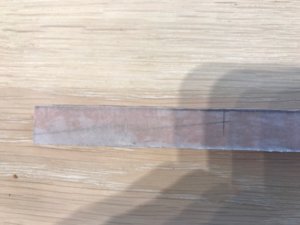
The set up is a simple backstock made of a piece of scrap Padauk.The front face has a rough radius sanded on slightly tighter than the concave radius of one the curved pieces I will be milling.In this way this set up will work with all the shapes I will be running through the machine.
With the cutters teeth set flush with the face of the Padauk stop,the Y axis can be set to zero.Turning the handle brings the cutter out effectively giving you the depth of cut.These cuts are 2mm deep which I did in 0.5mm increments as I am holding the workpiece in my hand and the shank of the cutter is particularly long.
The pictures show the first slot cut.This has been cut to ensure full depth is achieved along where the end of the carved piece will slot in.The curved ends will be covered by the rest of the stem so it is unimportant to have square ends to this particular channel.Another point is that the height is set in the machine.This will not be moved until all sections have been slotted and all will be machined the same way up.Even if the height isn't exactly central all three slots will line up perfectly.

Kind Regards

Nigel
sp164.jpgsp165.jpgsp166.jpgsp167.jpg
 
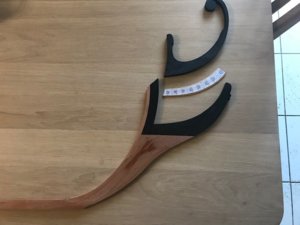
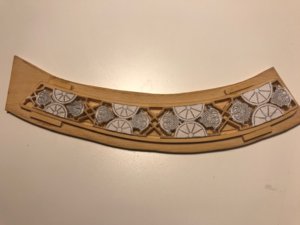
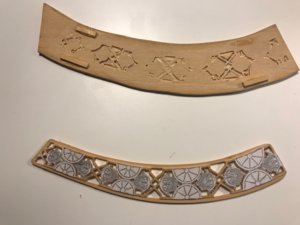
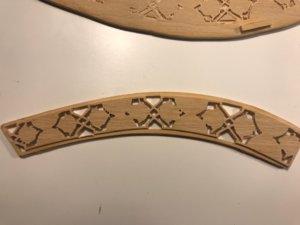
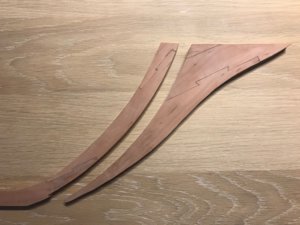
I have got the prow assembled as far as possible.The lattice trailboard needs to be fully carved before I can fit and finish the upper section.The boxwood trailboard has tongues milled on three sides to engage in slots I milled in the prow sections.The last pics show the parts dry assembled
Next job is one serious bit of carving:rolleyes:

Kind Regards

Nigel

sp168.jpgsp169.jpgsp170.jpgsp171.jpg
 
Thank you Jim
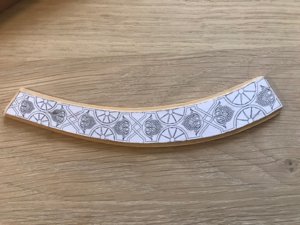
Moving on,the boxwood trailboard was secured to another blank piece of boxwood with four boxwood blocks lightly superglued to it's edge.This is to stop me milling grooves in the surface of the xy table.
The full depth cut outs were cut in the Proxxon miller using the z axis dial to ensure I just went through the thickness of the piece.This process has taken me a good few hours as I have had to keep moving the workpiece around so the cutter follows the lines.
The piece was then removed from the backing piece.Next step will be carving in earnest using a 0.4mm burr in the rotary tool.

Kind Regards

Nigel
sp172.jpgsp173.jpgsp174.jpgsp175.jpg
 
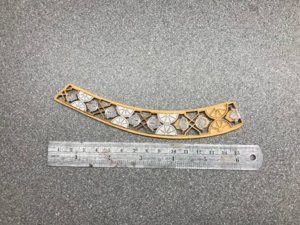
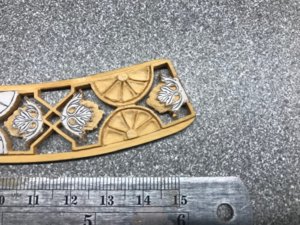
I have spent several hours carving and the pics show the results.It is a few years since I did the carvings on Sovereign and need to get back 'into it'.I am not even attempting the bunches of grapes yet until I get back in the zone.As always the camera can be your own worst enemy and I feel the results do look better in real life than in the last picture.
The concentration level is extremely high and feel I shall continue on with the framing and restrict work on the item to just a few hours a week.

Kind Regards

Nigel
sp176.jpgsp177.jpg
 
Back
Top