


 Maarten
Yes but I should have started at the other end for that
Kind Regards
Nigel
 |
As a way to introduce our brass coins to the community, we will raffle off a free coin during the month of August. Follow link ABOVE for instructions for entering. |
 |
 |
The beloved Ships in Scale Magazine is back and charting a new course for 2026! Discover new skills, new techniques, and new inspirations in every issue. NOTE THAT OUR FIRST ISSUE WILL BE JAN/FEB 2026 |
 |


 Maarten
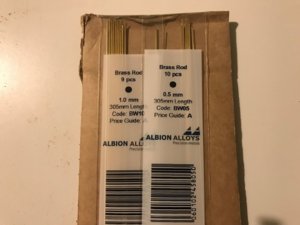
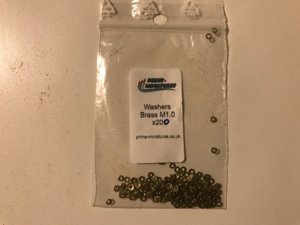
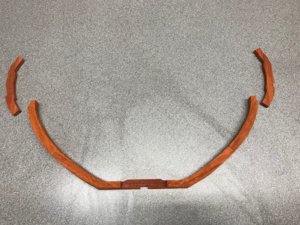
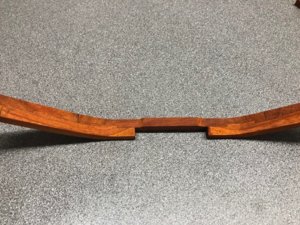
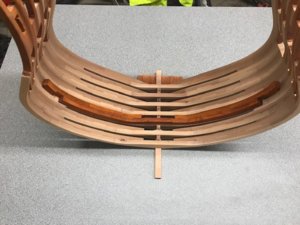
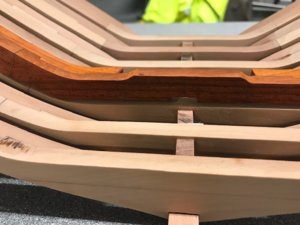
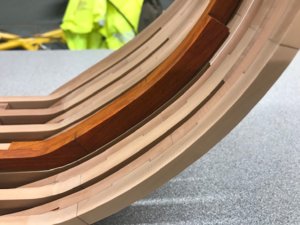
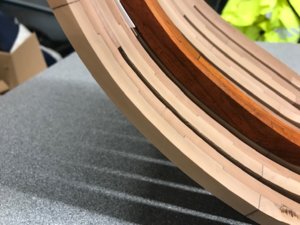


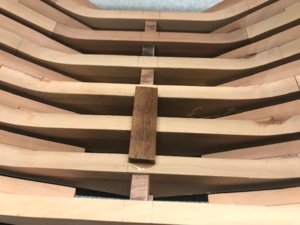
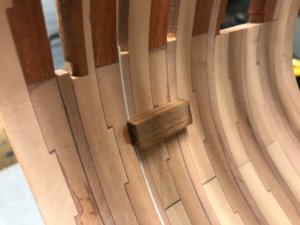
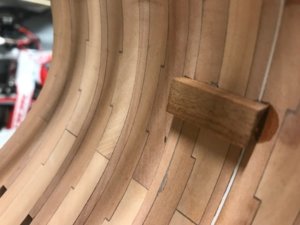
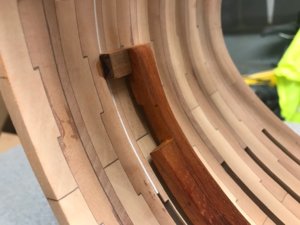
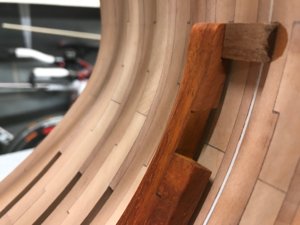
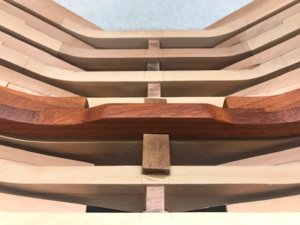
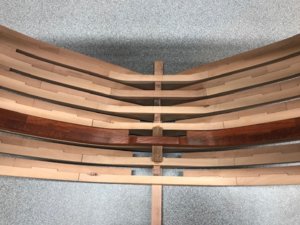
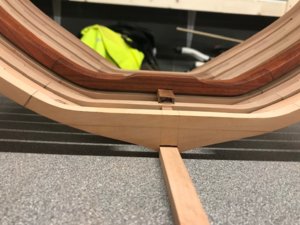
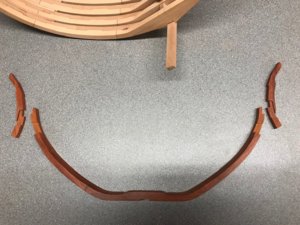
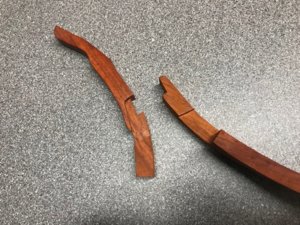
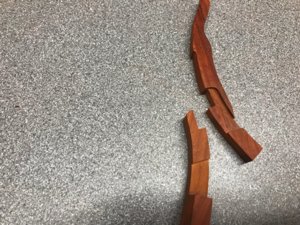
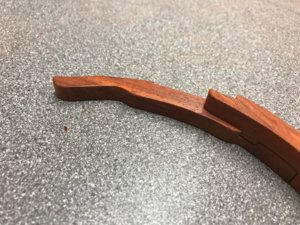
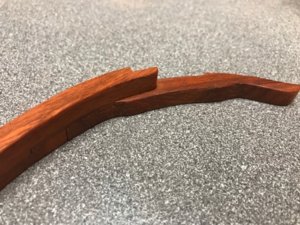
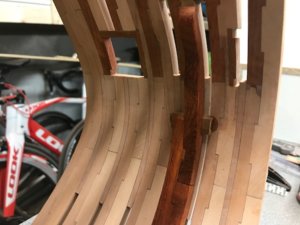
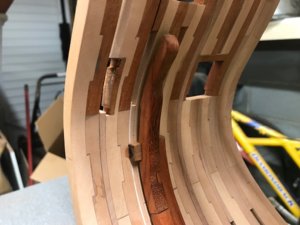
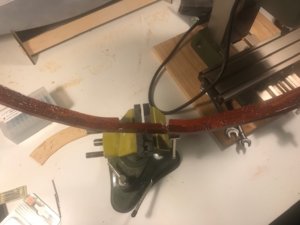
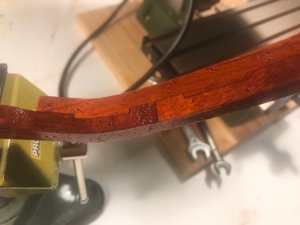
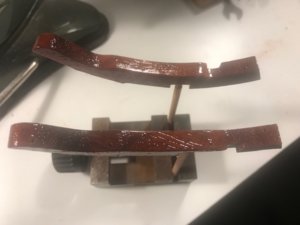
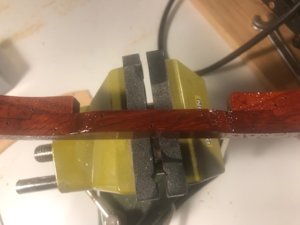
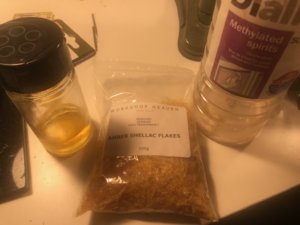
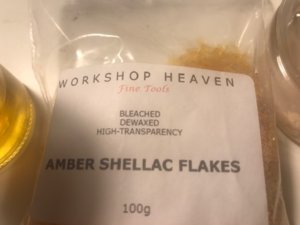
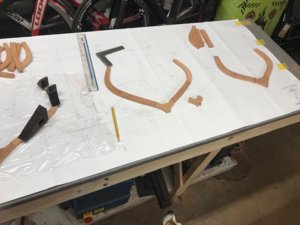
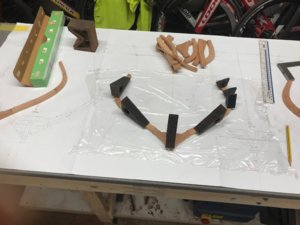
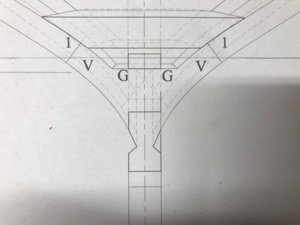
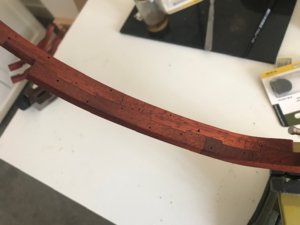
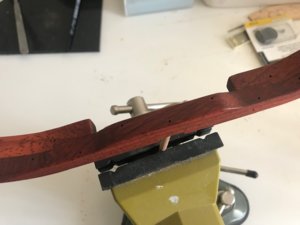
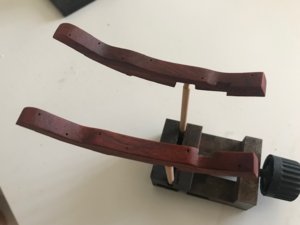
The first thing in my mind, when I saw these actual photos was:......
One thing is that these parts appear far darker due to photography than in reality.
Keep care my friend - hope, that the rash will disappear asap....I am having a short sabbatical from this build. Unfortuneatly I have developed a very nasty rash on my chest over the last couple of months.Uncertain as to exactly what has caused this I am having a little break to see if it goes away.
After researching the African Padauk timber,it turns out the oils in the wood,whilst not an allergen,do cause skin sensitisation.There is a possibility this could be the culprit as many a day I have come in from the workshop bright orange from the dust.
I am going to suspend work on this build to see if this rash goes away.If it does,I need to re-evaluate how I work with this timber and take necessary precautions.If it doesn't then I am going to have to pay a visit to the doctors and it isn't down to Padauk dust.
I did once have hives all over both forearms,this turned out to be the result of a massive session cutting Ebony.
So,for the minute,I am going to do a bit on my Artesania Santa Ana as I know there are no timbers that will cause an issue.
Kind Regards
Nigel
