Saint-Philippe 1693-POF to the Monograph by Jean-Claude Lemineur by NMBrook-1/36

Thank you very much indeed Jim,that means a lot as that is what I set out to do.I started this log to try and offer some guidance and the benefit of a few tricks I have learnt over the years.The majority of POF build logs just show a bunch of updates which have hundreds of hours work between them but do not illustrate how to go about it.
I hope to redress that and as a result I can see this log running into hundreds of pages as a result over several years.The process of assembly though really does through the rulebook in the bin.No typical "waterline" jig,My plan has more in common with modern shipbuilding i.e. building in "blocks".Purists beware ROTF

Kind Regards

Nigel
Well spoken - We are happy to host your log for the next years - independent how many pages will be necessary.
And:
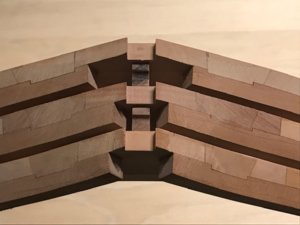
Many thanks for showing us the details - especially the horizontal laying construction of the framing - highly interesting
and BTW: Great quality and accuracy Thumbs-Up
 
Thank you.Updates will slow right down as I am back at work tonight,holidays over :rolleyes: I work four 12 hour nights a week plus the added hours I don't get paid for,the downside of being a Manager on salary.I only really get chance to get in the shipyard on a weekend.
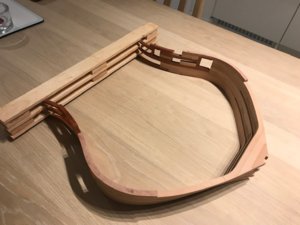
I have finished the frames as is and removed temporary attachments.The segment has been removed from the jig.I spent four hours lightly fairing and sanding one half of the assembly inside and out,the downside of working to such a large scale.I will update when the other side is done next weekend.
I propose to spend any time I grab during the week to be spent assembling frames.

Kind Regards

Nigel
 
Thankyou Michael.Yes the vise has been used and abused ROTF Infact the Proxxon mill has as well and screams like a banshee at times:rolleyes:Don't get me wrong,it has been used a lot and asked to do things it probably shouldn't have,but still it goes on.It is very much in use for smaller tasks that big brother is too big for.When eventually it does die,I will replace it like for like as it is invaluable for very small work.

Kind Regards

Nigel
 
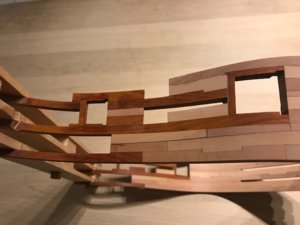
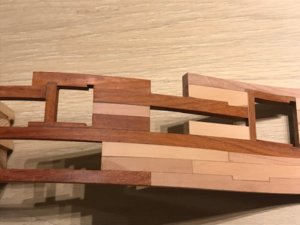
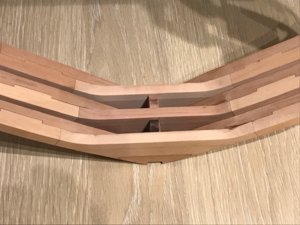
Bit of an update in that I haved done the rough fairing on the three frames.This is a far as I am going but I hope they should be pretty close and only need the minimum of work when the hull is complete.I am trying to minimise the amount of final sanding otherwise it would just become overwhelming on a hull of this size.In the last pic,you will notice I have kept away from where the frames meet the keel.
The upper gunports are square for now.I plan to make a jig to shape the arch at the top when the planking is done inside and out,otherwise I will be doing this operation at least twice(before and after planking).
Apologies for the poor photos,I took the pics in the kitchen as it is brighter than the workshop and now dark outside.The Paduak looks a little dark and patchy as I had just cleaned the dust off with an isopropyl wipe.
Behind the scenes I have started work on assembling the next four frames

Kind Regards

Nigel
sp107.jpgsp108.jpgsp109.jpgsp110.jpgsp111.jpg
 
Accurate - very accurate work
I guess you used the new mill already for the last works - are you happy with it, the same or easier to reach the results you wanted to have?
 
Thanks Uwe:)

The new mill is much quicker at removing stock however I am trying to get a cutting sequence to reduce breakout due to the much slower RPM and larger cutter.Also I have an issue with backlash common to this and other models based on the same Chinese machine.This is on the Z axis and basically you have to wind the feed below where you need it and then lift back up to cutting height.This isn't ideal and the solution is apparently to remove the head and place a 20thou packer behind the rack.This closes the slop between rack and drive gear.It does need some work but I did expect it at the price.Many youtube videos on sorting it's shortfalls out.I feel the best solution is to install a digital readout on the z axis using a Vernier kit.This enables a reference to be set and zeroed,be it with tool sat on table,or tool sat on job in vise etc.This way I have a system that is accurate regardless of slop.The x and y table on the other hand is spot on and a pleasure to use.
Bottom line,yes I am happy and do not mind some tweaking in view of the price.All in it worked out at half the price of comparable machines on the market with all the accessories that are good straight out of the box.

Kind Regards

Nigel
 
Thankyou Tony

In answer to your question,the Proxxon mill simply wasn't big enough.The issue being I have to mill the whole face of the assembled frames to leave the tenons remaining.That is a lot of surface area as the frames are huge due to the scale and a lot of twiddling of the small feed handles.Even though I have a larger table it still wasn't big enough to clamp the frames securely and flat.
I am still using the Proxxon in conjunction with the big machine,invariably when I am working on smaller parts.It will surpass the big machine when it comes to producing the fittings,mouldings etc.

Kind Regards

Nigel
 
A bit of a pic heavy update :rolleyes:
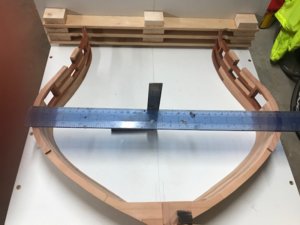
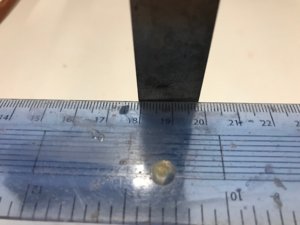
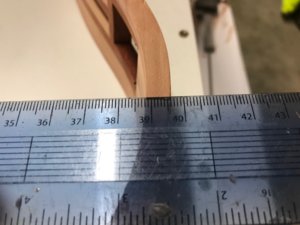
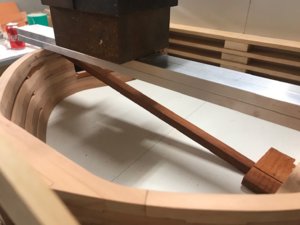
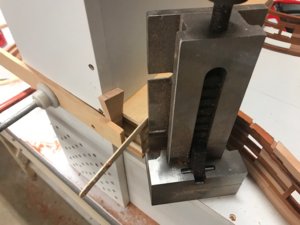
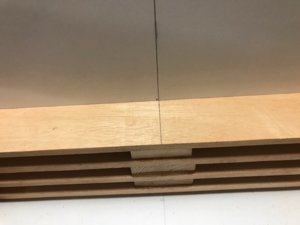
I came to install the next frame and noticed an issue.The overlap either side in the waterline area was not the same.One side overhung by 2mm but the otherside was nearly flush.Something was amiss.I first checked the assembly in the jig for symmetry in this area using a square coming up from my centreline drawn on the jig.As you can see in the pics it is pretty much on the money.
I then inserted the next frame and the frame after in the jig.The second frame lined up with even overhang so clearly the first frame had sprung when I removed the bracing that I use for initial assembly.This is this first frame where this has happened.Because the existing assembly is solid if I could get the frame to the correct shape then the assembly will hold it true once the glue has set.As long as I don't have too many frames like this then I shouldn't have any twisting moments going on.
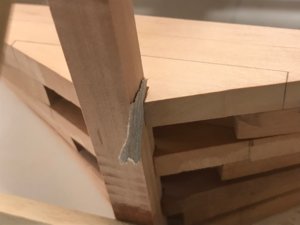
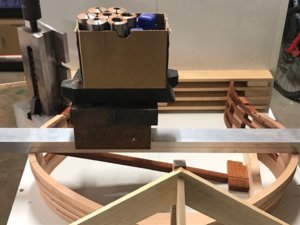
You can see the diagonal brace to push the frame out and the weight I put on the assembly while gluing as the brace wanted to lift the frame up.I had to wedge the top jig bar in place as well as the frame wanted to shift in the jig.The final precaution was the thin bit of abrasive paper in the keel notch,fortunately I had a tiny bit of slack to squeeze this in.This prevents the frame from jamming hard in the jig due to my wedging.If I hadn't put this in something would be damaged when I tried to remove the frames from the jig.
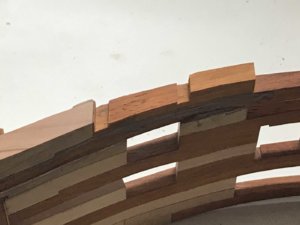
The final pic shows the side of the gunport for the middle deck.These were milled in either side of the frame before I tapered the frames thickness.

Kind Regards

Nigel

sp112.jpgsp113.jpgsp114.jpgsp115.jpgsp116.jpgsp117.jpgsp118.jpgsp119.jpgsp120.jpg
 
Back
Top