Amati Bismarck 1:200 [COMPLETED BUILD]

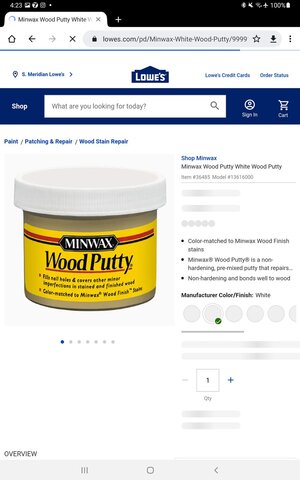
Note: Wood filler and wood putty are two different things. Typically, wood filler can be sanded, stained and painted. Wood putty tends to stay wet, moldable, and doesn't take stain or paint, and doesn't dry out.

Well, my English. Sorry. Wood filler it is.
 
A friend, Mike Shanks, tough me how to do it. If you look for a finish like this, in metal color, let me know. It was a full week process .

Daniel
 
Last edited:
Looking good Jack, long and lean…. Is there a second layer of planking to do or is it just fill and sand from here on?
 
Last edited:
Note: Wood filler and wood putty are two different things. Typically, wood filler can be sanded, stained and painted. Wood putty tends to stay wet, moldable, and doesn't take stain or paint, and doesn't dry out.
I, too, did not know there is a difference. Thanks for the lesson Phil :)

Glenn
 
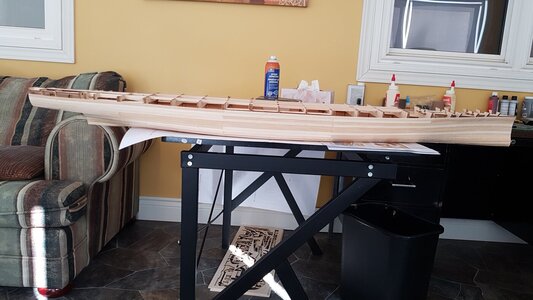
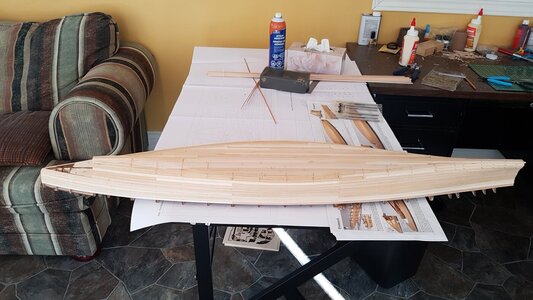
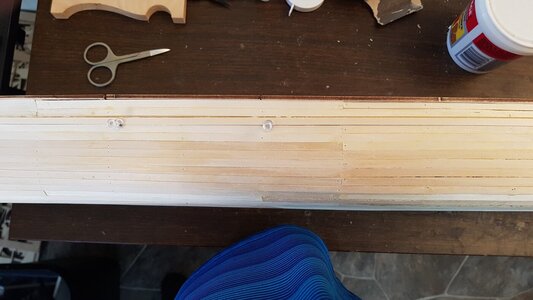
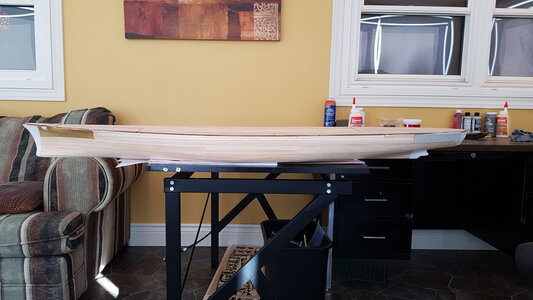
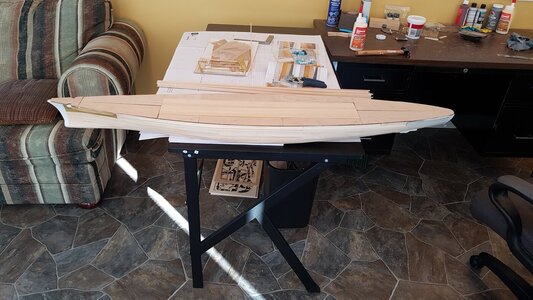
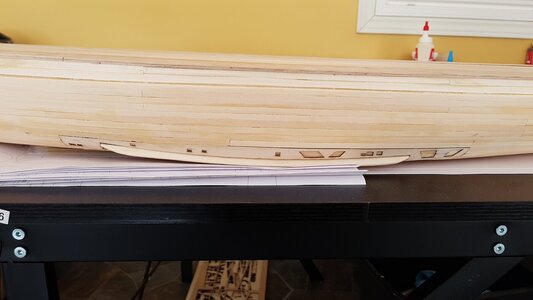
I have completed the first layer of planking and installed the false deck. For the second layer of planking, I will not be using CA glue or pins. Rather, I will be using pushpins and PVA glue, which is sandable and paintable. The idea is to place the pushpins on the outside of the planks so as not to make holes in the planks. This will take a long time to do, but I want it to look nice. Also I am using 10 min curetime PVA glue. What this means is that I can do one side, and while it dries do the other side, then return to the first side.

Not the best photos around, but I hope you can see what I mean. Figure 1 shows the pushpin thing and figures 2 and 3 show the completed first layer of planking and false deck. I primed one of the PE parts to see if the primer sticks. It does.
20220224_091833.jpg20220224_101344_006.jpg20220224_101400.jpg
 
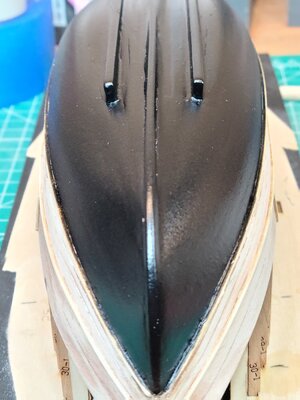
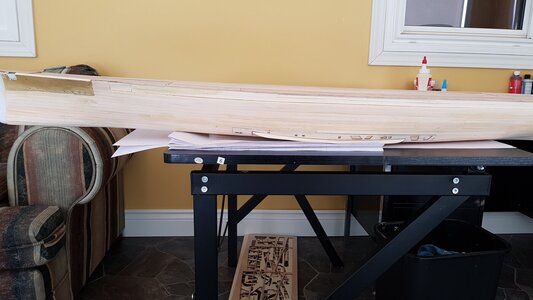
Small update. I have started the crack filling/sanding process.
I am at the stage where I think I will prime the hull so that I can better see where I need to add more crack fill.
Figures 1 and 2 show the progress.


View attachment 294373View attachment 294374
I think also, that with some filler you will see the form of the hull much better...... Happy sanding and wear a dust-mask
 
I think also, that with some filler you will see the form of the hull much better...... Happy sanding and wear a dust-mask
Thank you. Believe it or not, I actually like sanding. It's messy but for me it's fun.
 
Thank you. Believe it or not, I actually like sanding. It's messy but for me it's fun.
I like it in between the sanding session - to go with the finger tipps over the smooth hull
To touch it, to feel it - especially when you are satisfied with the result
 
I plan on using an airbrush for the priming and painting. It is my first time using this tool, so I am a little nervous. I think I'll practice on an old piece of wood first. I am more comfortable with a brush but I think airbrushing will give a better result.
 
I plan on using an airbrush for the priming and painting. It is my first time using this tool, so I am a little nervous. I think I'll practice on an old piece of wood first. I am more comfortable with a brush but I think airbrushing will give a better result.
I can only confirm that airbrushing gives a much better result than working with a brush. Remember that you are not working on a mini-kit. You are dealing with a hull of 1,25 m in length with should not be painted with a brush because it will leave traces in the coating despite your best efforts for an even coating.
What you have to avoid is to hold the airbrush still for a second.....ALWAYS move it hence and forth and up and down....

Greetings
Werner
 
Last edited:
Back
Top