Amati Bismarck 1:200 [COMPLETED BUILD]

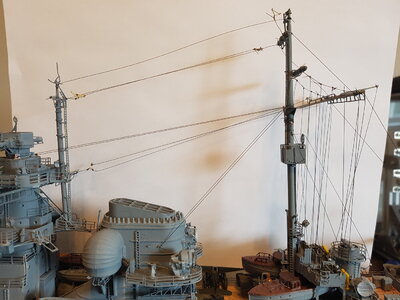
I was going to load some more pics to show the rigging but unfortunately you can't really see anything because the rigging thread is black.
Not sure what to do. Maybe put a white background? I am going to have to experiment I think.
Anyways I am almost finished the rigging and the next and final step is to add the railings.
 
Ah yes. The end is near. I just have a couple more antennas to add and that's it for the rigging.
BTW, Amati, when you make parts that you need to put thread through, pls make sure the holes are big enough for the thread. I had to ream several parts with a pin vice drill in order to get the thread through. Not fun.

Philosophical question: Do you paint the parts first and then pass the thread through or do you thread first and paint later? I opted to thread first then paint later, which is more time consuming than painting first because I couldn't use my airbrush.

20230928_132154.jpg
 
Last edited by a moderator:
Very good work on these "Rigging"-antennas
Do not forget to cut away the overlength .....
 
well i had a casualty today. I accidentally cut through one of the little triangle connectors on the Marconi antennas. It is a PE part. Not sure what to do next. I'll have to think about it.:mad:
 
Last edited by a moderator:
I am at the final stage of this build. Next what I have to do is add the railings and stanchions to the boat.
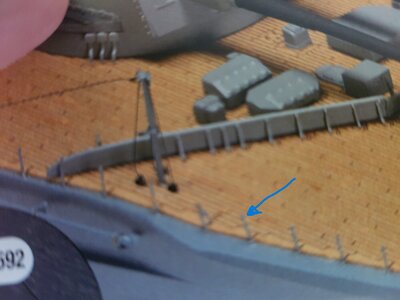
The stanchions will hold the threads that go from bow to stern on both port and starboard sides. There are three threads per stanchion.
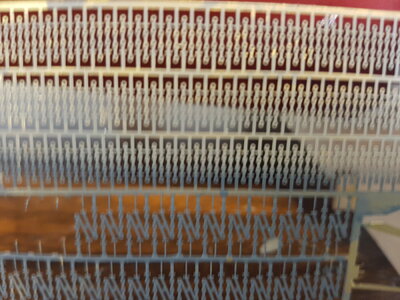
The arrow in blue shows how they will be installed and the second photo shows the PE parts that represent the stanchions.
A lot of work, but it should look nice when all done, I think.
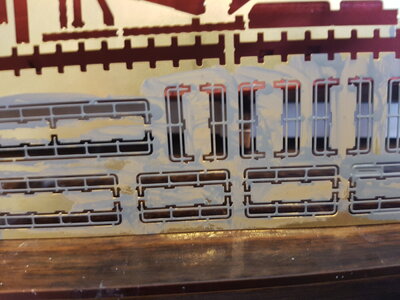
The last photo shows the PE parts representing the railings.

20230930_114223.jpg

20230930_114115.jpg

20230930_114121.jpg
 
well i had a casualty today. I accidentally cut through one of the little triangle connectors on the Marconi antennas. It is a PE part. Not sure what to do next. I'll have to think about it.:mad:
I decided that I will do nothing. For some strange reason I like the port side better than the starboard side(where the antenna goes), so I'll turn the boat in the direction where the starboard side is against the wall.

I must add that for this step I jinxed myself as I didn't use a green cutting mat.;)
 
Last edited by a moderator:
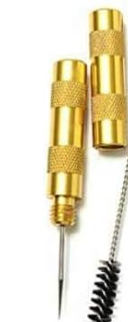
A little update. It would seem that painting the stanchions first has added an additional step to the build. I have to take a pin and go through all the stanchions one by one to clear the holes. It really didn't make much sense to attach the unpainted stanchions to the deck. I believe it would have made a mess. So this step is probably going to take me a few days to complete. I have already included a picture of the stanchions in a previous post and I am using a tool used to clean air brush nozzles to clear out the holes:
1696352536047.png
 
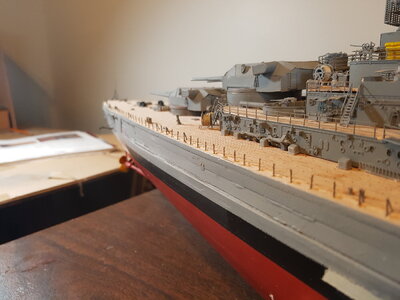
I am halfway through one side of the deck in the installation of the stanchions. Not for the faint of heart. This has to be the worst torture I have ever experienced. Not only are the pieces small and thin, but they are exremely small and easy to loose if not careful.

When I get to the final touchup, I plan to fix the hull. I don't like how the top turned out.

20231010_161019.jpg
 
Last edited by a moderator:
For those interested in building this model, plan on a lot of breaks when doing this step. It is extremely monotonous, but necessary. I can only imagine how great the boat will look once this step is done.

I purchased a cheap microdrill from Amazon to drill the holes. A pin vice was not an option because it is too slow, and a Dremel is too large and powerful to drill the small holes.
1697024330110.png
 
Last edited by a moderator:
Back
Top