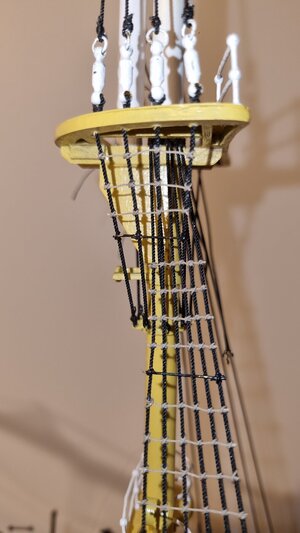
Amerigo Vespucci - 1:84 Panart

Hello all
I am back in France after a 2 months break and have restarted working on the Amerigo Vespucci,
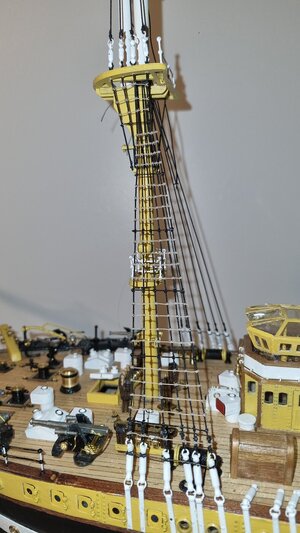
I continued on the foremast and have installed the chainplates and the turnbuckle that I painted in white.
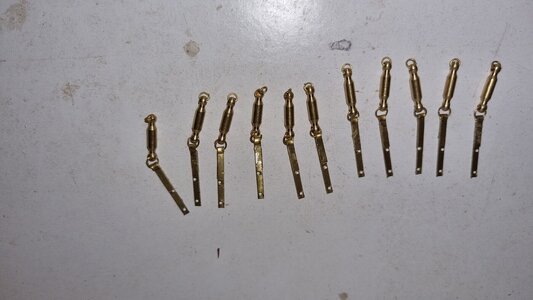
20240125_212832.jpg
20240129_124453.jpg

I then installed the shrouds on both sides. For this, I replaced the black rope provided in the kit by 0.7mm polyester rope from Ropes of Scale.
Pictures below.

20240131_161239.jpg
20240131_161259.jpg

Next will be working on the ratlines...
 
Good work - maybe only you should try to install the chainplates in the same direction like the shrouds / so the same angle - the third from the left - maybe you can remove and install once more
 
especially for the next ones on the model
I think best is to preassamble the mast, so you know in which angle the shrouds are coming down and mark the appr. direction of the plates
Agree with you here
In fact this is what I have done for the foremast, pre-assembling it.
I did not however take go care if the chainplate alignement with the shroud. My mistake :(
 
Hello all
I am back in France after a 2 months break and have restarted working on the Amerigo Vespucci,
I continued on the foremast and have installed the chainplates and the turnbuckle that I painted in white.
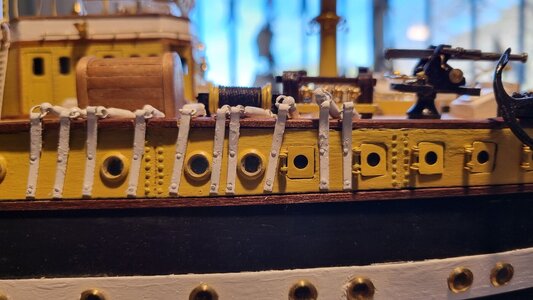
View attachment 424822
View attachment 424823

I then installed the shrouds on both sides. For this, I replaced the black rope provided in the kit by 0.7mm polyester rope from Ropes of Scale.
Pictures below.
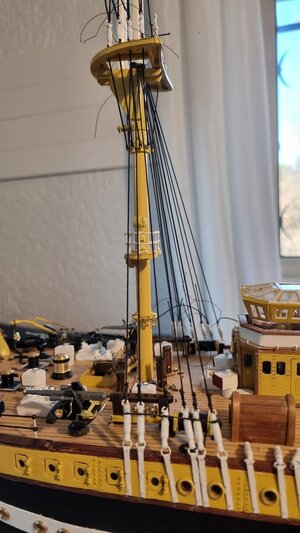
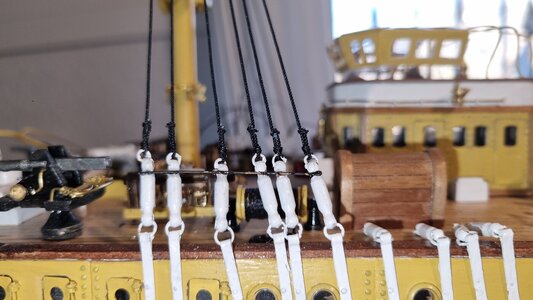
View attachment 424824
View attachment 424825

Next will be working on the ratlines...
Good afternoon Gilbert. Welcome back. Looking good. Cheers Grant
 
Agree with you here
In fact this is what I have done for the foremast, pre-assembling it.
I did not however take go care if the chainplate alignement with the shroud. My mistake :(
Shades of many a do-over of my own. I can relate. The extra effort, though frustrating at times, can be very rewarding in the long run. Ther's no deadline or jury at the end.
 
Hello all
I am back in France after a 2 months break and have restarted working on the Amerigo Vespucci,
I continued on the foremast and have installed the chainplates and the turnbuckle that I painted in white.
View attachment 424822
View attachment 424823

I then installed the shrouds on both sides. For this, I replaced the black rope provided in the kit by 0.7mm polyester rope from Ropes of Scale.
Pictures below.

View attachment 424824
View attachment 424825

Next will be working on the ratlines...
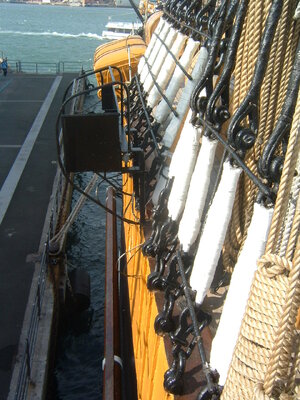
Hi Gilbertm, sorry, by way of information for the turnbuckles are not of this shape .The shrouds are not of natural fiber, I attach photos.Frank

10445.jpg
 
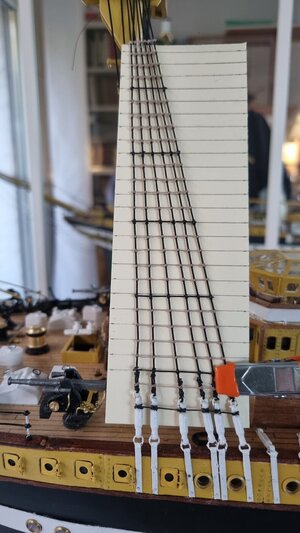
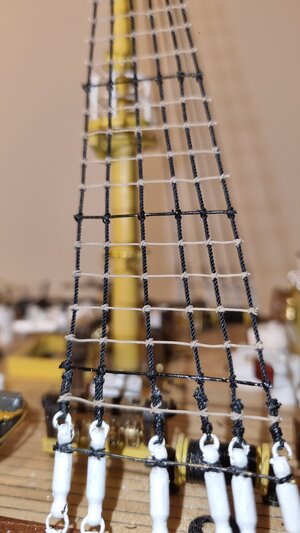
Having installed the shrouds on the foremast, the next step was ratlines.
The ratlines on the Amerigo Vespucci are light beige and have a pattern of 4 lines followed by a black metallic rod. Note that the Mantua documentation is not mentioning this black rod and calls for black rope. The metallic rod allows for the sailors to stand during parades.
I have used 0.35mm light beige from Ropes of Scale and 0.5mm brass for the rods.
The distance between each line is 6mm.

I have started by the port side.

20240203_170412.jpg
20240204_175203.jpg20240204_175237.jpg
20240204_175252.jpg

Next will be the starboard side.
 
Having installed the shrouds on the foremast, the next step was ratlines.
The ratlines on the Amerigo Vespucci are light beige and have a pattern of 4 lines followed by a black metallic rod. Note that the Mantua documentation is not mentioning this black rod and calls for black rope. The metallic rod allows for the sailors to stand during parades.
I have used 0.35mm light beige from Ropes of Scale and 0.5mm brass for the rods.
The distance between each line is 6mm.

I have started by the port side.

View attachment 425636
View attachment 425638View attachment 425640
View attachment 425645

Next will be the starboard side.
Good afternoon Gilbert. I really like the contrast of the beige and black. You are building a special ship here. Cheers Grant
 
Back
Top