Hi Ken,
I see another hobby which you are good at. Very nice contrast and depth in these photos.
I see another hobby which you are good at. Very nice contrast and depth in these photos.
 |
As a way to introduce our brass coins to the community, we will raffle off a free coin during the month of August. Follow link ABOVE for instructions for entering. |
 |
 |
The beloved Ships in Scale Magazine is back and charting a new course for 2026! Discover new skills, new techniques, and new inspirations in every issue. NOTE THAT OUR FIRST ISSUE WILL BE JAN/FEB 2026 |
 |
Great pictures and a magnificent build!Hi Jeff. Thanks for the compliment on my pictures. I don’t think that I do anything special but I do process all of them in a set sequence. Photography is a vast subject so without going into too much detail I’ll try to explain what I do.
I use quite an old Canon SLR with just the one versatile lens, a 24-105 which covers just about everything I need and I always hand hold. For my models I don’t use area focusing but am careful where I select my focus point, I then have a good idea what the depth of field will show. For my indoor shots I use 1200 or above ISO, that gives me a useable speed option, for outside 200-400 is perfect. I don’t use any in camera enhancements.
I process using only basic functions of Photoshop so I think most programs of this type would do.
- After downloading I select what it is that I want to show then crop.
- I then select IMAGE SIZE, my screen is 1600 pixels so I size to that for on screen viewing, you need more for printing.
- I select LEVELS, I set manually but auto would probably be ok. Correct levels is probably the most important process for good contrast.
- I then select CURVES, adding a slight S curve will enhance the contrast, if you’re not familiar with curves try the dodge and burn tools on a very low setting, 3 – 4% to lighten or darken where you think it’s needed.
- Check that these haven’t altered any of your colours, I find they affect my reds, use SATURATION and bring the colours back to there correct value, again if your not sure try AUTO COLOURS that would probably work.
- I then use SHARPEN. This is now a variable, it depends on the pixel size of your image, larger files for printing will need much bigger values than smaller on-screen files. The most widely used is Unsharp Mask but in Photoshop I much prefer Lens Blur, you only need two parameters and it’s easier to get right I also think that the effect is better. Don’t overdo the sharpening as it can look unnatural, I use between 1 – 1.5 pixels at a level of 100 – 150%.
- Now show off your pictures to us all.
I’ve included a couple of my local photos to give this post some colour, who doesn’t like lighthouses. These are the same lighthouse on different days.
Ken
View attachment 184253
View attachment 184252




Hi Donnie, Thanks for that. I Know you must be busy with this forum and you do excellent work for our benefit, I'm sure that I speak for many and say that we really appreciate your efforts.Gosh Ken,
I am now catching up with this build - speechless - beautiful work. I love the AV - it is an excellent vessel and you have made it the best. I have been so caught up in the background of forum maintenance, and other life situations, work, family that it is not often that I get to sit down and look at other people's builds.

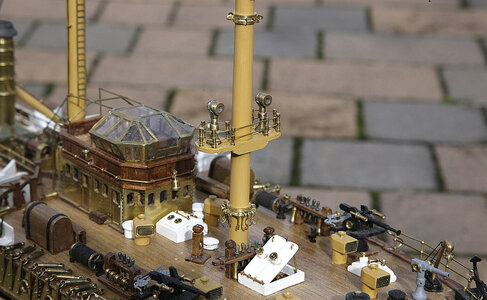
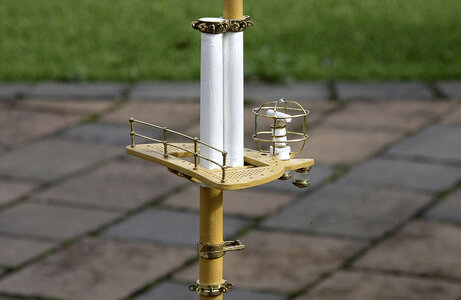
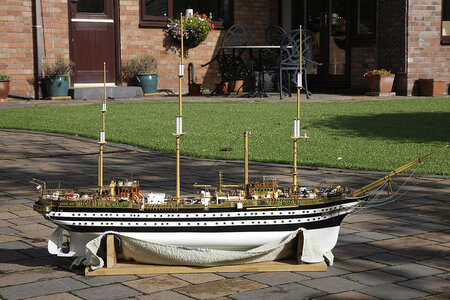
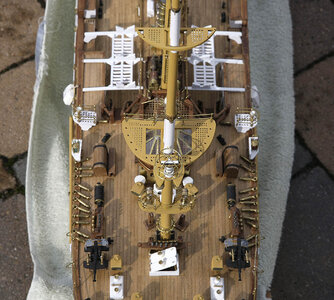
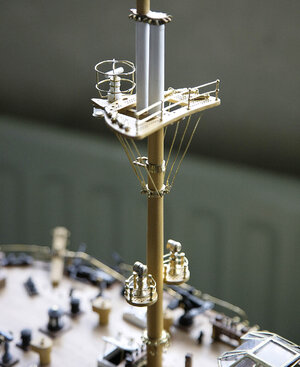
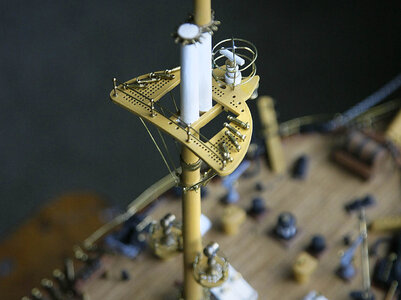

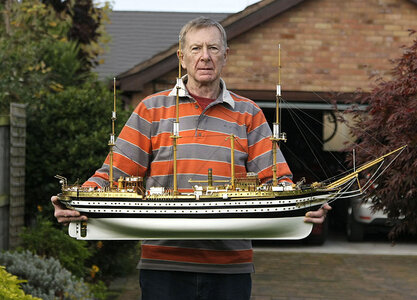
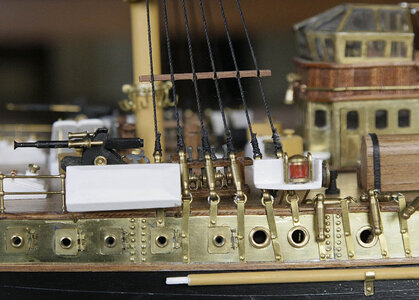
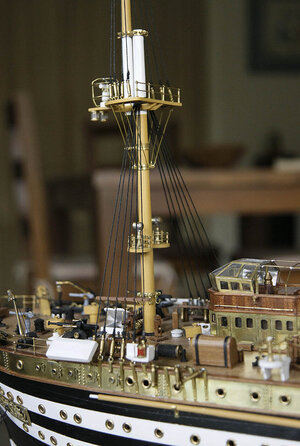
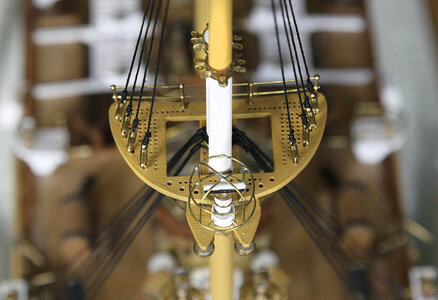
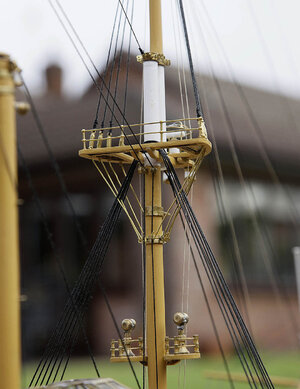
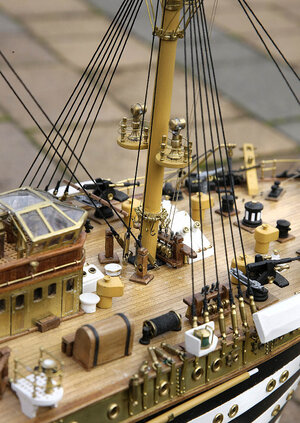
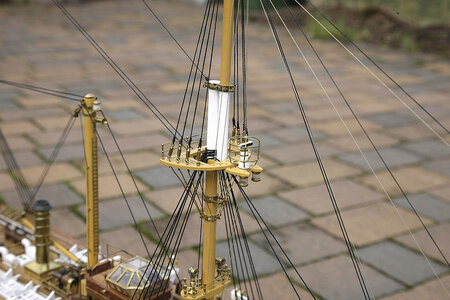
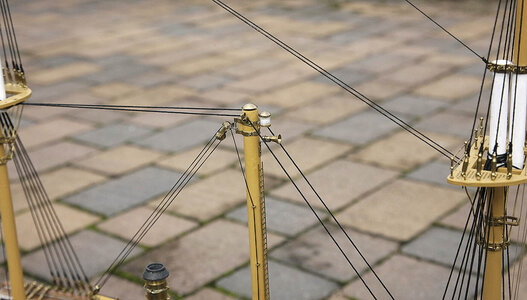
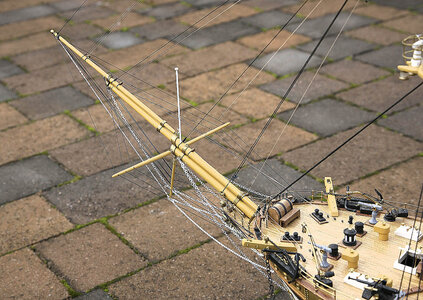
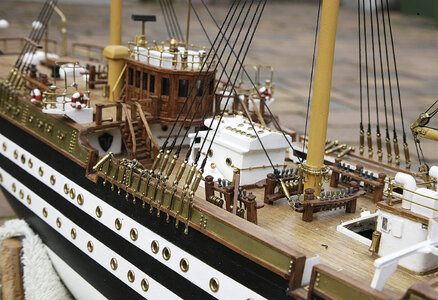
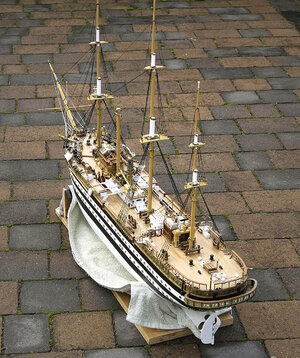

Hi Ken. This is a beautiful ship. I have all my finger and I can tell you I don’t think I can this quality of work. Museum quality work!Hi Everyone viewing my build. Thanks to all for the likes and kind comments.
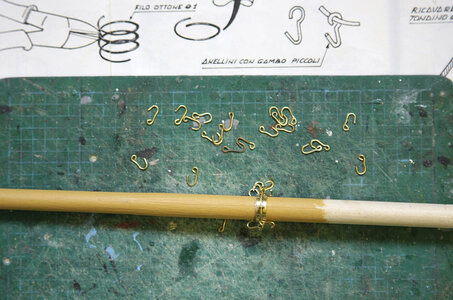
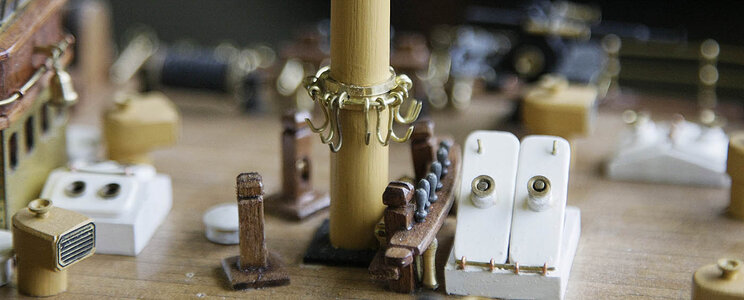
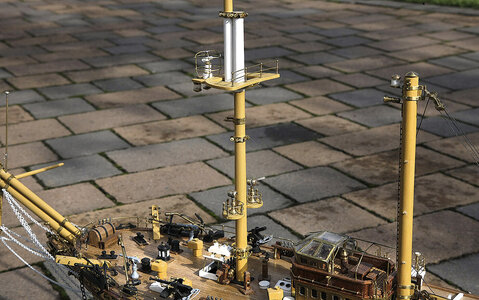
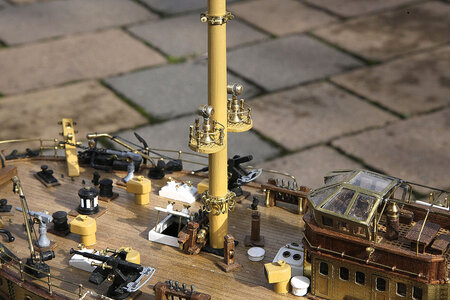
I’ve been very busy with the standing rigging, lots of photos for you to browse through.
I mentioned the poor rigging plans earlier and I haven’t changed my mind, I’ll treat them just as a guide and do it as I think will look like an acceptable working set up. This is not going to be an issue with me. I said at the start of this build I was not setting out for scale accuracy but for the pleasure of the build and hopefully ending up with a nice model to display.
I’ll use 1mm cord for the lower lines reducing as I go higher to.25 the kit only supplies two thicknesses of cord and the same with the blocks so I’ll need to use some different sizes that I've already sourced. I’ll keep the lines straight with a natural run and try not to get any crossed or fouled; I think that that’s all I need keep in mind.
I have great difficulty handling and tying the small blocks, I’m mentioning this so that your expectations aren’t too high in this area and that you’ll hopefully give me some extra slack.
I have lost fingers, ( both hands ) I have limited dexterity and sense of touch. I use two pairs of tweezers for tying off blocks and ratlines etc and an array of clips for holding things, having done rigging yourselves you’ll realise my difficulties.
On a brighter note enjoy the photos.
Ken
View attachment 186568
View attachment 186569
View attachment 186570
View attachment 186571
View attachment 186572
View attachment 186573
View attachment 186575
View attachment 186576
View attachment 186577
View attachment 186574
View attachment 186578
