- Joined
- Oct 23, 2018
- Messages
- 886
- Points
- 403

Wonderful progress, Peter. I was a few days not really online and you made three updates. Do you sleep in between?
 |
As a way to introduce our brass coins to the community, we will raffle off a free coin during the month of August. Follow link ABOVE for instructions for entering. |
 |
 |
The beloved Ships in Scale Magazine is back and charting a new course for 2026! Discover new skills, new techniques, and new inspirations in every issue. NOTE THAT OUR FIRST ISSUE WILL BE JAN/FEB 2026 |
 |

Good evening Peter. This says it all. The proof is in the photos themselves and the fabulous presentation. You set a high standard. Cheers GrantThanks, Grant.
I made myself this -> Phototable <- and very soon I hung a piece of grey studio paper over it. The table is quite a hindrance and now use the grey paper in a creative way:
View attachment 507379
This paper has an '18% grey value' which is a standard in photography. Many exposure meters are calibrated to this value. With the blinds for the windows behind and next to the setup I can regulate the light.
In Photoshop I use the 'Adjustment' 'Levels' (shortly: Ctrl+L) and I get a frame with the histogram and 3 pipettes. I then use the middle one to select my grey point. That must be in the same exposure area as your object. So here approximately behind the aft. Further colour correction is then almost unnecessary. After that I use the histogram to adjust the brightness. In the example above it's still a bit to dark.
If I use the 'grey-pipet' on the vertically hanging piece of paper under the model, I would get a deviation because the wooden cabinet reflects its colour there. In the frame on the bottom left you can see what happens. But now it starts a bit technical ............
For sure other programs can also check the grey-balance.
Regards, Peter
Thanks, Christian. O yes, I sleep, walk and cycle with my Admiral etc etc.Wonderful progress, Peter. I was a few days not really online and you made three updates. Do you sleep in between?
Thanks, Tobias. The work was only done in the afternoon of the past days. Then sometimes also stop in time if it did not go as desired. Sometimes there was always a support that shifted, jumped away, was just a fraction too big and disrupted the flow so that it had to be removed again and the adjacent supports took on a life of their own etc etc. But during the final placement everything went smoothly. It was a challenge.Wow, so many wonderful updates again. I was asking myself the same question as Christian. You work at an incredible pace and with such precision.
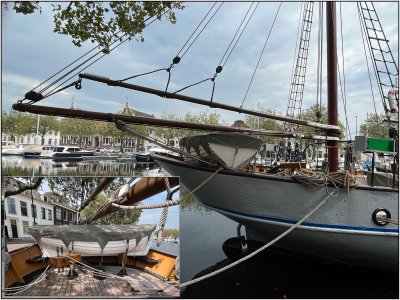
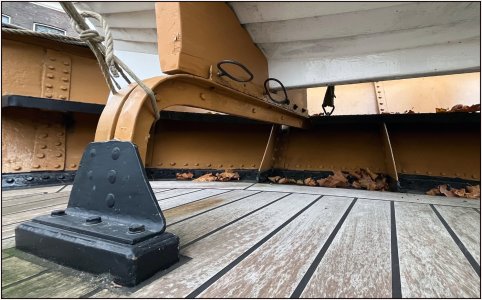
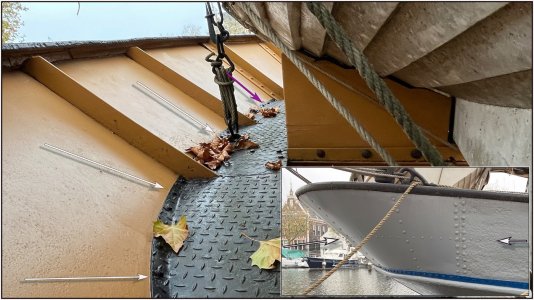
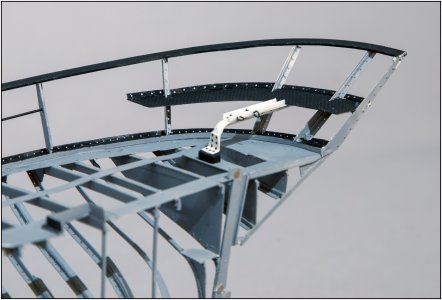
Thanks, Dean. Bending both profiles _| |_ in the same small flat curve was (again) a challenge. But thanks to the metal thee-water boiler ……One word…excellent!


 .
.


It might be a bit early, but if you are still awake Peter HAPPY BIRTHDAY
Just making sure I was the first to congratulate you
Fijne verjaardag!
Well, I'll be an early 'wisher' as well: all the best to you on your birthday, my friend. Have a great day celebrating!
HAPPY BIRTHDAY, Peter
wish you all the best and happiness
My very best wishes for an enjoyable birthday Peter.
Van Harte gefeliciteerd Peter.
Happy Birthday Peter!
Likewise to all the above from another March Hare!
Thank you very much for this overwhelming reaction, my Friends!All the best, Piotr. Greetings, Mirek
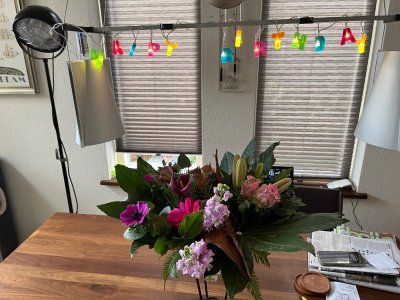


Thanks, Grant. It was with my brother / sisters and relatives and some good friends. It’s still running …… So who knows who is walking in for the last 5,5 hours ……..I hope you had a fabulous birthday today Peter.
