BigMike,s Blandford Cross Section 1:32 scale [COMPLETED BUILD]

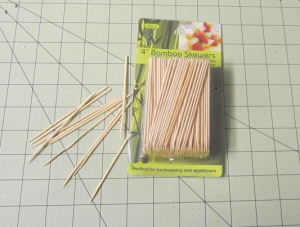
I was grocery shopping this morning and as usual I'm always looking for things that I can use in building model ships and boats. I found some 4" bamboo skewers. I know how everyone loves bamboo skewers and thought they may be easier to use than the big ones. Here is what they look like. They cost $1.29 for 300 of them. The diameter is just under 1/16 of an inch. I'll try to experiment with them and see what happend. What are your thoughts?


88465
 
Hi Pawley,
I have used the 4” skewers a lot, they are easy to split into four pieces and run thru the drawplate. Making treenails is not the most interesting part of a build, but they add a lot to the model.
Mike
 
Hi all, I have been working on Blandford but haven't updated for awhile. Spring is here and yard clean up has been keeping me busy. Sorry for my down under siblings winter is on its way.
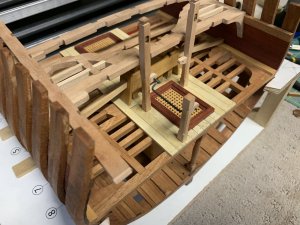
I finished the lower deck, I used a black Brush pen on both sides of the planks to simulate caulking and bamboo tooth picks for treenails. The deck planking is Holy.IMG_0179.jpgIMG_0182.jpgIMG_0183.jpgIMG_0184.jpgIMG_0185.jpgIMG_0188 (2).jpg
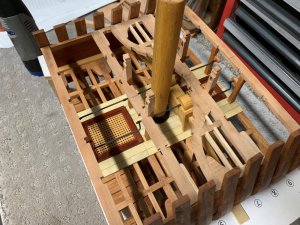
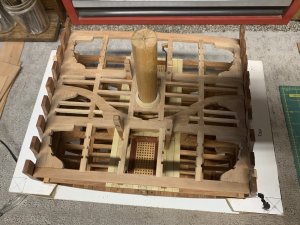
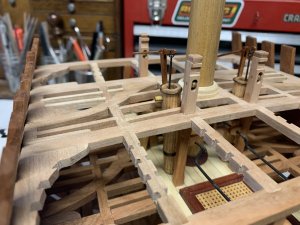
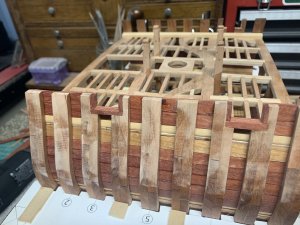
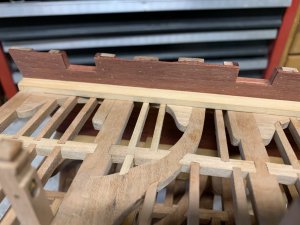
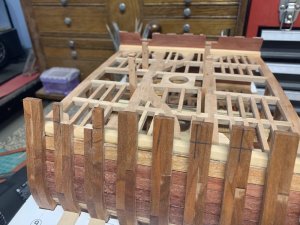
I have been working on the main deck, beams are cut and fit. beam 2 and 3 are installed with arm beams, knees and hanging knees. Notches are lining up well after keeping the beams long.
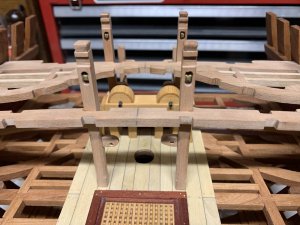
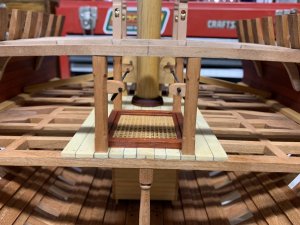
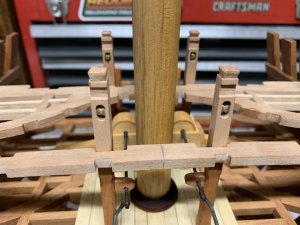
Chain pump dales are installed, made from boxwood. I made a mast wedge for both decks. I just drilled out a piece of dowel and stained them a dye to match the bloodwood, it came out pretty close in color.
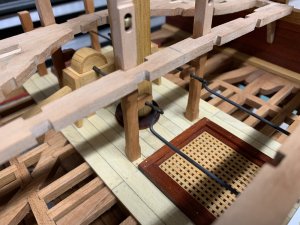
Worked on the bits, I made some brass shaves on the lathe. I used a graver to make a grove in some brass rod, drilled and pined in place. I will make the horizontal beam later, installing now would end up in a disaster with my chubby hands trying to finish the deck work.
Made pump cranks wit some brass rod. I hard soldered some tubing on the handle ends to slide over the rod. I could not find any solder paste locally but found some wire solder in a shop and used that. After a few attempts I got the hang of it. Its all about surface prep. Clean and clean again, this is a skill I really wanted to learn. I think the paste would be a little easier to use but the wire worked good, just a little more clean up. What a sturdy joint this makes. Now I want to solder everything.:)
Here's a few pics, hope you like them.
 
...no, I don't like them....I love those pictures and the progress you have made. That Blandford Group builds are unique and every build is great!! Awesome!
Thanks Jim! This group build is great, everyone has their own ideas and ways of doing things. Every build here is great as you said. I have picked up something from everyone of them. I'm thankful for the members who have the skills to draw the plans up. I can build but as far as design I'm at a loss. This build also has peaked my interest in research, I'm learning more everyday.
 
Good progress Mike, as you say, is a lot you can learn from each other in a group building like this.
I'm still just at the research stage before I start on the actual building.
Want to have most things in place before I start.
Good and informative pictures, thank you.
 
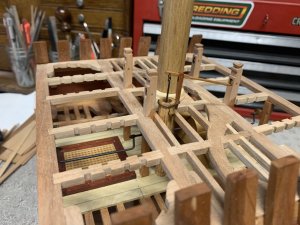
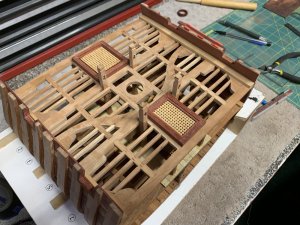
Well got a little work done this week. Finished the main deck between beam 2&3 and have the carlings notched and fit into place on the rest of the deck.

41ED780B-E656-4C0F-A76F-8E5D0F8DD353.jpeg

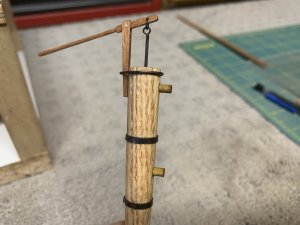
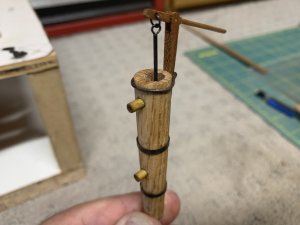
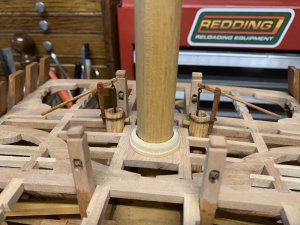
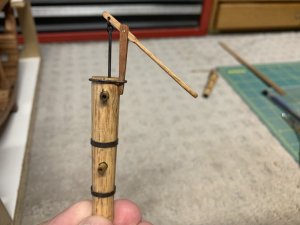
I did the elm tree pumps before finishing all the ledges, that was a fun little project. I turned some red oak to size and drilled a 1/4 in hole in the center to hollow out a small portion of the pump. The bands are made of 2mm brass strip shaped around the pump soldered then pushed up into place. The top band is 18 gauge wire shaped around the pump handle. All brass is blackened. The handle is cherry and pump shaft is just a piece of 3/64 brass rod with a ring soldered to the end. Another ring goes through the handle to attach the shaft.
I drilled 1/8 holes in pumps for a dowel rod to make the outlets.
I attached the handle behind the outlet but when I put the pump in place it didn’t look right. The handle stuck out into the middle of the deck and outlet was not very accessible so close to the mast . So I took a look at Mike41 log and sure enough he had the handle offset so the pump outlet was facing the bulwark which put the handle to the center of the ship. It was a quick fix and looks much better. Thanks Mike.
All in all things are going well and when you get to the pump installation check the orientation of the outlets.

4893AD49-802D-4509-B70E-B9D85BDA84A6.jpeg0E91C9FD-5E74-4EDC-A990-C53BC262C4FF.jpeg7D0B50B9-7560-4FC5-BEAC-27243E8CC4A4.jpegB076C481-ECB9-41E4-BD0A-55BB28D12146.jpeg8C1C2677-4A60-4677-ABD5-DA61E2123BF3.jpeg5C166FCF-E037-4ED8-9BA2-9C81906498CC.jpeg

Now on to the rest of the ledges and deck planking.
 
Thanks everyone for the likes and the compliments.
Yes Knut I used a mill to cut the notches on the beams and carlings. I have a Proxxon MF70. It's a great little machine. I glued the pattern to the beam to cut those notches. The knees were cut by hand with a razor saw and files.
 
Back
Top