-

Win a Free Custom Engraved Brass Coin!!!
As a way to introduce our brass coins to the community, we will raffle off a free coin during the month of August. Follow link ABOVE for instructions for entering.
-

PRE-ORDER SHIPS IN SCALE TODAY!
The beloved Ships in Scale Magazine is back and charting a new course for 2026!
Discover new skills, new techniques, and new inspirations in every issue.
NOTE THAT OUR FIRST ISSUE WILL BE JAN/FEB 2026
You are using an out of date browser. It may not display this or other websites correctly.
You should upgrade or use an alternative browser.
You should upgrade or use an alternative browser.
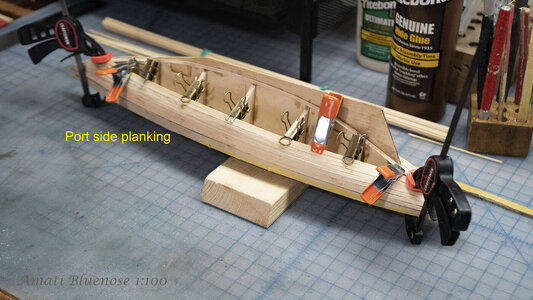
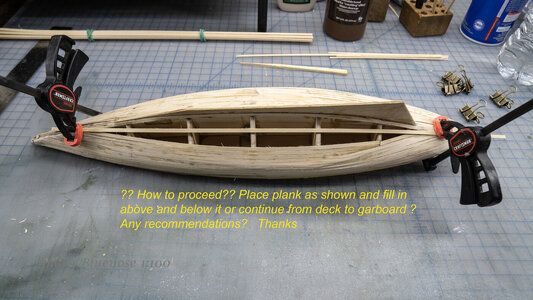
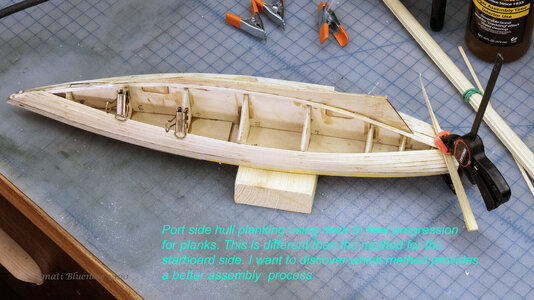
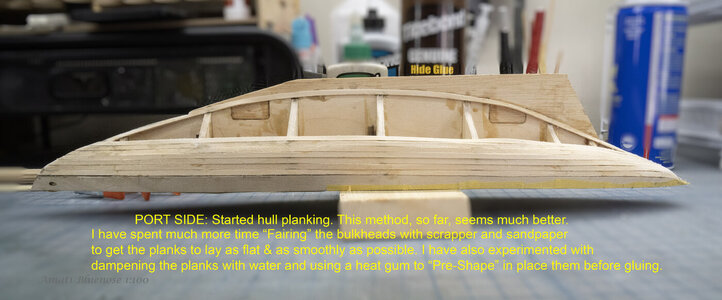
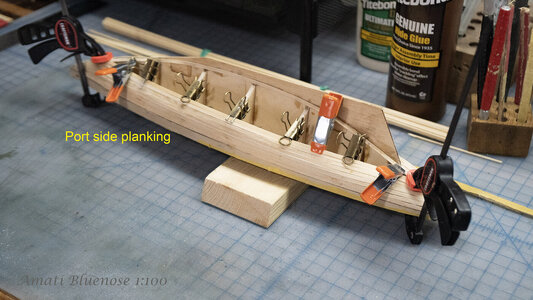
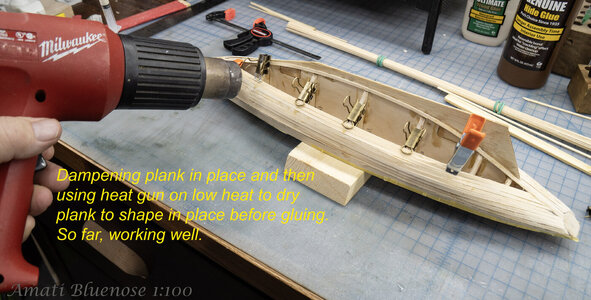
Started the Port Side planking by sanding and scrapping the bulkheads as each plank is test fitted over them. Then, using a dampen cloth and heat gun
I "Bent" the plank in place while clamping using no glue. I proceed from the deck towards the keel with the exception of the garboard stake.
I find this method pleasing so far. More Posts to come.....
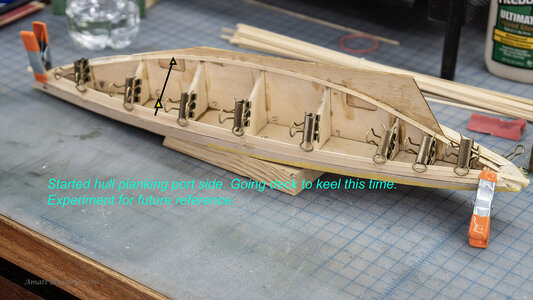
I "Bent" the plank in place while clamping using no glue. I proceed from the deck towards the keel with the exception of the garboard stake.
I find this method pleasing so far. More Posts to come.....


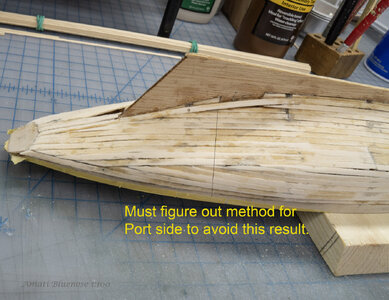
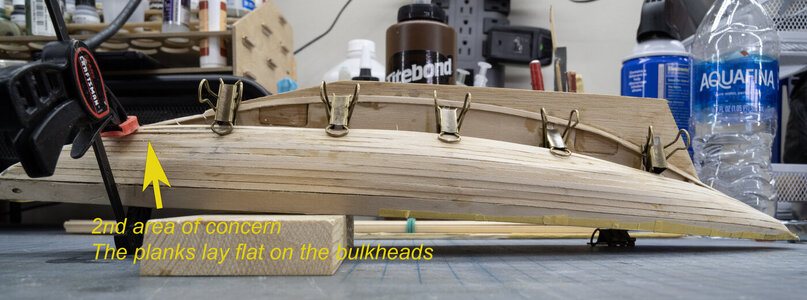
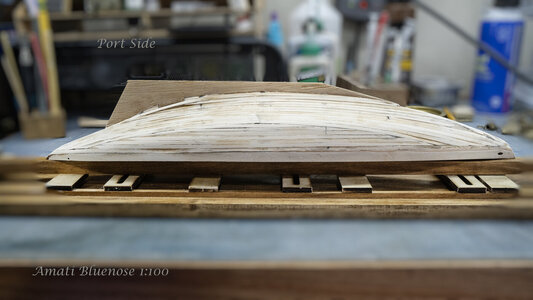
FWIW, my 1:96 hull enjoyed quite a bit of shaping (sanding) after planking but turned out smooth as butter! I think your initial buildup is going well and that shaping will take care of any high spots (if done with a sanding block) just fine. But, then again, I have not completed my first model yet, so take that with a grain of salt...Upon low angle review, I discovered an area of concern. I thought the bulkheads were carved and sanded to the proper angle. The planks appeared to be flat on the bulkheads when clamped.
I assume that I will need to sand this area to relieve the high spots?
View attachment 439932
I would sand but NOT finish the deck yet. Finishing prohibited strong adhesion of glues to hold on deck fixtures (including the cannon) which makes rigging an even bigger challenge imho. I have to be soooo carefull about handling the model while trying to rig so that I don't snap any of the on-deck, only glued, details off the deck.
M.
Excellent advice, thank you. I was thinking about the deck furniture gluing but was unsure of the impact of minwax poly.
JMHO, I would do the same as you did on port.
I would also recommend to do one or two planks at most on one side, and then balance that out by three or four on the other at this scale, at least. Just to keep the tensions from the planks even on the keel. But your build looks great so far! I think you are well on your way to a fine looking boat!
M.
Thanks for the encouragement.
- Joined
- Sep 3, 2021
- Messages
- 5,190
- Points
- 738

If not necessary, do not cut planks, unless you want to replicate the plank layout of her full scale grandmother.
To obtain a smooth flow, you might also wetten the planks for a few minutes, or steam them, attach the plank temporarily to the frames and once dry, attach the plank permanently to the frames.
BTW, there are quite some how-to's on shipmodels planking, even one on the Bluenose.
Here's a link to a beginner's guide to planking: https://modelshipworldforum.com/resources/Framing_and_Planking/plankingprojectbeginners.pdf
Good morning and thank you for the advice. I like to learn from others experiences.
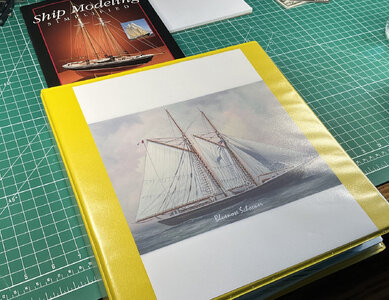
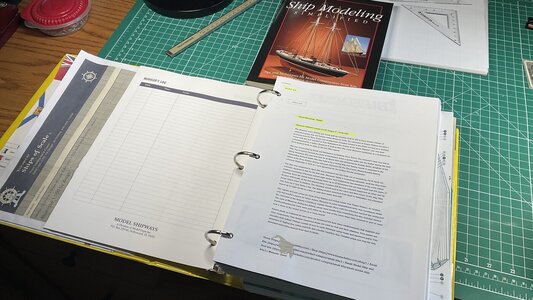
I have read the plankingprojectforbeginners.pdf, good information. Printed it and put into my build book.
I have read the plankingprojectforbeginners.pdf, good information. Printed it and put into my build book.
Thank you for the trophy!
- Joined
- Sep 3, 2021
- Messages
- 5,190
- Points
- 738

Any method, yielding the required result, goes, I would say. One could also use temporary nails to secure the planks, while the adhesive cures.
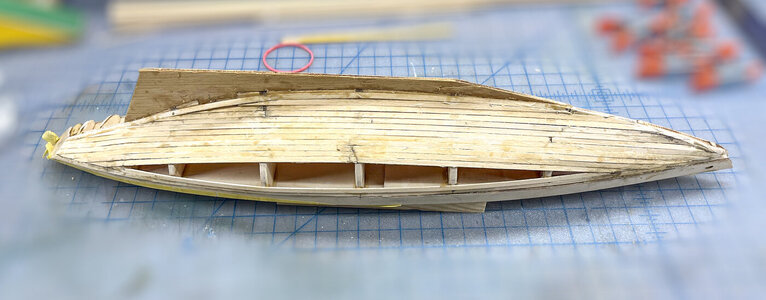
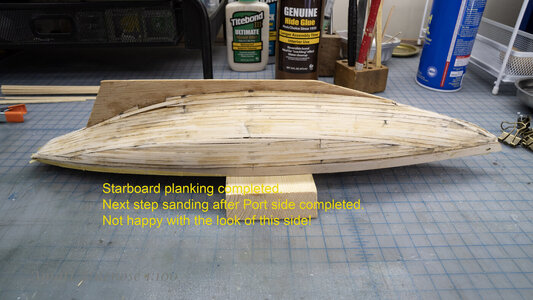
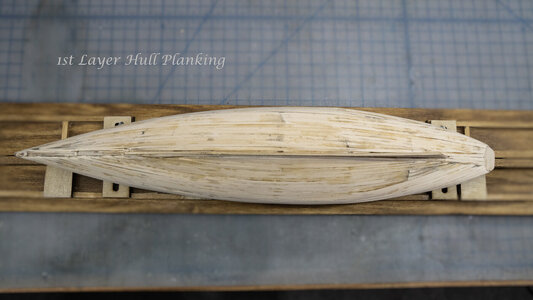
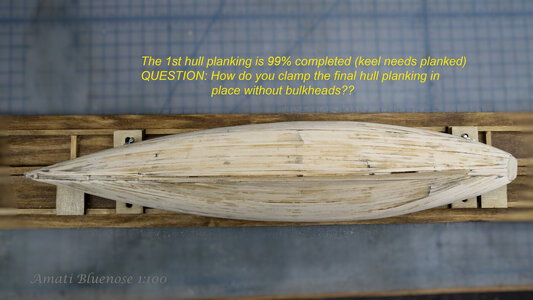
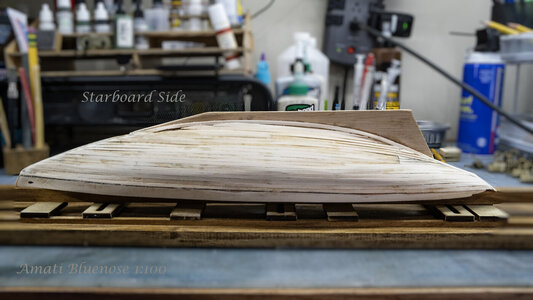
It's obvious you used two different approaches on hull planking. In general, it is best adviced to try and use a symmetric planking pattern, to avoid warping of the hull.
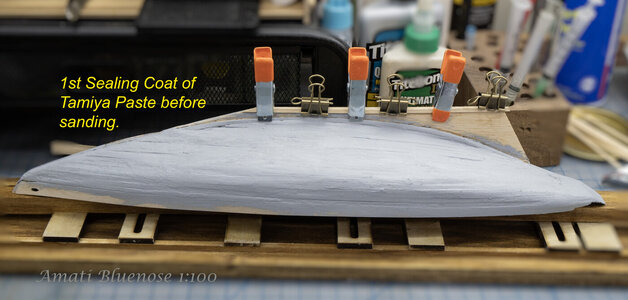
Since you will be painting the hull, after some filler- and sanding action, the end result will not show the asymmetrical planking.
Thank You, yes I experimented with the 1st planking and determined the "Starboard Side" method yielded a better and easier planking.
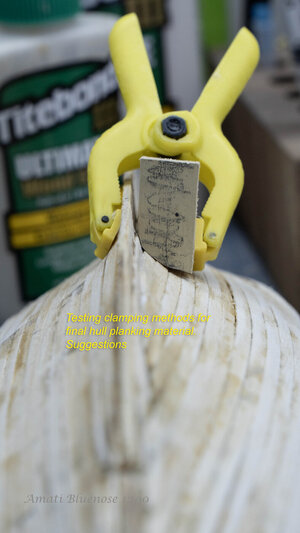
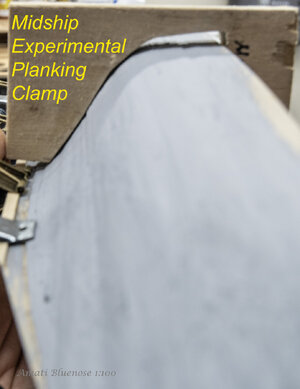
I will Final Plank from the "Deck to the Keel". I am experimenting with creating custom made clamps from wood to use for the final hull planking since
I will not be able to use the same methos as prior planking. I will post results of trial.
As always, all suggestions and critism is welcomed!
I will Final Plank from the "Deck to the Keel". I am experimenting with creating custom made clamps from wood to use for the final hull planking since
I will not be able to use the same methos as prior planking. I will post results of trial.
As always, all suggestions and critism is welcomed!


