-

Win a Free Custom Engraved Brass Coin!!!
As a way to introduce our brass coins to the community, we will raffle off a free coin during the month of August. Follow link ABOVE for instructions for entering.
-

PRE-ORDER SHIPS IN SCALE TODAY!
The beloved Ships in Scale Magazine is back and charting a new course for 2026!
Discover new skills, new techniques, and new inspirations in every issue.
NOTE THAT OUR FIRST ISSUE WILL BE JAN/FEB 2026
You are using an out of date browser. It may not display this or other websites correctly.
You should upgrade or use an alternative browser.
You should upgrade or use an alternative browser.
Bluenose II Paperback – January 1, 1994
by L B Jenson (Author)4.8 4.8 out of 5 stars 19 ratings
I just purchased this book and look forward to reading it.
In this magnificent work, L.B. Jenson, noted marine artist and historic illustrator, has adapted and expanded his limited edition portfolio Bluenose II, The Last of the Tall Schooners to create a lasting memento of the great fishing schooners. These measured drawings of the Bluenose II were carefully produced and checked while she was a fully-rigged and working schooner. All aspects of her design have been painstakingly reproduced -- her deck fittings and housings, booms, gaffs, bowsprit, rigging, etc. -- and are supported by illustration of the schooner under sail. Enlarged drawings of the hull, masts and sails are included for building enthusiasts. In addition to the Bluenose II drawings, Jenson also provides, with precision and detail, an illustrated history of the bank fishery under sail, from hauling trawls and squid jigging, dressing cod and weighing halibut, to navigation and wind scales. The Bluenose II, commissioned by the Oland family in 1963, is the last living example of the great two-masted schooners. It is a perfect sailing replica of the original Bluenose, designed by W.J. Roué and built in 1921 at the Lunenburg shipyeard of Smith & Rhuland. The labour of love stands as a tribute to generations of seamen and shipbuilders everywhere and is such an authentic masterpiece that shipwright John Rhuland, who has overseen the building of both schooners, wept with joy upon seeing Jenson's detailed drawings presented here.
THANK YOU ROBERT
I
I
Question, how closely does the Bluenose II follow the original bluenose design and build?
- Joined
- Sep 3, 2021
- Messages
- 5,190
- Points
- 738

The Bluenose II/III was build/restored against the applicable regulations of that particular time, meaning it deviates from its original predecessor in having engines, appropriate emergency equipment, navigation- and radio aids and, since it's no longer a fishing schooner, she now has crew- and passenger accommodations. I assume the hull, her sail plan and most of the rigging still resembles the original Bluenose.Question, how closely does the Bluenose II follow the original bluenose design and build?
- Joined
- Sep 3, 2021
- Messages
- 5,190
- Points
- 738

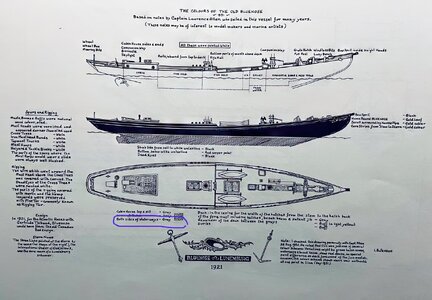
Please mind Jenson's note, stating the colors mentioned are but one of various possibilities, this one only being valid around 1931.
Very informative, thank you.
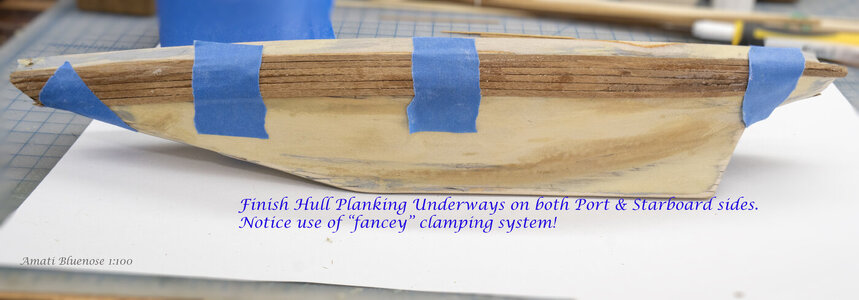
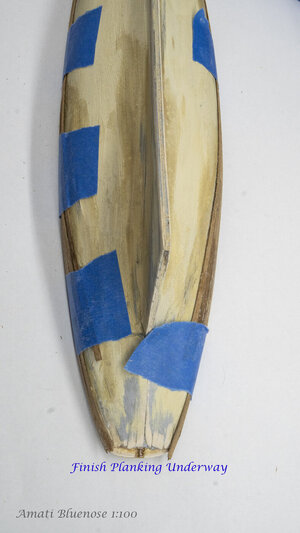
Finish hull planking proceeding. Once that is completed, sanding and a little filling. Then I will have to decide on colors.
Can you start construction of the deck furniture before you complete the hull planking and painting? Any drawbacks to doing that?
Finish hull planking proceeding. Once that is completed, sanding and a little filling. Then I will have to decide on colors.
Can you start construction of the deck furniture before you complete the hull planking and painting? Any drawbacks to doing that?
- Joined
- Sep 3, 2021
- Messages
- 5,190
- Points
- 738

Of course you can start on assembling parts of the deck furniture, like the companion ways, the aft cabin, hatches. You could also extend that to the masts, gaffs and booms, as long as you don't install them. First priority for now is to get the hull as good as you can get it, including the finish you want to apply.Very informative, thank you.
Finish hull planking proceeding. Once that is completed, sanding and a little filling. Then I will have to decide on colors.
Can you start construction of the deck furniture before you complete the hull planking and painting? Any drawbacks to doing that?
- Joined
- Sep 3, 2021
- Messages
- 5,190
- Points
- 738

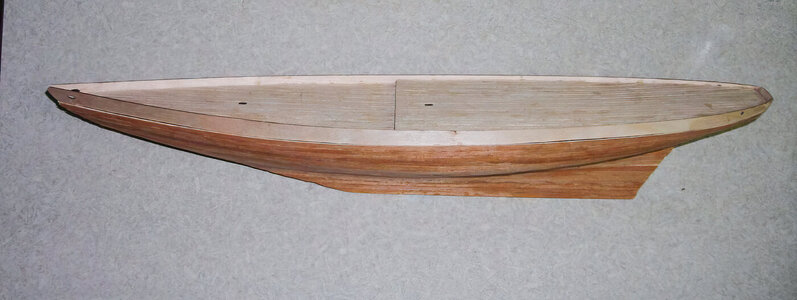
That's a result worth aiming for!OK, Thank You.
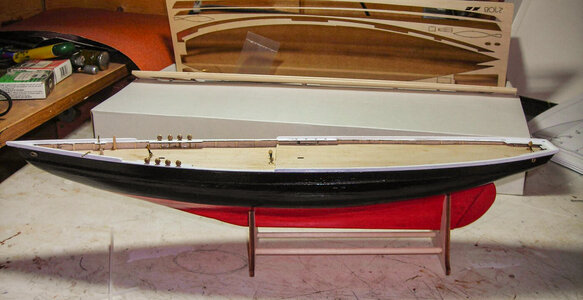
This is the finish planking I am hoping to obtain in a few days. I have been using this photo as a reference.
View attachment 443270
- Joined
- Sep 3, 2021
- Messages
- 5,190
- Points
- 738

Go for a primer.Do you think a primer coat would be recommended (gray/white)?
Will do.... Thanks
About halfway through 2nd planking. I am starting to research primers and paint for this model.
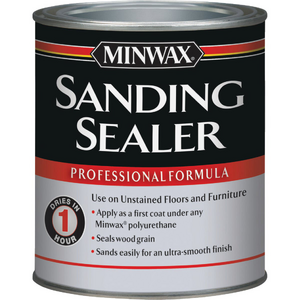
I know a "sanding sealer" is used on other wood applications, how about this wood hull?
If so, several others recommend "minwax" products. If I use minwax, how much sanding and applications will be
anticipated to get a smooth paint ready surface? Are there items I should be aware of ahead of time?
Thanks for any assistance and recommendations.

- Joined
- Sep 3, 2021
- Messages
- 5,190
- Points
- 738

Unfamiliar with this product.Is this the recommended sander sealer for wood hulls
- Joined
- Sep 3, 2021
- Messages
- 5,190
- Points
- 738

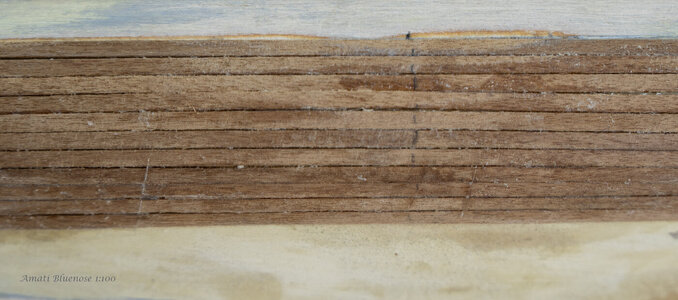
Kurt, this would be my approach:As the final hull planking progresses, I would like to know what others think of the laying of the planking. Any suggestions/ ideas for going forward?
I am using Tite bond III wood glue after wetting and bending planks into shape on the hull.
Thanks in advance.
View attachment 443569
View attachment 443570
View attachment 443571
Laying plank by plank, one at a time, over the complete length of the hull and alternating between port and starboard.
Avoiding butt joints at the same location, but instead make sure the joints are spread over a certain distance.
The other thing is that I would try and lay the planks as tight as Iould, to avoid extensive sanding.
Lastly, for high curvature planks, I would soak the planks in water, let them dry in the curved position, before bonding them.
This is one of the many articles written about planking a model ship. It's very helpful.
Excellent advice. I will attempt to duplicate. RDN1954 "for high curvature planks, I would soak the planks in water, let them dry in the curved position, before bonding them"
Is hot water better than cold water?
Is hot water better than cold water?


