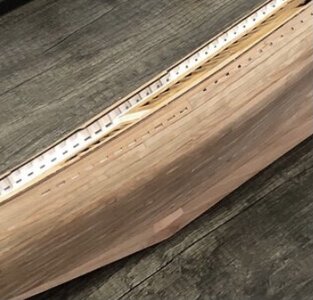
Hi John,
A nice steady pace!
Regards, Peter
 |
As a way to introduce our brass coins to the community, we will raffle off a free coin during the month of August. Follow link ABOVE for instructions for entering. |
 |
 |
The beloved Ships in Scale Magazine is back and charting a new course for 2026! Discover new skills, new techniques, and new inspirations in every issue. NOTE THAT OUR FIRST ISSUE WILL BE JAN/FEB 2026 |
 |
Hi John,
Haha ..... You bought the wooden clamps especially for this construction? They look very new!
they are...I really like them as they hold gently without squeezing all the glue out.Haha ..... You bought the wooden clamps especially for this construction? They look very new!
Regards, Peter
Aren’t those just clothes pins? I have a few for the same reason, firm clamping pressure, but not too much pressure for delicate parts.they are...I really like them as they hold gently without squeezing all the glue out.

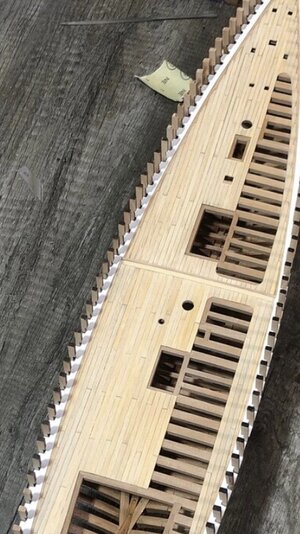
Pictures?Stained and made a distressed/used look for the deck and adjusted it to fit to enable best positioning fit of deck beams. Shaped lower masts also to check fit and angle. 7.5mm bottom 6.0mm tops...just protected the end with tape and spin in electric drill while holding 120 grit paper. The mast dowels are wood I havent seen before, it is quite soft. OK...but soft. The masts are useful work areas while other things are drying. Wish I could read the instructions. Looking ahead to see the hatch and companionway layout to check the deck cutout positions.
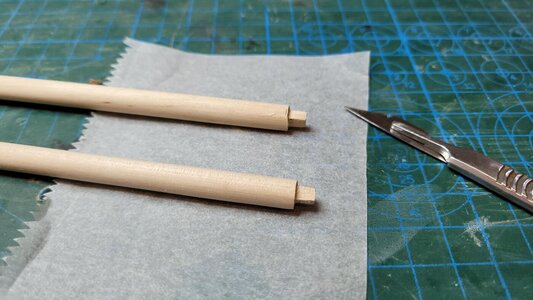
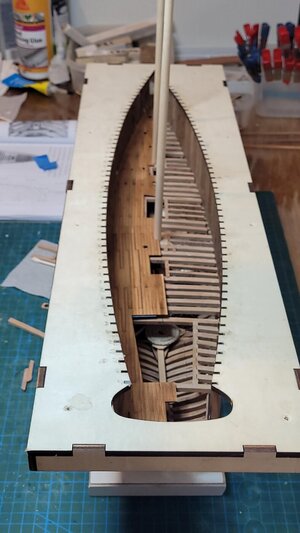
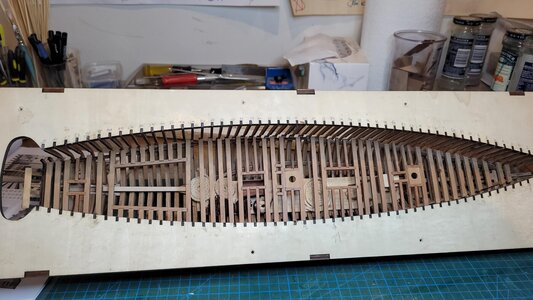
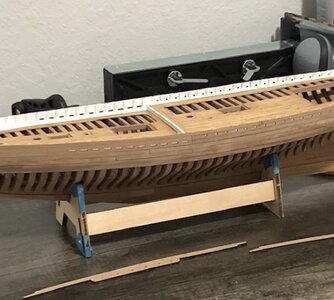
Great job! The stern deck looks to be a little crooked and over the center line. You may have to trim or sand the outer edge to fit properly. Other than that, it is looking very good. I like the added cargo below, nice touch!Not going to explain this well, but here goes. Dave recommended setting the deck beams with regard to the deck sections..good idea. To do it properly you need to take the mast holes in the supplied decks as the starting point and work back from there. I cut the tenons and shaped the lower masts, and planed the edges of the deck sections until I had good alignment between the mast keel sockets and the mast holes in the deck with the masts dry fit to the desired rake and vertical. This exactly positioned the deck level mast collars in the subframe, and I just fitted the deck beams to avoid the cutouts appropriately while the decking was registered at the mast holes....I know what I did anyway.
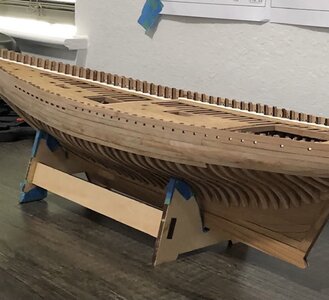
View attachment 237876View attachment 237878View attachment 237888
Good deal, then you are fine!The stern deck isnt sitting in place...it had moved when photographed.
