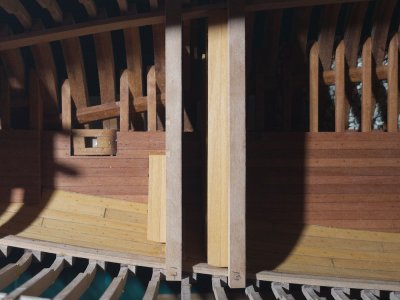
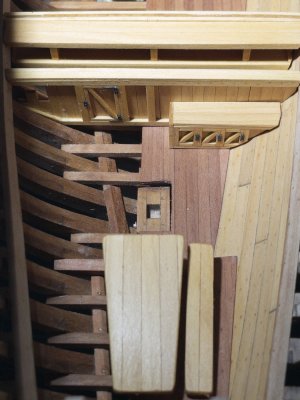
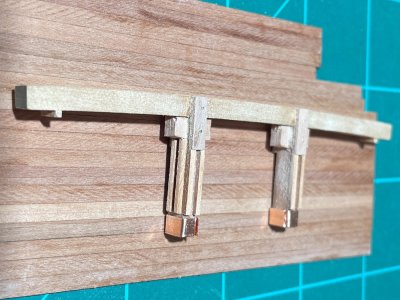
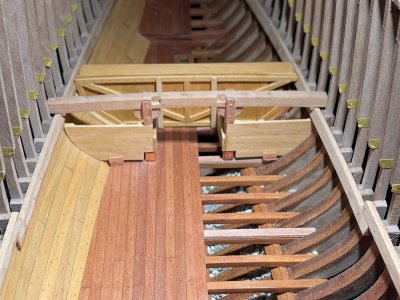
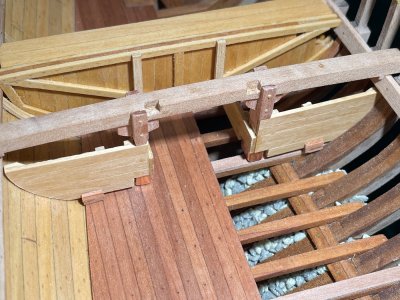
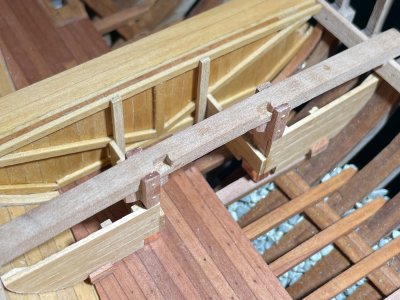
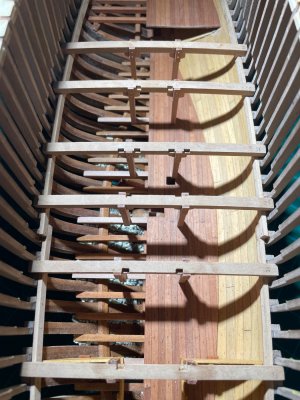
Support deck: I have been thinking for a while about a way to present, make more visible, the internal structure of the bluenose. I have seen numerous approaches here... each quite good. The most radical and courageous is obviously the split bluenose of
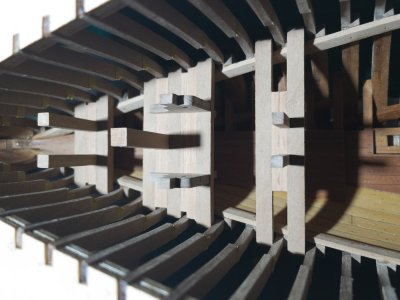
Peter. Here what I'm thinking, still experimental but viable: a semi-transparent upper deck.
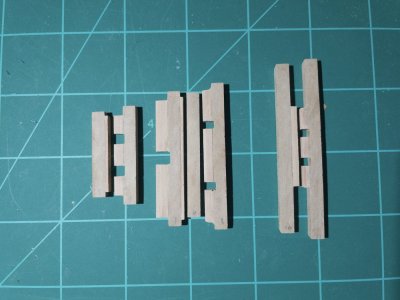
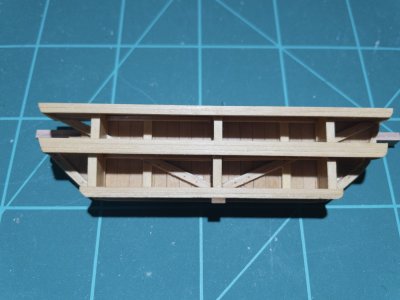
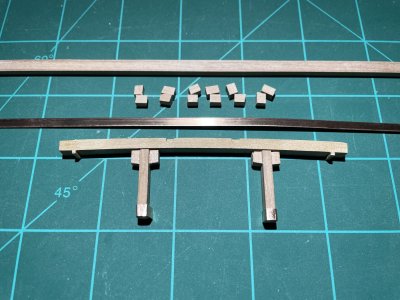
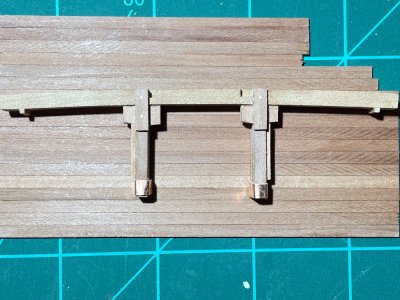
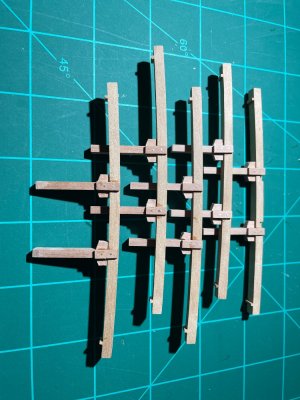
I still like wood, so this will be applied in selected area to keep thing simple. I'm still planning to use the kit beams for the complex area that requires addition of transversal beams but elsewhere... transparent acrylic square rods, cut and shape as replacement. Here what it looks like as a first prototype.
a. cut to length using a small Japanese saw.
b: shape using the current beam as template using heat gun.
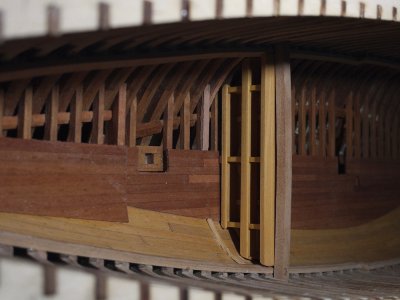
c. dry test: as you can see in the last picture the transparency is quite good.
View attachment 607729
View attachment 607730
View attachment 607731
View attachment 607732
The frames and beams in the YQ kit are (a bitTransparent beam: The kit deck beams are 4mm wide by 3mm depth. However, you can only purchase square acrylic rods. Now, decision... should I use 3mm (smaller in width than the wood beams but require no adjustment in depth) or go with 4mm rods and shave 1mm in a small area in contact with the side support (look easier to shave the wood side support). I'm edging toward the later, even if more work. The reason is that the ship will be seen primary from the top and, thus it may look slightly better.
Will be doing more testing with an area of 3-4 consecutive acrylic beams, both at 3mm and shaved 4mm. Dry testing should help make the final call.
 )oversized. I considered adjusting them, but that would have meant adjusting 'everything'. I don't think the narrower acrylics beams will be a problem. They already look different from the wooden ones anyway. If they are beams with crossbeams resting in them, you could consider a laminate. You do have to make sure the seam is completely sealed so that it is as invisible as possible. I have had good experiences gluing with chloroform; it is water-thin and soaks completely into the seam due to capillary action. However, it is sometimes a problem to get hold of that stuff. The pharmacist in my town believed my model-building story. Looking forward to your next results.
Regards, Peter