- Joined
- Sep 3, 2021
- Messages
- 5,190
- Points
- 738

At least it took him hundreds of days to complete his model, makes him more human


 |
As a way to introduce our brass coins to the community, we will raffle off a free coin during the month of August. Follow link ABOVE for instructions for entering. |
 |
 |
The beloved Ships in Scale Magazine is back and charting a new course for 2026! Discover new skills, new techniques, and new inspirations in every issue. NOTE THAT OUR FIRST ISSUE WILL BE JAN/FEB 2026 |
 |

At least it took him hundreds of days to complete his model, makes him more human


Hi RDN, forgive me I misunderstood your comment, I am forgiven .......Hey Frank, good morning.
I am honestly not aware what you are referring to. I merely pointed Nomad to a website of another builder, https://suburbanshipmodeler.com/category/bluenose-canadian-schooner/, who went to great lengths to detail his rigging of the Bluenose. I was by no means intentionally or unintentionally referring to your reply.
Johan

Ciao Frank,Hi RDN, forgive me I misunderstood your comment, I am forgiven .......
All's fair in love and war ... and model ship buildingCiao Frank,
Nessun danno fatto!
(I hope this translates well for you)
Giovanni
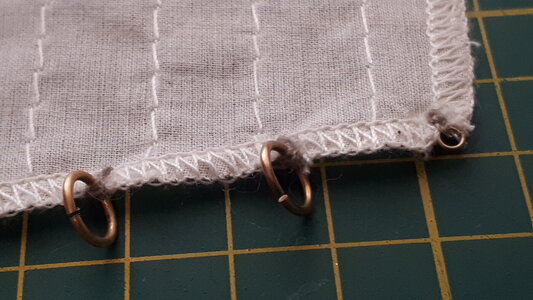
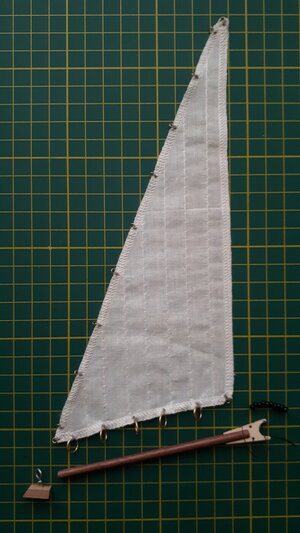
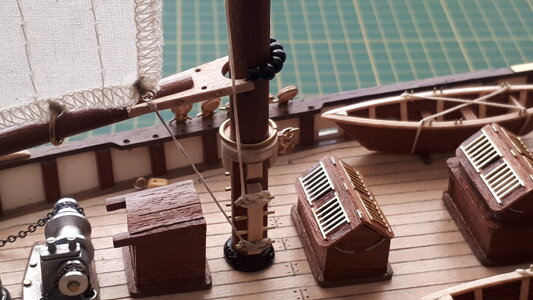
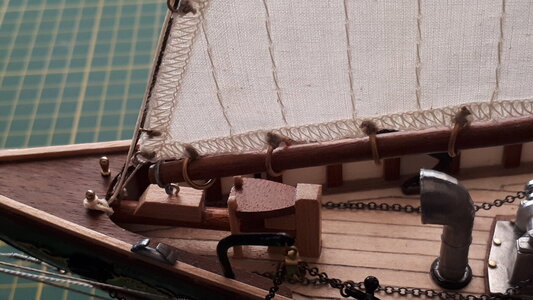

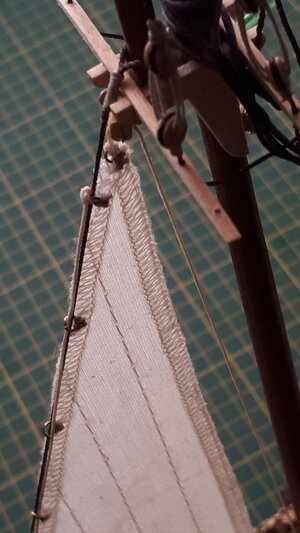
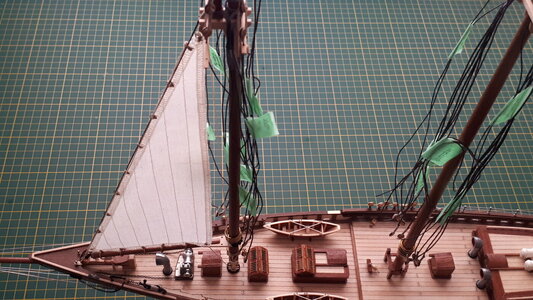
Hi Mark. What is slowly-progressing ……. When you are confident whit your results? That is what matters.While contemplating the making and bending of sails for my slowly-progressing Bluenose II,
Thanks Peter. Yes, you're right of course. It's just when the admiral pops her nose into the shipyard and says "is that all you've done today?" and no amount of reasoning or explaining can convince her otherwiseHi Mark. What is slowly-progressing ……. When you are confident whit your results? That is what matters.
I like your first sail! A lot of fine work and it lets her come alive. Now she becomes a Sailing Schooner.
Regards, Peter

Just tell her you are performing surgery...lolThanks Peter. Yes, you're right of course. It's just when the admiral pops her nose into the shipyard and says "is that all you've done today?" and no amount of reasoning or explaining can convince her otherwise

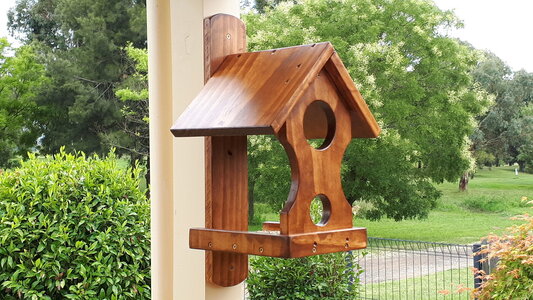
Ah, rosellas! Bringing back some fond memories...While contemplating the making and bending of sails for my slowly-progressing Bluenose II, I turned my attention momentarily to the construction of a bird-feeding station that I could view from the window of my shipyard. It was something of a relief to use hand tools that don't require a magnifying glass to operate, and it also gave me time to try and work out the sequence of next-steps that will see me through to the end of my model.
View attachment 291437
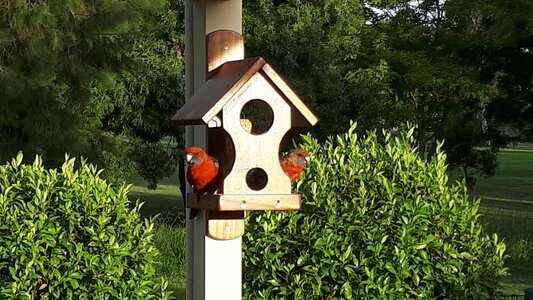
It didn't take long for the lure of free food to attract the attention of the local birds, including some very colourful ones, and now I have something else to look at, and be distracted by, as I continue the journey with my Bluenose
View attachment 291438

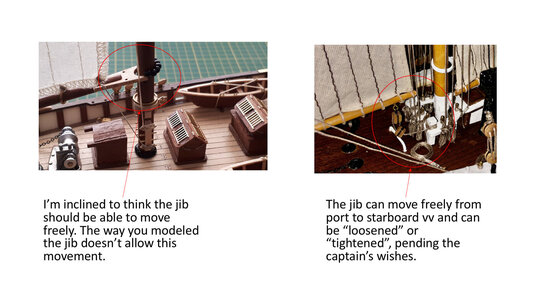
Hi Johan, thanks for taking the time to provide constructive feedbackHello Mark,
Firstly, what a beautiful bird's feeding station emerged from your woodshed. Those rosellas must think they're in heaven!
Secondly, what progress you're making. The sails you're adding suits the Lady well.
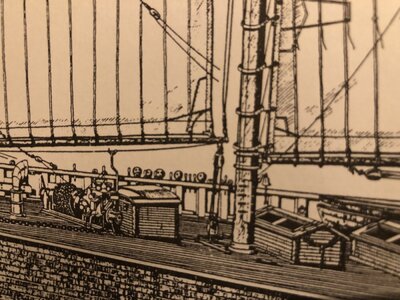
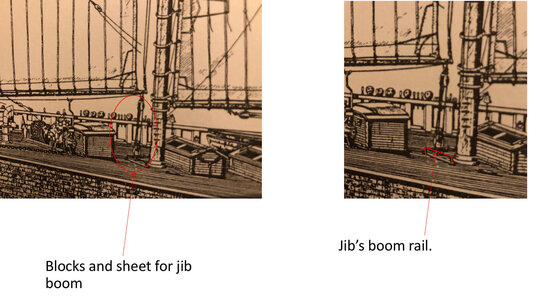
If I may, there's something bugging me about the way the jib is attached to the foremast. The way it's configured does not allow the aft end of the jib to move from port or starboard. It could very well be that your build instructions are entirely different from the BB instructions, but maybe it's worth to double check. If you have the Saga at your disposal, check page 28.
View attachment 291546
Page 28 from the "Saga"
View attachment 291547

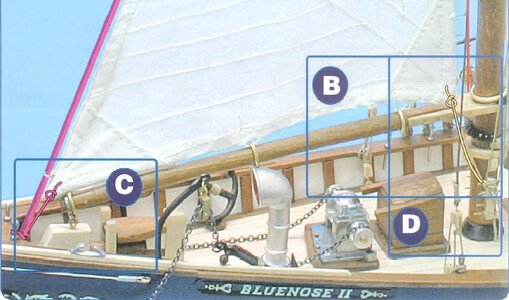
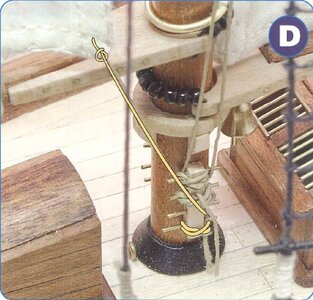

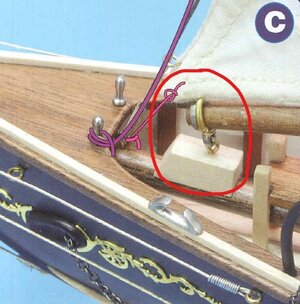
Ah okay, I think I know what you mean now. Good point indeed. I did wonder why the jib boom was fixed at both ends, although with my limited (non-existent?) knowledge of sailing I assumed the connection at the tip of the boom was temporary and could be adjusted (see picture below)Mark,
According to AL's instructions you've got it right, no doubt about that!
However... The jib's boom is attached at both front- and rear ends of the boom, in accordance with AL's instructions. Although the jib itself has rigging, which allow minimal freedom, it's the jib's boom basically limiting any sail displacement either to port or starboard.
If you look at the extract from the Saga you see that the jib's lower edge ís attached to the jib's boom. The boom's sheet is guided through blocks and a rail, allowing to either release or tighten the sheet, thus allowing the skipper to set the jib to the wind. The AL solution gives a rigid jib without possibilities for adjustment.
Kind regards,
Johan
View attachment 291587


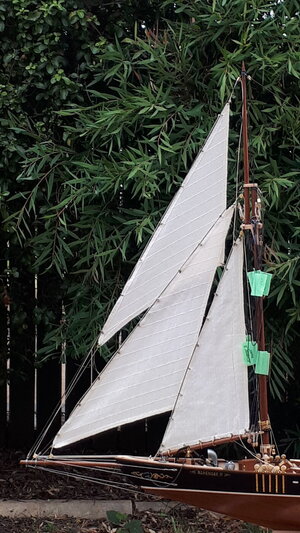
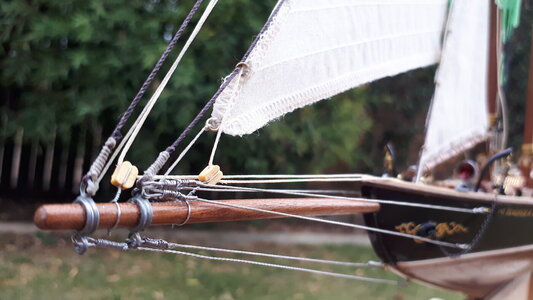
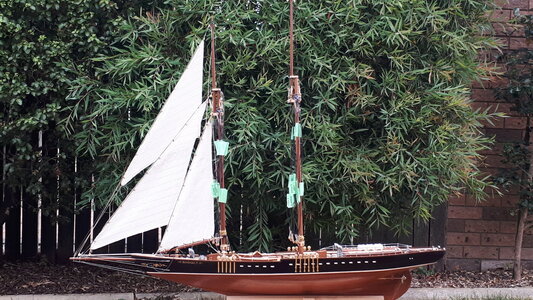

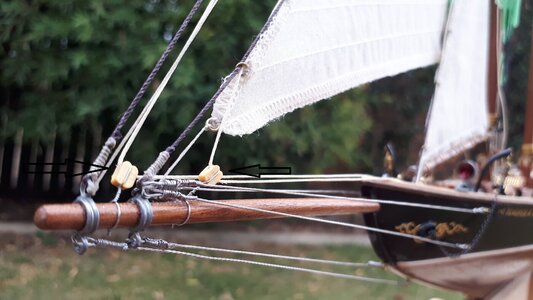
Hello Nomad, excuse me these blocks are mounted upside downThe three foremost sails are now rigged. These jib sails, as I understand from the instructions, are in order from foremast to prow called the fore topmast staysail, headsail, and flying jib. Each of these sails are installed in a similar fashion, with hanks along the longest edges supported by a stays running from foremast to bowsprit, sails suspended vertically by halyards that are reeved through foremast blocks and belayed on deck below, and downhaul ropes that hang loosely along the longest edges and tie off on sets of belaying pins.
View attachment 292818
The bowsprit has a fair share of lines and ropes to support the three jib sails.
View attachment 292823
The instructions weren't clear on where some of the lines are belayed, particularly the halyards, although I'm sure I'll find some room on the many pin-rails and belaying pins on the deck below. For now though they'll simply hang free until I am sure they won't be in the way of the shrouds and other standard rigging that I have yet to install
View attachment 292824
Thanks Grant, and now I'm getting to enjoy the full monty view of your ship as wellGood morning Mark- nice one! I always enjoy pics of the whole ship and your Bluenose is looking “lekker”. Cheers

