Bonhomme Richard - Pear Cross section kit (with scratch duplicate using alder) Unicorn Model

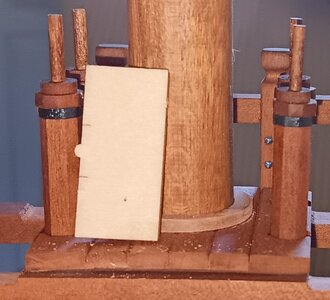
Next step was one I was dreading...assembly and placement of the dewatering pumps.

First, I filed and then used a micro chisel to cut out the holes for the pumps.
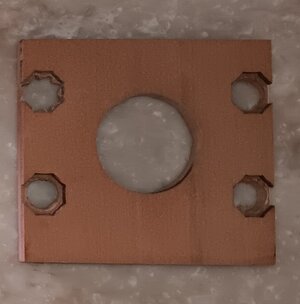
20240729_142244.jpg

Next the pumps were inserted through these holes. The tolerances were such that I had to add the simulated "black metal bands" AFTER sliding the pumps through the holes
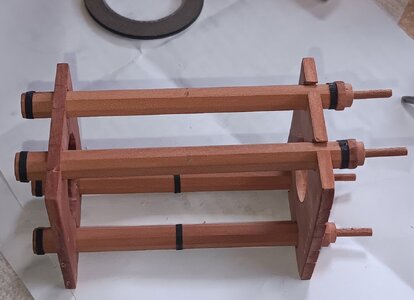
20240730_104615.jpg

Finally, the two sections were glued together, using shims and blocks to ensure they were parallel/straight.
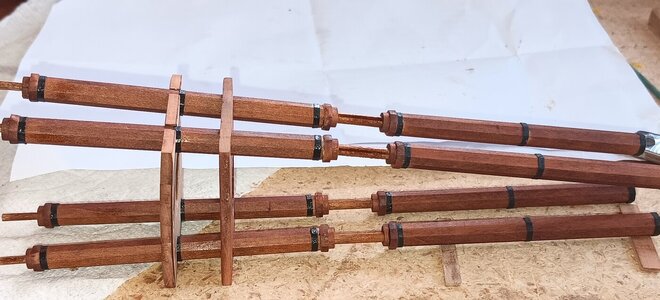
20240730_141224.jpg

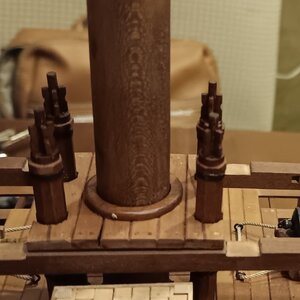
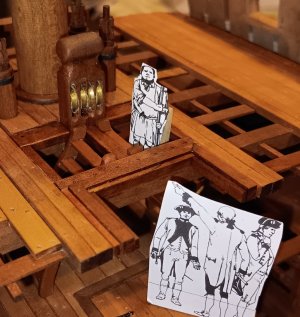
Around this time, the dreaded French Shipyard Superintendent appeared. Again, the inspector has to explain to Midshipman Newbee that Seaman Brutis "fixed" the height of the pumps. The ones the Midshipman installed, from the kit were several mm too tall. Below shows the proper heights from drawings by Boudroit, so the men aren't pushing/pulling pumps OVER their heads!
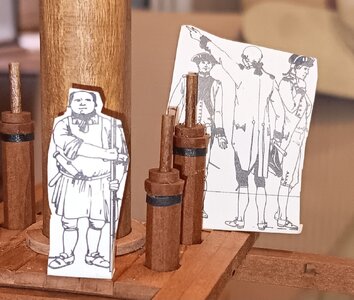
20240801_163344.jpg20240801_145046.jpg20240801_145243.jpg

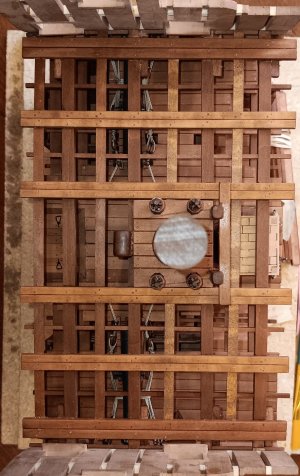
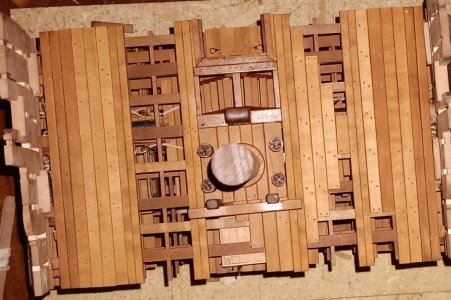
The final two pictures show the pumps from overhead and the last one with all the pumps stained, cut to the correct height, with the small pieces for the pump handles installed.
20240730_144037.jpg20240803_001214.jpg

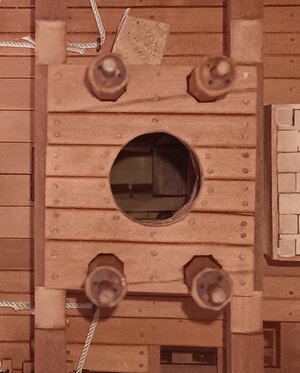
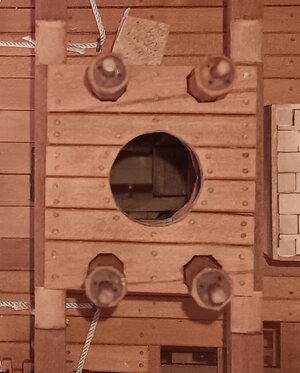
The kit does not show or discuss the outlet from the pump. I'll have to check previous build logs to get some ideas on how to simulate the outlet for the water to shoot out onto the deck.

Thanks for your continued interest!

20240730_144037.jpg
 
Next step was one I was dreading...assembly and placement of the dewatering pumps.

First, I filed and then used a micro chisel to cut out the holes for the pumps.
View attachment 462557

Next the pumps were inserted through these holes. The tolerances were such that I had to add the simulated "black metal bands" AFTER sliding the pumps through the holes
View attachment 462559

Finally, the two sections were glued together, using shims and blocks to ensure they were parallel/straight.
View attachment 462558

Around this time, the dreaded French Shipyard Superintendent appeared. Again, the inspector has to explain to Midshipman Newbee that Seaman Brutis "fixed" the height of the pumps. The ones the Midshipman installed, from the kit were several mm too tall. Below shows the proper heights from drawings by Boudroit, so the men aren't pushing/pulling pumps OVER their heads!
View attachment 462560View attachment 462561View attachment 462562

The final two pictures show the pumps from overhead and the last one with all the pumps stained, cut to the correct height, with the small pieces for the pump handles installed.
View attachment 462565View attachment 462564

The kit does not show or discuss the outlet from the pump. I'll have to check previous build logs to get some ideas on how to simulate the outlet for the water to shoot out onto the deck.

Thanks for your continued interest!
View attachment 462563
Good morning Brad. This is excellent work- must be the peaceful beautiful environment. Cheers Grant
 
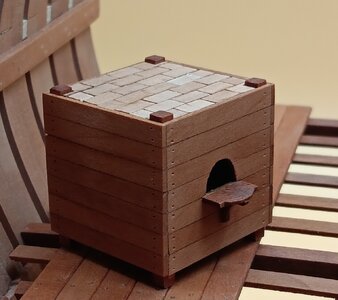
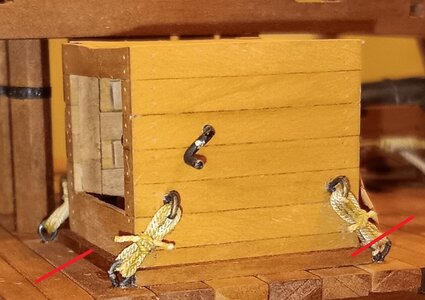
The oven provided in the kit needed height adjustment. The first picture shows the "legs" in each of the corners that extend both above and below the oven.
20240525_115924.jpg
As I built the next deck, the oven did not fit with these legs, so I had to sand both the top and bottom off.

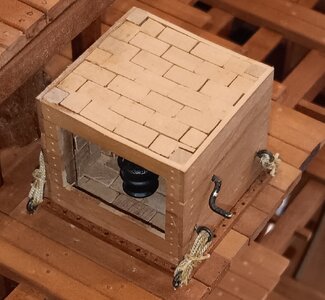
The oven now sits flush on the deck. SO...the shipyard superintendent decided it should be permanently fixed to the deck with a frame around the base. The ropes only hold the oven down inside the frame. Inspector said some touch up paint is needed on the spit rotation handle!!
See below photo:
20240803_180334.jpg20240803_224555.jpg

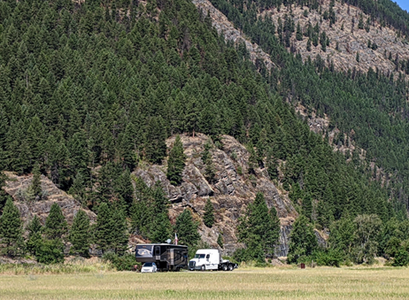
Finally, the below picture shows where the shipyard spent seven days, in the grand setting next to the Kootenai River, near Libby Dam, MT.
Libby MT.png
 
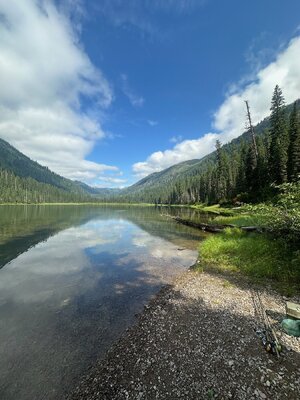
Moved to Kalispell, MT and AGAIN, work at the shipyard was delayed while the workers were up high in the Flathead Mountains throwing flies.

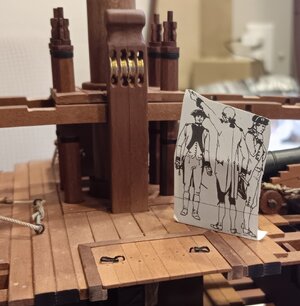
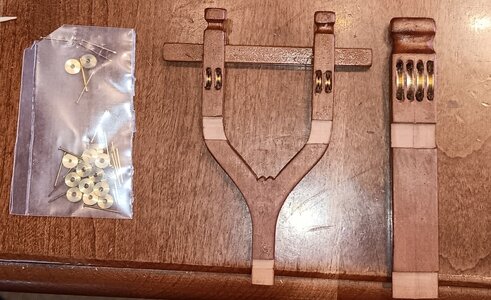
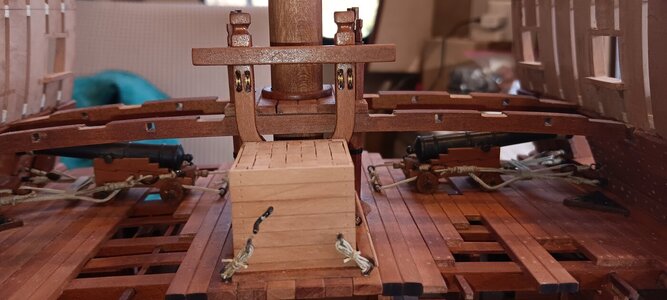
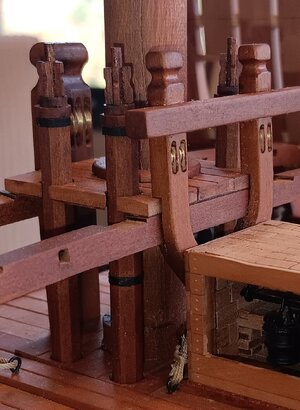
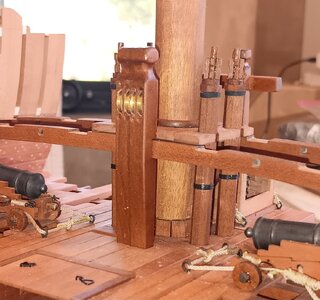
BUT I did get the Jeer Bits completed, with the four brass sheaves that came in. I did have to both: 1) widen the slots and 2) sand the brass sheaves narrower, to make them fit. My drill wandered once on the top corner of the left sheave, but I covered the mistake with some filler, and it took the WATCO stain fairly well, so it is hardly noticeable.

The shipyard inspector showed up and told the Midshipman, "Well Done and you JUST MAY make Ensign by the time this ship is commissioned"!
20240809_163714.jpg

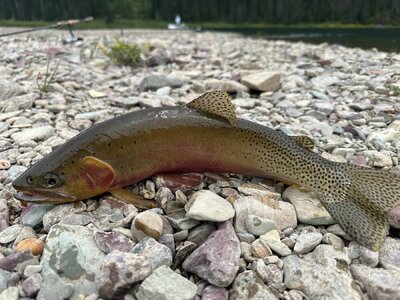
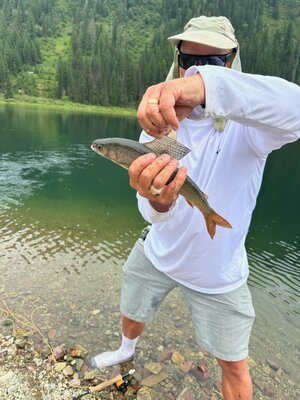
Meanwhile the workers fly tossing netted a dozen beautiful Western Slope Cutthroat Trout (Left) and one Arctic Grayling (Right). The mountain lakes are wonderful!
4402514383443286248.jpg7799657986092056196.jpg-7962873845010359790.jpg
 
Moved to Kalispell, MT and AGAIN, work at the shipyard was delayed while the workers were up high in the Flathead Mountains throwing flies.

BUT I did get the Jeer Bits completed, with the four brass sheaves that came in. I did have to both: 1) widen the slots and 2) sand the brass sheaves narrower, to make them fit. My drill wandered once on the top corner of the left sheave, but I covered the mistake with some filler, and it took the WATCO stain fairly well, so it is hardly noticeable.

The shipyard inspector showed up and told the Midshipman, "Well Done and you JUST MAY make Ensign by the time this ship is commissioned"!
View attachment 463933

Meanwhile the workers fly tossing netted a dozen beautiful Western Slope Cutthroat Trout (Left) and one Arctic Grayling (Right). The mountain lakes are wonderful!
View attachment 463934View attachment 463935View attachment 463936
Beautiful Brad, both the jeer bits and the lakes
 
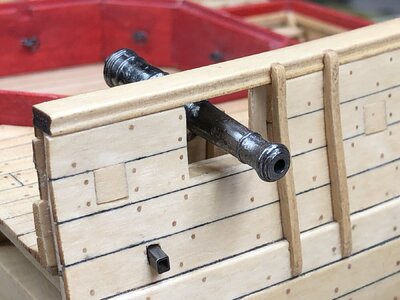
Had some time to kill, waiting for the brass sheaves for the top-sail bitts to arrive, at an actual campground. Shipyard is now off a dirt Forest Service road, deep in the Flathead National Forest.....SOOO the template provided in the kit was used to trace the top shape of each frame.

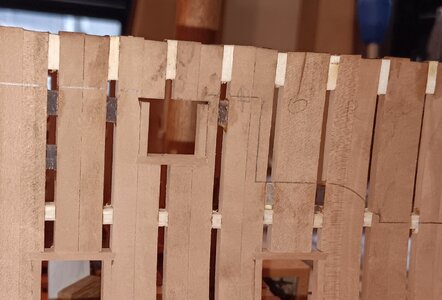
Photo below shows line traced from the template to the framed hull.
20240810_172128.jpg
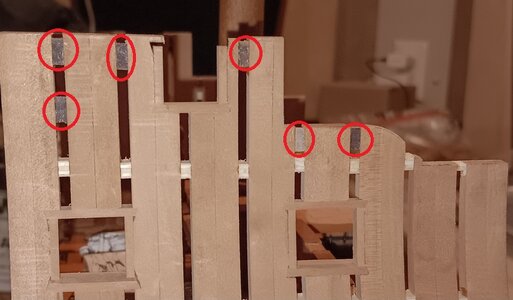
A metal straight edge was clamped along the line and a Japanese pull saw was used to cut along the steel straight edge. The curves were made using files/sanding sticks/razor knives. Reinforcing blocks (red circles) were critical to maintain the spacing between the frames while sawing. Six of these were used and this is critical! Without them, some of the frames would essentially be floating on one point of contact per side.
20240810_222933.jpg
 
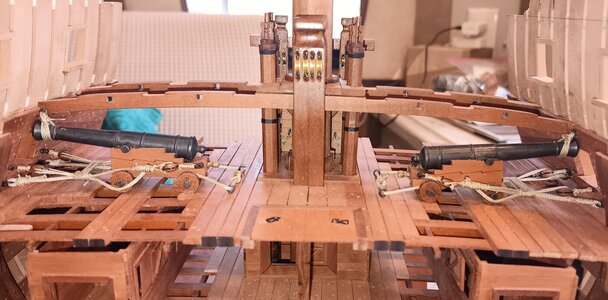
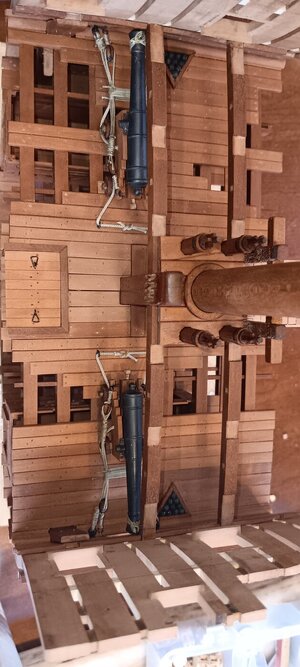
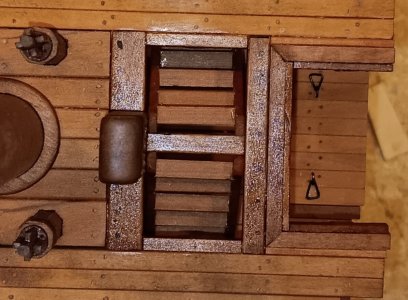
Major Milestone!! The main gun deck is officially complete.

While we rode bikes and toured Lewis and Clark Caverns, FEDEX delivered a package to the campground, near Three Rivers, MT,

It contained the 4mm sheaves which fit perfectly in the slots for the topsail-sheet bits.
20240814_180252.jpg

Below is a series of pictures of the deck from different angles. Everything fits so tight; glue will just be extra insurance!
20240814_184008.jpg
20240814_184208 (1).jpg
20240814_184359.jpg
20240814_184521.jpg
20240814_184633.jpg

Next stop tomorrow, will be the Bighorn River, as it drains out of Yellowstone National Park, for some grade A trout fishing!!
 
Last time I was there, nymphs were GOLD! And I'm terrible at fly-fishing!
Sweet!!! I just bought a half dozen customs nymphs from a guy in Kalispell, MT. He makes them with tungsten beads, so they drop deep FAST. I used then to nab those cutthroat and the Arctic Greyling at that creek entry into that high lake. The dropoff was 15-20ft.
 
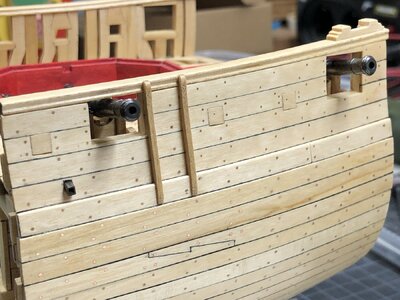
OOOOOPS. I was on a roll and kept on planking over the spot where the Channels were SUPPOSED to be mounted!

20240818_131616.jpg

I went two planks high on the Starboard side, so MORE deconstruction. Below shows the deconstruction, after soaking the joint with water.

20240818_133806.jpg

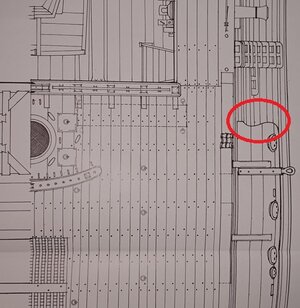
I then turned my attention to the forgotten Channels. Boudroit's drawing shows the leading and trailing edges of the Channel have an Ogee shaped curve. See red circle. There is no mention of this in the kit instructions or photos, that I could see.

20240818_162028.jpg

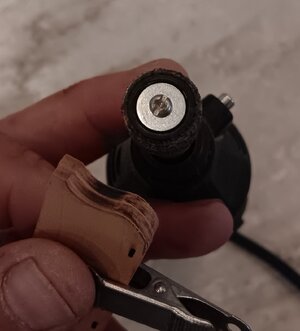
I used a Dremel tool to shape the forward edge only. The Aft edge is part of the cross section cutaway, so it is kept flat.

20240818_164010.jpg20240818_165430.jpg

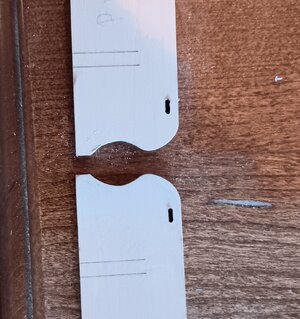
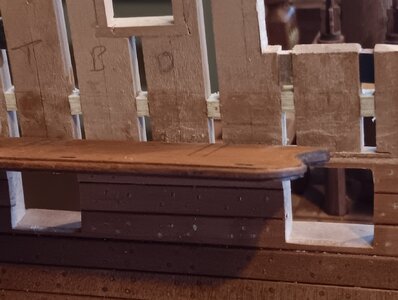
I hate the scraping tools but with patience, they produced a reasonable profile on the channel. Below, it is stained and held in place for perspective. The channels will not be installed until much later, because I feel with all the moving of the shipyard, they would be too fragile.

20240818_192246.jpg

I will stop exterior planking for now and focus on building the structure for the next interior deck.
 
Good that you realized it early enough

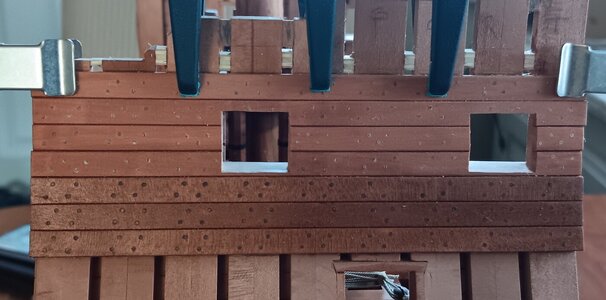
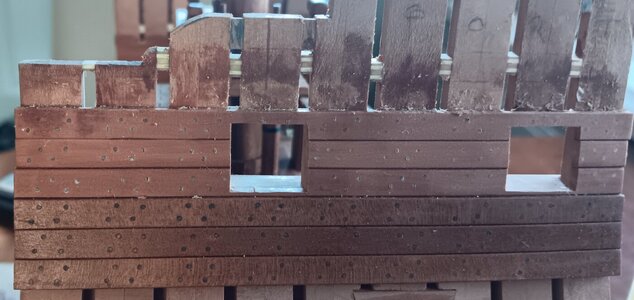
For external planking maybe a small hint for the nailing pattern

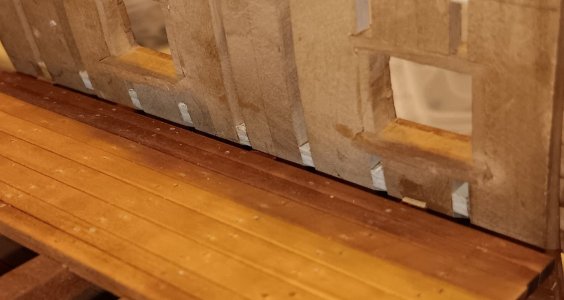
the planks ending at gunports would have also like on the deck planking two nails - similar to the butt joints on the deck planking
These are the endings of the hall planking

as an example here the Granado section
IMG-9173.jpg IMG-9207.jpg
 
Good that you realized it early enough

For external planking maybe a small hint for the nailing pattern

the planks ending at gunports would have also like on the deck planking two nails - similar to the butt joints on the deck planking
These are the endings of the hall planking

as an example here the Granado section
View attachment 465895 View attachment 465896
Thank you for the advice and pictures. I should be able to add this detail on the gunport planking!
 
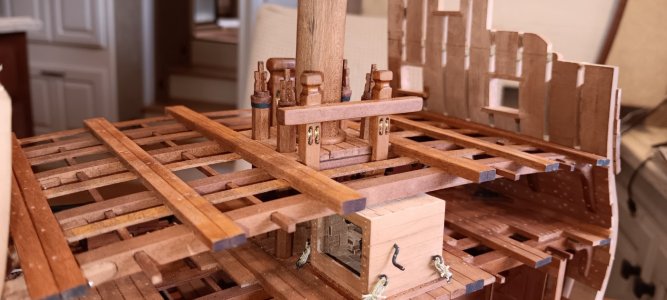
Initial stages of work on the next deck. Everything fit extremely tight.
20240825_143715.jpg 20240825_143632.jpg

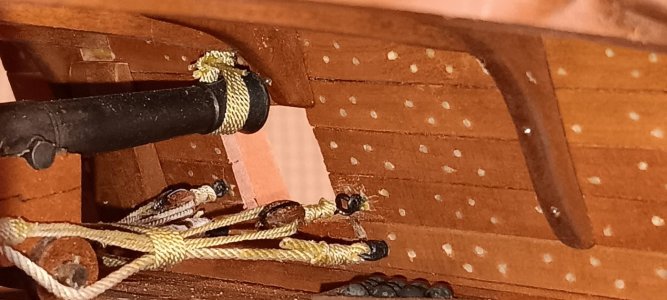
The only issue encountered, was a knee that, as far as I can tell, HAS to be located directly above a cannon port (on BOTH SIDES). The means the long knee provided in the kit will not fit, so I opted to shorten it SIGNIFICANTLY, and add a single brass bolt, vice the two used on the longer knees. My guess is they would have used something like this and added a horizontal lodging knee for a beam above a port. OR a knee canted at a 45 degree angle???
20240825_143429.jpg

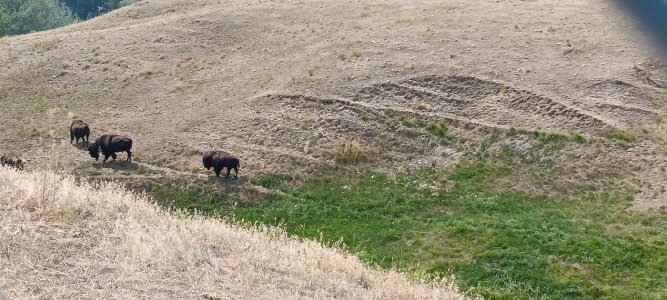
Shipyard headed South, into Wyoming and workers encountered a small group of Buffalo, while doing a bike ride!
20240824_122416.jpg

Fishing on the Bighorn river was fantastic and Dockattner's advice on using nymphs was indeed golden, as several 5-8 pound Rainbow and Brown trout were caught nymphing!!
 
Deck planking is almost complete, with much left open to show details on the deck below (oven rotisserie, stew bucket, bread peal, cannon rigging, etc).
20240828_211514.jpg

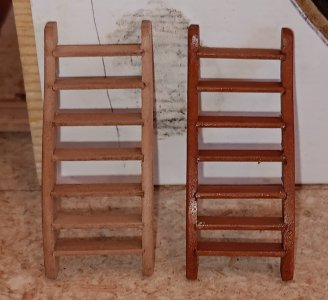
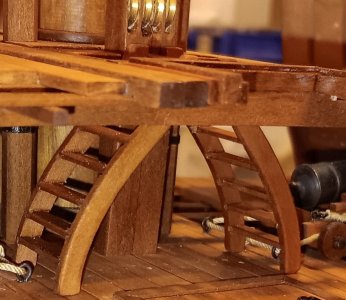
Besides planking two interior ladders and the hatch openings were completed. First picture shows the ladders assembled (one stained with Natural Watco Wood oil/the other, one raw wood)
20240828_162328.jpg

Next picture shows the framing for the ladder opening in place, as well as the hatch frame. Both, stained with WATCO Dark Walnut.
20240828_200702.jpg

Side view of the ladders. Viewing Uwe's build, I will add some pin holes on the curved ladder pieces, to "secure/nail" the ladder rungs in place.
20240828_200313.jpg

Finally, the inspector showed up and Midshipman Newbee/Seaman Brutis presented the newly completed ladders. The inspector concurred that each rung in the ladder needs two nails to secure the step. In a surprise to all, the Superintendent of the shipyard promoted Seaman Brutis to Petty Officer. The Superintendent, counseled Midshipman Newbee that he still has much to learn but is progressing and "learning the ropes"!
20240828_200544.jpg

The next step will be drilling and squaring two holes for the dewatering scuppers, then placement of the waterway.
20240828_201017.jpg
 
Back
Top