-

Win a Free Custom Engraved Brass Coin!!!
As a way to introduce our brass coins to the community, we will raffle off a free coin during the month of August. Follow link ABOVE for instructions for entering.
-

PRE-ORDER SHIPS IN SCALE TODAY!
The beloved Ships in Scale Magazine is back and charting a new course for 2026!
Discover new skills, new techniques, and new inspirations in every issue.
NOTE THAT OUR FIRST ISSUE WILL BE JAN/FEB 2026
You are using an out of date browser. It may not display this or other websites correctly.
You should upgrade or use an alternative browser.
You should upgrade or use an alternative browser.
CAF 1/48 Scale La Renommee 1744
- Thread starter Paul132
- Start date
- Watchers 58
-
- Tags
- caf model la renommée
- Joined
- Jan 31, 2021
- Messages
- 566
- Points
- 353

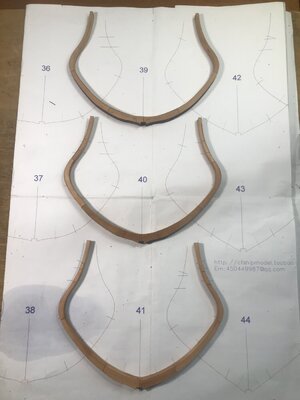
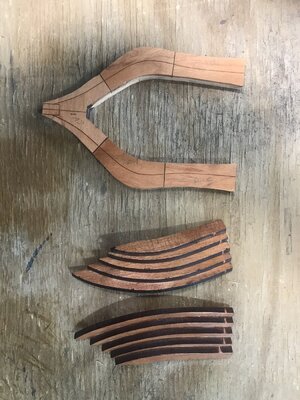
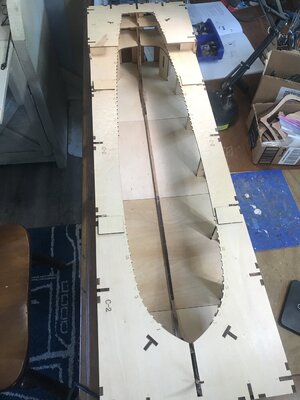
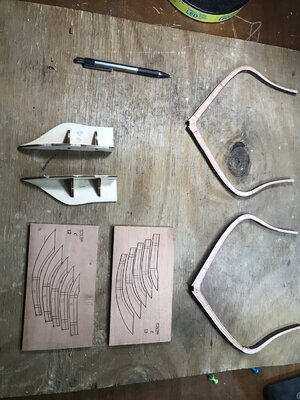
Finished up the last 2 midsection frames. so 15-45 are complete. Leaving the Bow and Stern frames. Next on the agenda is the Hawse timbers. Built the Jig, and will sand and dry fit the timbers tommorrow. CAF has done a nice job of marking the interior bevel lines, for proper interior angle. This will be critical for the addition of the full internal structure.

- Joined
- Jan 31, 2021
- Messages
- 566
- Points
- 353

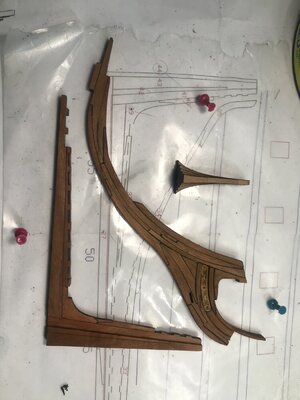
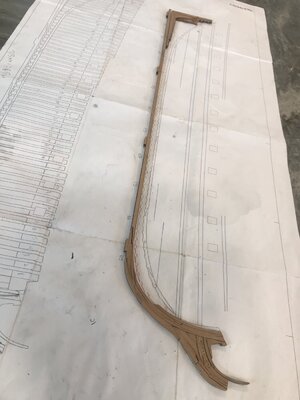
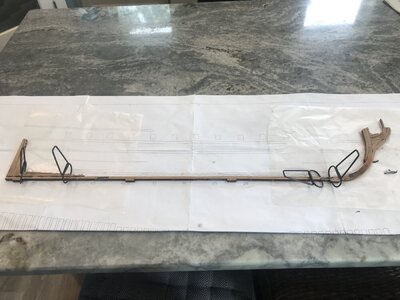
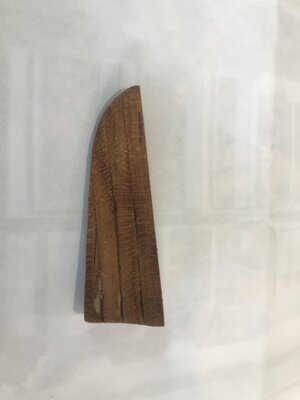
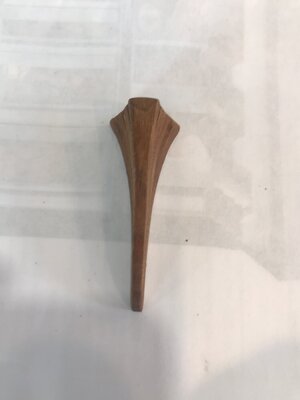
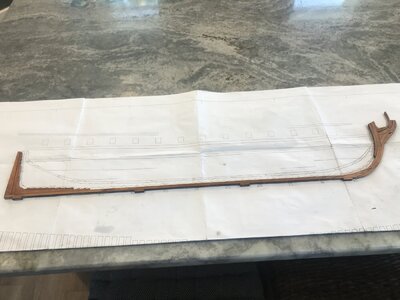
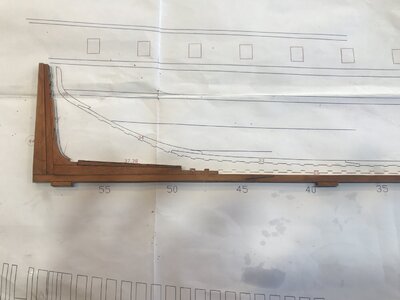
Good morning Paul. Great craftsmanship. A lot of work to get all those frames looking spot on. Hawed timbers are amazing. It is going to be so cool when you complete the fitting of these frames. Cheers GrantReceived my missing part from CAF, so dry fit the stern post, and have completed 10 of the 14 bow frames. No beveling or sanding yet, as I want to dry fit to the Stem and Keel First
View attachment 374358
View attachment 374359
View attachment 374360
- Joined
- Jan 31, 2021
- Messages
- 566
- Points
- 353

Grant. thankyou!!Good morning Paul. Great craftsmanship. A lot of work to get all those frames looking spot on. Hawed timbers are amazing. It is going to be so cool when you complete the fitting of these frames. Cheers Grant
Hi.I am closely following your assembly.huge reserves of wood dust are waiting for you.Получил недостающую деталь от CAF, поэтому насухо подогнал кормовую стойку и закончил 10 из 14 носовых шпангоутов. Пока никаких скашив или шлифований, так как я хочу сначала высушить ножку и Киль.
View attachment 374358
View attachment 374359
View attachment 374360
- Joined
- Jan 31, 2021
- Messages
- 566
- Points
- 353

Kurt Konrath
Kurt Konrath
What do you use to make your black titebond blue mixture. I have seen others do this and it looks good, with little effort it seems.
- Joined
- Jan 31, 2021
- Messages
- 566
- Points
- 353

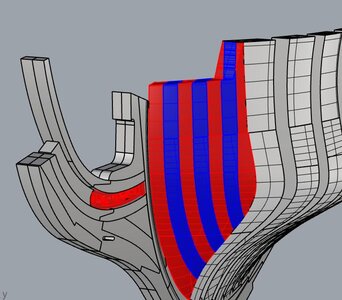
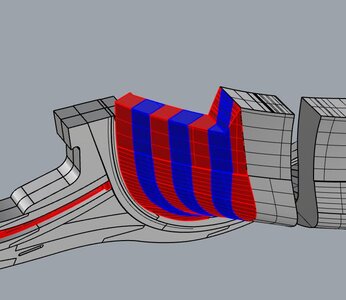
Kurt. check page 2 of this log, I have a picture of what I use, Its Titebond Quick and Thick Glue, and SOHO black graphite powder. I just mix the 2 together on a sheet of waxpaper till I get the desired color. Then I use a paint brush to apply to the joints. I apply a little more than needed so it oozes out a bit when clamped. Let dry, trim excess with exacto blade, then sand. The Poly or varnish will really highlight the joints when applied. Thanks for asking, and the Likes!
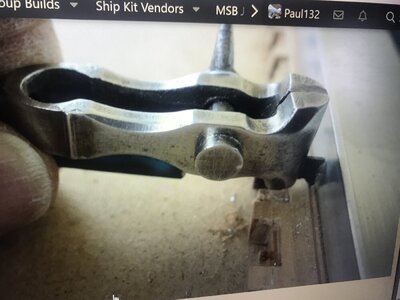
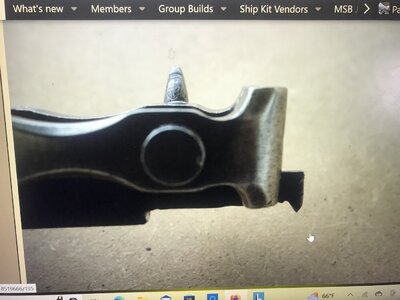
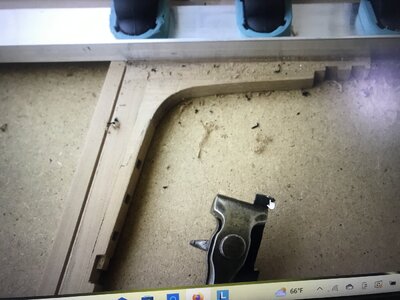
Paul, very interesting and efficient tool. I had never seen it, does it work well for curves rabbet ? If you find a supplier please let us know. Thanks
- Joined
- Jan 31, 2021
- Messages
- 566
- Points
- 353

Luis, I willPaul, very interesting and efficient tool. I had never seen it, does it work well for curves rabbet ? If you find a supplier please let us know. Thanks
I agree with you Paul.Luis, in researching, it appears to be an attachment for a CNC mini milling machine,,,,which the price overshadows my need....
I will try to make a mini milling tool to use in a rotary machine like Dremel. It will be necessary to use a metal bar as a guide and a lot of practice to make the curves without damaging the model. Let's see !
Hi Paul,Luis, in researching, it appears to be an attachment for a CNC mini milling machine,,,,which the price overshadows my need....
You don t need fancy over priced tools, just use a razor blade of a few cents and shape it to your needs.
See my blog here.
A Dutch Fluyt in shell first, reconstructing the "Ghost ship" scale 1:36
Very nice work indeed Maarten :cool: Should your keel support blocks not be surrounded by Mud to be a true recreation?ROTFROTFROTF Only kidding but there's a thought for a diorama Kind Regards Nigel Hi Nigel, We are here in holland, not in the UK. The sand is here not always mud as we don...
shipsofscale.com
- Joined
- Jan 31, 2021
- Messages
- 566
- Points
- 353

Marrten, Thankyou!!Hi Paul,
You don t need fancy over priced tools, just use a razor blade of a few cents and shape it to your needs.
See my blog here.
A Dutch Fluyt in shell first, reconstructing the "Ghost ship" scale 1:36
Very nice work indeed Maarten :cool: Should your keel support blocks not be surrounded by Mud to be a true recreation?ROTFROTFROTF Only kidding but there's a thought for a diorama Kind Regards Nigel Hi Nigel, We are here in holland, not in the UK. The sand is here not always mud as we don...shipsofscale.com

