Chaperon 1884 Stern Wheeler

The hull looks great, Jan.
It is correct, the main deck is flat from side to side. The decks above get there camber (from side to side).
I am curious if this is also the case with this model of the Chaperon.
Regards, Peter
Hi Peter,

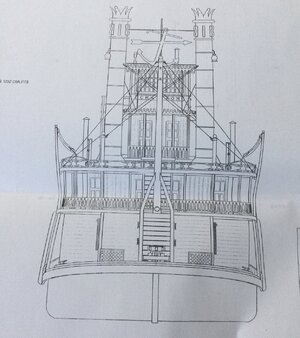
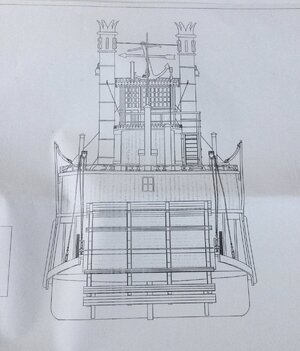
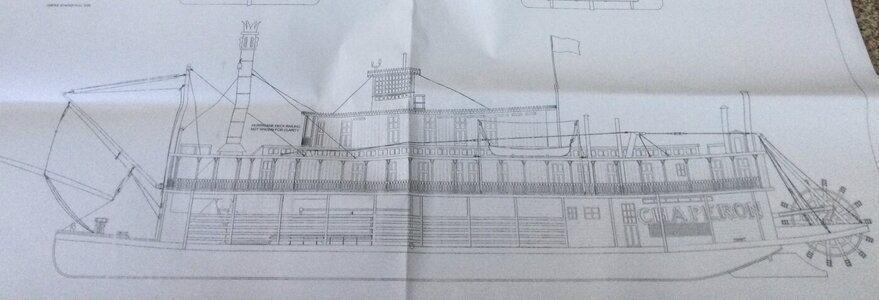
I don’t have the expertise to answer your question, but looking at the plans I can see the Stem to Stern “curve” of the all the decks. There doesn’t appear to be any “camber” from side to side shown for the decks on these plans.
26F591BE-85D3-437D-822F-989018A6096A.jpeg

56A8CFCA-E2D7-44D1-8B6E-B08F88D7AE23.jpeg


9BDC41B4-599E-47B6-AD2C-0A3AEE32B8AB.jpeg

The Stem to Stern “curve” of the decks is apparent on this drawing.

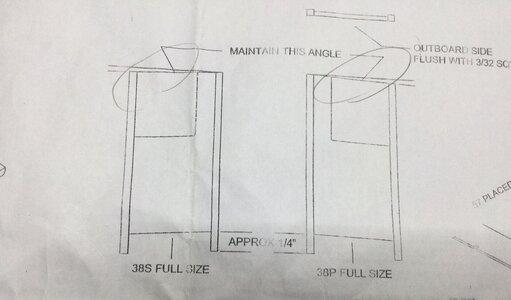
However looking at plan #1 for the construction of the stairwell from the Main deck to the Boiler deck there is an indication of a side to side “camber”.
E47FF832-0047-46C8-A0EC-1B55BDAAE445.jpeg

I guess we will see as I bumble along.


Jan
 
Hi Peter,

I don’t have the expertise to answer your question, but looking at the plans I can see the Stem to Stern “curve” of the all the decks. There doesn’t appear to be any “camber” from side to side shown for the decks on these plans.


View attachment 251745

View attachment 251746


View attachment 251747

The Stem to Stern “curve” of the decks is apparent on this drawing.

However looking at plan #1 for the construction of the stairwell from the Main deck to the Boiler deck there is an indication of a side to side “camber”.

View attachment 251748

I guess we will see as I bumble along.


Jan
Nice drawing, Jan. And good to see there is sheer and camber. (Partly in the detail drawing)
When you are so far to install the boiler deck, we talk further. Because those 2 curves are working agains each other .
Looking forwards to your progress.
And remember: always look a few steps ahead. Everything affects the next deck and roof.
And that is the charm of these ships: you build the decks not in the hull but on the hull.
Regards, Peter
 
Last edited:
Rookie Mistake #Infinity:

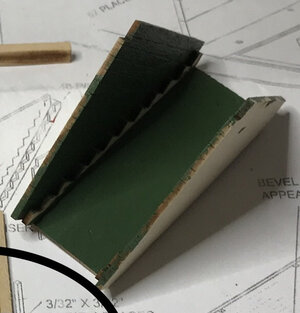
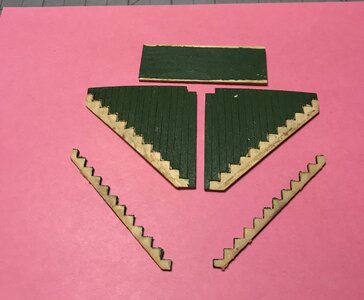
Looking at the plans it seemed like a good idea to assemble the stairwell that goes from the Main deck to the Boiler deck. BUT after painting the treads and risers and trying to squeeze them in to glue them to the stair stringers it became one of those "AHA" moments. No room to work or to make sure that the pieces were square. So it's now "DO-OVER" time.

The Before:

81052EA0-E22B-4CCD-B0DC-94E761520892_1_201_a.jpeg

The After:

8B8D7AB2-73DD-4189-A2E4-969C28875B7A_1_201_a.jpeg

Thank goodness that PVA is easy to work with. A paper towel soaked in very hot water draped over the structure in the first picture for 10-15 minutes allowed me to salvage all the pieces. Those were then pressed in-between two glass panes and left overnight.

So stay tuned for the "DO-OVER"

Jan
 
As long as it can be salvaged, it is all good!
 
Hi Jan.
With regard to your question (in the other build-log ;)) about the steam-engine:
I sawed pieces of round wood in half and covered them with copper foil that I had lying around.
You can also cut a brass tube of the correct diameter in half and then make something for the ends.
Regards, Peter
 
@Thomas
Hi Jan.
With regard to your question (in the other build-log ;)) about the steam-engine:
I sawed pieces of round wood in half and covered them with copper foil that I had lying around.
You can also cut a brass tube of the correct diameter in half and then make something for the ends.
Regards, Peter
:rolleyes::rolleyes: I think I’ve joined Heinrich in the Senility group. My mistake on that post.

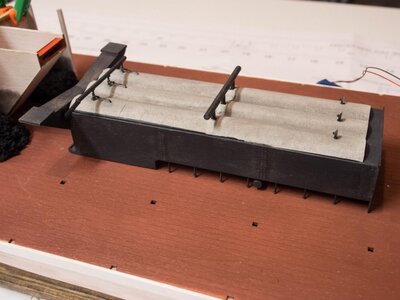
I like your idea and will try it. It just seems to me that there should be more detail to the boiler versus what is shown in the build plans. I found this picture on Google Images.

DBCEB281-A49C-4797-BD00-9D52B3665C46.jpeg

This looks much better than a flat rectangle painted black.

Jan
 
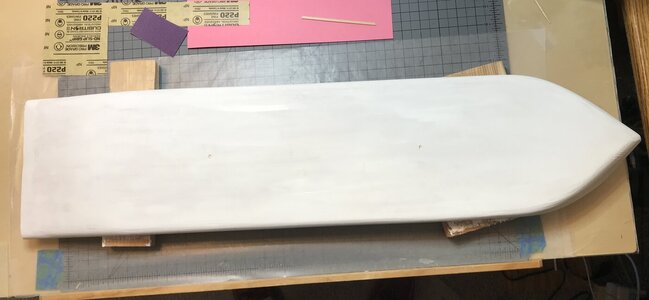
Finally had a cool day and could get outside to sand the hull.

The first pass:

D1F8F4B3-B6BC-4433-BB1F-E45AA8805516_1_201_a.jpeg

Lots of elbow grease devoted to the sanding, only a couple of odd spots to redo and then another coat of primer and the final paint coat.

All other progress has stopped. The planking materials have been ordered but I've not a clue when that will arrive. :(:(

Jan
 
The elbow grease had the desired effect as that hull already looks very smooth, Jan! Thumbs-Up After you have painted the hull - and while waiting on your planks to arrive - there is a most important ship that warrants attention too! ROTF
 
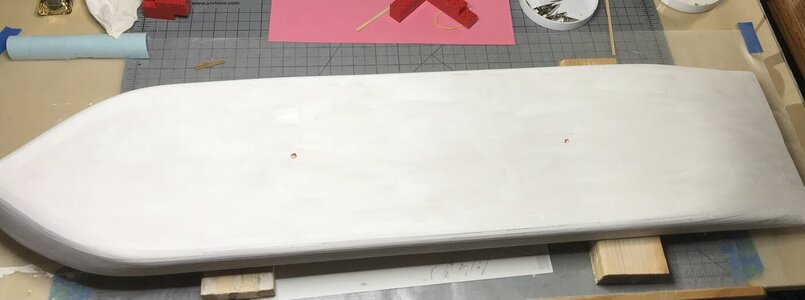
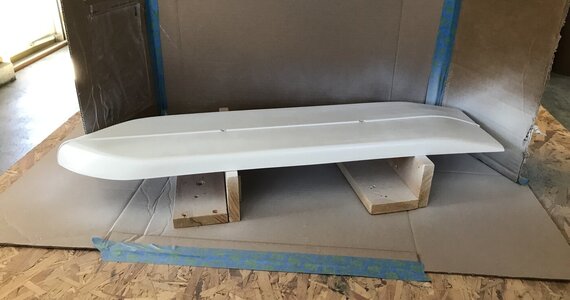
Some progress on the hull:


75035EB7-9DB6-4B79-A7E1-BFD9FFD8C9E4.jpeg

Final sanding with 600 grit and another coat of primer. Now it’s out to the garage to spray on the the final coats of semi gloss white.


PLANKING QUESTION: (The planking order has arrived)

1) Glue the deck to the hull and plank it or

2) temporarily fasten the deck to a building board , plank it and then add it to the hull.

Jan
 
Hi Jan. I would glue the deck to the hull and then do the planking. That way you can compensate for variables.
 
@Bluebeard.


Since the 1/16" X 1/8" strips for the side of the hull planking aren't long enough to reach the full length of the hull, do you have a suggestion as to where the butt joints should fall.

The first plank/strake.

View attachment 248275

Should the the joints be staggered midships???

Jan
Pathfinder:
Planking Progress:

I’ve managed to get the Starboard side of the hull completed. So far my method of soaking, bending, fitting and clamping until dry is working out pretty good.

View attachment 249496

The flip side.

View attachment 249498

Tonight I’ll be working on the port side.

Jan
Paul,
I love the planking upu have done so far. It is so even and looks fantastic, excellent job. I know this model will be an outstanding one.
 
Hi Jan. I would glue the deck to the hull and then do the planking. That way you can compensate for variables.
I think you're spot on. The off the hull way is tempting but I have to wonder how flexible it would be when it's finally glued down. Interesting concept though :rolleyes::rolleyes:

Jan
 
"Think too much about the next step".
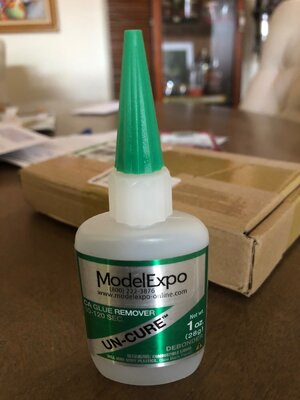
My goodness, I hate that aspect of our model ship making, it seems at least to me, that no matter how much I over think my next step, which make loose lots of time, I always forget something. Thank God I have lots of "UN-CURE" to fix my mistakes.
IMG_0509.jpg
 
"Think too much about the next step".
My goodness, I hate that aspect of our model ship making, it seems at least to me, that no matter how much I over think my next step, which make loose lots of time, I always forget something. Thank God I have lots of "UN-CURE" to fix my mistakes.
View attachment 254281
That’s . I have a lot of “Do Overs” with all the ships I’ve built. Mostly from missing a step or just plain incorrect interpretation of the build instructions. I’m a PVA user, so my “un cure” is soaking in hot water until the parts come apart.

Jan
 
Some progress on the hull:


View attachment 254249

Final sanding with 600 grit and another coat of primer. Now it’s out to the garage to spray on the the final coats of semi gloss white.


PLANKING QUESTION: (The planking order has arrived)

1) Glue the deck to the hull and plank it or

2) temporarily fasten the deck to a building board , plank it and then add it to the hull.

Jan
Definitely glue the deck to the hull first.
 
Back
Top