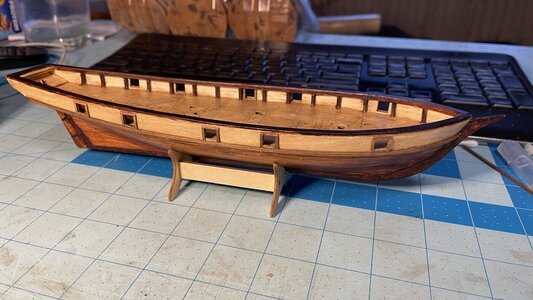
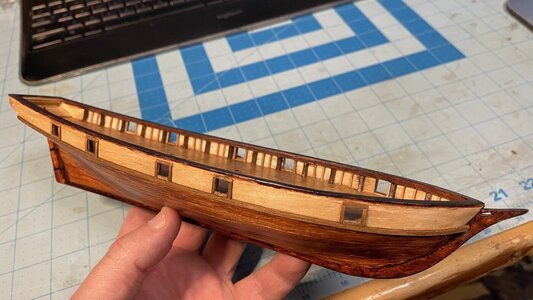
Cheap Chinese Halcon speed build [COMPLETED BUILD]

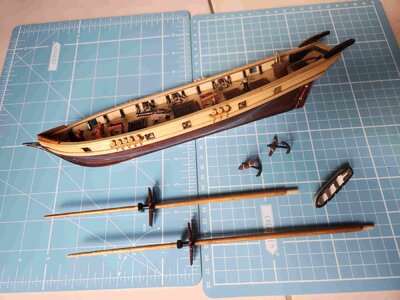
I work very neatly; no sawdust, wood slivers or parts laying around. The whole thing gets put back away in a cardboard box when I'm done with it. Oh, and it helps to be nearsighted.
Being nearsighted as a mole I can relate. I get by with reading magnifiers pretty well. No need for an expensive hood which feels claustrophobic to me.
Pretty fine example of how much (and especially how well) you can do with very little in less-than-ideal conditions!
(Maybe you were a French prisoner of war in a former incarnation!) ;)
 
Day 10


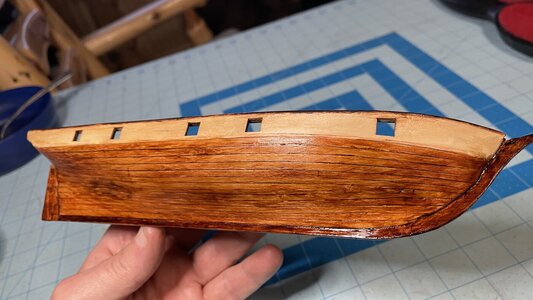
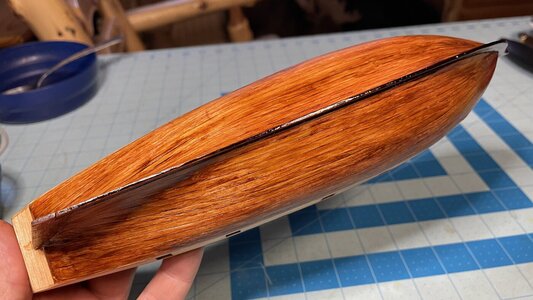
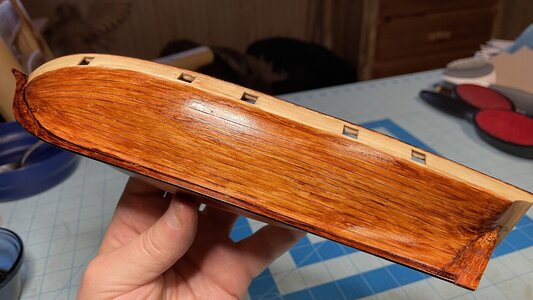
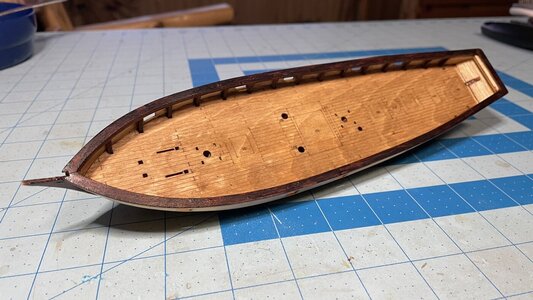
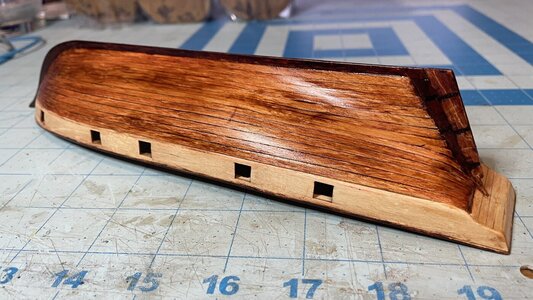
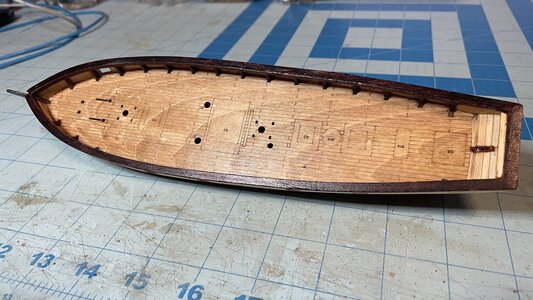
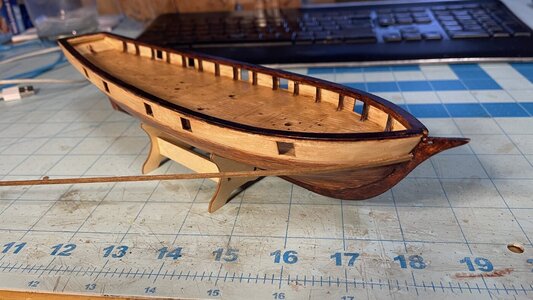
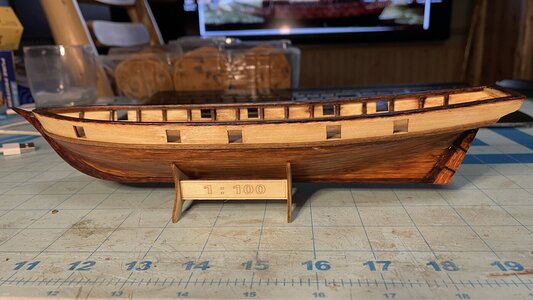
I wasn't happy with the hull finish, so I spent of hours cleaning it up. I removed most of the clear lacquer from from the hull with denatured alcohol and evened out the stain finish underneath. Using clear lacquer with some dark walnut TruTint dye and thinned with some denatured alcohol, I built up the finish on the hull in thin layers. The result is marginally better. The plank line are a bit more apparent. I never was great at wood finishing...
IMG_1463.jpg

IMG_1464.jpg

IMG_1465.jpg

IMG_1466.jpg

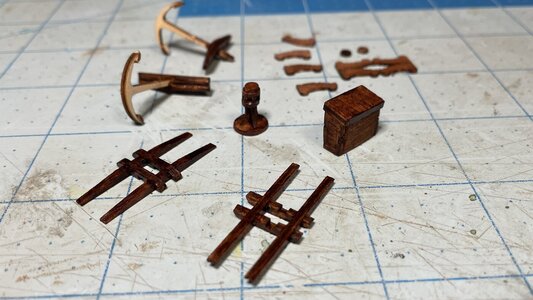
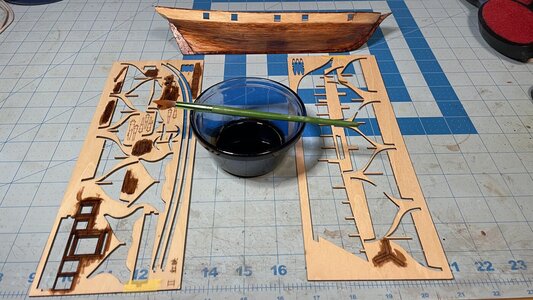
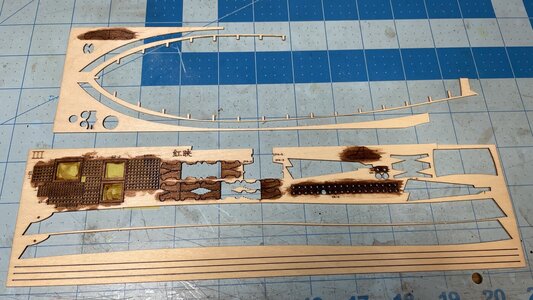
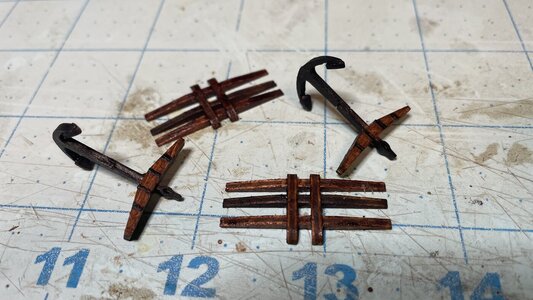
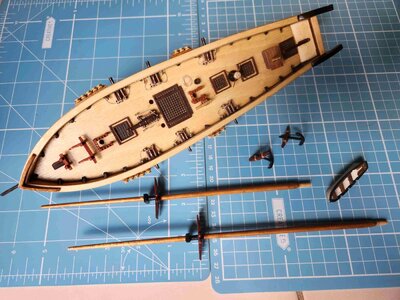
Using the leftover dyed lacquer from reworking the hull, the subassemblies, loose parts, and parts still in the laser cut sheets were colored brown. These parts came out great. Next will be assembling fittings on the deck.
IMG_1460.jpg

IMG_1461.jpg

Once parts are cut from the sheets, the areas on each part which appear as raw wood at the cuts will be colored over using a brown Sharpie pen.
IMG_1462.jpg
 
Wood finishing was my business for a reeeeeeeeealy long time. Wood finishing ratio to cabinet making is a lot like the rigging and masting ratio to model sailing ship building. Once you've built the cabinet you're only halfway there. Finishing should, but rarely is given, the same amount of time, consideration and sweat equity as building the hull, table, chair, cabinet, etc. "Well. Now I've built the hull, I'll just rig it and be done!" Nope. How many of us have had that thought more than once? :rolleyes:
Furniture restoration is MOSTLY finishing. Specially making the new bits look like the old. I've had to go back and rework the new bits more than once to satisfy the customer. They don't miss a thing.Cautious I always did. It could be a little embarrassing, but always worth the trouble, not to mention repeat business.
The best compliment I ever received was "Never buy an antique from this guy! ;)

Pete
 
What’s a brown filter? Please explain the process for me.

A filter is a massively thinned paint. You need to first apply a clearcoat to the model to prevent the timber absorbing the filter and possibly increasing the blotchiness.Testors dull coat in a rattle can is adequate.
You can buy filters intended for plastic modelling and airbrushing. AK interactive and others make these. You can make your own up but you have to be careful what paint you use as you need one with microscopic pigments to be able to thin enough. The white on my Soleil Soleil was done in this way. I thinned Vallejo premium airbrush paint using their thinner and flow improver.
You need to keep the airbrush a good six inches from the model applying the filter and apply lots of light coats moving quickly and not pausing in any one area.Allow each coat to flat off before there next so you can keep an eye on the colour build up. Stop immediately you are happy, further paint will start to obscure the features you want to show through.
It sounds harder than it is to do, my Soleil royal took 30mins to flash over the bottom including flatting off time between coats, the masking took longer!
I would seal the filter with another clear coat to prevent marring. Because it is so thin it has no durability.
What does the term "flat off" mean, Nigel?
 
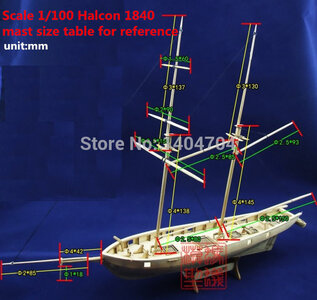
Thanks Martin! My instructions have no mast plan. It's good to have first hand dimensions. You've saved me a lot of research and calculations. Do the mast lengths include the length in the sockets in the false keel below the deck? I noted the large dowel as being too big as well.
In some of the other threads about these chinese kits is a picture with sizes of the masts also available...
And for the future: this article was very helpful and inspirational:
Rigging
 
Last edited:
@MartinJel, why are the topmasts so short? Compare your data with the dimensions I found on the web below:

Main top mast – 2.9”Main boom – 5.4”
Fore mast – 5.6”Fore yard – 5.0”
Fore top mast – 2.75”Fore topsail yard – 3.75”
Bowsprit – 2.9”Fore top gallant yard – 2.9”
Jib boom – 2.8”Fore gaff – 2.8”

Halcon Spar Plan.jpg
 
Work continues. The wales were attached. They were made up of leftover 1mm x 2mm walnut strip. The wale is attached to the hull starting at bow. Once fastened there solidly, it can be bent around the hull and glued down in segments working aft. The aft end of the wale strip is trimmed off.
IMG_1475.jpg

Both wales installed.
IMG_1476.jpg

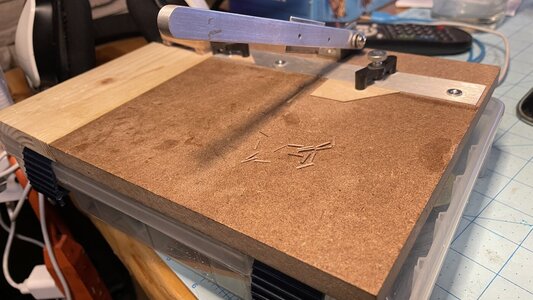
Segments of 1/2mm x 1mm cherry stick are chopped into lengths required to made edges for the gun ports inside and outside, and frames on the bulwark inside surface.
IMG_1479.jpg

The gun ports are edged with cherry on the outboard sides.
IMG_1480.jpg

The inboard gun port edging and bulwark frame detailing is done for the port side.
IMG_1481.jpg


OKAY, OKAY! So I'm bashing it a little! It's in my nature...
 
Last edited:
Back
Top