-

Win a Free Custom Engraved Brass Coin!!!
As a way to introduce our brass coins to the community, we will raffle off a free coin during the month of August. Follow link ABOVE for instructions for entering.
-

PRE-ORDER SHIPS IN SCALE TODAY!
The beloved Ships in Scale Magazine is back and charting a new course for 2026!
Discover new skills, new techniques, and new inspirations in every issue.
NOTE THAT OUR FIRST ISSUE WILL BE JAN/FEB 2026
You are using an out of date browser. It may not display this or other websites correctly.
You should upgrade or use an alternative browser.
You should upgrade or use an alternative browser.
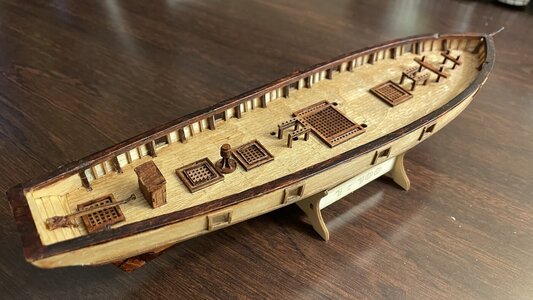
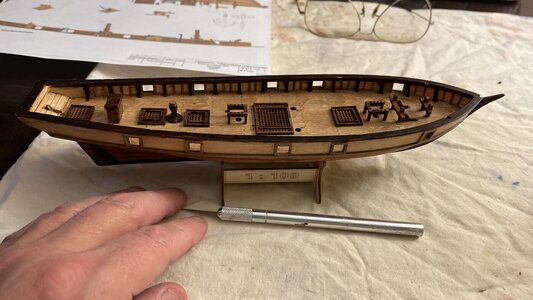
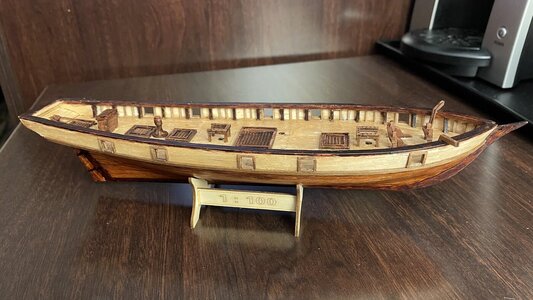
Cheap Chinese Halcon speed build [COMPLETED BUILD]
- Thread starter DARIVS ARCHITECTVS
- Start date
- Watchers 51
-
- Tags
- completed build halcon
Kurt Konrath
Kurt Konrath
She is shaping up nicely for a small simple kit.
Nice work
Did this ship had two different sizes of guns? I think the right one is much bigger one, than the others?
Did this ship had two different sizes of guns? I think the right one is much bigger one, than the others?
No. ballast has to be down in the hold. Having that heavy gun on deck reduces stability, it doesn't improve it.Weird. I guess it's ballast
Yes, Yes. It was just a jokeNo. ballast has to be down in the hold. Having that heavy gun on deck reduces stability, it doesn't improve it.

Some more work was done tonight.
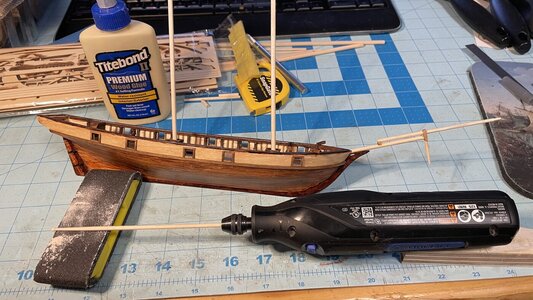
The cordless Dremel can taper and shape these softwood dowels quickly. It took seconds to taper the topgallant masts and form the final at the top end. While the tool spins the dowel, you guide the free end of the dowel over the coarse sandpaper, and use the edge of the sanding block to form the inside corner under the finial.
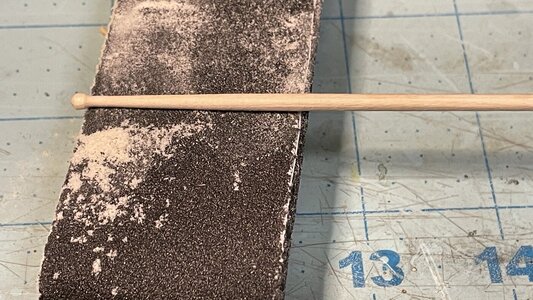
After forming the finial, the curve of the taper under the end is sanded to fair it in with the full thickess of the mast farther down.
After making the mastheads by drilling two holes in a stick of walnut and then sawing them off the stick, the top ends of the foremast and mainmast are sanded and diamond filed to square cross section to fit the holes in the crosstrees. Then the parts are test fitted, then stained with red-brown TruTint stain.
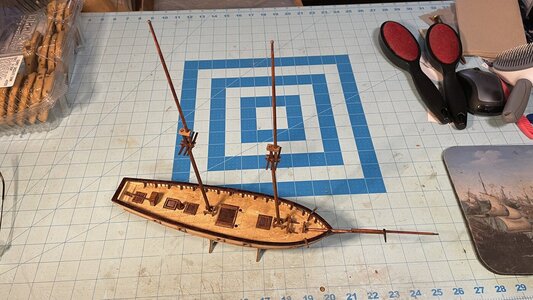
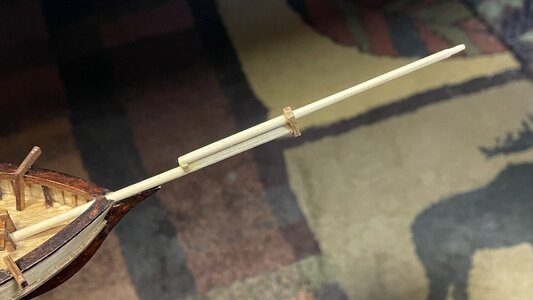
The bowsprit is also stained and fitted.
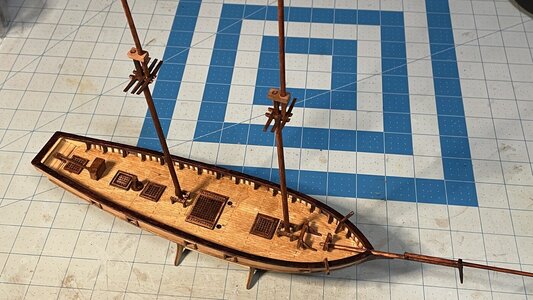
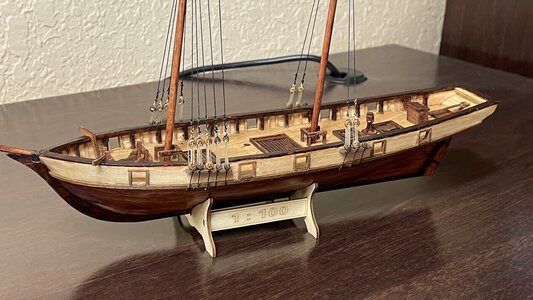
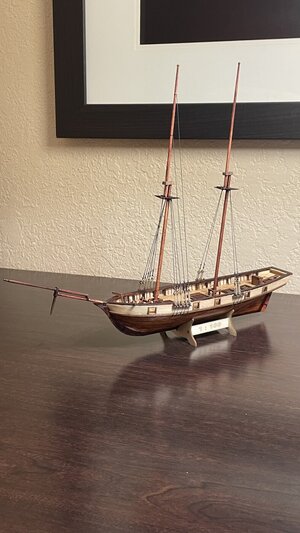
It's starting to look like a proper schooner with the masts. The masts will be glued in place later.
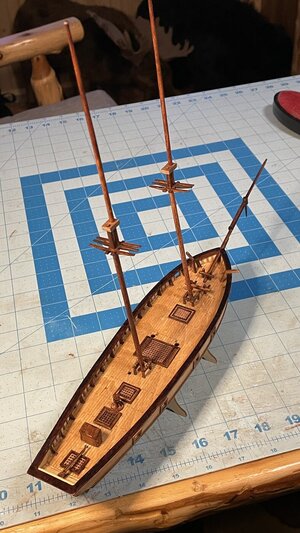
The cordless Dremel can taper and shape these softwood dowels quickly. It took seconds to taper the topgallant masts and form the final at the top end. While the tool spins the dowel, you guide the free end of the dowel over the coarse sandpaper, and use the edge of the sanding block to form the inside corner under the finial.

After forming the finial, the curve of the taper under the end is sanded to fair it in with the full thickess of the mast farther down.

After making the mastheads by drilling two holes in a stick of walnut and then sawing them off the stick, the top ends of the foremast and mainmast are sanded and diamond filed to square cross section to fit the holes in the crosstrees. Then the parts are test fitted, then stained with red-brown TruTint stain.

The bowsprit is also stained and fitted.

It's starting to look like a proper schooner with the masts. The masts will be glued in place later.

More work this evening. The channels were made from scrap walnut because they were missing from the kit, as was the dolphin striker, over which the bobstays will be rigged later. I suspect the reason why the Chinese are pumping out thousands of these kits for $12 is because they are incomplete. The kits they charge more money for are probably complete. No matter, since the parts can be scratch built.
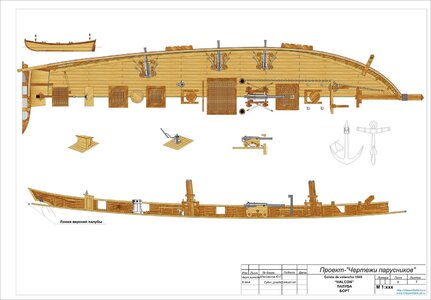
The first channel is glued onto the hull. The channels dimensions were taken from Russian plans for the Halcon. The edge of a diamond file was used to cut the notches to accept the chainplates.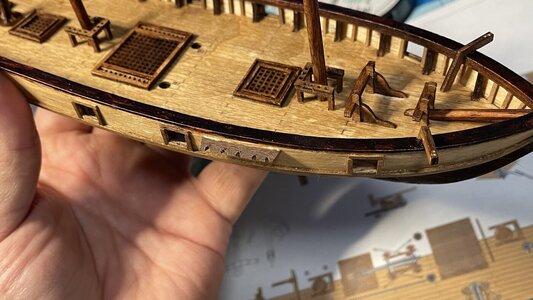
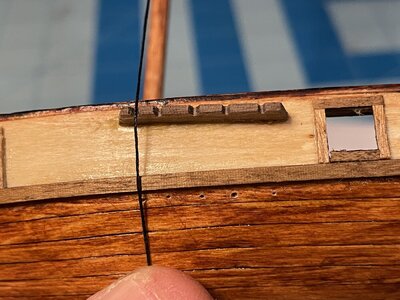
The location of where the chainwales are bolted to the hull is located using a temporary (false) shroud line. These spots are marked with a dental pick, and small nails are pushed into the holes. The chainplates will be simulated using heavy black coat thread.
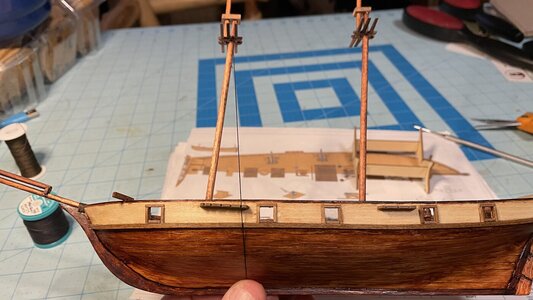
The dental pick easily makes holes in the soft, thin planking.
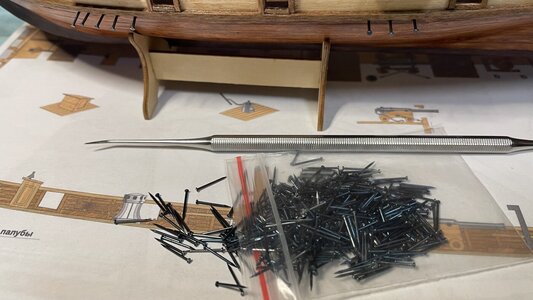
Here are the blackened nails inserted into the holes.
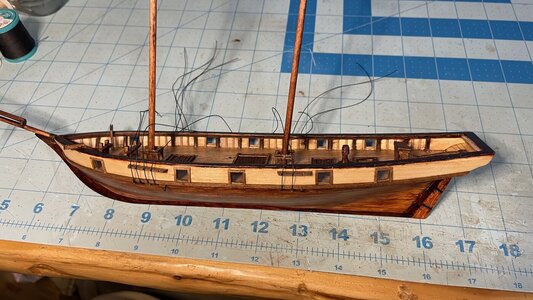
Black heavy threads are tied to the nails, then the threads are tied to 3mm and 2mm round deadeye (not provided in the kit) at precise distances from the nails such that they sit directly atop the channels. This is nimble work at this scale.
PVA glue is applied to the knots, then to the notches in the channel so the deadeyes are held in place. This will make rigging the falls between the upper and lower deadeyes a bit easier later on. I won't have to wrestle them with fat fingers.
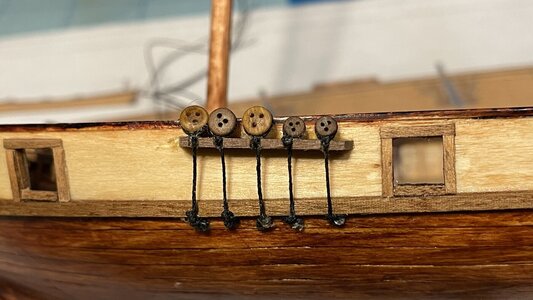
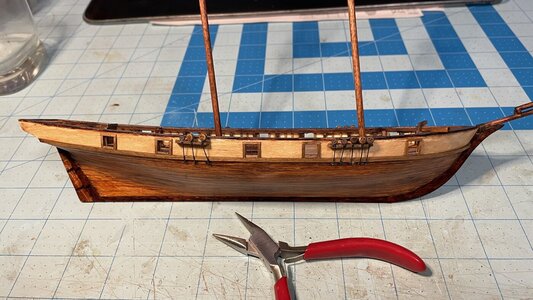
The channels, chainplates and deadeyes are done on the port side. The smaller 2mm deadeyes are for the backstays for the topmasts.
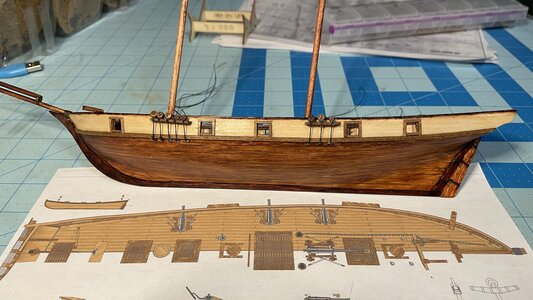
The channels, chainplates and deadeyes are done on the starboard side.
The first channel is glued onto the hull. The channels dimensions were taken from Russian plans for the Halcon. The edge of a diamond file was used to cut the notches to accept the chainplates.

The location of where the chainwales are bolted to the hull is located using a temporary (false) shroud line. These spots are marked with a dental pick, and small nails are pushed into the holes. The chainplates will be simulated using heavy black coat thread.

The dental pick easily makes holes in the soft, thin planking.

Here are the blackened nails inserted into the holes.

Black heavy threads are tied to the nails, then the threads are tied to 3mm and 2mm round deadeye (not provided in the kit) at precise distances from the nails such that they sit directly atop the channels. This is nimble work at this scale.

PVA glue is applied to the knots, then to the notches in the channel so the deadeyes are held in place. This will make rigging the falls between the upper and lower deadeyes a bit easier later on. I won't have to wrestle them with fat fingers.

The channels, chainplates and deadeyes are done on the port side. The smaller 2mm deadeyes are for the backstays for the topmasts.

The channels, chainplates and deadeyes are done on the starboard side.

Last edited:
I learned (again) that speed and rigging don't work together. . .Very good!! I'm learning a ton from your speed build.
Day 16
Rigging the shrouds for the fore and main masts using 3mm deadeyes, heavy black coat thread and 0.25mm tan thread. This is some really tiny work, especially since I don’t have the magnifying headset here with me. Luckily I’m near sighted.
Had to refresh my memory on how to rig deadeyes.
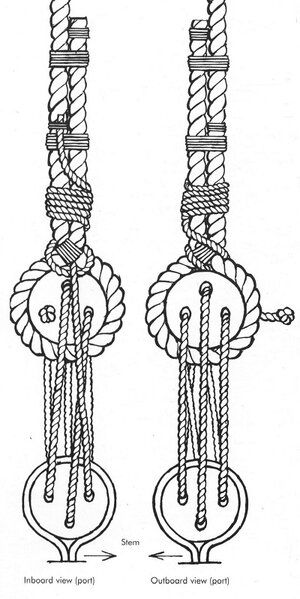
First pair of shrouds. A couple overhand knots with heavy black thread above the top deadeye is sufficient to simulate the seizing of the shroud cable.
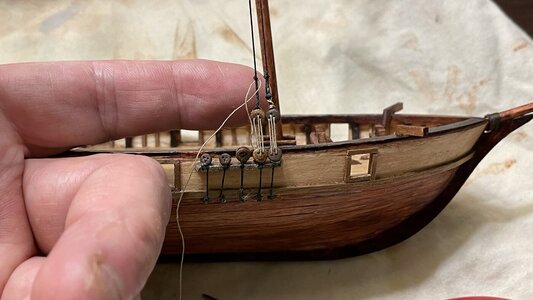
The last deadeye in this set is tied with a simple overhand knot with special attention given to the length of the shroud in order get proper shroud tension after the last set of deadeyes are lashed.
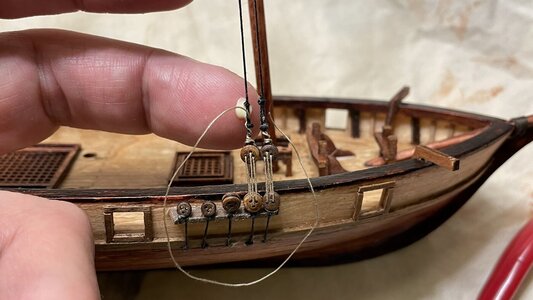
Some black thread is seized around the shroud pair.
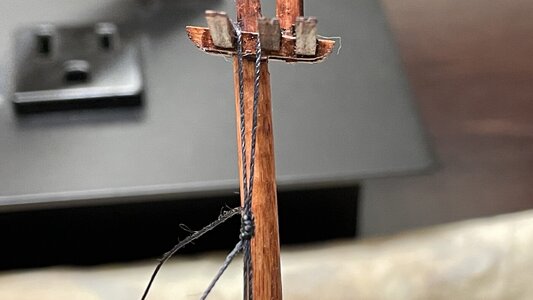
The seize is then slid upward and into position between the crosstrees, and locked in place with PVA glue before the thread ends are trimmed off.
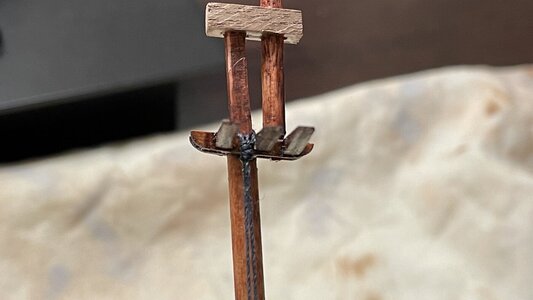
First pair of shrouds on the starboard side is done.
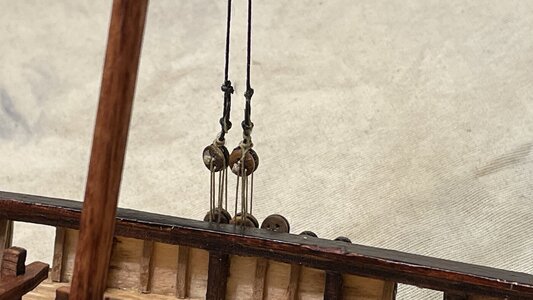
The second pair is done on the port side, and the third shroud line passes over the crosstree to one deadeye for each side.
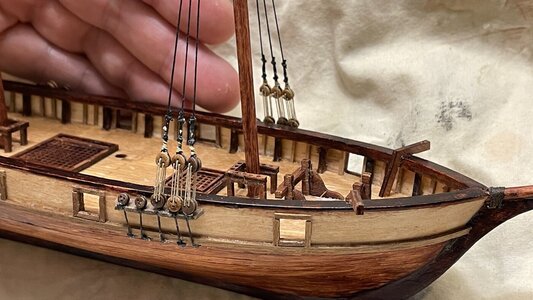
Progress so far.
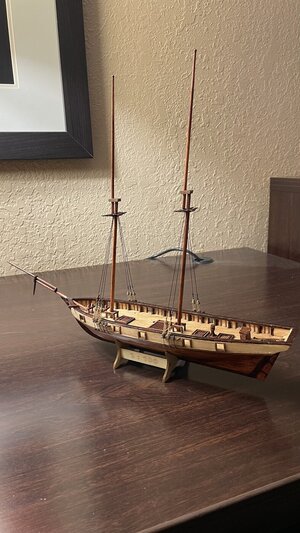
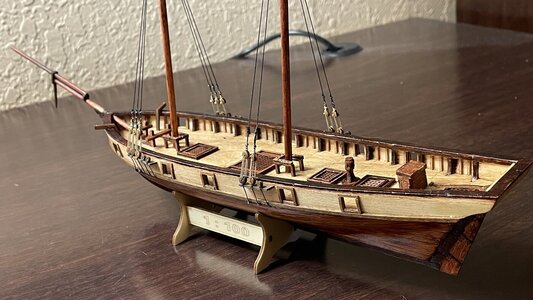
Rigging the shrouds for the fore and main masts using 3mm deadeyes, heavy black coat thread and 0.25mm tan thread. This is some really tiny work, especially since I don’t have the magnifying headset here with me. Luckily I’m near sighted.
Had to refresh my memory on how to rig deadeyes.

First pair of shrouds. A couple overhand knots with heavy black thread above the top deadeye is sufficient to simulate the seizing of the shroud cable.

The last deadeye in this set is tied with a simple overhand knot with special attention given to the length of the shroud in order get proper shroud tension after the last set of deadeyes are lashed.

Some black thread is seized around the shroud pair.

The seize is then slid upward and into position between the crosstrees, and locked in place with PVA glue before the thread ends are trimmed off.

First pair of shrouds on the starboard side is done.

The second pair is done on the port side, and the third shroud line passes over the crosstree to one deadeye for each side.

Progress so far.


….True story Kurt, however I think Mr Bolt is nervous you will break his record at this paceI learned (again) that speed and rigging don't work together. . .
 . Cool little build. Cheers Grant
Looking good! Really coming along!Day 17
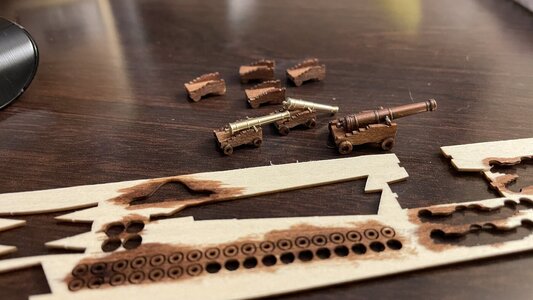
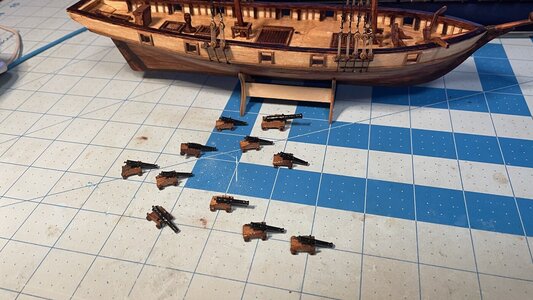
Just finished assembling the gun carriages. mounting the the gun barrels and rigging breaching ropes and gun tackles is next. I had to scratch build the trucks for 5 of the carriages because they were missing from the kit. No idea why.
View attachment 410362


