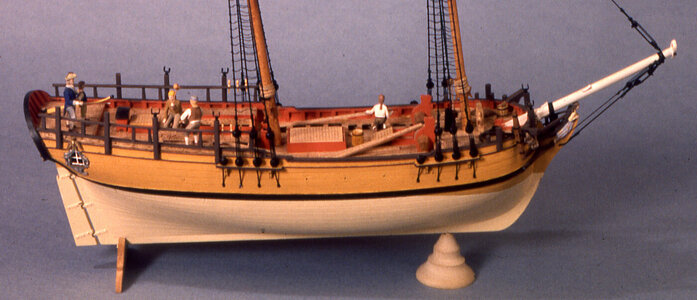
Colonial Schooner Sultana

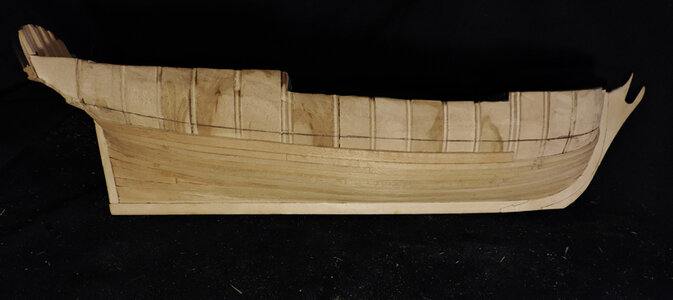
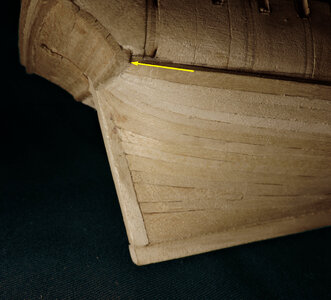
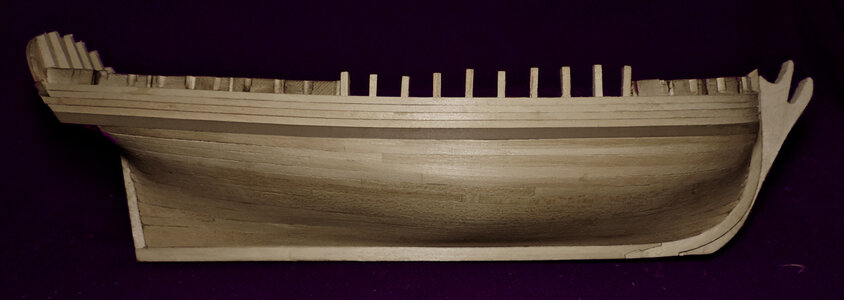
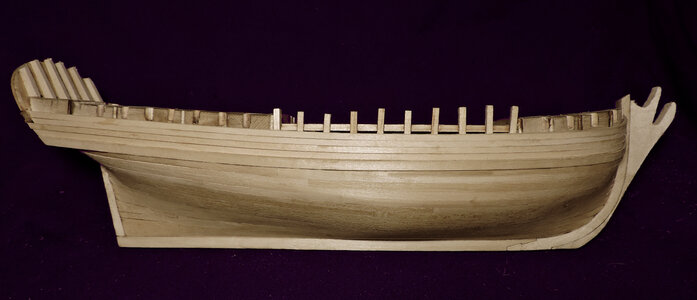
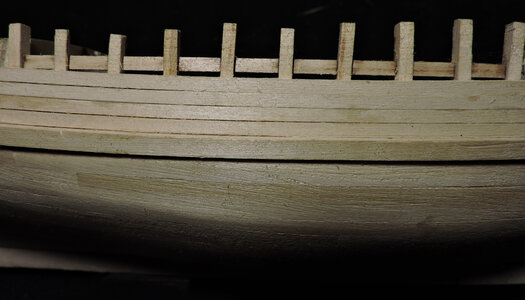
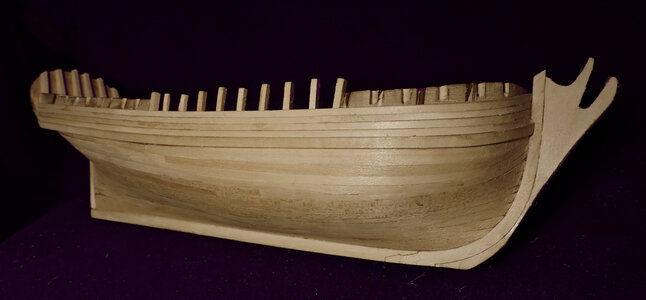
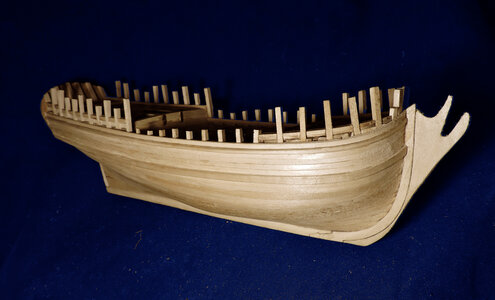
planking the next belt is complete up to the two shutter planks under the main wales
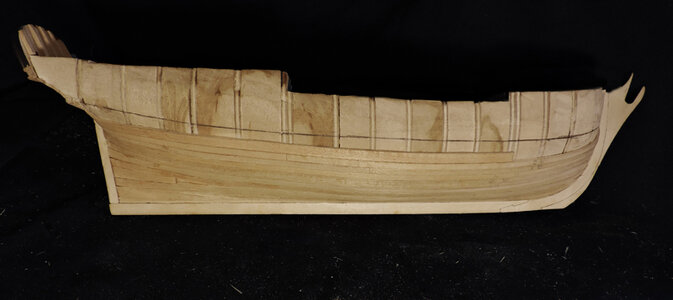
planking belt13 A.jpg

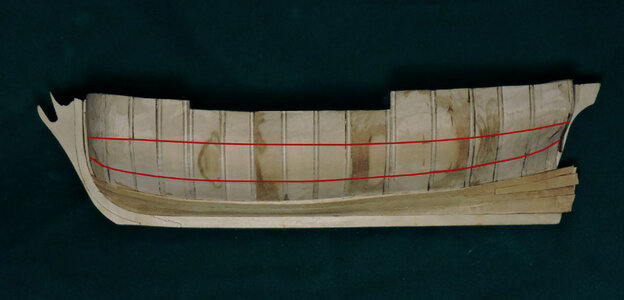
The line is the bottom of the main wale and the shutter planks run parallel to the line. from stem to stern. If the planking was planned correctly you will have room at the bow and stern for the run of the final planks. If you do not have room then something went wrong, either rip off some planks and make corrections or just leave and stop the planks short of the stem, it depends on what you want to do.
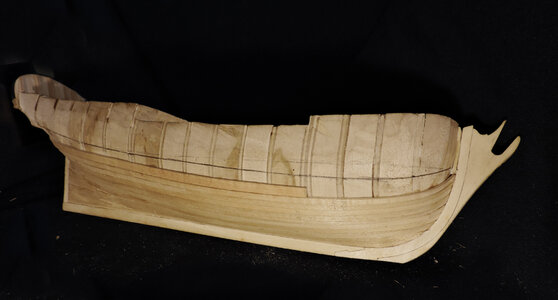
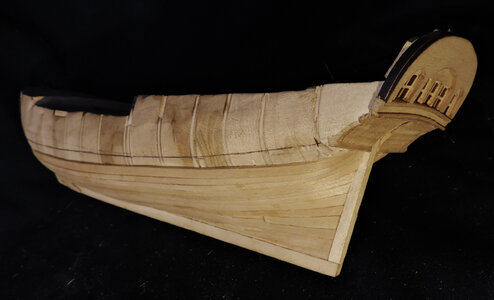
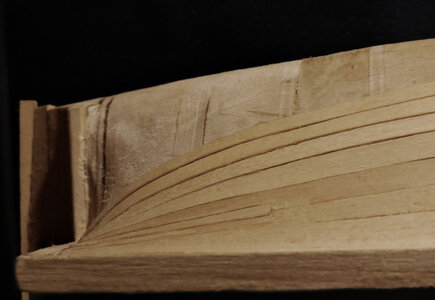
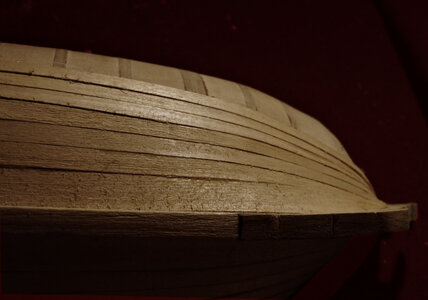
planking belt14.jpgplanking belt15.jpg


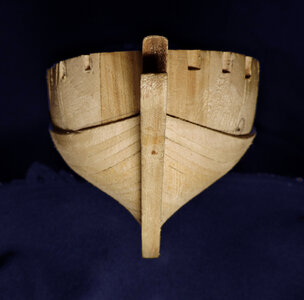
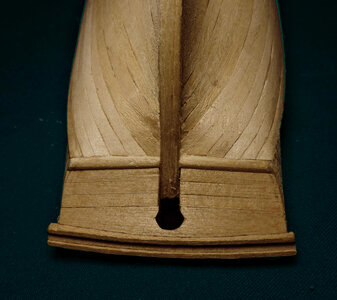
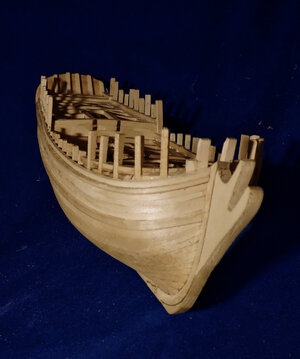
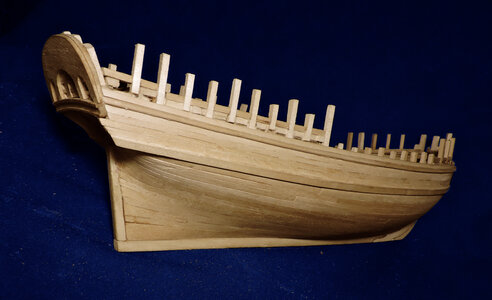
At the stern the final shape of the lower section was left undone up to this point when the last planks are put in place. You can see on the left the final shape and the on the right where the stern has not been finished.
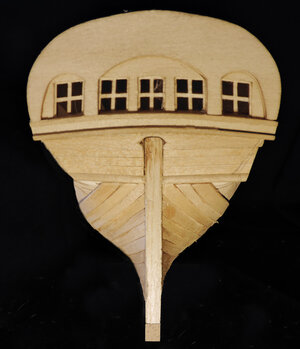
planking belt16.jpg

when the last planks are put in i will go over a few points on planking the lower hull before we move on to the upper works.
 
Last edited:
the last post was over a month ago and that is because i got hit with some sort of virus not a computer virus but one that knocked me down and it took a solid month to recover. It was not Covid but something else that was going round. Once i was able to get back up and running i found i was so far behind in mill work and i did not touch the Sultana or did much of anything.

i left off with the last shutter planks under the wale

planking belt13 A.jpg

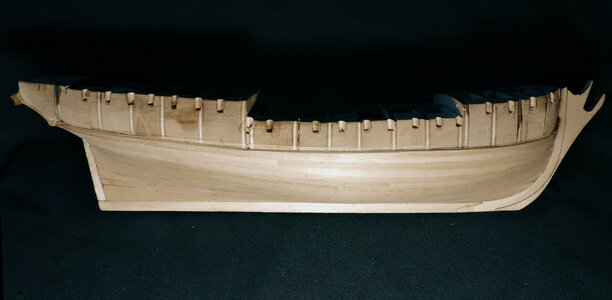
finishing the last planks i am now ready to move on to the upper works.


upper hull1.jpg

The method i used to plank the hull starting with the garboard then the bottom planks. I drew the bottom of the wale on the hull then divided the hull from the bottom planks to the wale line into sections. Looking back three sections would be better and just two, it would be easier to judge the tapper on the planks.

planking26.jpg

This is not the only method to plank a hull some builders start at the wale and work down, some start at the wale and at the bottom and work to the center of the hull. You will also find several topics on this forum on hull planking along with a two part article by Bob Hunt in the Model Ship Builder journal which you can download right here on the forum. As a matter of fact with the Sultana you do not even have to plank the lower hull. I filled in between the bulkheads to create a solid hull to plank over but you can also sand down the hull and give it a coat of a wood filler and sand the hull to a finish, then a coat of primer and paint the lower hull. It all depends on what your plan on what the finished model will look like. For me i plan on painting the model with a wash of colors to give it a weathered look of old paint.
 
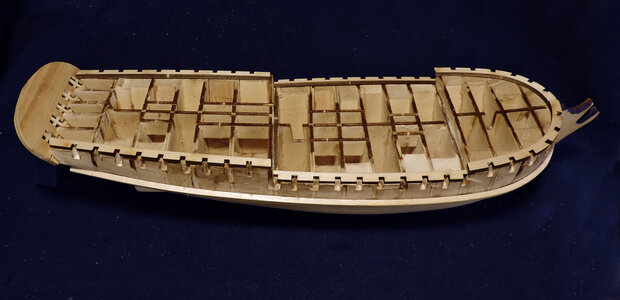
The bulkhead hull ends at the deck level, above the deck are the bulwarks which are not planked on the inside so the top timbers will show. you can see them on the Hahn model.

hahn model.jpg


looking at the original kit plans the blue line is the deck, above that is the cap rail line, to the left is showing a cross section of the bulwarks


drawing.jpg

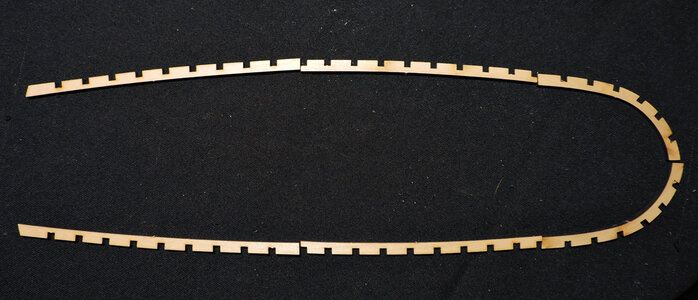
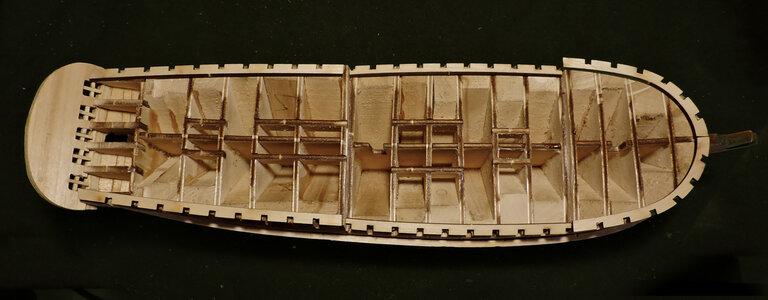
First thing is the laser cut waterways with notches for the top timbers.

upper hull10.jpg

i temporarily placed them on the hull to trace the loctions of the notches

upper hull2.jpgupper hull3.jpg

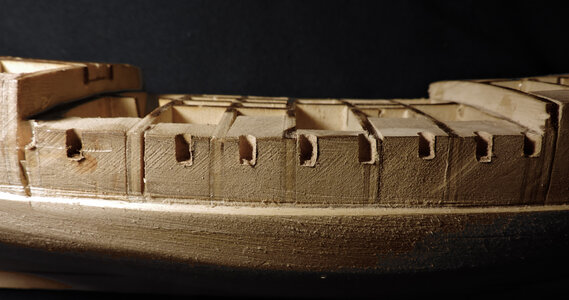
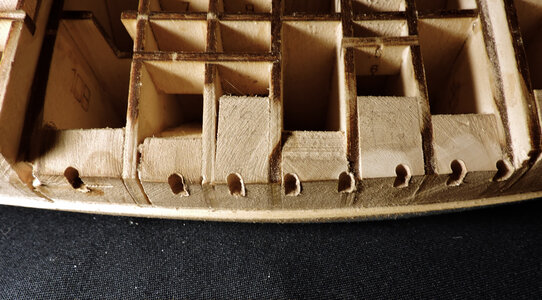
With the notches traced on the hull i went ahead and cut notches for the stanchions to fit into. You do not have to do this step as there are notches in the waterways. I cut the notches in the hull for better support of the stanchions. you do not have to be exact when cutting the notches because they will be filled with wood glue so a loose fit will work just fine.

upper hull4.jpgupper hull5.jpg

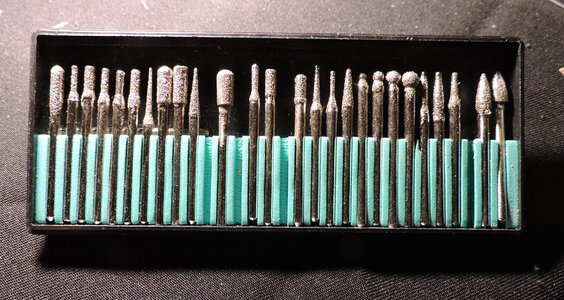
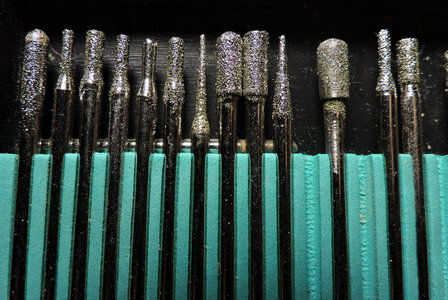
To cut the notches i used diamond burs and they cut so fast i cut all the notches in minutes.

upper hull6.jpgupper hull7.jpg
 
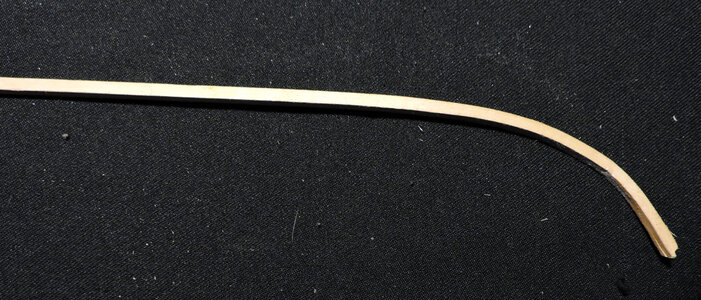
installing the wales i prebent them at the bow by soaking them in hot water for about 20 minutes. Basswood is soft enought the wales will bend without to much trouble. Once i bent the wet wales on the hull i let then set there and dry out, this set the bend.

upper hull8.jpg

at the bow i cut a notch in the end so the wale will fit into the rabbit.

upper hull9.jpg

Bending the wale along the hull was no problem, by ending the hull planking at the bottom of the wale it gave me a soild edge to follow. At the stern the wale takes a slight twist which twisted dry.

upper hull11.jpg

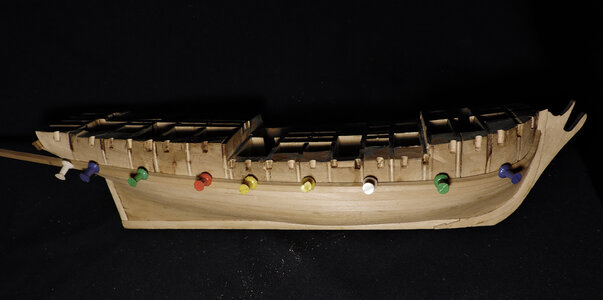
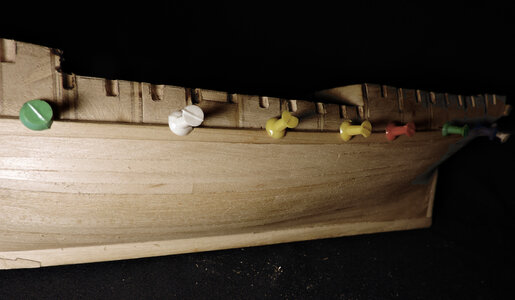
To secure the wale to the hull while the wood glue sets i used push pins. These pins work perfect to hold the wale in place and easy to push into the soft Basswood.

upper hull12.jpg
 
Last edited:
a few notes on planking the hull before i move on.

It is important you hit the same height at the bow because that sets the wale location

details1.jpg
same deal at the stern the last plank should line up with the end of the stern molding.

details5.jpg

when you plank the hull you will end with some planks at the bow and stern will not always set against the plank next to it. You can twist and try to clamp the plank or use a super glue and hold the plank in place until the glue grabs. Or what i did was to ignore the issue because the planking is thich enough the planking will sand smooth.

details2.jpgdetails3.jpg

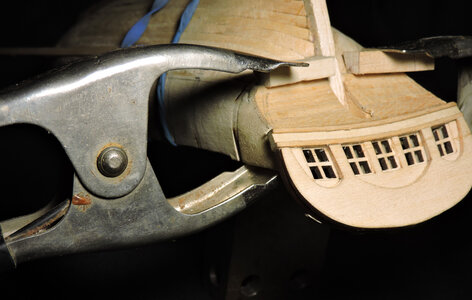
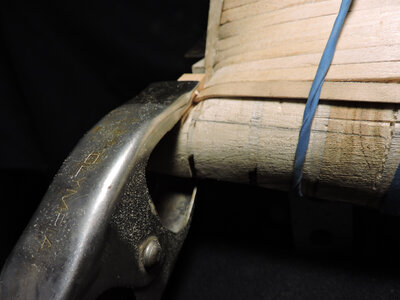
At the stern, an area that gives builders a problem is where the ends of the planks take an extreme bend and twist and set against the bottom of the molding.
In general the harder the wood you use the harder it will take to bend it. The softer the wood the easier it will be to twist and bend it. I tried to bend the planks dry and had poor results with that idea. So like the wales i soaked the planks and pre bent them, clamped them to the hull and let the bend set.

details4.jpg

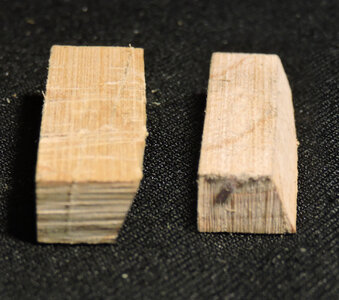
i cut a couple blocks with one side at an angle.

details6.jpg

If i clamped the planks directly with a spring clamp i woud crush the plank beyond recovery. A hard wood might be able to take the clamping pressure but not Basswood or any soft wood.
What i did was use the blocks and clamped them to the bottom of the molding

details7.jpg

now with the angled face facing forward i can pinch the end of the planks in place without crushing them.

details8.jpgdetails9.jpg
 
Dave, I am really enjoying your pictures with associated explanations on your planking method!
thank you very much for your effort!

Jeff
 
Last edited:
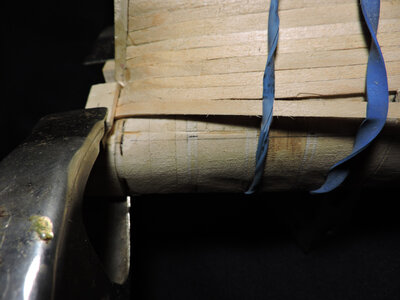
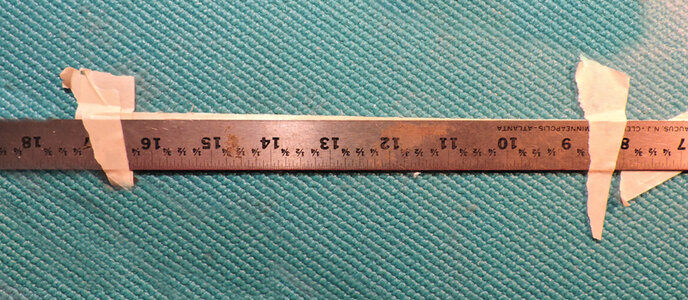
cutting a taper in a plank i first tape the plank to a piece of glass then set my taper and tape the ruler to the glass. This prevents the plank and the ruler from moving. Using a new sharp Exacto knife i lightly score along the edge of the ruler taking several cuts rather than try to cut the tapper in one or two passes.

upper hull14.jpg

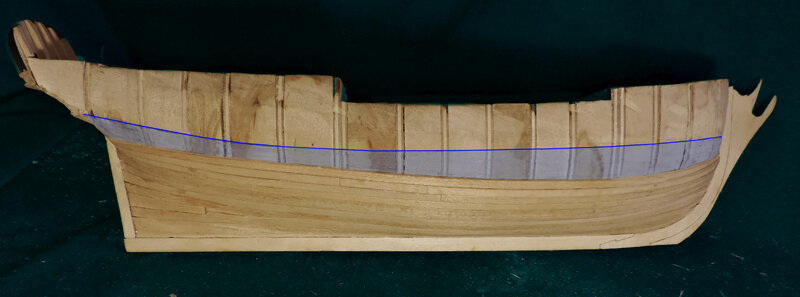
The question is how long should a tapper be? that is a judgement call and you have to keep an eye on the run of the planking and the line on the hull. If the taper is to long you will end up with to much space between the planking and the line. Notice the dip in the run of the planking towards the bow, that is because the taper is to long. In this case the taper should be no longer than the 3rd bulkhead. You should make the first taper to about bulkhead 1 then to bulkhead 2 and finally to bulkhead 3.
When this starts to happen and if it not to bad you can adjust the rest of the planks by cutting them to fit the area in light blue. The best bet is to just rip off a few runs of planking and try again.

upper hull13.jpg
 
Last edited:
starting on the bulwarks
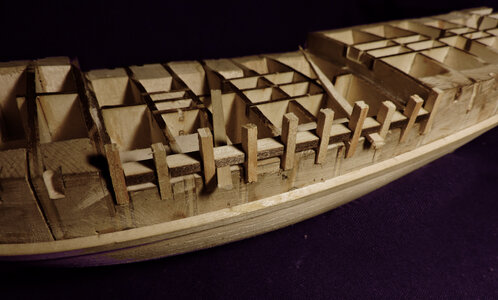
First set up the stanchions in the notches in the hull and waterway. what i am doing is placing a scrap piece of planking under the waterway so i do not end up gluing it down. I will have to remove it once the stanchions are glued in place.
I also cut the stanchions long to make sure i have enough height when it comes time to add the caprail.

bulwark1.jpgbulwark3.jpg

the outer edge of the stanchions stand out farther than the edge of the waterway.

bulwark4.jpg


once the stanchions are glued into the hull notches they will be sanded to the surface of the hull.

bulwark2.jpg
 
Last edited:
planking the upper hull runs parallel to the wales so it is important you get the wales in the collect location and at the correct arc. There are a few ways to make sure the wales are correct one is to measure down from the top of the bulkheads and draw a line on the hull. As you work your way up with planking watch the space from the plank your installing to the line making sure you hit the line at the bow and stern and maintain the proper arc. another way is to install the wales first and plank up to them. There are pros and cons with both methods. By planking to a line if you miss you can use a wider plank and with a file or sanding block correct the last plank to match the line. Planking the hull and setting the wales on the top plank is much easier than trying to the fit the last shutter plank between the last plank and the bottom of the wale. There is no taper to the planking above the wales.

upper hull16.jpg

if your measurements are correct you should hit the waterway at the main deck.

upper hull15.jpg

Taking a close look you can see the top of the last plank hits the waterway of the main deck. Notice as careful as i was planking the hull i missed the the arc of the main deck. You can see a slight space at the right side between the bottom of the waterway and the top of the plank, at the back it hits perfectly. The miss is so slight it will not really matter. There is an arc to the main deck and the waterway will be bent at the center to match up with the top of the last plank. When the waterway is glued in place the sheer molding is glued to the outer edge of the waterway locking in the stanchions.

upper hull18.jpg

Before the sheer molding is installed the rest of the stanchions have to be glued into the notches cut into the hull.

upper hull17.jpg
 
Last edited:
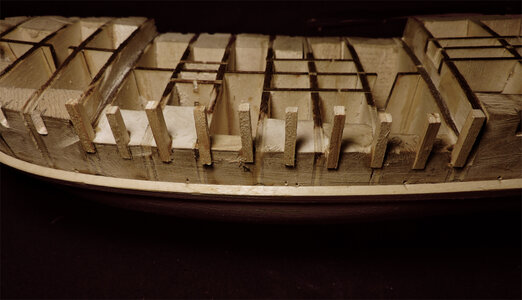
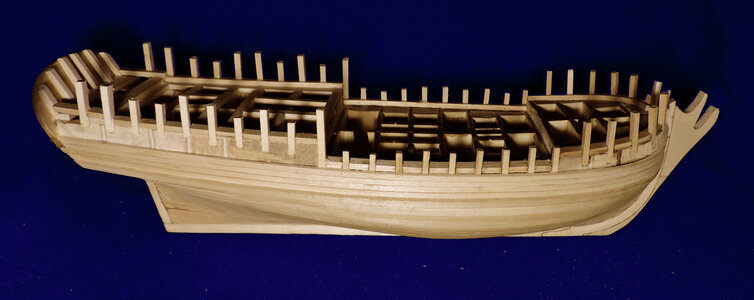
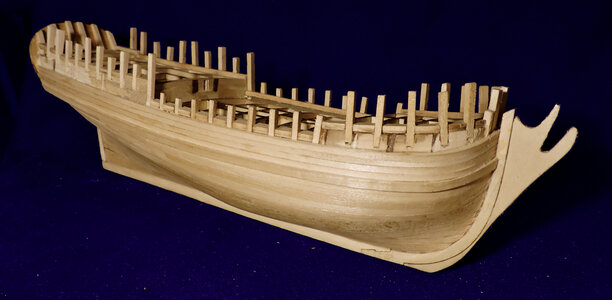
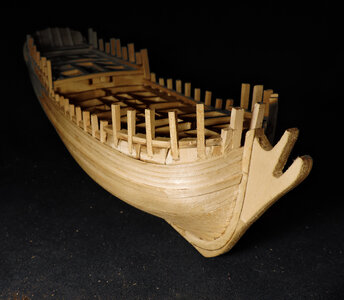
All the stanchions are now glued in place, the lengths are just random and they will be cut down once the last hull plank is in.

bulwark5.jpg

With a sanding block the stanchions have all be sanded to the outer edge of the waterway.

bulwark6.jpg

At the bow knightheads were installed on both sides of the stem. The taller ones are the knighthead and the shorter one is the stanchion the caprail will sit on.

bulwark7.jpg

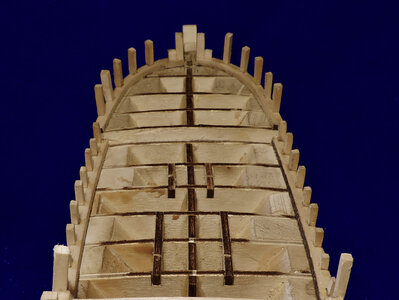
a view from the inside. An error i made is i should have finished the inside edge of the waterways i got ahead of myself and glued one down before i realized i left the char on it. The inside edge is rounded at the top and it would have been easier to do that when the waterway was loose.

bulwark8.jpg
 
Last edited:
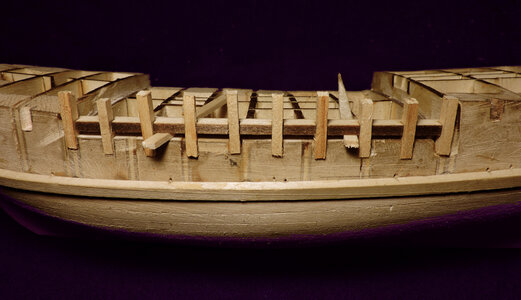
Way back when i first started building model ships i was told by a certain group i had to toss out any wood in a kit and replace it because the supplied wood is poor quality and you can never ever use Basswood or any softwood because it is fuzzy and will not hold a sharp edge plus it is weak. The only suitable woods are Boxwood, steamed pearwood, Holly, Ebony and a few others. For a long time i struggles with these hardwoods, it is difficult to cut notches in boxwood with just an Exact-o knife because it is just so darn hard. Granted these hardwood make an outstanding model no doubt about that. Other than the plywood bulkheads the Sultana is being built from Basswood and it is a joy to use. I can fabricate parts, cut and sand it with ease, it is soft and you do have to be careful when clamping it because it will dent. For a novice or beginner this is a perfect project. Naturally if your using something like Steamed pear or Boxwood they look fantastic with a natural finish so you would not want to paint over a wood you paid $35.00 a foot for so painting a model was not very popular. An alternative to painting, a fad a few years ago was "painting with wood" using the natural colors of wood and there are many. This is not a bad idea but in some cases taken to far in contrasting colors the model begins to look cartoonish and it distracts form the workmanship of the model. to much color breaks the model up and it looses coherence.
 
I built this as one of the first wooden ships I Built. I used a practicum by Chuck Passaro to build it. the hardest part for me was getting the hull correct. Carving instead of building it. it was a great learning experience and I thought the basswood was nice to work with.
 
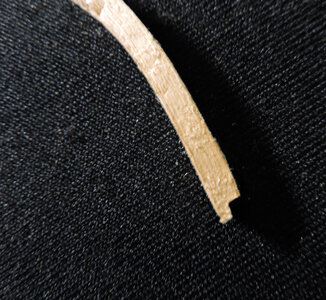
next piece is the sheer molding but before it is put on the hull it has to be made from 1/8 square material. The molding has a rounded edge which i have tried sanding the edge by hand. The problem with doing that is any wiggle in your hand or sanding one area more tha another results in an uneven looking molding.
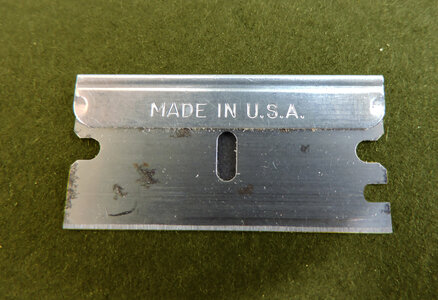
To solve this unevenness i used a simple razor blade. Standard razor blades have a rounded notchs at the sides. the lower notch on the right side i cut in with a file.

molding1.jpg

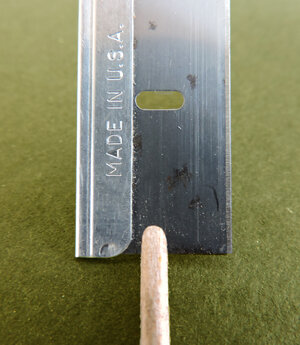
The idea here is to scrape the notch along the edge of the strip until you have a smooth curved bull nose to the edge of the molding.

molding2.jpg

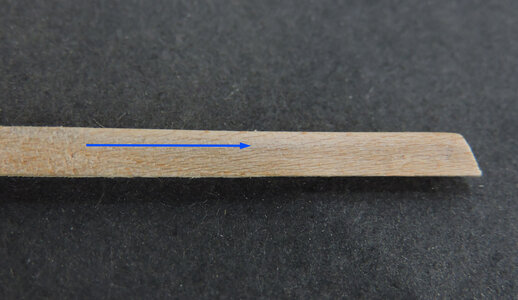
using the notch in the razor blade you will get an even straight rounded edge. Looking close at the blue arrow and follow it forward the curved top will maintain a straight finished shape on both sides.

molding3.jpg

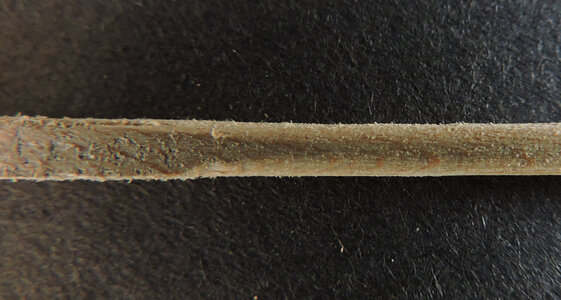
from the top view you can see how the curve formed on both sides from square to round.

molding4.jpg

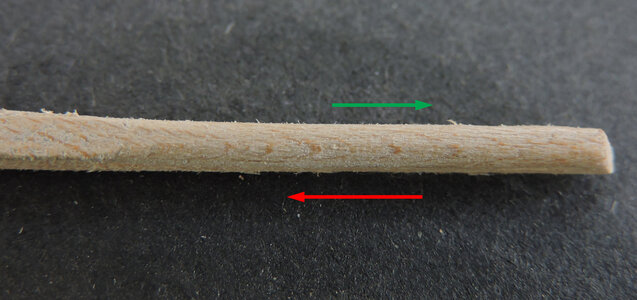
A trick to getting a clean smooth cut depends on the direction you shave the molding. Look close at the wood grain, you will see a dark spot on the front of the grain pattern. Scrapping in the direction of the green arrow is going with the grain, the red arrow is going against the grain and will result in an uneven fuzzy finish because you are snagging the grain. So if you are getting a rough cut reverse the direction of you scrapping.

molding5.jpg
 
Last edited:
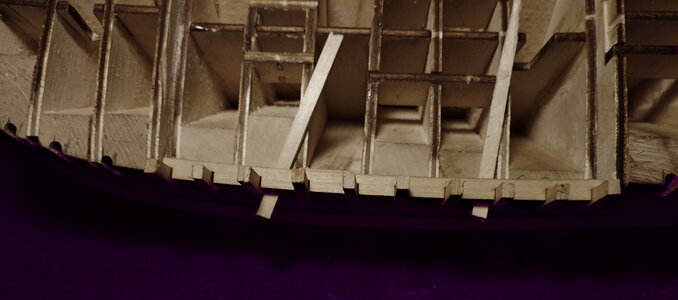
I built this as one of the first wooden ships I Built. I used a practicum by Chuck Passaro to build it. the hardest part for me was getting the hull correct. Carving instead of building it. it was a great learning experience and I thought the basswood was nice to work with.

This model is based on the original set of kit plans, however the new drawings have been modified from a solid hull model to plank on bulkhead and corrections have been made. So even though the POB model is in general bassed on the original it is a totally different building experence.

The Basswood took me by surprise with this build after the bad rap it got for so long by the eliete purists, it is great wood to work with. For beginners or a novice builder it is more about learning how to build and the techniques used. Basswood lends itself to such a build without the fustration of working with hardwoods trying to cut and bend them. However Basswood is in the hardwood catagory it is just at the softer end.
Basswood for as long as i can remember was the go to wood for carvers so they must of known something about the wood.
 
when i finished shaping the molding i soaked the end in hot water for about 1/2 an hour then bent it around the bow and let it sit until the molding dried. When the molding dried the bend set so i glued it to the hull with little effort.

you can see by the shadows of the wale and sheer molding they run parallel to one another.

molding6.jpg

The plank above the molding is the last hull plank.

molding7.jpg

molding8.jpgmolding9.jpg
 
Back
Top