Colonial Schooner Sultana

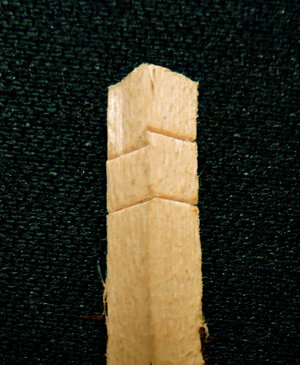
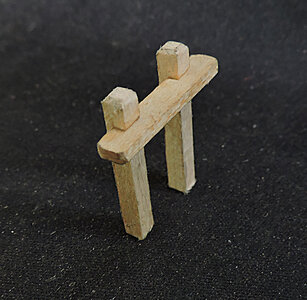
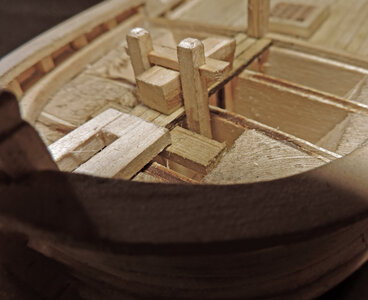
Before going on with the decking i built the bitts which is a straight forward piece to make. Use a piece of 1/8 square stock and cut the two posts longer than the final height from the deck. The cross rail is made from a pieces of the deck planking stock. Notches are cut in the posts and the rail. At the tops the edges have a bevel.
deck37.jpg

The distance the posts are apart is equal to the width of the three center deck planks. Making the space between the posts the same as the three planks avoids having to trim and fit the deck planks around the posts. To mount the bitts on the deck the extra lengh of the posts go below the deck and glue to the side of the bulkhead. To make sure the bitts are at the correct height and level i took a scrap piece of wood and trimmed it so it fit under the rail. I could use a super glue but then i have like 15 seconds to place the bitts level and at the correct height. Using a slower wood glue with the block gave me time to make sure the bitts are in correct.
deck38.jpg
 
There are two ways to plank the fore deck one is to use a margin plank and nib the ends of the deck planks into the margin plank.

Capture deck.JPG

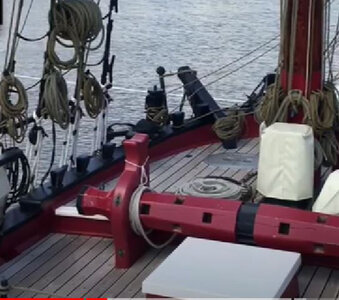
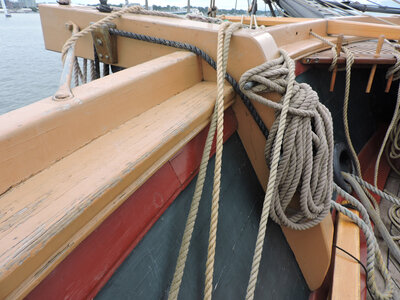
Lookng at the deck on the Sultana reproduction there isn't a margin plank and the deck planks run to the bulkwark.

foredeck planking.jpg

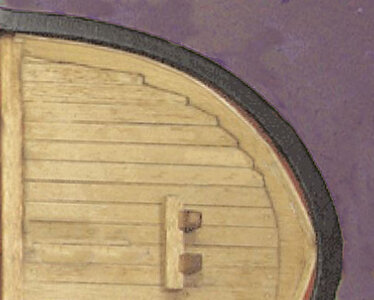
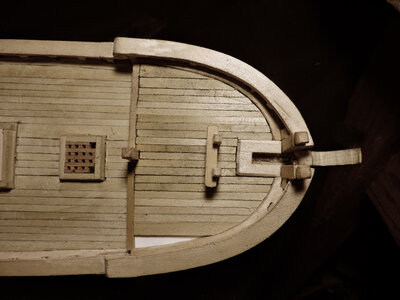
Planking the fore deck on the model is the same as the last decks. Using black China marker for the caulking the planks were darkened along the edges. working from the three center planks the deck is worked out to the waterway.

deck39.jpg

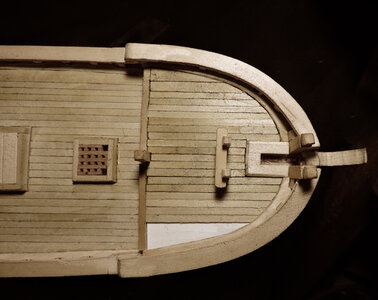
When i got to the final planks i used a piece of cardboard as a template and cut it to fit against the waterway.

deck40.jpg

The last planks are a builders choice as to how you want to finish off the deck planking. What i did was to divide the last section into two wider planks. Then placed one plank over the cardboard and cut it along the edge giving me a pattern for the last plank.

deck41.jpg
 
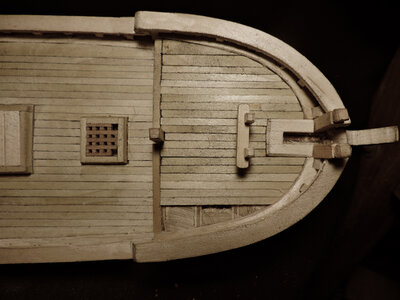
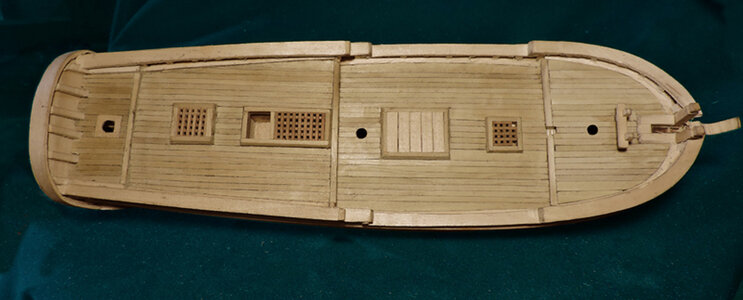
The decks are now finished and the end of having to handle the model. Up to this point the model was built mostly in my lap so any delicate details would get broken.
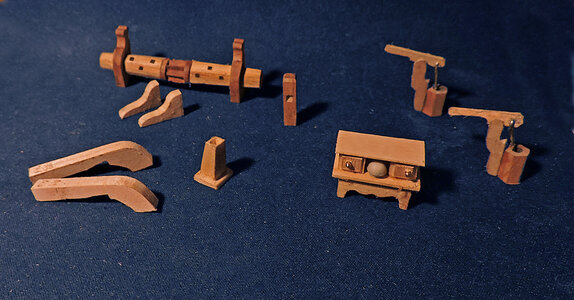
The next step in the build will be adding the details.

deck42 larger size.jpg
 
Last edited:
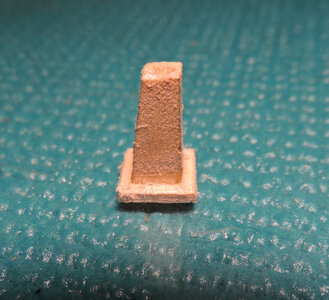
lets start with the easiest which is the stove pipe this is nothing more than a block of wood tapered on three sides. It will then be painted black.

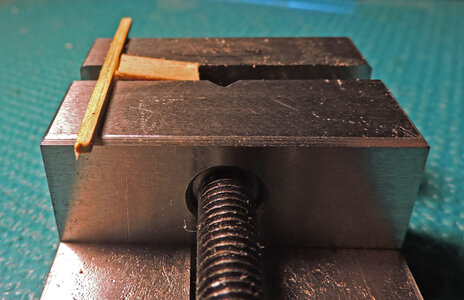
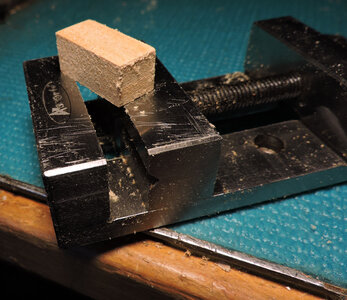
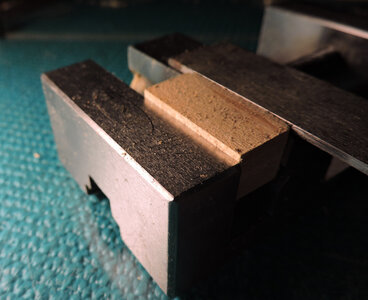
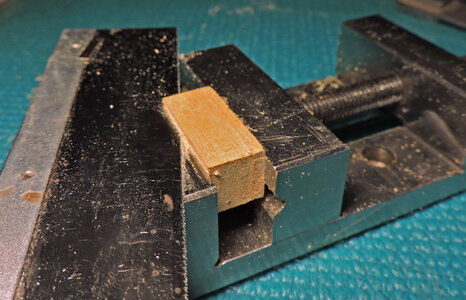
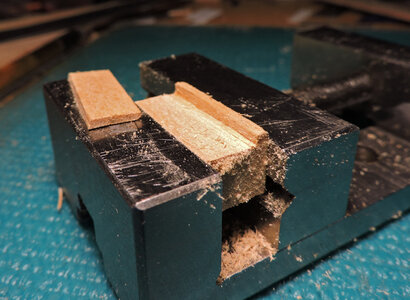
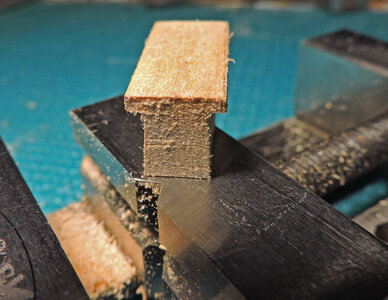
in order to get all three sides tapered at the same angle a macine vice is used. At one end the block is set level with the top of the jaws and at the other end a stick is used to set the height. As long as you use the stick when you rotate the block and set it to even with the stick you will get the same angle on all three sides.
stove pipe1.jpg

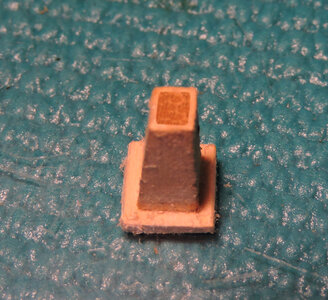
note the back side of the smoke stack does not have a taper it is straight up and that side will face the bow. Once the stove pipe is tapered it is glued to a small square piece of wood. You are looking extremely close to the items so the seem fuzzy but actually looking at them for real they are smooth. In the case of the stove pipe i will stain it black, give it a light sanding and final coat of black. When finished it will look smooth like metal.

stove pipe2.jpg

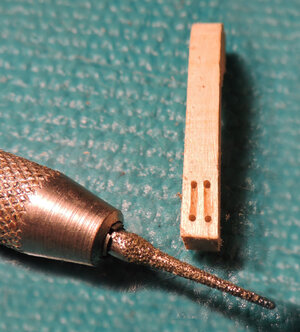
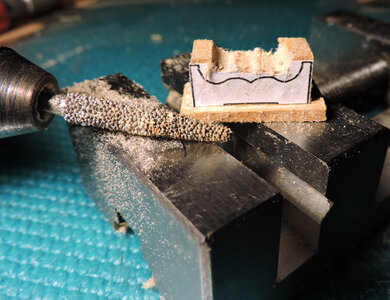
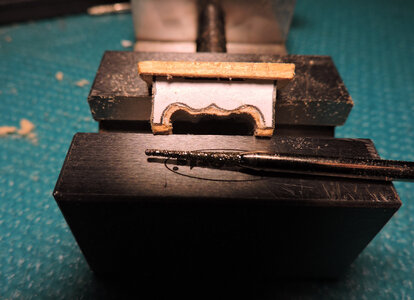
Obviously the stove pipe has to be hollow to let the smoke out. To do this i drilled two small holes in the top and wth a diamond file connected the holes and squared off the hole. The hole does not go all the way through, it does not have to be a "working" smoke stack, just deep enought to give the illusion of being hollow.

stove pipe3.jpg

and that figishes the stove pipe quite a simple process.
 
moving on to the catheads another easy thing to make so lets do it.
I want to remind members here this is a prototype for a Model Expo kit based on the original Sultana kit but not an exact redo so as i go along i am making changes here and there based on my research.
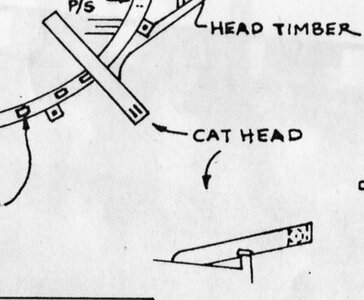
looking at the original kit plans it shows the catheads as a straight timber that looks like it goes through the cap rail. As far as instructions it says nothing. So all the builder has is the drawing.

Capture2.JPG


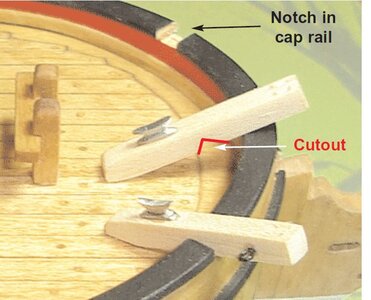
In an instructional build of the original kit Chuck Passaro gives a builder a bit more information on one way to install the catheads.

Capture1.JPG

looking at other carheads of the 1812 period on the Niagara an American built ship and the General Hunter a British built ship show the same style of cathead.

DSCN7051.jpgh6.jpg

The best source of information is actually the Sultans built in Chestertown Maryland which is simular to the other two.

cathead6.jpg
 
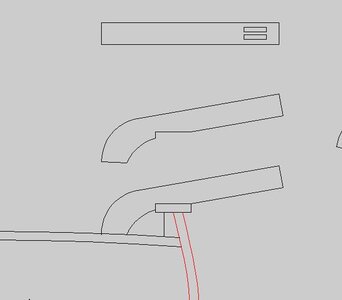
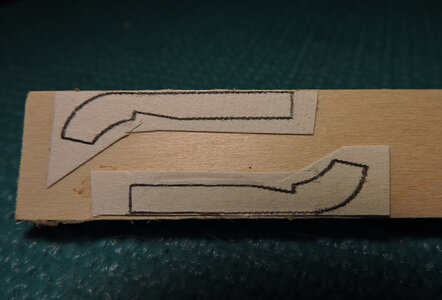
Starting with a piece of Basswood 5/32 thick i took the drawing from the CAD drawings and rubber cemented them to the wood.

Capture3.JPG

An easy cut out and finish with sanding.

cathead1.jpg

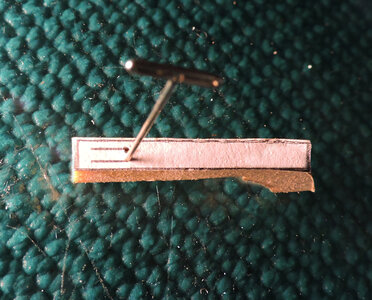
on the drawing there is also a centerline for the pulley at the ends. What i did was use a pin and poked a starter hole at the ends of the lines

cathead2.jpg

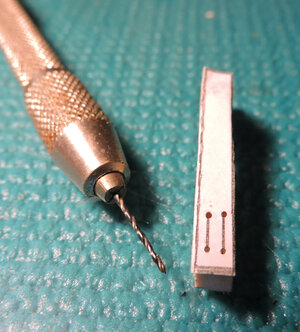
next i drilled the holes at the ends with a hand twist drill

cathead3.jpg

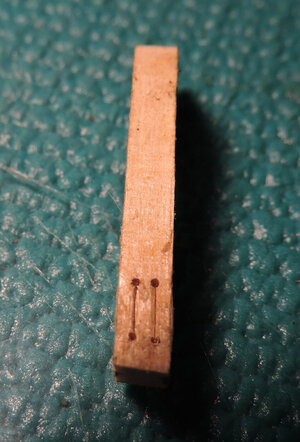
Next step using a knife i cut a line between the holes i will be using as a guild.

cathead4.jpg

Using a diamond tool i scribe the cut lines until i have a nice clean grove between the holes and that will finish the catheads.

cathead5.jpg
 
and now the last piece to make and that is the binnacle

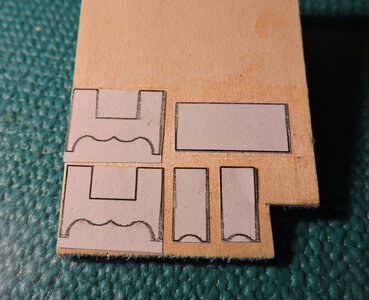
My first idea was to take the front, back and sides as drawn and rubber cement them to a 1/16 piece of Basswood.

binnacle1.jpg

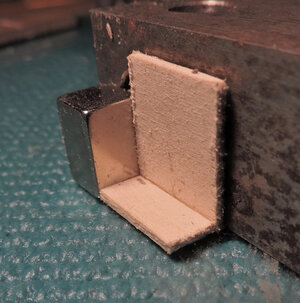
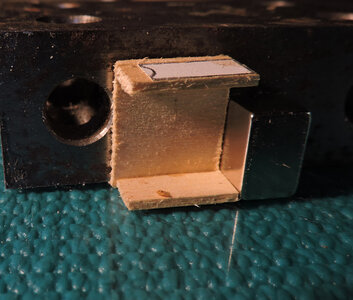
cut out each pieces and assemble them into a box the finish the box. I use a magnet and steel block to keep all the sides square.

binnacle2.jpgbinnacle3.jpg

as i begin to assemble the binnacle i realize this is small and delicate. Besides that the bottom, doors, top and the molding have to be added.
The molding is very small and if you use to big of a piece it will look clunky and out of scale. Then the issue of the corners showing the ends of the front and back, the only way to avoid that is the miter the corners and with such a tiny piece getting a perfect miter at the corners would be hard to do.
So NOPE! this ain't going to work so the idea is abandoned.
 
Last edited:
the binnacle 2.0 starting with a different approach.

this time i am actually going to semi-carve it out of a solid block of Basswood

binnacle4.jpg

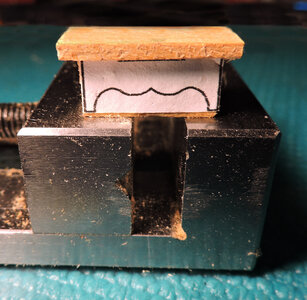
The way to do this is to think of yourself as a human CNC and making clean and accurate cuts. To do this you need a vice to set up your piece to accuratly repeat the cuts.
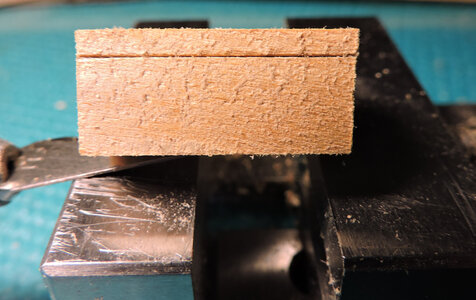
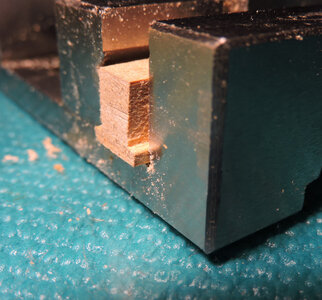
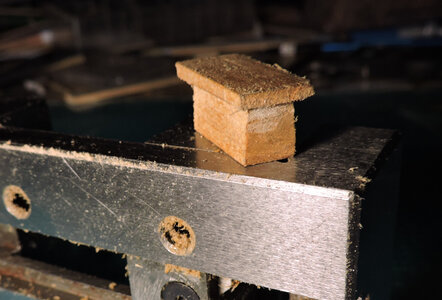
setting the block in the jaws you can see behind the block is a piece of steel .060 thick. This acts like feeler gauge and set the top of the block even with the top of the steel piece.

binnacle5.jpg

By lining up your block with the same height off the top of the jaws you can make a perfect clean cut with an Exacto blade every time.

binnacle6.jpg

flip the block 90 degrees and set it up again like you did the first time. Now using a razor saw along the top of the jaws as a guild slice off the side.
Using a vice you can work within a very tight tolerance.

binnacle7.jpgbinnacle8.jpg
 
Last edited:
flip it over and do the other side same as the first side and you end up with a T shaped block

binnacle9.jpg

This is going to be the molding around the base so now set up the block the same .060 and slice off the ends.

binnacle10.jpg

Ok so far so good you now have the base with the molding going all the way around. Perfectly the same on all sides because you set up the piece in the vice exactly the same on all sides. Again don't mind the fuzzy it just looks that way up close.

binnacle11.jpg
 
Last edited:
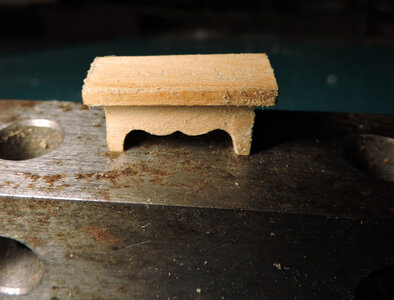
The pattern for the base is taken off the drawings and cut at the point of the bottom of the molding. One pattern is rubber cemented to the front and to the back. At this stage the top is to thick and clunky but no worry that will be taken care of later.

binnacle12.jpg

i did say this is done with hand tool and it could very well be done that way, but i do use a Dremel Tool and cutting burs. Using a roughing tool i hog out the extra material. If you do not have a Dremel Tool you can put these burs in a handle and use them as a file.

binnacle13.jpg

As i get closed to the line i change out the burs for smaller and finer ones.

binnacle14.jpg

the final cuts are done by hand with the diamond cutting tools clamped in a handle. you can get these diamond burs from 60 to 800 grit. So you can achieve a nice clean finish.

binnacle15.jpg
 
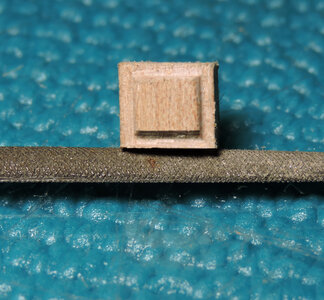
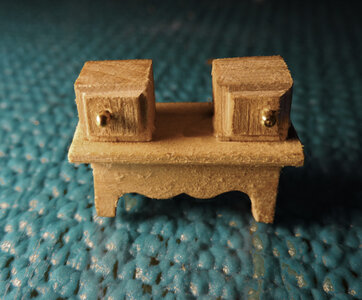
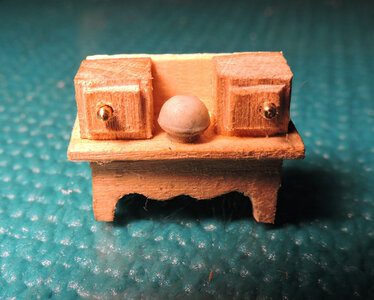
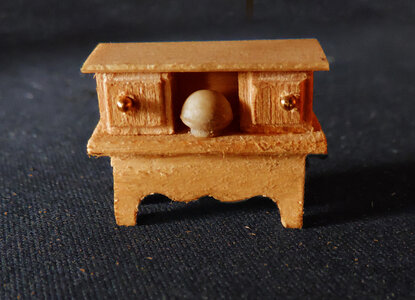
as for the two little cabinets on the sides, they are made from blocks of wood. They have a door on the front and i thought wow they have to be so thin so they don't look out of scale. Rather than glue cardboard or a very thin piece of wood all i did was scrib a box on the face and cut around the edges then gave the door sides a slight bevel.

binnacle16.jpg

before i glued the boxes to the base i turned the base over and sanded the top so it is much thinner and bringing the molding to a scale look. Added a back piece of thin wood to finish off the upper section.

binnacle17.jpg

binnacle18.jpg

Finally i glued a piece of Basswood to the top and when it is glued in place that is when i saned it thin so look in scale. I needed a clear dome shape for the compass and searching through my wifes crafting supplies i could not find anything small enough or clear. What i ended up doing is cutting off the ball on the end of a cannon i had laying around. same issue with finding somethinfg small enough for the door handles i found some belaying pins i drilled a hole and inserted them in the door. I think they look a little to big so i might yank them out and find something else.

binnacle19.jpg
 
Last edited:
next i will be adding the stuff to the deck and moving on to production work of the timberheads, rail stanchions and swivil gun mounts.
 

thanks for the link i will get some, Basswood ie prone to that fuzziness, you can give Basswood a nice finish because i have done it. These sanding brusches just might do the trick
 
Congratulations for this very special day - it is a long time....... Bravo!
 
back home in the shop it is about making timberheads. There are a number of types of timberheads but one thing they all have in common is the V shape, either on two sides or four. The problem when making a V shape on all 4 sides is going around the timber and ending up matching at the last corner. Making a stop cut freehand ends up as a mismatch at the corner. It only takes the slightest angle to miss. What needs to be done is the bottom example.

timberhead1.jpg
 
Back
Top