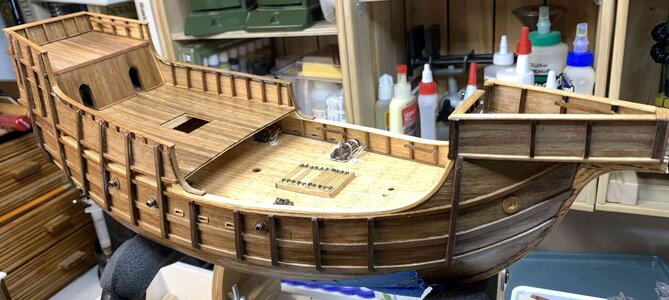
Columbus ships, Santa Maria and Pinta, kit by Amati... [COMPLETED BUILD]

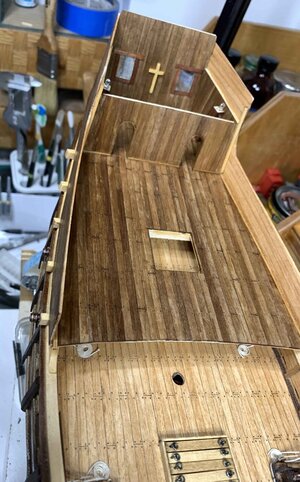
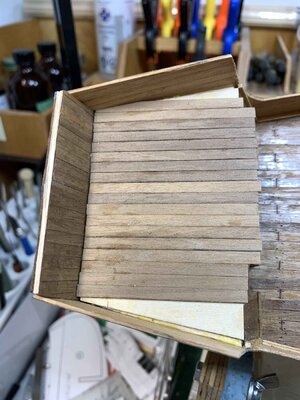
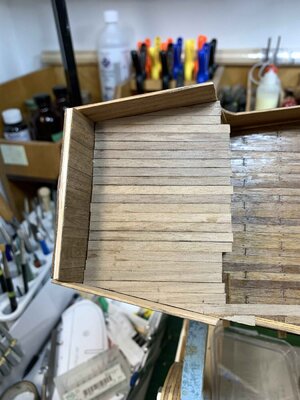
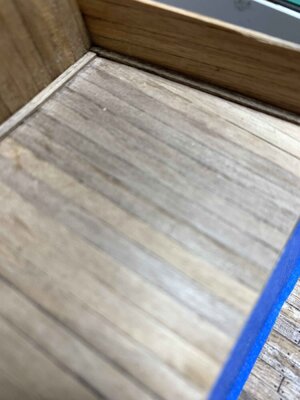
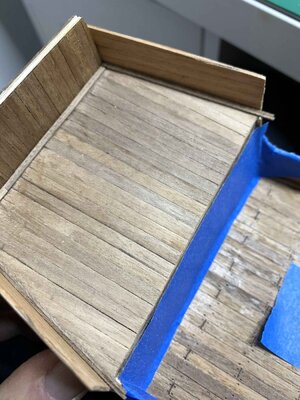
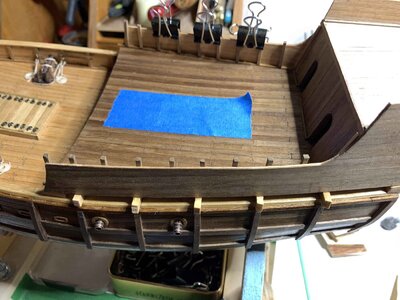
Work on the deck continues by glueing pre-made deck side. Two layers of planking creates this part of a ship, bulwarks will come later.

View attachment 346674

While this is drying, I researched some furniture for Columbo' cabin. Started with a simple table...

View attachment 346673

View attachment 346672

... which I did not like and find out some plans for medieval furniture I think will fit nicely in this model.

View attachment 346671

Testing the hight of the table...

View attachment 346670

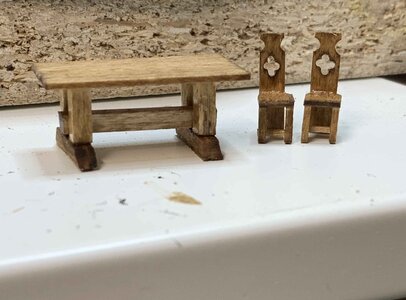
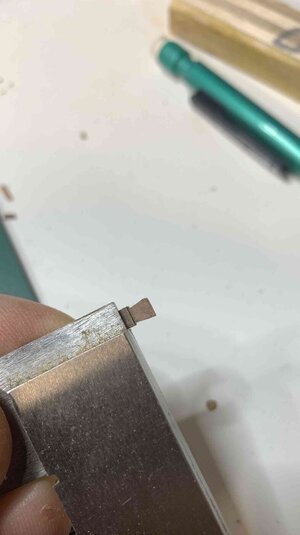
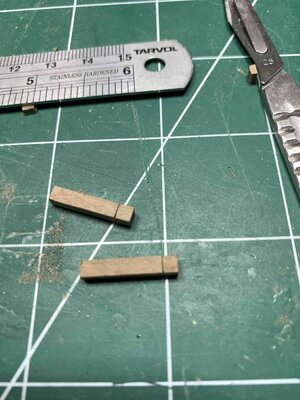
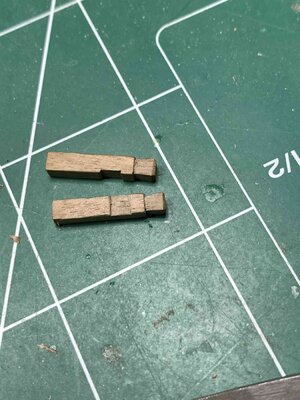
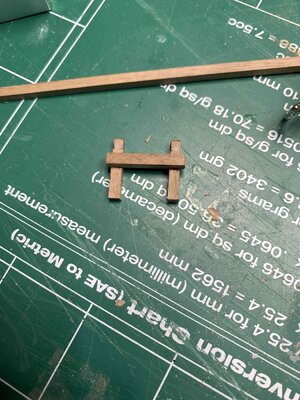
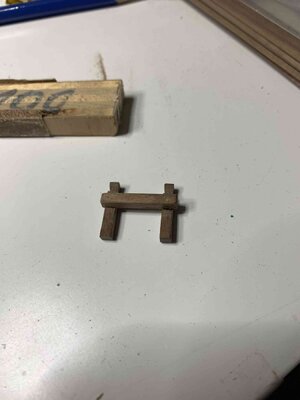
Then I completed one chair. Very tiny stuff... table dimensions: 15mm (H) x 15mm (W) x 34mm (L), chair 17mm (H) x 7mm (sitting part hight) x 7mm (W)...

View attachment 346669

After completing one chair, overall bulkiness of table' legs and foundation showed up so I decided to lower the leg hight and to cut the leg foundation in half, which provided a bit more dimensional balance between chair and table.
Second chair was made as well; table has leg foundation cut in half and legs were cut for approximately 3mm in hight.


View attachment 346668

Bringing important figure to the picture...

View attachment 346667

Since Portugal left World Cup earlier, guessing signore Christoforo might be a bit upset so need to speed up ship building...

View attachment 346666

A layer of golden oak stain was applied to furniture ...

View attachment 346665

And ready for assembly..

View attachment 346677

Happy modelling..
Oh wow this ship this build is coming to life.
 
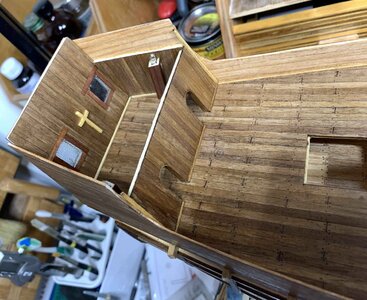
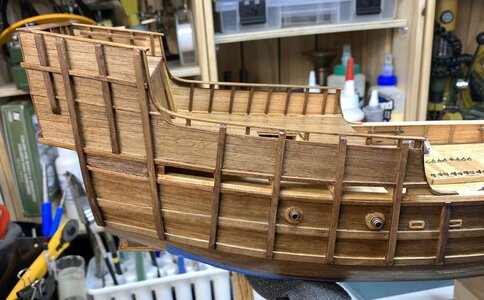
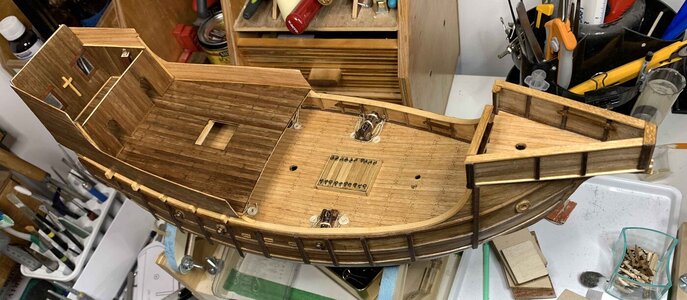
A little more work has been completed; the cabin was done, 2mm waterways added on quarterdeck, and I have applied a layer of tung oil on the quarterdeck and sides...

SantaMAria300.jpg


SantaMAria301.jpg

SantaMAria302.jpg

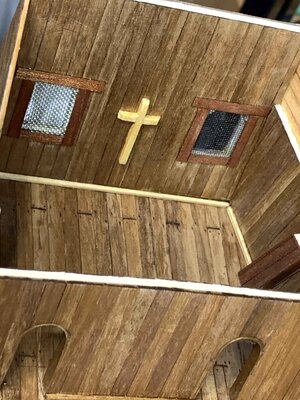
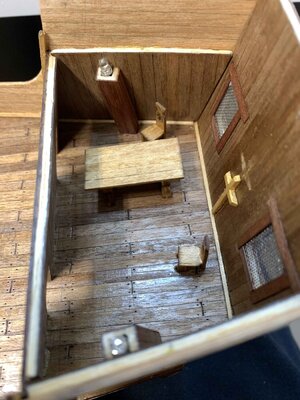
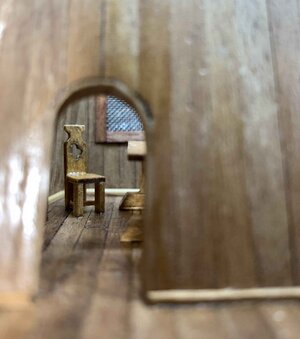
Cabin in waiting stage for a furniture... I wanted to make a bed for captain as well, but decided not to since it will not be that visible and only two chairs and table was added. Bed will be done in some next build...

SantaMAria303.jpg

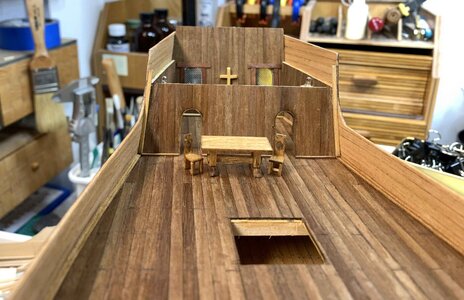
Furniture was brought on the board, I missed Ikea delivery :)

SantaMAria304.jpg

Medieval furniture for sale...

SantaMAria305.jpg

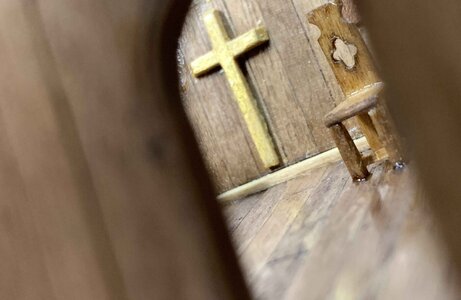
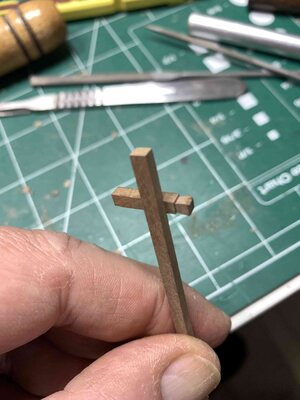
Glued to the final position.. I also lowered the cross a bit so it can be seen thru the door. The shade of cross' previous position was corrected..

SantaMAria306.jpg

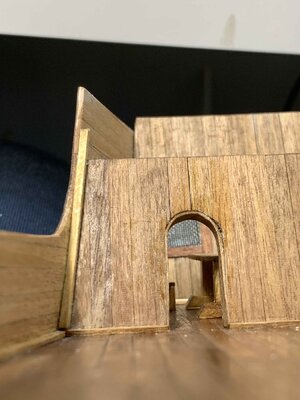
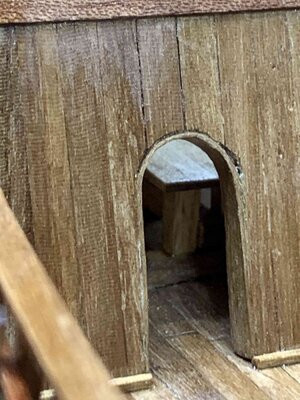
Peaking thru the door; door frame need a bit corrective work.. darn high res...

SantaMAria307.jpg

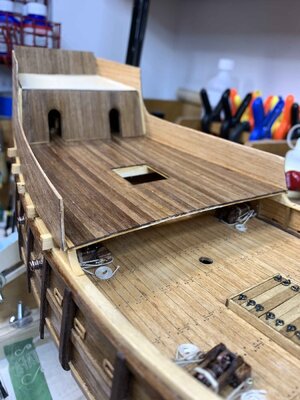
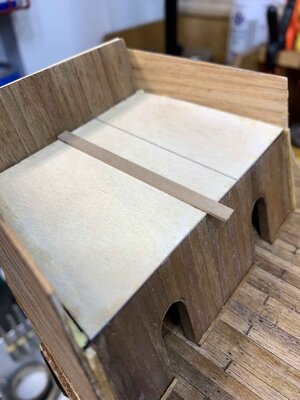
The upper deck was glued to the possition, awaiting for planking..

SantaMAria308.jpg

SantaMAria310.jpg

SantaMAria311.jpg

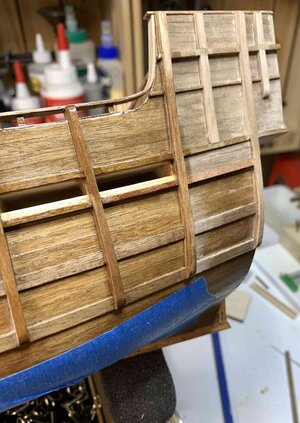
Planking started, 1x4mm planks borrowed from other Amati kit from the shelf.

SantaMAria313.jpg

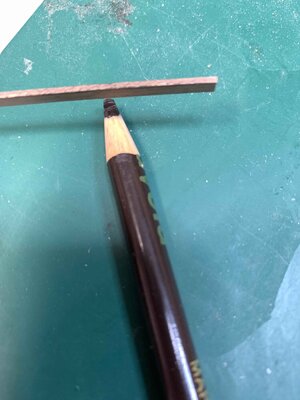
For this assembly I decided to simulate caulking using dark brown crayola..

SantaMAria314.jpg

Planking on the way. For glue I used carpenter' glue and only plank ends were covered with a drop of CA.

SantaMAria315.jpg

Completed and awaiting scraping and nail simulating... Planks usually don't end with such a sharp points but they will be covered with waterways and bulwarks so they not be visible.

SantaMAria316.jpg

Happy modelling..
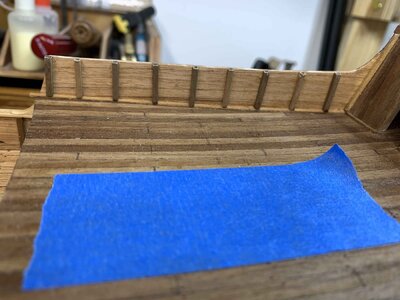
 
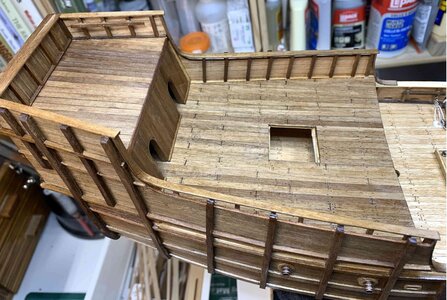
The waterways have been added to the upper deck... here it should be 2 planks, 1x1mm so this time I decided to pre glue them together before mounting to the ship. It becomes easier to glue them as one piece instead of having them added separately, like i did on a quarter deck.

SantaMAria317.jpg

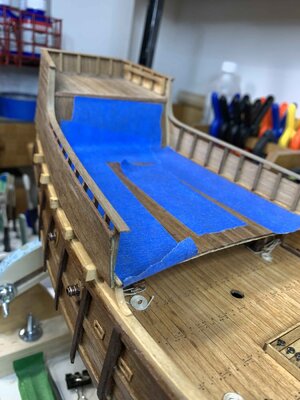
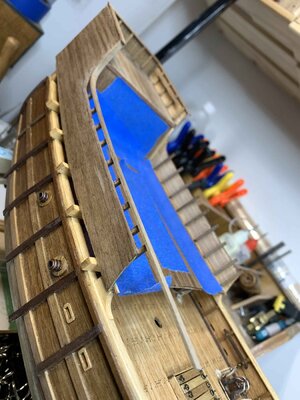
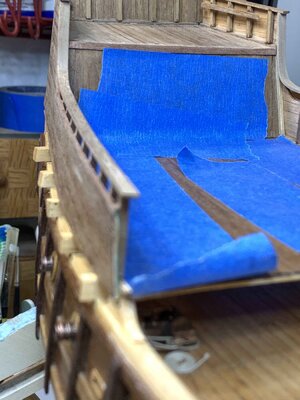
The excess planking on the upper deck was also removed and sanded; painter' tape to protect the cabin opening so dust will not enter inside thru doors..

SantaMAria318.jpg

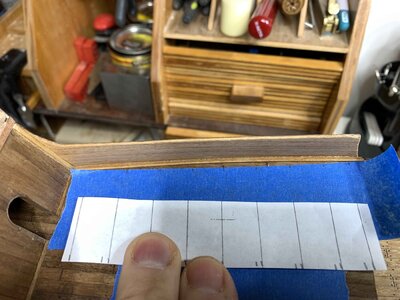
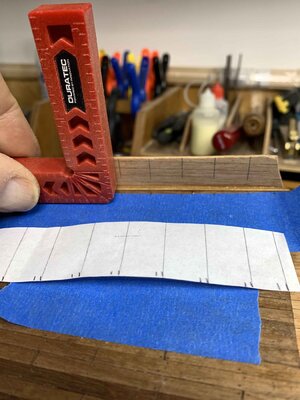
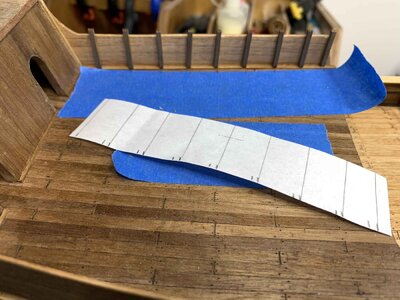
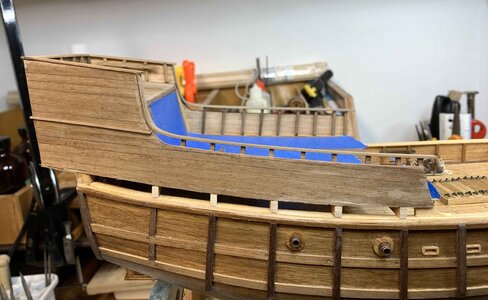
Then I started working on bulwarks. 2x2mm bulwarks were cut in a bit oversized length. Positions are taken from the plan and marked, making sure it is straight up..

SantaMAria323.jpg

SantaMAria319.jpg

Then combo carpenter' glue and drop of CA on the bottom of each bulwark.. Carpenter' glue on the length of bulwarks so I have some extra time to move them in correct place.

SantaMAria322.jpg

SantaMAria320.jpg

Bulwark excess cut and sanded flash...

SantaMAria321.jpg

Happy modelling..
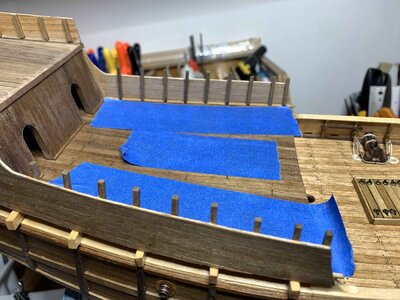
 
Guess, I would need to limit number of cognac shots to two, while working on a model... by mistake I removed extra length on quarter deck bulwarks so they are flash with the fence. Unfortunately it should not be like that, the rail will need to be added on the top of bulwarks and approximately one plank width will need to be open space between rail and top of the deck fence. So, removing old bulwark was not a big deal, I will reuse them somewhere else... New were added with a bit of extra length than needed.

SantaMAria324.jpg

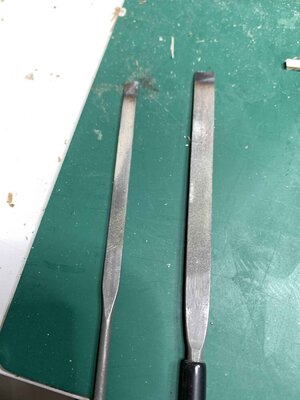
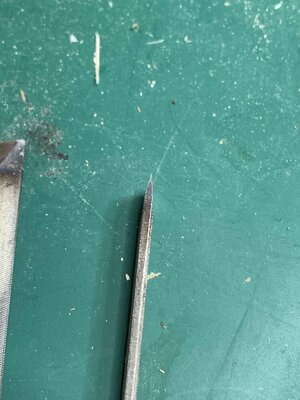
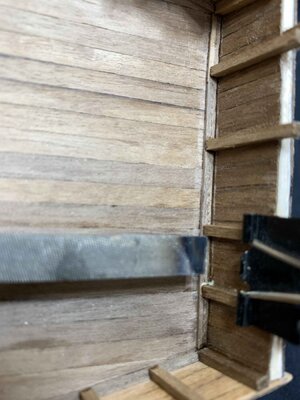
I also made a tool for removing excess glue that might be leaking out under the parts that are glued and squeezed.

It is an old file (in this case two old files), sanded to the sharp end, like a screwdriver... Two old files are used just because of different size and need to squeeze this in some tighter spots. Old, used scalpel blades can also be used for this purposes, but I have two old files, laying around I wanted to put back in purpose..

SantaMAria325.jpg

SantaMAria326.jpg

SantaMAria327.jpg

Happy modelling..
 
The rails were added to the upper deck. Kit plan asks for 1x4mm plank to be used in this case; dimension is working fine for port and starboard sides but not for stern. 1x4mm is not wide enough to cover thickness of the fence on that side (bulwark 2x2mm + planking 1x4mm + planking 0.5x4mm, + plywood 2mm = 5.5mm), so I put 2 1x4mm and will sand the excess.

SantaMAria328.jpg

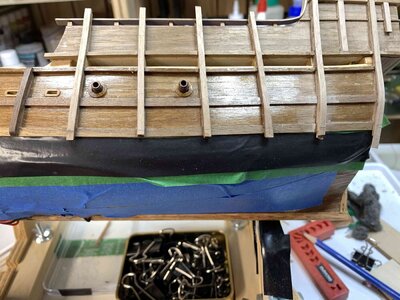
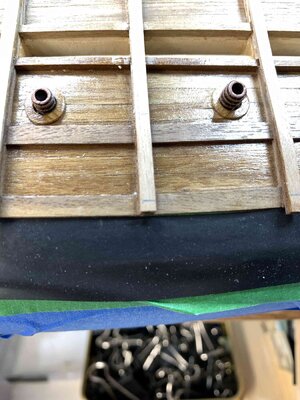
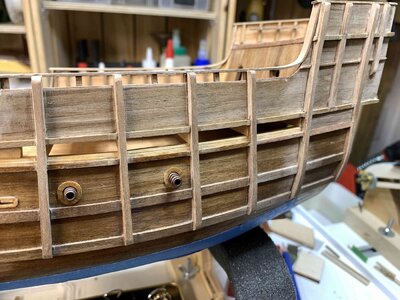
Then I worked on rigging "rack" (kit is calling it portamanovre, not sure how to translate, if you know the correct term pls let me know), but basically the part that will be used to for rigging. This is before belaying pins are introduced...
I used 3mm metal pins, flashed with the wood to simulate the way of mounting/securing rack in place...

SantaMAria329.jpg

SantaMAria330.jpg

Then I marked the place where the rail on quarter deck will be installed; 4mm empty space... No cognac this time :)

SantaMAria331.jpg

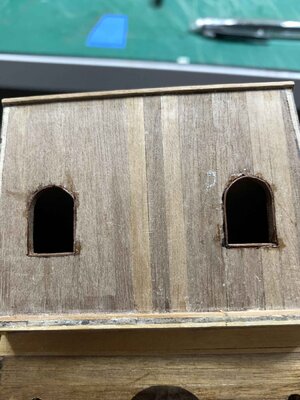
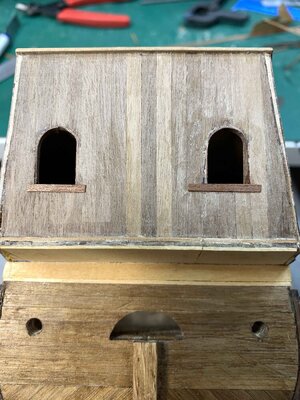
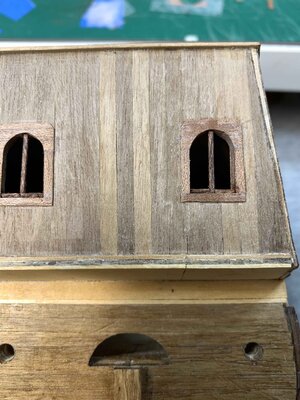
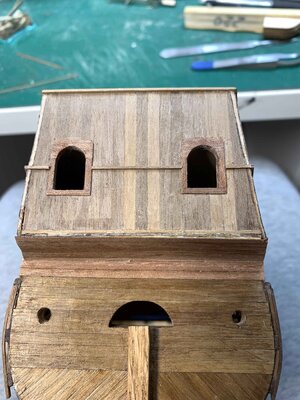
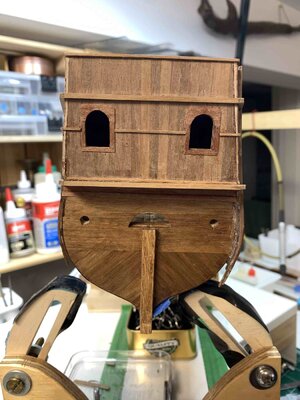
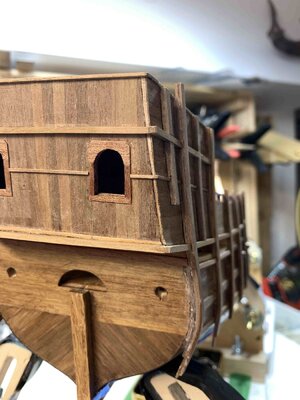
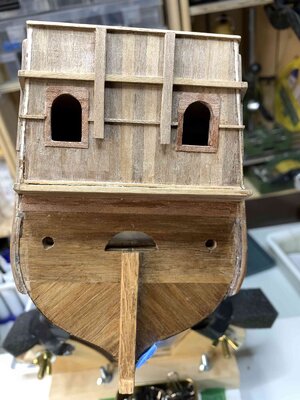
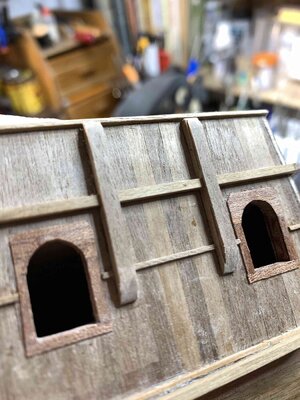
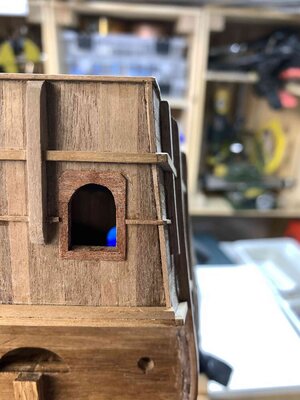
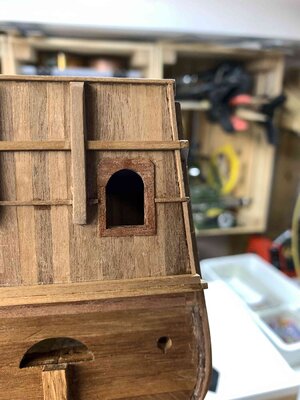
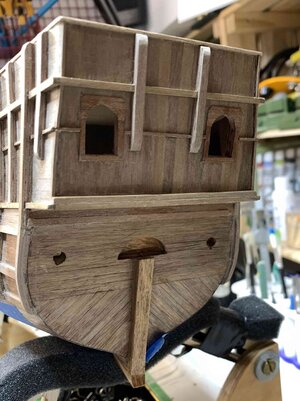
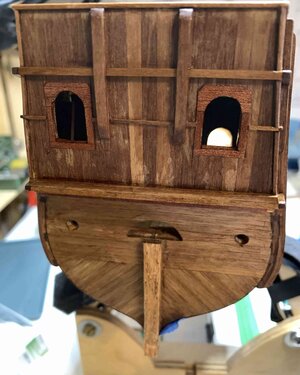
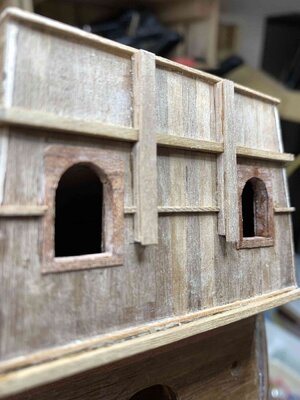
After that is started to work on cabin windows, replacing the wired mesh that was originally installed. Just did not like it... The idea for this was from another SOS builder who completed Santa Maria.

So, the process.. First I made a moulding to cover plywood..

SantaMAria332.jpg

SantaMAria333.jpg

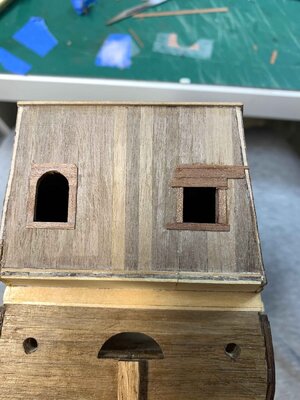
Moulding excess was sanded flash with the planking. Then started to frame the windows...

SantaMAria334.jpg

SantaMAria335.jpg

Once frames are done, I sanded them and cleaned any excess wood. Then work on windows started by adding 1mm strip in the middle.

SantaMAria336.jpg

Then bottom 1mm strips were added..


SantaMAria337.jpg

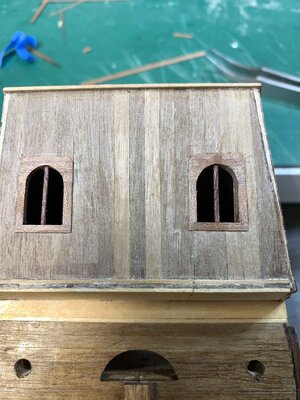
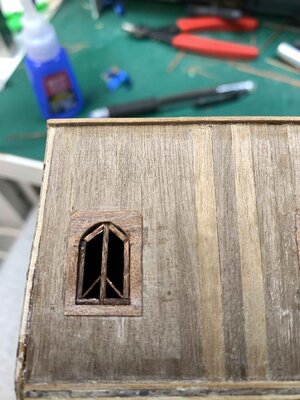
And the rest of the window with grilles... I used 0.3mmx3mm planking, out of cherry for grilles, cut them into very tiny strips and spent 2 hrs mounting them :)

SantaMAria338.jpg

SantaMAria339.jpg

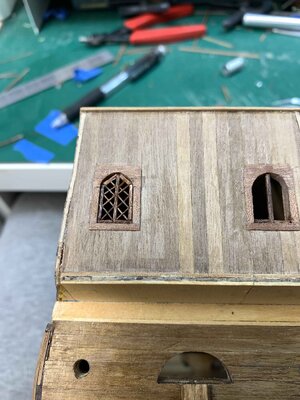
I have some ideas how to make grilles more natural looking and will try on second window. If that works better will replace the first one..

Happy modelling..
 
The rails were added to the upper deck. Kit plan asks for 1x4mm plank to be used in this case; dimension is working fine for port and starboard sides but not for stern. 1x4mm is not wide enough to cover thickness of the fence on that side (bulwark 2x2mm + planking 1x4mm + planking 0.5x4mm, + plywood 2mm = 5.5mm), so I put 2 1x4mm and will sand the excess.

View attachment 347306

Then I worked on rigging "rack" (kit is calling it portamanovre, not sure how to translate, if you know the correct term pls let me know), but basically the part that will be used to for rigging. This is before belaying pins are introduced...
I used 3mm metal pins, flashed with the wood to simulate the way of mounting/securing rack in place...

View attachment 347305

View attachment 347304

Then I marked the place where the rail on quarter deck will be installed; 4mm empty space... No cognac this time :)

View attachment 347303

After that is started to work on cabin windows, replacing the wired mesh that was originally installed. Just did not like it... The idea for this was from another SOS builder who completed Santa Maria.

So, the process.. First I made a moulding to cover plywood..

View attachment 347302

View attachment 347301

Moulding excess was sanded flash with the planking. Then started to frame the windows...

View attachment 347299

View attachment 347298

Once frames are done, I sanded them and cleaned any excess wood. Then work on windows started by adding 1mm strip in the middle.

View attachment 347297

Then bottom 1mm strips were added..


View attachment 347296

And the rest of the window with grilles... I used 0.3mmx3mm planking, out of cherry for grilles, cut them into very tiny strips and spent 2 hrs mounting them :)

View attachment 347295

View attachment 347294

I have some ideas how to make grilles more natural looking and will try on second window. If that works better will replace the first one..

Happy modelling..
"portamanovre" -- 'Porta' can mean either door or to carry. "manovre", maneuvers. Frank48 will know an exact translated meaning for this or it's English nautical translation. Great work I'm enjoying your build as i struggle with my AL SM.
 
"portamanovre" -- 'Porta' can mean either door or to carry. "manovre", maneuvers. Frank48 will know an exact translated meaning for this or it's English nautical translation. Great work I'm enjoying your build as i struggle with my AL SM.
Google translates is like "rigging port", or just rigging if the whole words is translated. I have Hystoric Ship models book with nautical terms in 5 different languages but was unable to find portamanovre...

Thanks, let me know if you need any clarifications..
 
Google translates is like "rigging port", or just rigging if the whole words is translated. I have Hystoric Ship models book with nautical terms in 5 different languages but was unable to find portamanovre

Thanks, let me know if you need any clarifications..
No need for clarification --Portamanovre - - Maneuver door/a point to start an action/maneuver. Italian rigging "Attrezzatura; standing/running rigging. Cheers.
 
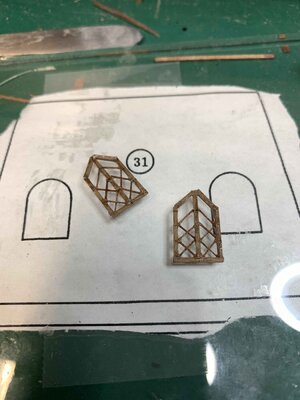
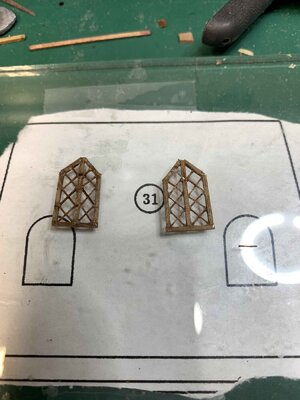
At the end, I did not like the way windows ended up looking so I decided to take another approach, to build windows aside and mount them later.

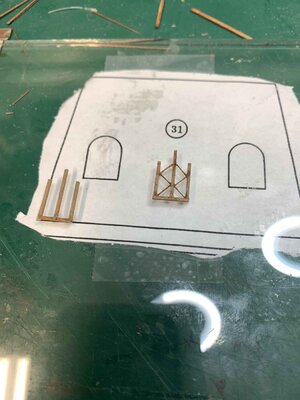
So, first I use the copy of a plan, put a piece of glass on it so I can trace the window frame using 1x1mm planks, kit provided. Long time ago I used this same approach (plan, glass above it) and matchsticks to build some construction, in that case it was an Eiffel tower...

First, frame was added and glued with white glue; glass supposed to assist removing the object by sliding the razor blade under it when glue is dried.

SantaMAria340.jpg

Then I measure 4mm cube and mark them on the frame. This will be the size (4mm x 4mm) of grills.. and start making this small objects..

SantaMAria341.jpg

End result was covered with drops of CA on every connection and will need to be sanded, very carefully to fit in windows opening.. The grill ribs were cut out of 1mm x 3mm cherry planks, using razor blade, by pressing it down to the plank. Plenty of parts cut this way were missed by flying all over the place; some I was able to collect, some will collect portable shop vac..

SantaMAria342.jpg

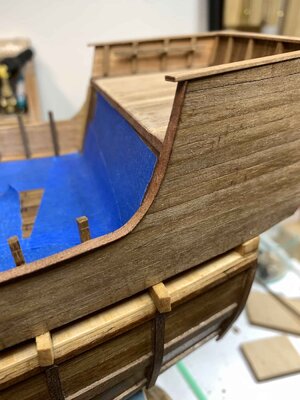
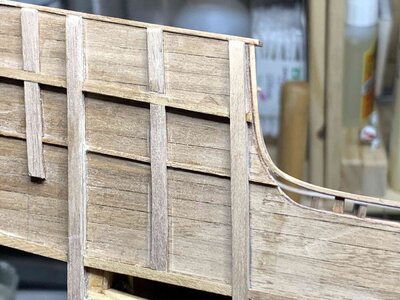
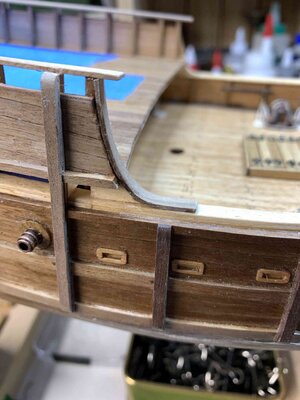
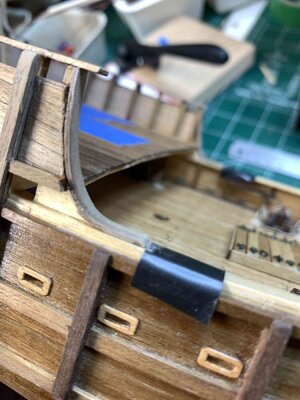
Then I put a one plank on the top of the fence, to cover plywood and small imperfections. Plank was put in water bath for 10 min and formed on the ship. This time, CA was used because of the quick grip.. Plank excess was cut with a blade and sanded flash with a hull.

SantaMAria343.jpg

SantaMAria344.jpg

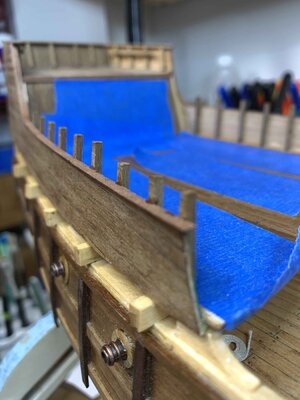
Next was a rail. First I marked 4mm hight on bulwarks measuring from the fence, and using Proxxon sanding disk, removed excess length. Care must be used this time since bulwarks can split easily if cutting disk is pressed hard..
Rail plank was 1mm x 4mm, and it was in water bath for 20 min to allow easy forming. Same approach, the CA was used in sections, first, rail was glued to the hull and then to bulwarks, few at a time, which allowed me to position them correctly.

SantaMAria345.jpg

SantaMAria346.jpg

SantaMAria347.jpg

A little bit of sanding was done on the rail edges..

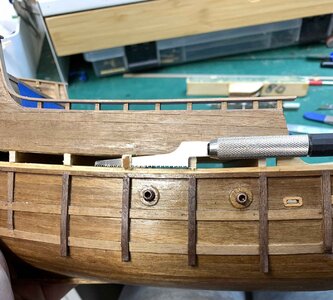
Excess length on beams was cut using hand saw, flash with the hull.

SantaMAria348.jpg

Continued adding hull planks, 1mm x 1mm.

SantaMAria349.jpg

End result for now..

SantaMAria350.jpg

Happy modelling..
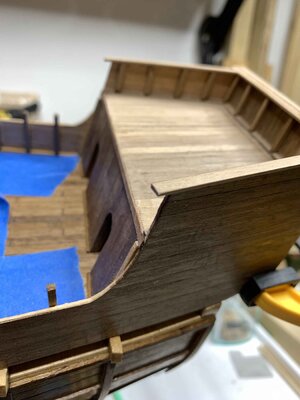
 
And now something completely different , what would friends from Monty Payton' Flying circus used to say...

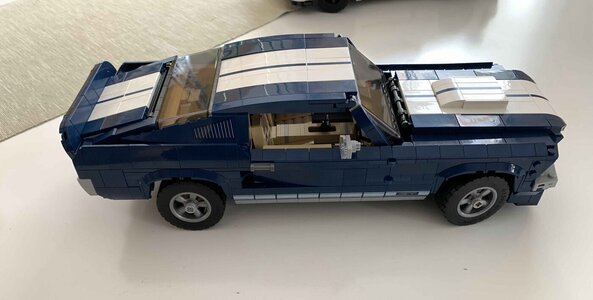
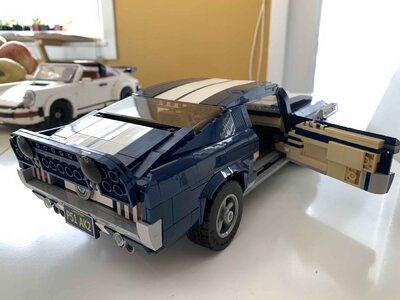
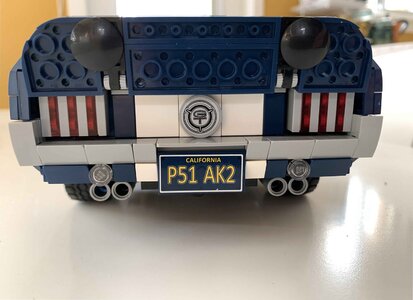
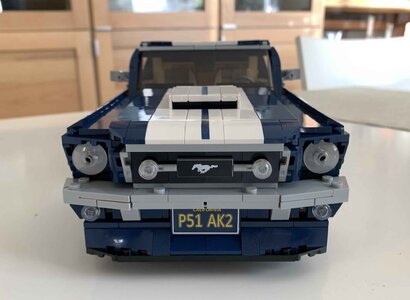
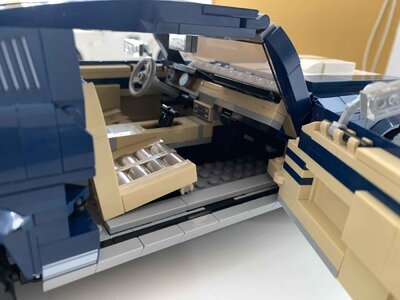
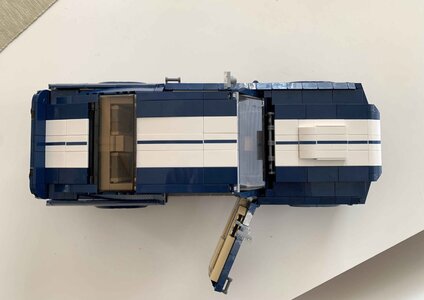
There is a bit of tradition in our family that during these holidays, usually male family members will build a Lego set. Before I used to buy all those sets but now everyone will get his own set and built it together, on one big dinning table... This year I have a Mustang 1967, same as the one driven in Bullitt, just in different colours. My son was working on Eiffel Tower; here are pictures of completed mustang. Now, just to get some fundings and grab a real one would be awesome. In the background there is a Porsche 911 built last year..


Мустанг01.jpg
Мустанг06.jpg

Мустанг05.jpg

Мустанг04.jpg
Мустанг02.jpg

Мустанг03.jpg

Happy modelling..
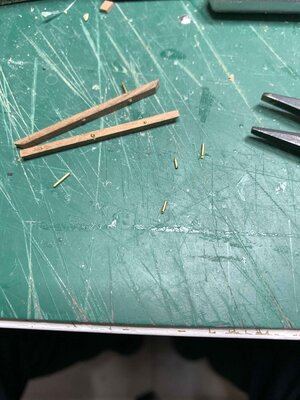
 
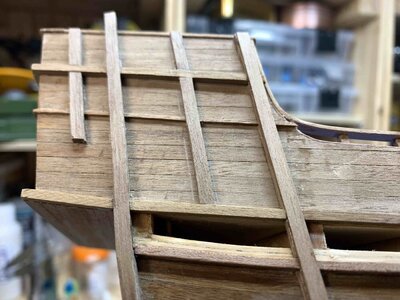
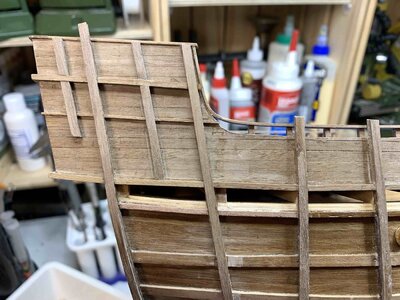
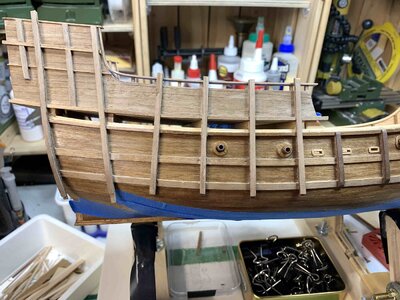
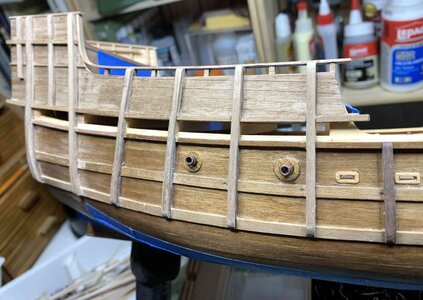
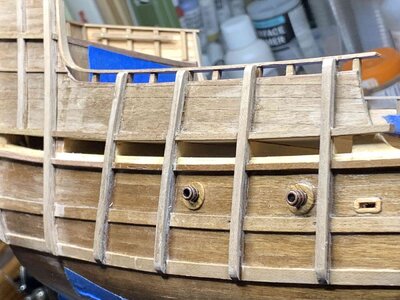
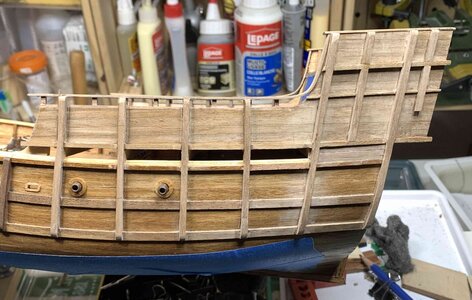
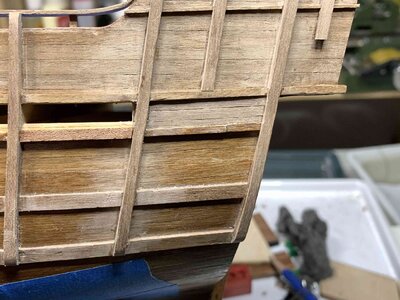
Continue with work on fenders. Process is fairly simple, measure fender, cut, sand, test fitting, sand again, glue and drop it in. I still have port side to complete and to cut and send excess fender length. Fender positions were taken from the kit plan and transferred to the ship with compass taken from old math set.

Few small touchups are also needed on the hull but nothing to major...

SantaMAria357.jpg

SantaMAria358.jpgSantaMAria359.jpg


SantaMAria360.jpg

SantaMAria361.jpg

SantaMAria362.jpg

Happy modelling..
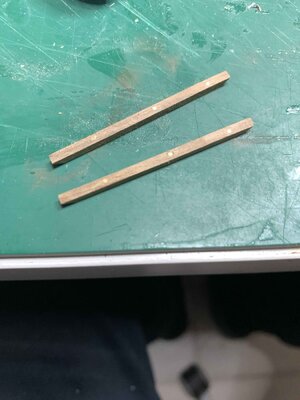
 
All fenders are put on the ship and now I continue with cleaning up fenders.

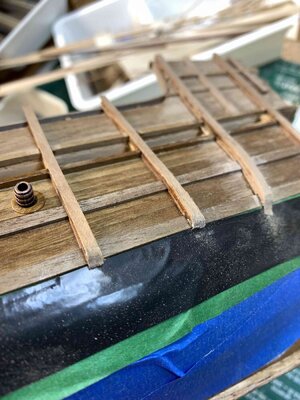
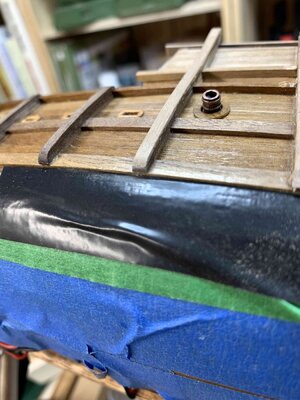
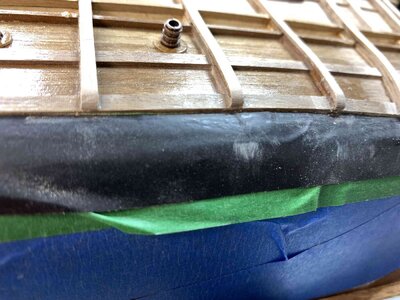
The most critical part is to protect the hull from accidental slip off sanding tools and damaging the hull. For this I used a painter' tape and on the top of it, I used electrical tape. This turned out to be sufficient protection judging by few marks left on the tapes. No damages to the hull in this process..

SantaMAria363.jpg

Then I marked on each fender, the place where I will start sanding

SantaMAria364.jpg

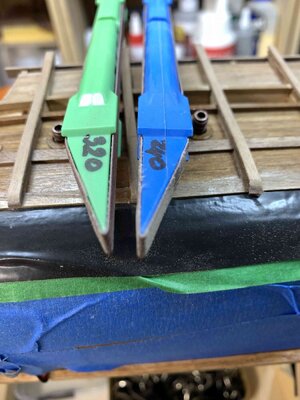
In addition to Proxxon tool I used these sanding pencils/blocks with 240 and 320 grid.

SantaMAria365.jpg

First I did a run with a Proxxon to remove the most of the wood and then continue with sanding pencils...

SantaMAria366.jpg

SantaMAria367.jpg

SantaMAria368.jpg

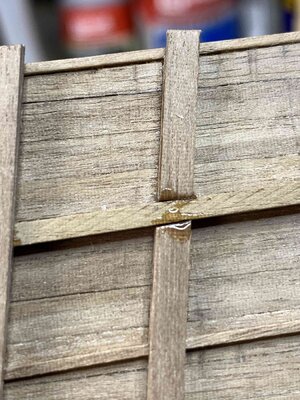
Once I completed sanding process, I started to clean the fenders. Fenders are made from 1mm x 3.5xmm planks and added to the hull after Wales were installed which are 2mm x 2mm and 1mm x 4mm. If it is possible to make fenders part together, for example above 2x2mm wale and the top of the upper deck, two 1x3.5mm planks glued together and sanded and then glued to the hull, would be much easier then adding one plank at a time, glue another on top of it and afterwards do some sanding. It will come up with a cleaner results. This can be possible if second fender plank is not crossing existing wales, which for most part is the case... Only the last fender plank will cover the whole length and keep them all tight and nice.

SantaMAria369.jpg

SantaMAria370.jpg

Cleaning will require a bit of empty spaces filling, usually between first fender plank and the hull, so a bit go carpenter' glue (or CA) and sanding dust will do the trick.

SantaMAria372.jpg

SantaMAria371.jpg

Fenders flushed with the rail on the upper deck.

SantaMAria373.jpg

SantaMAria374.jpg


SantaMAria375.jpg

Happy modelling...
 
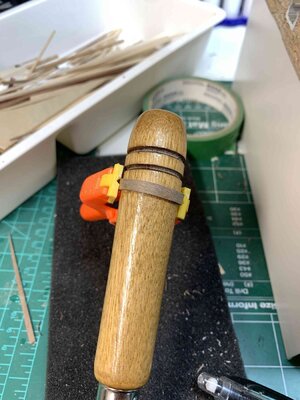
My fancy way of bending planks, 10 min in water bath, form it around the hand saw, and clamp it overnight... This time the bending was a bit too much so before installing, I had to drop it into water for a few minutes so the wood can be soft again and loose some bending, dry it quickly with a cloth and install. For installation I used CA glue for a quick grip.

SantaMAria376.jpg

Bended plank installed...

SantaMAria377.jpg

The end of a plank has to be sanded in an angle so protection in the form of electrical tape was applied on the ship before any sand work..

SantaMAria378.jpg

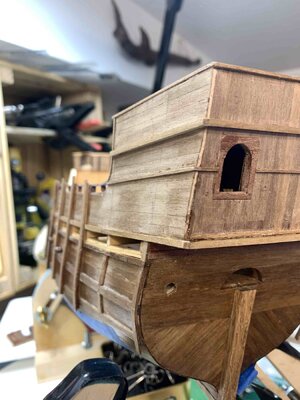
Work continues adding fenders... this time it is stern receiving final fender bunch.

SantaMAria379.jpg

SantaMAria381.jpg

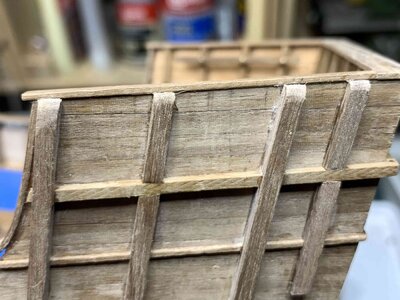
The kit provided boards used as foundation for planks are looking very unfinished, even on the kit manual pictures, so I decided to add 1x1mm plank at the edges to cover that piece of wood. I believe it will drag attention to itself if left as-is..

Here I started from the bottom, then top and then the middle one.. the difference is very visible..

SantaMAria382.jpg

SantaMAria383.jpg

SantaMAria384.jpg

All cleaned and ready for a tung oil protective layer..

SantaMAria385.jpg

To cover the electrical wires (and to follow some other Santa Maria plans just for this instance), I added three planks on the end of deck, at stern.

SantaMAria386.jpg

Furniture still staying solid after all those movement during work... For my group build I think I will leave some openings in the hull so the interior work is visible much better than with this build.

SantaMAria387.jpg

Tung oil shows clearly where some afterwork has to be done, remove excess glue and reapply the oil.

SantaMAria388.jpg

At the bottom of upper deck, there is a plank of 0.3mm cherry wood covering those kit provided boards. They really look unfinished even though they are not provided in the kit, I decided to drop them in. The same will be applied on the edge of main deck. I was thinking to go with 1x1mm planks but they will not fit well as some areas will still be visible.

SantaMAria389.jpg

SantaMAria390.jpg

SantaMAria391.jpg

Happy modelling..
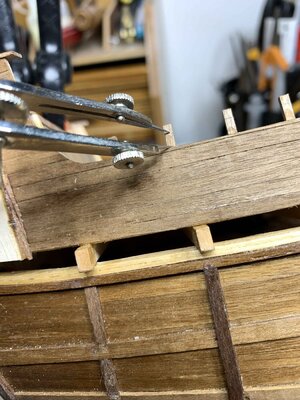
SantaMAria380.jpg
 
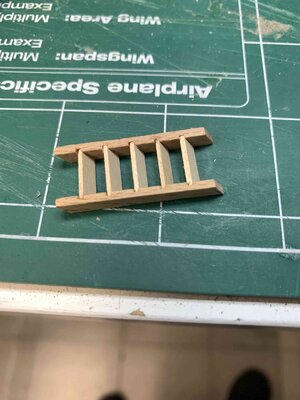
One set of ladders are done; kit provided ladders looks OK so I just assembled them. All fits good except that tread boards are thicker than a grove in strings so I have to send every thread a bit.

SantaMAria416.jpg

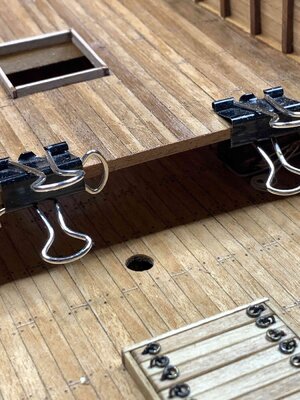
I drill a hole for a mizzen mast and tested the fittings.

SantaMAria392.jpg

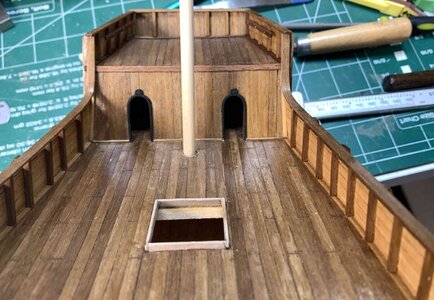
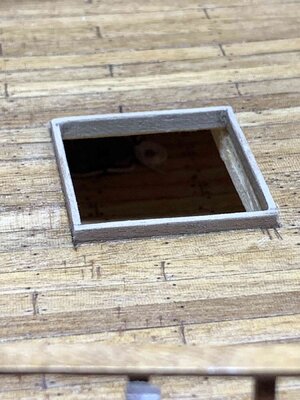
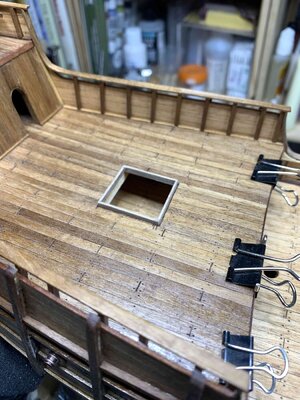
I also made a hatch, out of 1x4mm boards. This hatch will remain open, once kit is completed.

SantaMAria393.jpg

SantaMAria394.jpg

The moulding on the main deck is added, out of 0.3mmx4mm cherry plank, fitted and sanded to the thickness of a deck.

SantaMAria395.jpg

SantaMAria396.jpg

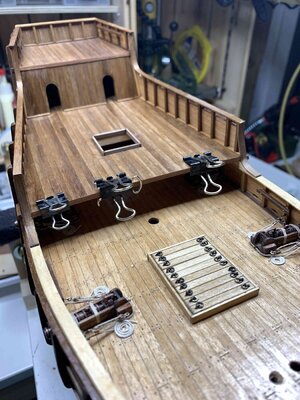
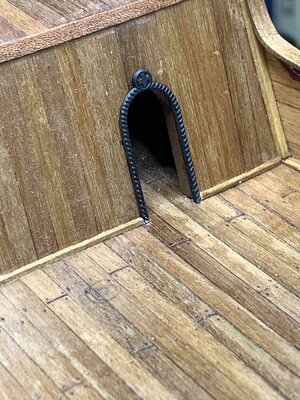
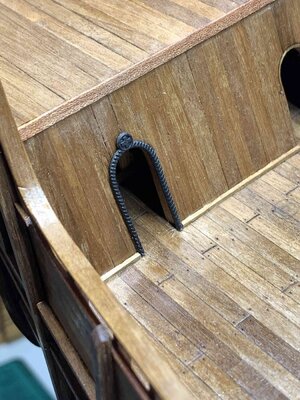
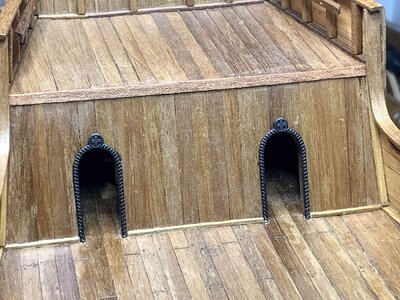
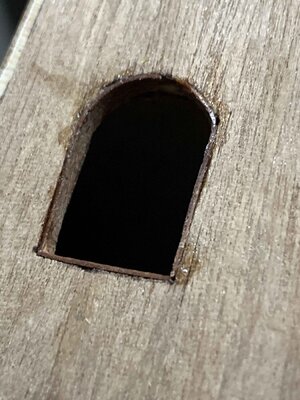
The door frames are also put in. They have extra length so they need to be cut to fit. I put a layer of mat black colour some times ago. CA glue is my friend in this case.

SantaMAria397.jpg

SantaMAria398.jpg

SantaMAria399.jpg

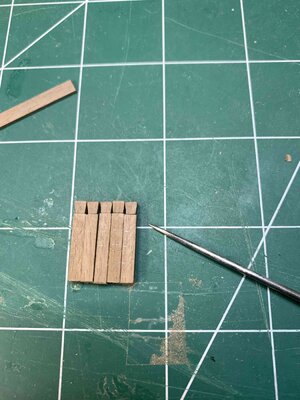
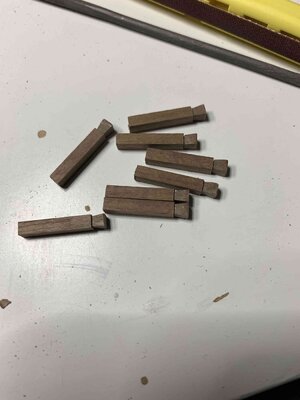
Then I started to work on bitts, there are three separate bitts, made with different numbers of cross-pieces. For all, the making process is the same: cut them in desired length with small hand saw and miter gauge. Then mark down 3mm from the top using a needle point sawing awl. I found it to be much precise that using 0.5mm pencil or even 0.3mm...

SantaMAria400.jpg

Making sure the lines are in the right angle, I use a square..

SantaMAria405.jpg

Then rotate the board and run the line again... until all 4 lines are marked. I also use the same square to cut few cuts using hand saw. These will be to bottom part of an angled cut I do with micro chisel #20.

SantaMAria401.jpg

SantaMAria402.jpg

Fit testing..

SantaMAria408.jpg
SantaMAria403.jpg

SantaMAria404.jpg

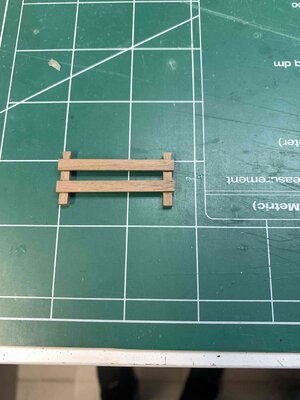
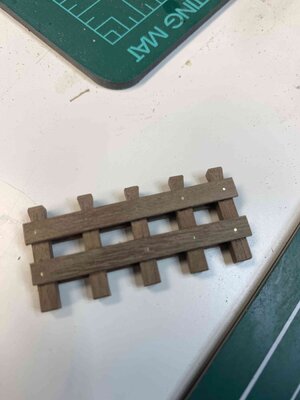
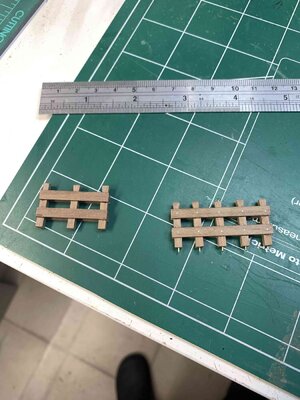
For this bitt set, I marked down place for cross boards; boards are from 1x4mm and timber are 3x3mm.

SantaMAria406.jpg

Same technique to cut the lines, using mini chisel blade I cut the angle and top of the timber is also angled a bit. This angle was achieved just by running two or three times each edge against 200 grid sanding paper.

SantaMAria407.jpg

Then assembly starts buy adding two cross boards..

SantaMAria409.jpg

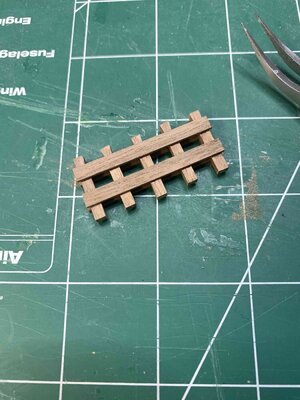
Then I measured and marked positions of other three timbers, making sure the distance is the same. Then the back side also receives two 1x4mm planks.

SantaMAria411.jpg

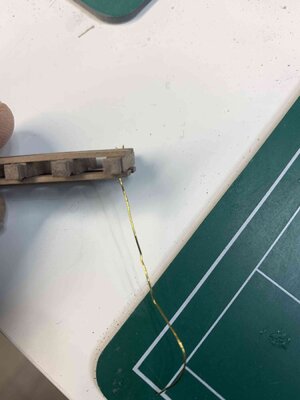
I also added for each plank a simulated nail, made out of 0.3mm brass wire. First the pilot hole is cut through the whole assembly (two planks and a timber), wire was inserted so it stick out on both ends and excess was cut.

SantaMAria413.jpg

SantaMAria412.jpg

Wire was sanded to be flush with the planks..

SantaMAria414.jpg

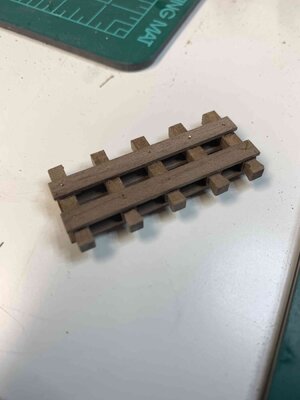
Then the whole assembly was sanded on the bottom, to make sure all timbers are at the same hight. To measure, I put whole part on the angle square and send until bottom of those 5 timbers are flush with the square.
At the end I inserted nails to the bottom of the timber, for each bitt. This will provide an extra strength once mounted on the ship.

SantaMAria410.jpg

Parts are left aside until ready for installation. Need to work on pedestal before mounting all deck furniture since, at this moment, the hull is not crowded.

Happy modelling..
 
Really nice execution in the detail great work, you are doing many things I wish I could have done on my current build.
 
Back
Top