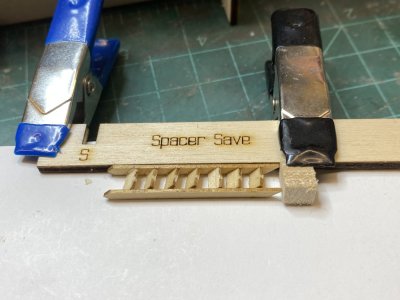
Constitution Cross Section MS20245 Model Expo

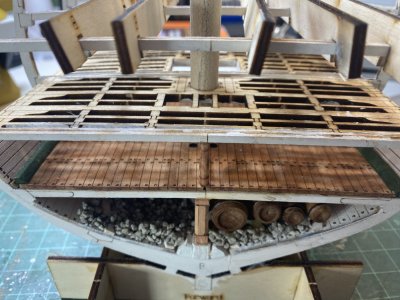
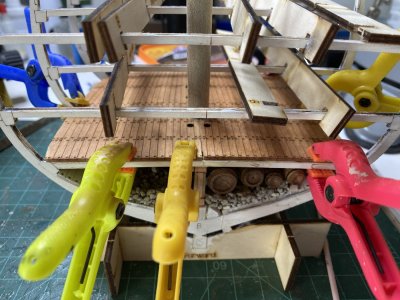
Next I glued the orlop deck into place with the pseudo mast in place. Everything fit perfectly.
IMG_9499 2.jpeg

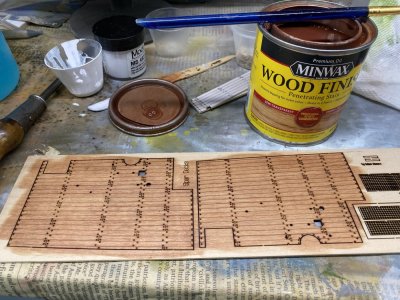
Waiting for that to dry, I stained the remaining decks with the cherry stain and used sanding sealer on the sidewall and outside walls.
IMG_9501.jpeg

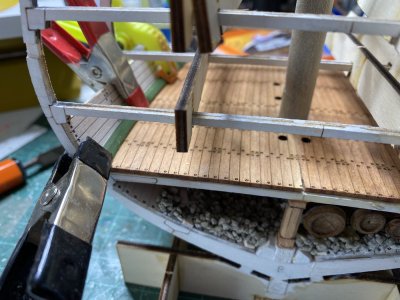
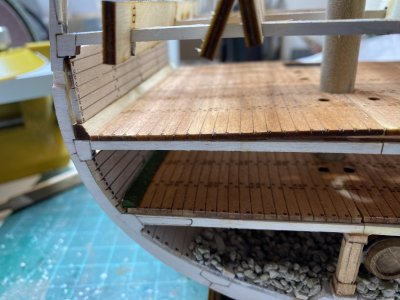
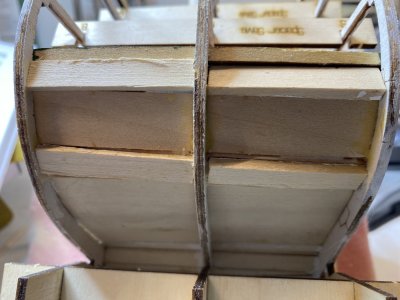
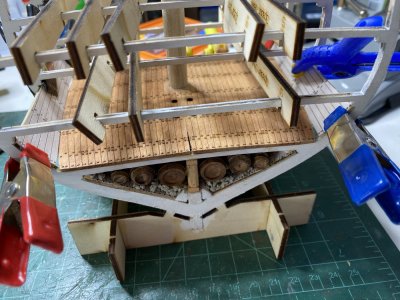
After the orlop deck had dried I put in the sidewalls. The plans show the sidewalls resting on the waterways, but the instruction pictures and the build logs I mentioned before place the side wall first. The sidewalls are a bit curved up on one end, but the instructions did not mention anything about that. Looking at the plans and the build logs, I decided to place these curves to the stern. Wit a bit of minor sanding these walls essentially "popped" into place. The curve of the middle part of the wall had to be helped along with some clamping until everything dried.
IMG_9502.jpeg

You can note a gap in the bow between the flooring and the walls. This will be covered by the waterways.
 
I glued the waterways into place.
IMG_9503.jpeg


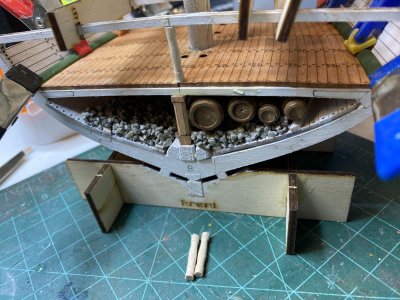
While not explicitly stated until later on there are 3 stanchions that go between the deck and the 3 frames on the orlop deck (a total of 14 are needed for all the decks.) The instructions say that the stanchions need to be 7/8 of an inch tall. However, at least for the orlop deck, when the deck is installed the stanchions should be 2/4 inches tall. While waiting for the waterways to set into place, I made 3 stanchions from the 1/8 X 18 inch dowel that was provided. following the instructions, I marked them and carved them with a #17 blade. I finished them off with a small file and sandpaper. I think they look fairly good for a first try. I will, of course, put the best one in the front. I will glue them in place after I stain them.

IMG_9505.jpeg

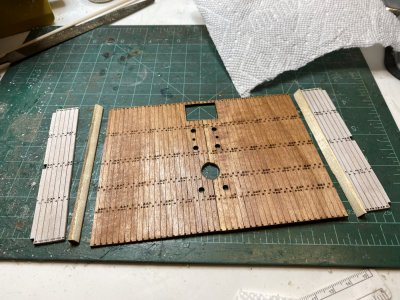
After removing the clamps holding the waterways I noted that there was a larger gap than I would like in the front starboard corner where the deck met up with the side wall. Luckily I still had the strips of decking material I cut off the lower hull deck. I took a slice of one that had the nailing pattern on it and slimmed it down a bit by sanding. It fit into place well and I was much happier with the look.

IMG_9506.jpeg
 
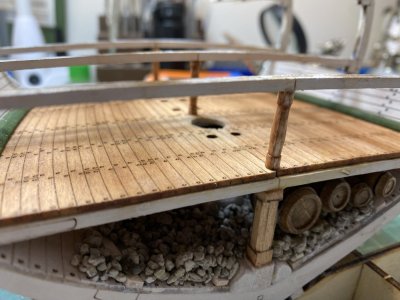
The Stanchions were stained and then glued into place on the orlop deck.
IMG_9516.jpeg


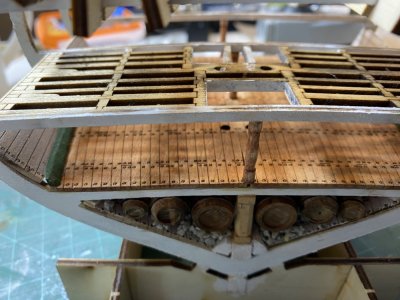
The orlop deck usually held cables and lines. After the ship is near finished I am planning on coiling some rope and putting it on the deck to help make it "busy".
 
Last edited:
The berthing deck is next. It and the decks above it get deck framing placed first before the decking goes down. I first painted the framing pieces with sanding sealer. While that was drying I carved angles into the birthing deck waterways, as I had done before with the orlop deck waterways.
IMG_9512.jpeg

I test fitted the decking sidewalls and waterways to make sure, not only would they mate together well , but also the hole for the mast and the alignment of the deck with the frames were correct.

IMG_9509.jpeg

At some point I am going to have to turn the whole cross section over to install the planking and the copper sheeting. The instructions would have you do it after all the equipment has been put into place, but I think it may make more sense (for me at least) to do it after the gun deck flooring goes down and before the cannons are installed.
 
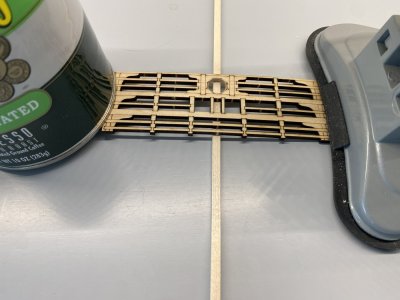
The birthing deck framing should have a gentle curve to them to help patch them to the curve of the frames (to be honest, I doubt this really needs to be done. I don't think anyone would notice). To get that curve, I placed a 3/16 inch piece of wood under the middle of the framing and weighed down each end.
IMG_9519.jpeg

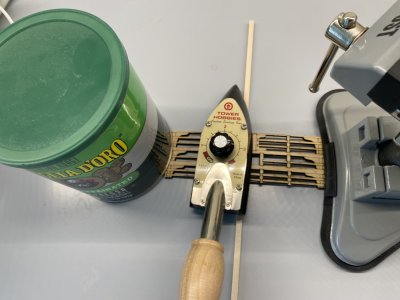
I then used a small iron I have and using the highest heat it has, rolled the iron back and forth until the curve formed. I then let the wood cool in place.

IMG_9521.jpeg
 
Fitting the frames in place, the rear frame fitted snugly. The front frame however had a small gap. It may have been some overzealous sanding of char on my part that took off too much wood. Whatever it was I took a small strip of 1/16 inch wood and glued it onto the bow deck frame.
IMG_9522.jpeg

Since the wood on this piece was thicker and less likely to break apart, I enlarged the hole for the mast with a small file. With some gentle sanding of the added strip the deck frame fit snugly.

IMG_9523.jpeg


I made sure that the hole for the mast aligned with the other holes.
 
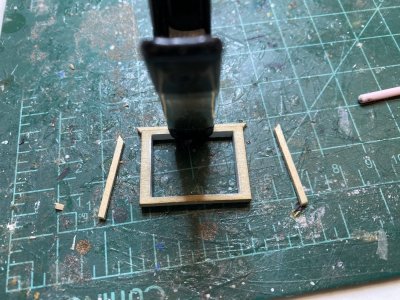
Next I painted the bottom sides of the deck framing white.

IMG_9524.jpeg

I then glued the stern piece of the framing into place, being careful that it match with the hole for the hatch of the decking.
IMG_9525.jpeg
 
Last edited:
The forward piece of the deck framing was then glued into place with careful alignment of the mast hole.

IMG_9533.jpeg

Next the decking was glued into place, after dry fitting to make sure the mast hole as well as the hatch in the rear aligned.

IMG_9534.jpeg
 
Next the waterways were glued into place. For me, at least, they were a little asymmetric so it pays to see which fits best on either side.

IMG_9537.jpeg

The instruction then have you use 1/4 X 1/4 inch strip to form filler blocks fitting between the waterways and the top of the orlop deck. After the blocks are set they want you to remove excess wood that protrude above the frame as to not interfere with the planking. Instead of doing that I cut each filler block in half along its long axis so the wood would not go past the edge of the frames.

IMG_9536.jpeg
 
Although it is not in the instructions (that I could see) I decided to also put in filling blocks between the hold and the orlop deck. I believe they do not mention it because they do not think anyone will see the space, I was being a little compulsive and put the blocks in.

IMG_9547.jpeg


I also painted and installed the braces between the orlop and berthing decks.

IMG_9545.jpeg

While waiting for things to dry I whittled a few more stanchions. The more you do, the easier it gets.

IMG_9543.jpeg
 
Last edited:
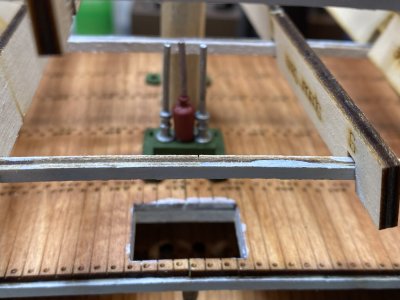
The instructions would have you next install the hatchway on the birthing deck. Then they would have you put in the pumps. Since the pumps are more interior to the hatchway I thought it would be easier to do the pumps first.

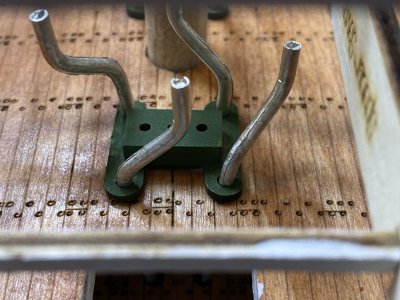
After assembling and painting the pump body green, I glued the pump body to the deck. to ensure that the pump body was accurately aligned with the holes in the deck, I used the metal pipes included as a guide for alignment as the pump body set.
IMG_9552.jpeg

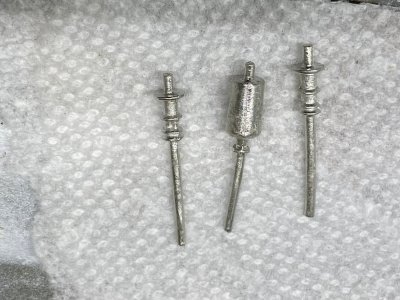
Meanwhile I cleaned off the flash on the metal parts. The metal is very soft, almost as soft as solder, so taking off the flash is easy but you have to be careful in bending the parts.
IMG_9551.jpeg

I then primed the metal pump pieces with enamel primer.
 
Last edited:
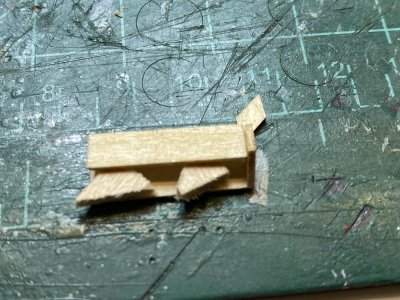
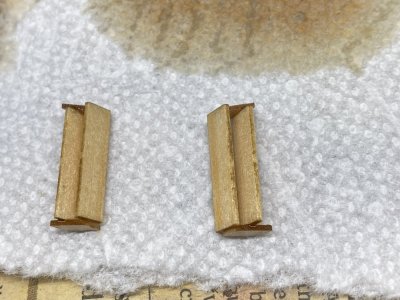
There are two 2 step stairs that go against the hatchways that have to be built. The pieces are small and delicate. A 1/16th inch scrape piece of wood is used to ensure the correct spacing between the 2 steps. One step is slightly smaller to firt inside the riser. In addition the step protrudes on one side so you have to be careful how you fit the treads.
IMG_9556.jpeg

Once constructed I test fitted the steps along the hatchway.
IMG_9562.jpeg
 
I stained the steps with a peach stain
IMG_9568.jpeg
I was not happy with the cherry stain on the stanchions. For some reason the wood that the dowels are made up are not too receptive to the cherry stain. I bought some dark mahogany stain and soaked the stanchions in it. They seemed to better take up the stain.

IMG_9570.jpeg

I painted the pump bodies and glued them to the pump base.
IMG_9566.jpeg
 
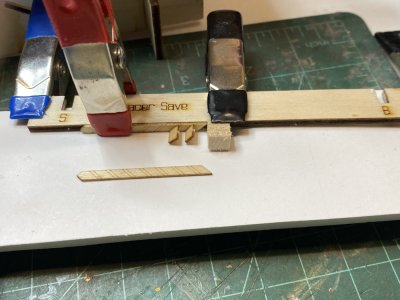
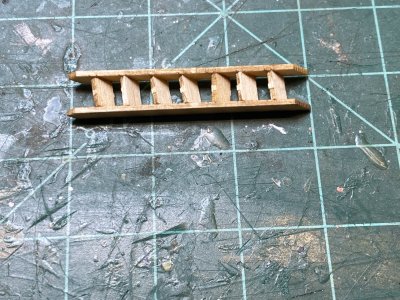
Next I had to construct the ladders that go from the orlop deck to the berthing deck. These are very thin and delicate. I was luck in that Tom Culb in his build log made a small jig to help him align the two rails. I took his idea and did the same thing.
IMG_9571.jpegIMG_9573.jpeg

The "stop" at the end of the jig ensure that the two sides of the ladder aligned at the same distance.
IMG_9575.jpeg
 
Back
Top