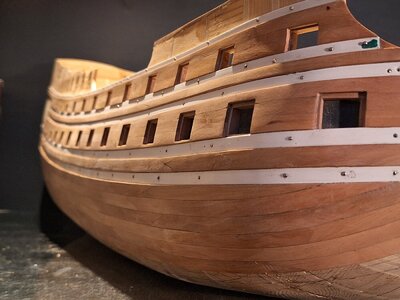
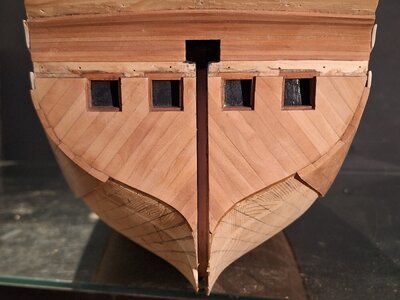
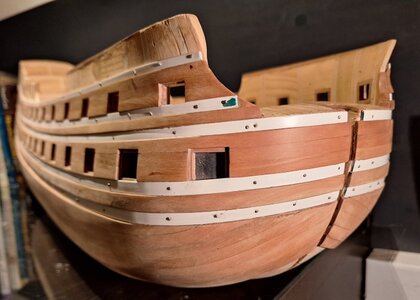
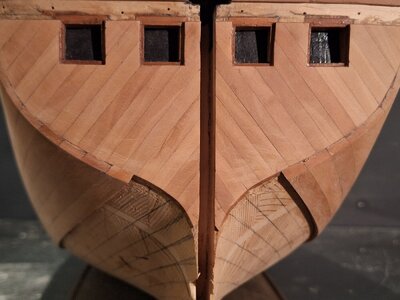
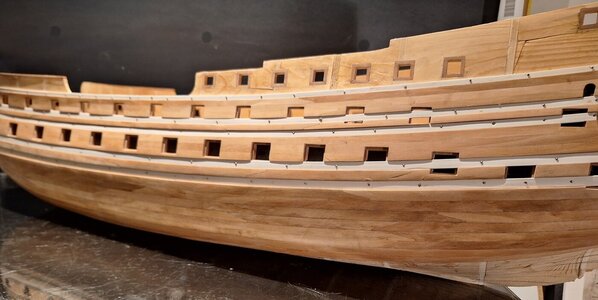
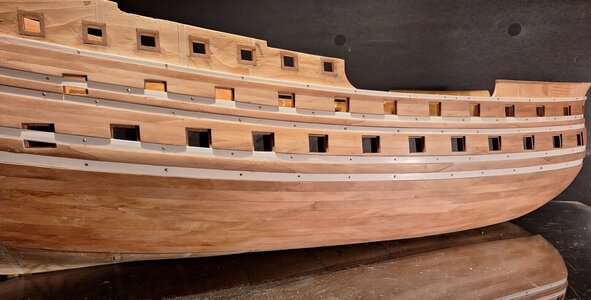
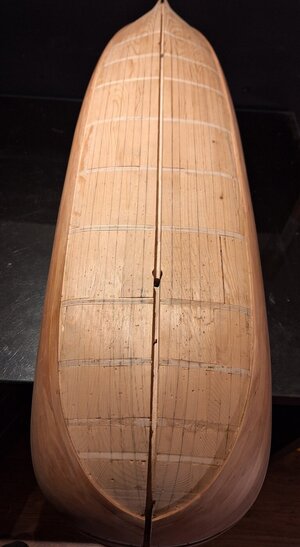
DE 7 PROVINCIËN (1665) 1:50

When I am doing such (dangerous) cuts, I am trying to position myself (view) the workpiece from the side. The important thing when sawing a curved piece like this is that the part of the workpiece that is in contact with the table is exactly at the tip of the saw teeth.

--
Jøran
 
When I am doing such (dangerous) cuts, I am trying to position myself (view) the workpiece from the side. The important thing when sawing a curved piece like this is that the part of the workpiece that is in contact with the table is exactly at the tip of the saw teeth.

--
Jøran

Jøran, thank you for your contribution. You are of course absolutely right.

In addition I would like to add is that you need to set up a guidance "rail", or whatever, high enough to keep the workpiece from toppling over to one side.
 
I have found quite a few little nuggets of information on your build Herman. I plan to use a couple of them, hopefully sooner rather than later. ;)

When I look at your last post where you are forming the planks to the hull, you are using tall pieces of wood. I'm guessing to increase the pressure at the point of contact? I can't help but see chunky little lower masts with the rubber band shrouds. ROTF You must have spent some time equalizing the force on each side so that it applies equal tension and the piece stands straight up. Did this take some time?

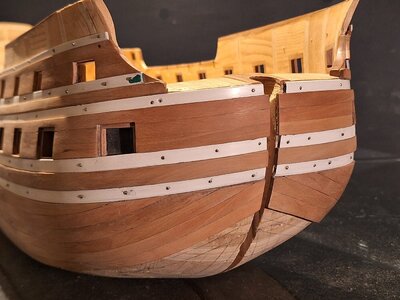
Hi Ken. These wooden blocks were actually not that tall. Probably looking taller due to the point of view. Both pieces of wood were bent to fit the curvature of the hull and were only clamped to the hull so that they dry up in the correct form, so not much pressure was needed.

It sometimes takes up some time to find the correct angle / attaching point for each rubber band/block of wood, especially on the bow where I make use of the screw stud on which the model will later be displayed and I shove some wooden sticks through the gunports to get extra points to attach the rubbers to.

For pressing the rear planks, enveloping the stern, I actually use a taller piece of wood to press that plank as tight as possible to the stern, as that will show on the model later. I have even used a tall block and double rubber bands for that part.

Furthermore you actually feel what force is needed, not all rubber bands are of equal strength.
 
Thanks for taking the time to explain Herman!
You are welcome Ken.
Getting ideas, gathering information and getting help are important reasons to be part of this forum. I am certainly one of those people (first time builder) who can benefit from the experience that others share with us. It feels nice when you can contribute something yourself.
 
You are welcome Ken.
Getting ideas, gathering information and getting help are important reasons to be part of this forum. I am certainly one of those people (first time builder) who can benefit from the experience that others share with us. It feels nice when you can contribute something yourself.
Lucky, you didn't copy the staple method...... :cool: Alien
 
It is hard to believe this is your first build Herman. I really don't think you could possibly present a better result!

ROTF Stephan. The irony is, I chose the staple/plank/bulkhead method as I was not sure I wanted to take on a true PoF hull. Hind sight being 20/20, I'm not sure which would have presented a bigger challenge. I'm pretty certain though the staple method left me with more scars on my hands than a PoF build would have. Seriously though, I don't regret my choice and I will forge ahead! :):cool:

I look forward to each of your new posts Herman!
 
Should be easier now with less bending (maybe its in your report, but have you been spiling the bow or are the planks thick enough to edge bend?).

The upper 4 or 5 were edge bent. For the rest I first fitted cardboard to follow the lines of the planks, copied the cardboard form to wood and then could bend the wood more easily around the bow. That procedure worked really fine.
 
The upper 4 or 5 were edge bent. For the rest I first fitted cardboard to follow the lines of the planks, copied the cardboard form to wood and then could bend the wood more easily around the bow. That procedure worked really fine.
Same for me. It’s the compound curve at the turn of the bilge that is a problem.
 
.​

Thank you, Herman, for posting the pics of the planking progress. The ones taken from the underside of the hull are particularly interesting, meaning, particularly attractive is the exemplary run of planking. :)

.​
 
Last edited:
Back
Top