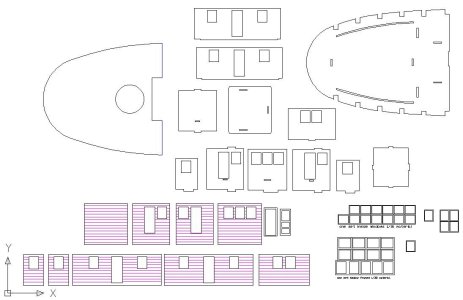
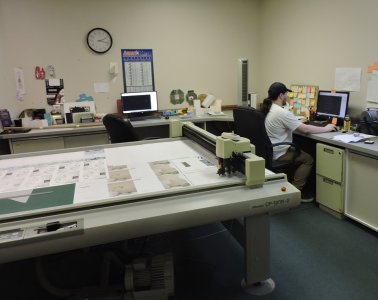
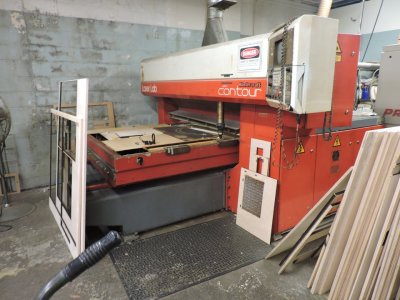
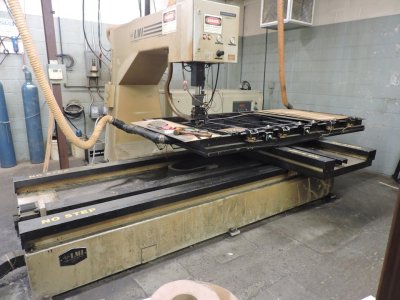
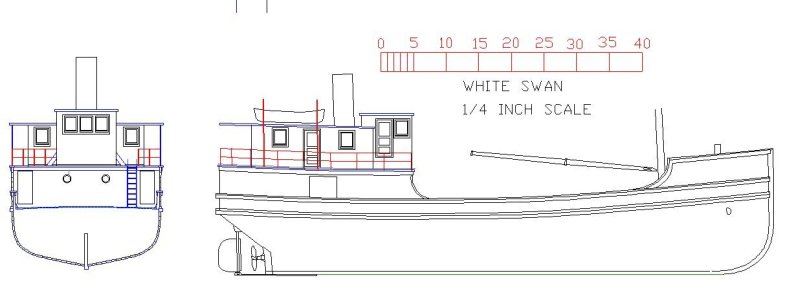
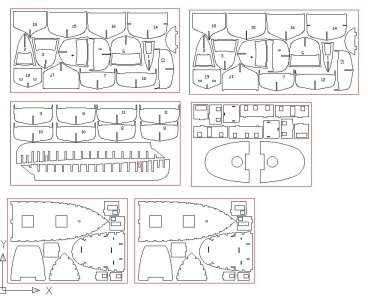
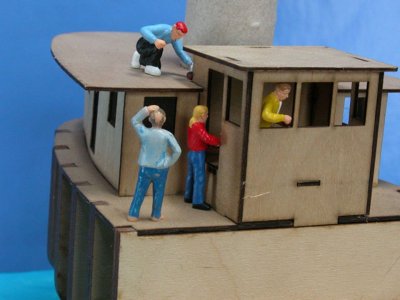
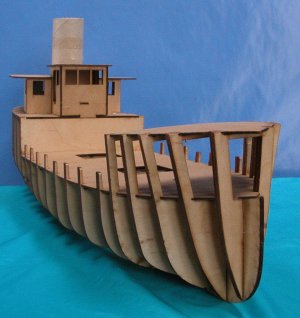
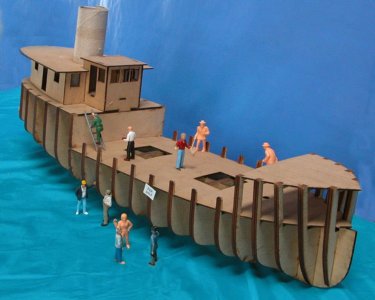
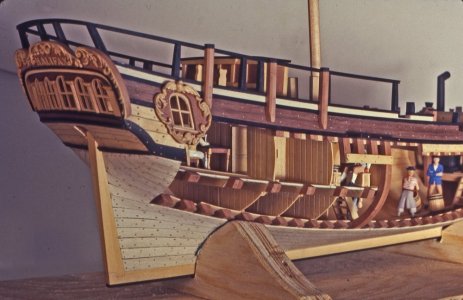
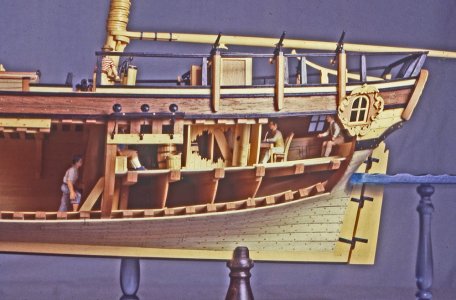
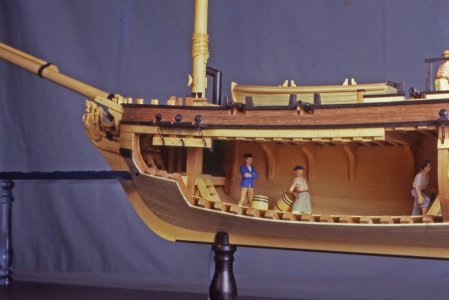
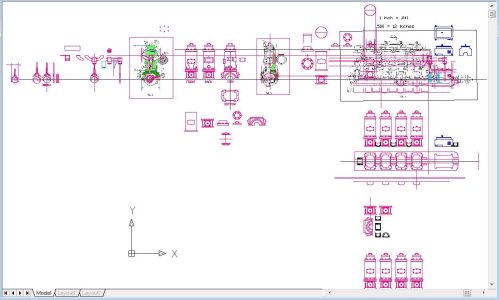
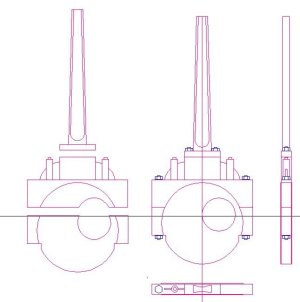
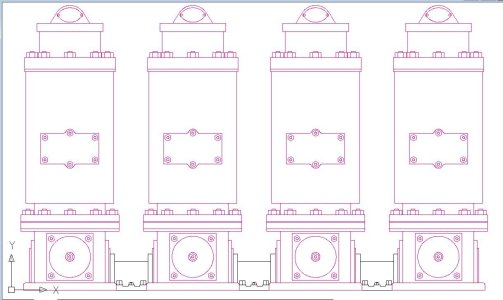
now a lesson plan for anyone considering designing a project from scratch and sending their drawings to a laser cutting service which are many you can find them on line or look local for hobby laser cutting services. Before you get started find a laser cutter first and talk to them as to what they like, the size of the laser etc. The laser cutter can help in the design format..
laser Cutter File Formats: A Quick Guide
File Types for Laser Cutters
Different file types have different properties and capabilities, and choosing the right one can make a big difference in the quality and accuracy of your final design.
Common file types used in laser cutting
There are two main types of file formats that are commonly used in laser cutting: vector files and raster files.
Vector files, such as .ai, .eps, and .svg, are made up of mathematical equations that define the shapes, curves and lines in design.
These files are resolution-independent, meaning that they can be scaled to any size without losing quality. They are also easily editable, making them ideal for creating intricate designs and patterns.
To summarize, some of the advantages of using vector files in laser cutting include:
They can be easily scaled to any size without losing quality.
They are editable, allowing for easy adjustments and modifications.
They can be imported into most laser-cutting software.
However, vector files also have some limitations. For example, they cannot contain photographic images, and they may not be suitable for some types of engraving.
Raster files, such as .jpg, .png, .gif, .tiff, and .bmp, are made up of pixels and are resolution-dependent. This means that they lose quality when they are scaled to a larger size.
They are best used for photographic images or images with a lot of gradients and shadows.
Some of the advantages of using raster files in laser cutting include:
They can contain photographic images and gradients.
They can be used for some types of engraving.
However, raster files also have some limitations. For example, they cannot be easily scaled without losing quality and they are not easily editable.
In general, vector files are preferred for laser cutting as they are easily scalable and editable, but raster files can be used for specific cases like engraving or when photographic images are needed.
Other Vector File Formats Used in Laser Cutting
In addition to .ai, .eps, and .svg, other vector file types that can be used with laser cutting machines include:
.dxf (Drawing Exchange Format) – a widely-used CAD file format that is compatible with most laser cutting software. It is often used for exchanging drawings between different CAD programs.
.pdf (Portable Document Format) – a versatile “compound” file format that can contain both vector and raster elements. Many laser-cutting software can import pdfs and convert the vector elements into a format that can be cut or engraved.
.cdr (CorelDRAW) – a proprietary file format used by the CorelDRAW graphics editing software. It can also be imported into most laser cutting software, although some conversion may be required.
.plt (Hewlett-Packard Graphics Language Plotter) – a file format that is typically used for printing technical drawings and blueprints on a plotter. Some laser cutting software can also import this file type.
It’s worth noting that all laser-cutting machines may not support all the file types listed above, it’s always best to check with the machine’s manufacturer or user manual for the specific file types that are supported.
What about .stl and .dwg files?
dwg (Drawing) is a proprietary file format used by AutoCAD, a popular computer-aided design (CAD) software. It is used to create and edit 2D and 3D drawings, and it is widely used in industries such as architecture, engineering, and construction.
Related: Comparing dxf and dwg files.
Some laser cutting software can import .dwg files, but it may require some conversion or additional software to be able to process it.
.stl (StereoLithography) is a file format that is used to represent 3D models. It is commonly used in 3D printing and computer-aided manufacturing.
It contains information about the surface geometry of a 3D object, represented as a set of triangles. .stl files are not natively editable, but they can be imported into most 3D modeling software for further editing.
Many laser-cutting software programs can import .stl files, but it’s recommended to check with the manufacturer for compatibility.
Both .dwg and .stl files are not primarily used for laser cutting, but some laser cutting software can import them, and they can be used to create 3D or complex shapes.
TIFF: a Favorite Raster File Format for Laser Cutting
TIFF (Tagged Image File Format) is a raster file format that uses lossless compression to compress image data, which means that no data is lost when the image is compressed.
This results in a high-quality image that can be enlarged or zoomed in without losing clarity. TIFF files can also support a wide range of color depths and image sizes, making them suitable for a variety of applications.
When it comes to laser engraving, TIFF files can be used to produce high-quality images, and because of their lossless compression, they can maintain the quality of the image even when enlarged.
They are more suitable for engraving photographs or images with gradients and shadows, as the image quality does not degrade when enlarged.
It’s worth noting that TIFF files are resolution-dependent, which means that if the resolution is too low, the image may appear pixelated.
To avoid this, it’s recommended to use a high-resolution TIFF file, usually, a resolution of 300 dpi (dots per inch) is recommended for most engraving applications.
Additionally, TIFF files are not natively editable, which means that it can be difficult to make precise cuts or engravings, therefore, it’s best to use vector files whenever possible, but TIFF files can be a good option for laser engraving, especially when high-quality images are needed.
How to prepare files for laser cutting
Converting files to the appropriate file type: If you have a file in a format that is not compatible with your laser cutting software, you’ll need to convert it to a supported file type. Vector files are generally preferred for laser cutting, but some software can also import raster files.
Resizing and scaling images: It’s important to ensure that the image is the correct size and scale before cutting. This can be done by using image editing software. Make sure to keep the aspect ratio of the image intact and to check that the image is not pixelated or distorted.
Removing backgrounds: In most cases, you’ll want to remove the background from an image so that only the desired object is cut or engraved. This can be done using image editing software like Photoshop or Canva.
Outlining text and converting it to paths: If you want to cut or engrave text, you’ll need to convert it to paths. This can be done using vector editing software, such as Adobe Illustrator or CorelDRAW. The text should be converted to paths before importing it into the laser cutting software.
It’s worth noting that some laser cutting software have built-in tools for preparing files, such as converting file types, resizing, and removing backgrounds, so it’s worth checking the software’s documentation and tutorials before starting to prepare the file.
Test the file before cutting: It’s always recommended to test the file before cutting. This will allow you to check the settings and make any necessary adjustments. Some software allows you to simulate the cutting process, which can be very helpful in identifying any issues before cutting the actual material.
By following these steps and best practices, you can ensure that your files are prepared correctly and that the final product is of high quality.
File size limitations
One important aspect to consider when preparing files for laser cutting is the file size. Some laser-cutting machines may have limitations on the size of the file that can be cut or engraved.
This can vary depending on the machine and the software being used, so it’s important to check the specifications of your machine before preparing your files.
If the file size is too large, it can cause issues with the cutting process, such as slow performance, and even cause the machine to crash. To avoid these issues, it’s recommended to reduce the file size as much as possible before cutting.
If the file is too large to be cut in one go, it can be split into smaller files, and each one will be cut separately. Some software has built-in tools for splitting files, others may require additional software to be able to split the file. It’s important to make sure that the split files are properly aligned to avoid any misalignment on the final product.


