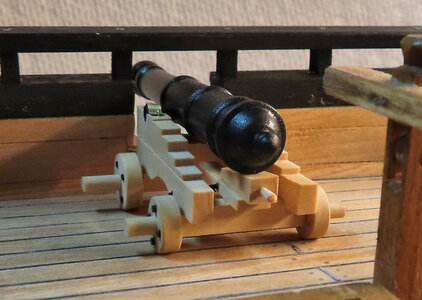
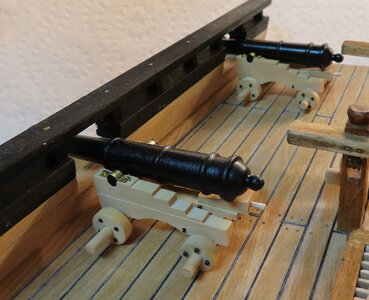
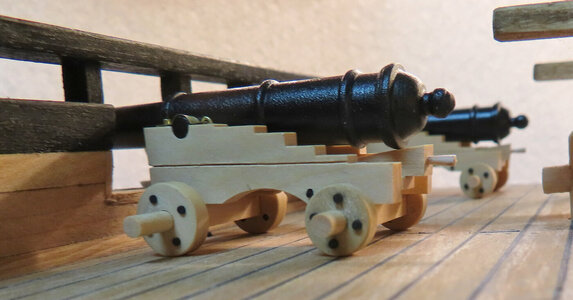
It doesn't really matter how you may consider yourself, Donnie. It is actually the work you are showing us and it does speak for itself.I still consider myself somewhere in the intermediate section.
-

Win a Free Custom Engraved Brass Coin!!!
As a way to introduce our brass coins to the community, we will raffle off a free coin during the month of August. Follow link ABOVE for instructions for entering.
-

PRE-ORDER SHIPS IN SCALE TODAY!
The beloved Ships in Scale Magazine is back and charting a new course for 2026!
Discover new skills, new techniques, and new inspirations in every issue.
NOTE THAT OUR FIRST ISSUE WILL BE JAN/FEB 2026
- Home
- Forums
- Ships of Scale Group Builds and Projects
- Group Build Archives
- Blandford Cross Section PoF Group Build
You are using an out of date browser. It may not display this or other websites correctly.
You should upgrade or use an alternative browser.
You should upgrade or use an alternative browser.
Donnie's HMS Blandford Cross Section Build: 1/32 Scale [COMPLETED BUILD]
Kurt Konrath
Kurt Konrath
Making mistakes are all part of learning new things we can do!
Thank you Jim and the other likes !!!
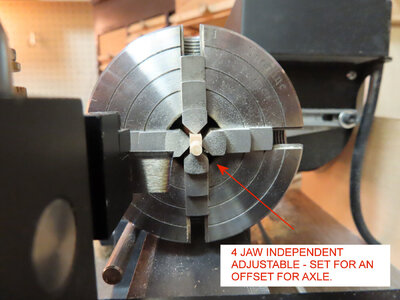
Well, I have an "Independent Adjustable 4 Jaw Chuck. That just means that each Jaw can be adjusted to make an "offset" turn. This is good for CAMs and other parts just as in this case, the Axle is offset to the Truck. Once you make the adjustments to the Chuck, then it is just a matter of slipping in each rectangle dowel and getting the depth of cut right.
I show and front and side view that shows the offset - (the part is NOT on center - but offset). This again is one of those tools that I might use once a year, but it pays for itself for operations just like this.
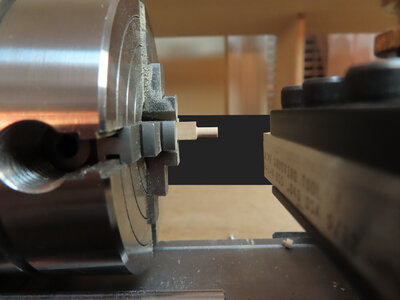
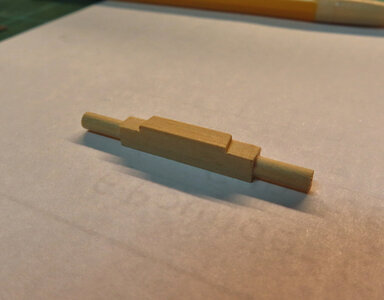
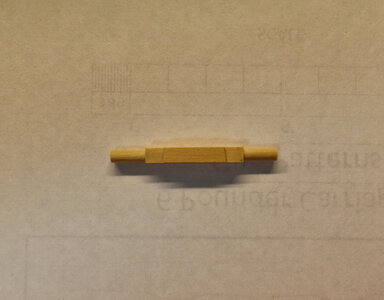
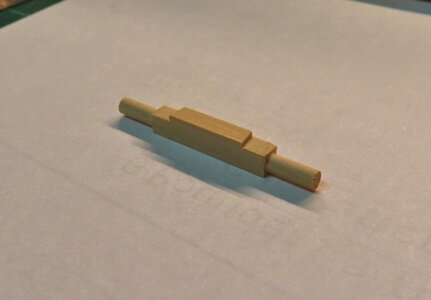
The Axles will be trimmed to length after a pin is inserted to keep the wheel intact. I made several .02mm passes at a time with a cutting tool while measuring to make sure I had a just-right fit.
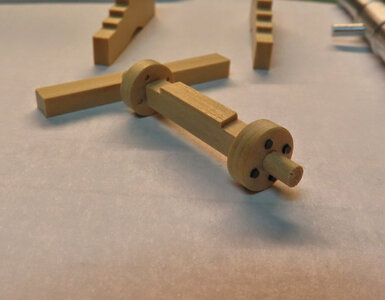
Well, I have an "Independent Adjustable 4 Jaw Chuck. That just means that each Jaw can be adjusted to make an "offset" turn. This is good for CAMs and other parts just as in this case, the Axle is offset to the Truck. Once you make the adjustments to the Chuck, then it is just a matter of slipping in each rectangle dowel and getting the depth of cut right.
I show and front and side view that shows the offset - (the part is NOT on center - but offset). This again is one of those tools that I might use once a year, but it pays for itself for operations just like this.


The Axles will be trimmed to length after a pin is inserted to keep the wheel intact. I made several .02mm passes at a time with a cutting tool while measuring to make sure I had a just-right fit.

Kurt Konrath
Kurt Konrath
Great explanation of process and procedures used to make this odd shaped axle part of cannon carriage.
And as you say, it's a tool not often used, but who needs a need to justify a new tool!
And as you say, it's a tool not often used, but who needs a need to justify a new tool!
Thank you Kurt and the other likes. The Boxwood is really nice to work with. In some ways, it is like working with plastic as the grain is so tight and cuts very precisely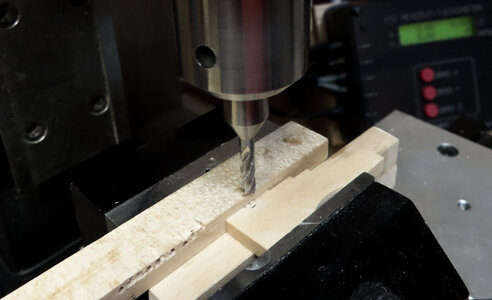
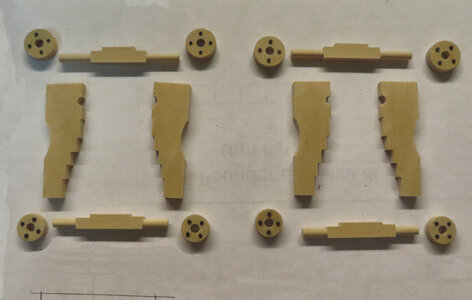 .
.
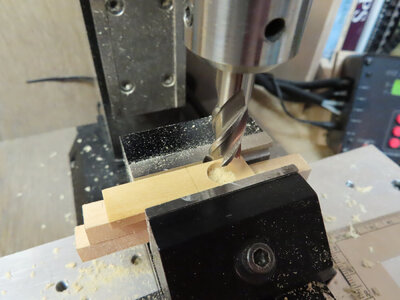
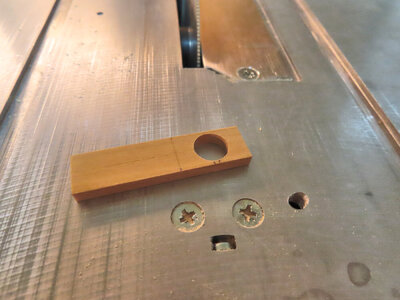
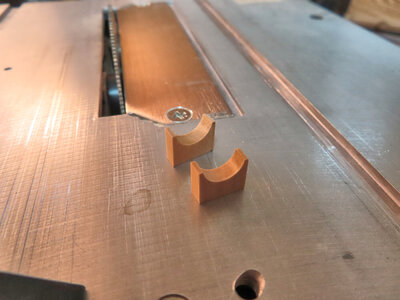
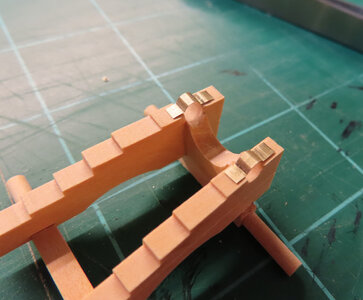
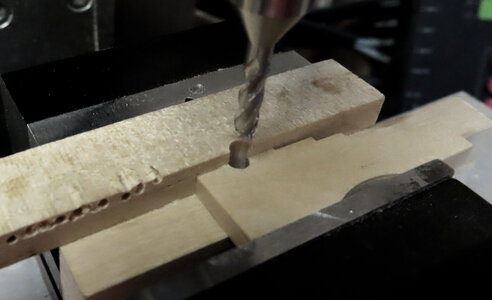
Finished the rear axle and cut out the half hole for the trunnions. The part has to be supported underneath. It does not have to be precise in the alignment as long as there is something under the part to keep it from 'sinking' as the pressure of the cutting tool pushed down. The other piece opposite side is there to 'mimic' a full piece so End Mill will not fray the wood.
Lastly, the Transom will be cut, and then the rigging, eye bolts, etc.


 .
.Finished the rear axle and cut out the half hole for the trunnions. The part has to be supported underneath. It does not have to be precise in the alignment as long as there is something under the part to keep it from 'sinking' as the pressure of the cutting tool pushed down. The other piece opposite side is there to 'mimic' a full piece so End Mill will not fray the wood.
Lastly, the Transom will be cut, and then the rigging, eye bolts, etc.
Great execution and really nice wood to work, indeed. I use to buy this wood from Crown Timberyard. Can you tell me the source of your nice boxwood timber?
All of it was obtained from dlumberyard.com however, I am sure there are others like bibigon - Zoltan knows a lot as well as Uwe where to get wood from.
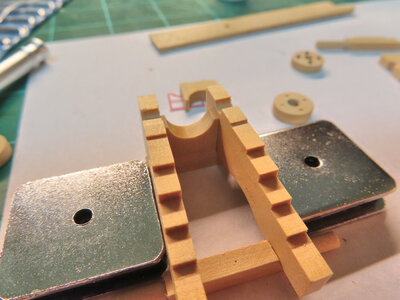
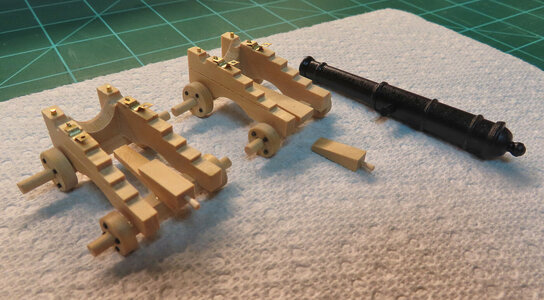
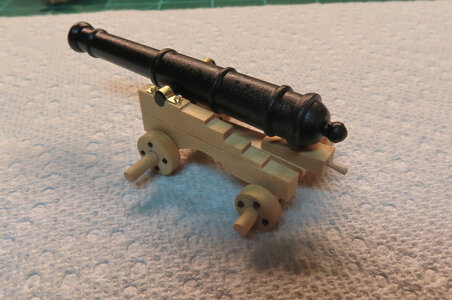
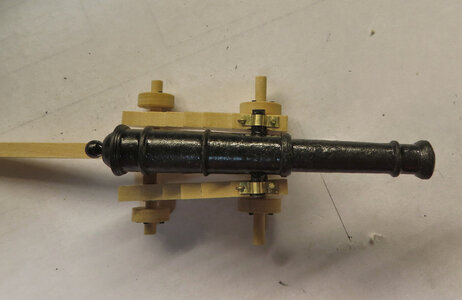
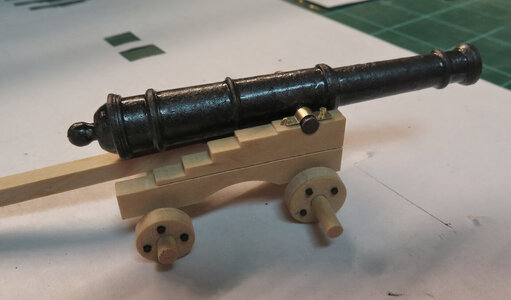
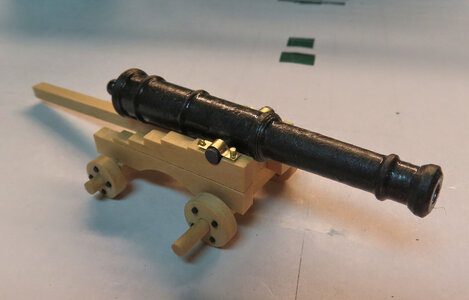
I set one cannon on deck (was not glued), but managed to keep parts together while testing height. It seems that the carriages are about 2 to 3 mm too tall. Time to trim off some excess on the bottom part of carriages - I have already done this and it seems to be better aligned. I have now glued up one carriage and will post soon.
Nice carriages, Donnie!
Anthony,
I vaguely remember, it seems it was from Hobby Lobby or Micro-Mark. I have to look. It was a long time ago. So, I am not too fond of metalworking, but it had to be done. I am not too happy with the paint job of the cannon as I tried to make it look worn and weathered. I used a Testors Metal Gray - Ha. I thought it was dry when I grabbed it, but it was still slightly tacky. But what happened is that by touching it with fingers and then a towel, I was able to produce a crinkle effect. However, as with me, not leaving well enough alone, I reached for the flat black enamel spray to take some of the gray out - now I am left with this not so good Cannon - I am not sure to keep it or not or wash all the paint and start again. If I sprayed it w flat black, the cannon would not have any character to it. So, I guess I might just leave it as is for now.
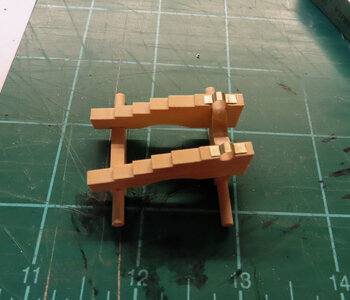
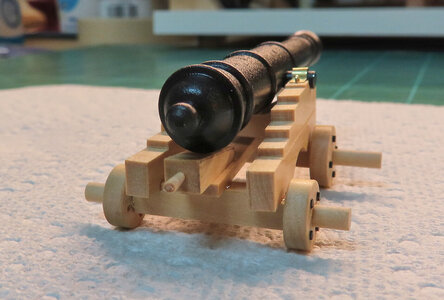
The latest. Now to do the other one and finish up with the ring bolts. If you notice, I tried to get the effect of splitting the carriages up (to look like two pieces) by running an Exacto knife and a scriber.
What is not good is that you have this pristine looking carriage with this so-called worn out cannon just does not have a good balance between what looks new and what looks old. Bothersome to me.
Yes, I plan to trim the axles off.


Anthony,
try this link at Hobby Lobby.

 www.hobbylobby.com
try this link at Hobby Lobby.

Jump Ring Mandrels | Hobby Lobby | 406934
Get Jump Ring Mandrels online or find other Jewelry Making Tools products from HobbyLobby.com
I could not leave well enough alone, so I put the Cannons in an acetone bath which took just seconds to get the color off. Then I sprayed with plain flat black.
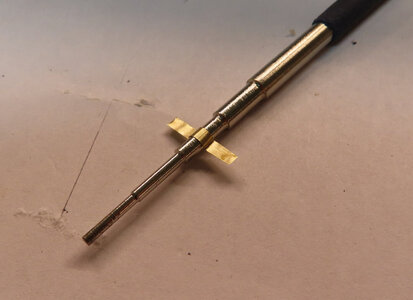
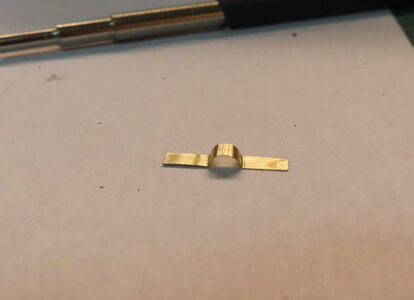
A few more details such as adding a 'floor' to the carriage so the Quion can sit on. Then onto the Ring Bolts.
The floor is supposed to have a bar that runs from carriage side-to-side to support the fore-end of the floor and I might add that. but the bolt will be hidden from view anyway, so not sure. It does look funny just floating at the fore-end. I did not make the floor quite long enough though, but a little too late - it is glued in now. Trying to get these tiny parts cut out on table saw is a little unnerving.
I might have to add that rebar as my OCD is starting to kick in.
Very accurate work - I like your "style" using the mill to make it really as exact as possible.
Very good work my friend
Very good work my friend
Kurt Konrath
Kurt Konrath
Height of cannons and carriages looks spot on, room to raise and lower the barrels as needed.
Keep up the fine work.
Keep up the fine work.


