H.M.S. Surprise by Artesania Latina - Build log

Sorry to ask, but are you referring to the upper deck or quarter deck? Looking at the contemporary drawings of Rose (aka Surprise) there is no raised portion of the either of these decks, thus my confusion. There is a 2" rise of the QD from 68 inches to 70 inches from the bottom of the QD deck beams to the top of the upper deck planking. https://www.rmg.co.uk/collections/objects/search/Rose 1757 Is this what you are referring to? I believe the modern ship for the movie was a 28 gun, but the dimensions would be similar between decks. There is a great high resolution inboard profile drawing of the 28 gun ships of the Active class that is easier to see. It can be found on page 4 in the Wiki Commons site. It is too large to post here. https://commons.wikimedia.org/w/ind...dalupe_(1763),_Carysfort_(1766)_RMG_J6385.png

Thanks Reg.
Allan
View attachment 449974

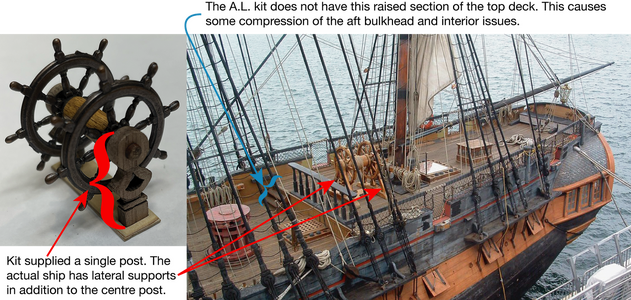
Hello Allan, I'll try to find a photo that I took (years ago) of the ship, docked, which shows the two step raised section that I'm refered to - that the A.L. kit does not have (and these drawings do not show either). Thank you for sending them! The kit has 42 cannons (26 on the gun deck and 16 on the top deck) so it doesn't match these plans either.
 
Last edited:
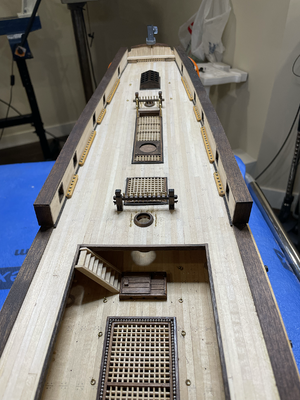
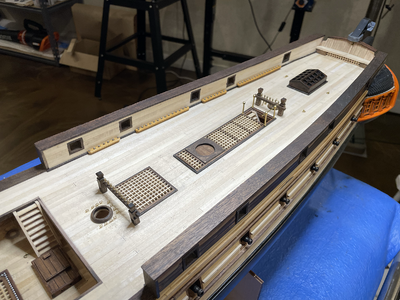
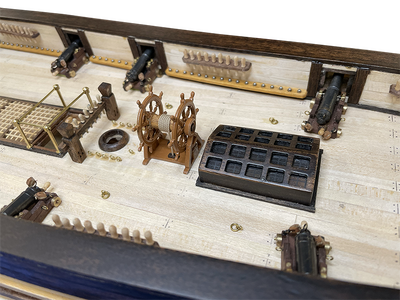
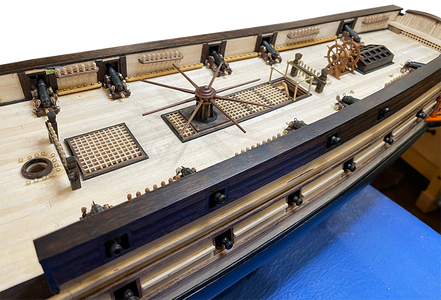
Top deck has hundreds of bits (details). Slow going, but I'm enjoying it!
1 PinRails.png
2a Ship Deck Compare.png
The kit also positions the steering gear aft of the mizzen mast. This position does match one of the drawings of the original ship that I have found.

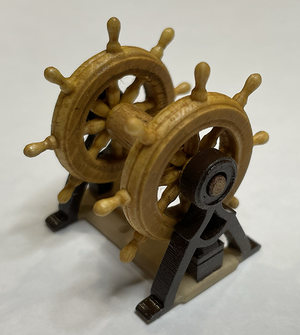
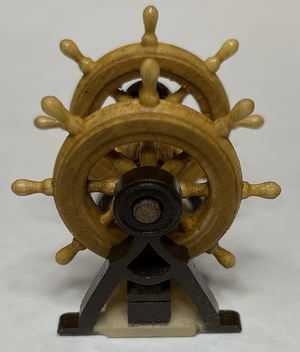
So I made the wheels out of wood, but I still need to sand the thickness down significantly..
4 MyWheelDiag.png5 MyWheelFront.png
... and I made the wheel support with lateral support included. Not perfect, but a bit
more accurate than the kit post.

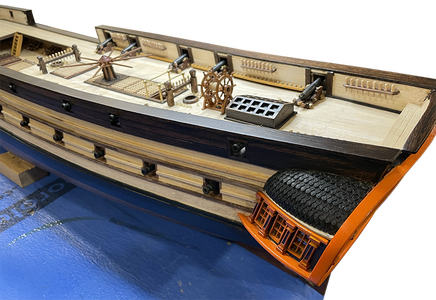
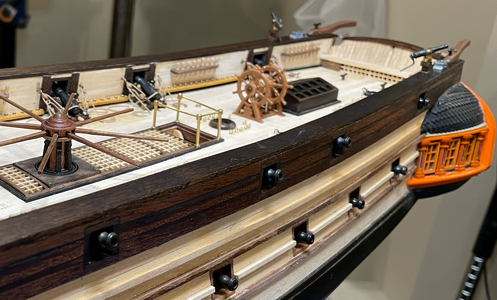
The deck details are coming along...
ViewLengthProg.png. ViewSternProg.png
 
Last edited:
Top deck has hundreds of bits (details). Slow going, but I'm enjoying it!
View attachment 451053
View attachment 451195
The kit also positions the steering gear aft of the mizzen mast. This position does match one of the drawings of the original ship that I have found.

So I made the wheels out of wood, but I still need to sand the thickness down significantly..
View attachment 451056View attachment 451057
... and I made the wheel support with lateral support included. Not perfect, but a bit
more accurate than the kit post.

The deck details are coming along...
View attachment 451058. View attachment 451059
Good morning Reg. This looks really good. Cheers Grant
 
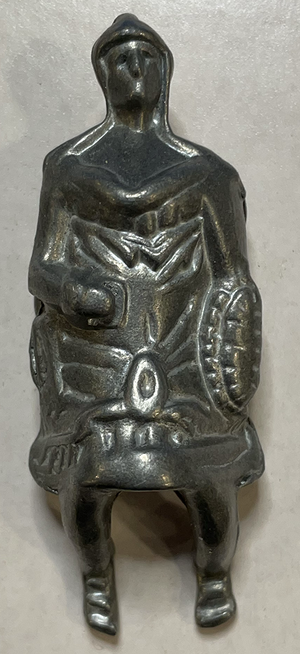
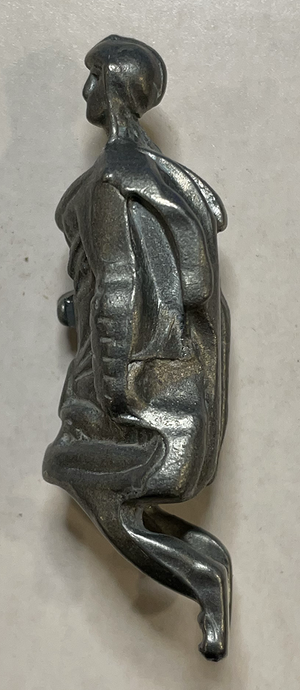
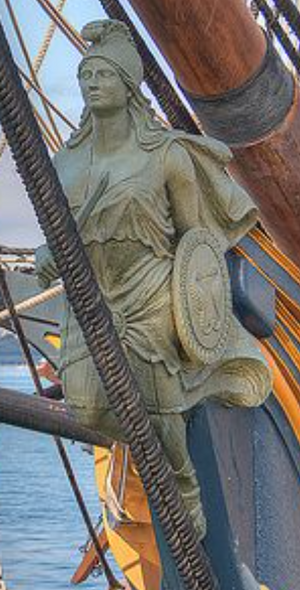
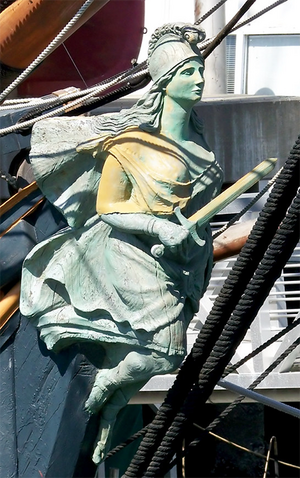
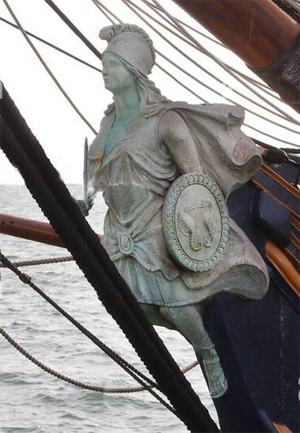
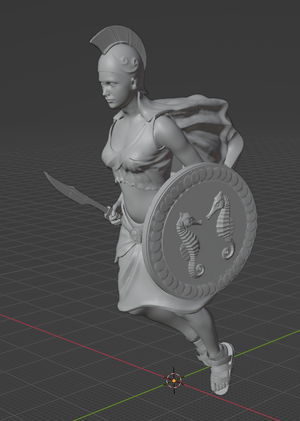
Took a break from deck detail woodworking and attempted to model the figurehead to match the ship as docked in San Diego...

Kit supplied Figurehead (Front and Side Views) is a metal lump of crap.
Kit FJ-Front.png Kit FH-Port.png

Learning to model organic items in 3D has been a test for me, so I refer to the following
actual ship figurehead images..
Actual-1.pngActual-2.pngActual 3.png

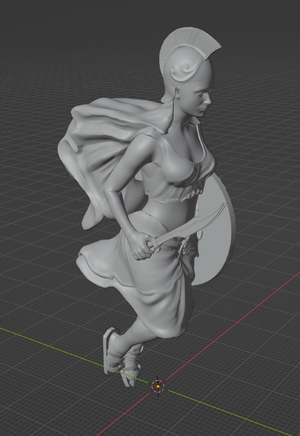
My model during build (in Blender)..
FH-Wireframe.pngFH-SB..pngFH-Port.png

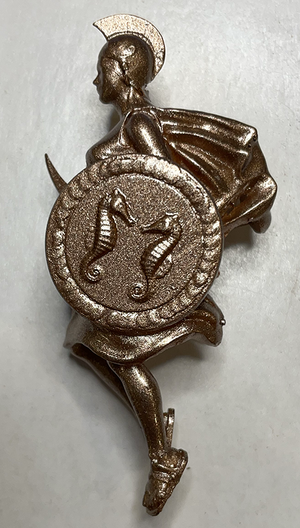
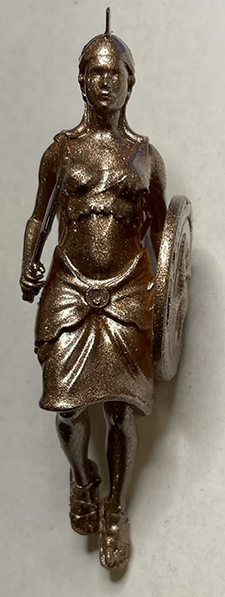
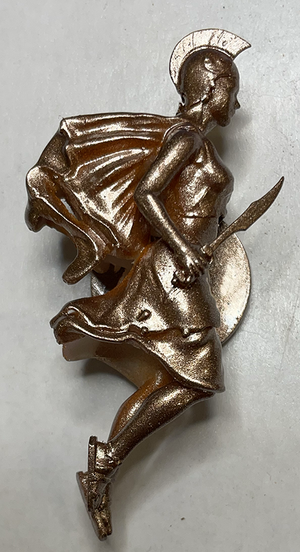
And after test print and paint...
My FH-Port.pngMy FH-Front.pngMy FH-SB.png

So I changed her helmet (always liked the Spartan uniform), and sword, but failed to model hair. Shrug. This model took
me ages! Might even look more like the actual than what the kit provided. Some details that I modelled did not print
at this size (resolution). Huge learning curve for me.
 
Last edited:
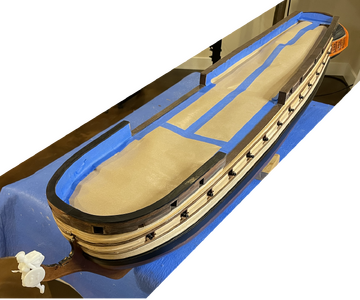
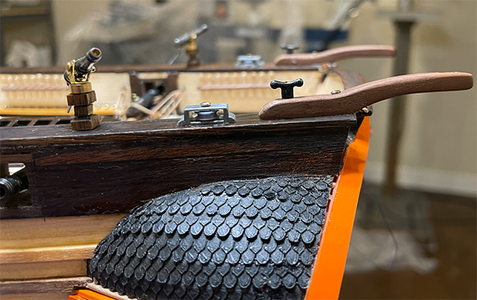
I have avoided using paint on most of the ships surfaces, with the exception of the stern decorative details.
I like the wood grain showing, so I've selected 5 semi-transparent stain colours to finish most of the surfaces.

The top rail and the lower hull will have 5 coats of satin spar varnish. I've masked the top rail here, and will
commence the varnishing. 24 hours between coats, so I'll not post an update for a week or so...

Masked4SparVarn-2.png
Masked4SparVarn-3.png


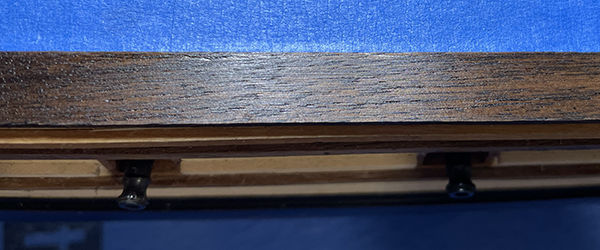
The top rail walnut strip that is supplied in the kit has a very course grain. I've sanded it down to 600 grit prior to
applying the stain. After 5 coats of varnish it will look acceptable and the grain will shine through. I hope.

SemiTransGrainStain.png
 
Last edited:
Your workmanship continues to impress and it is great to see you not settling concerning the figurehead. Kudos!
Kit supplied Figurehead (Front and Side Views) is a metal lump of crap.
And thanks for your honest appraisal!
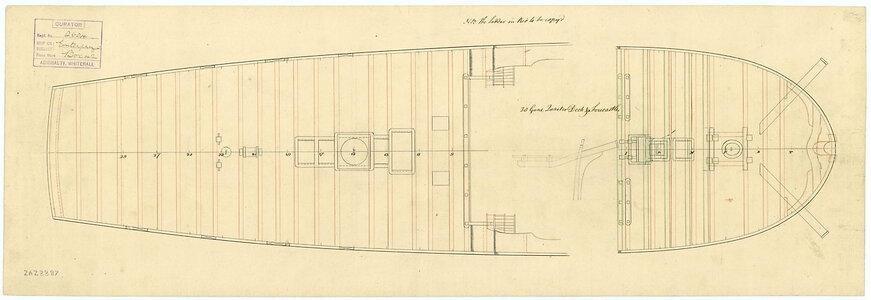
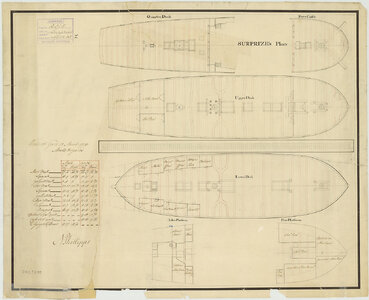
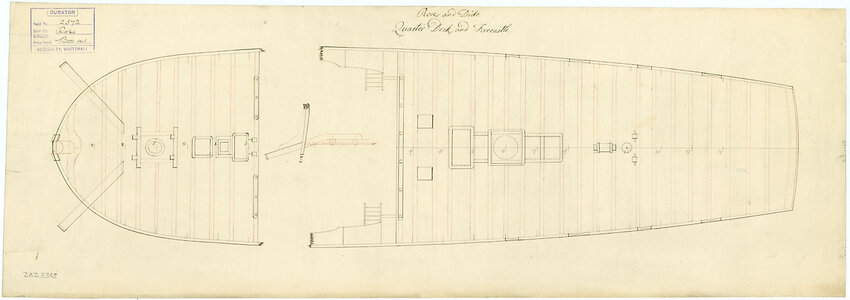
In addition to the raised deck discussion that you pointed out earlier, I am wondering about the extremely bluff bow. It may just be the angle of the photos but it seems the kit has it a bit exaggerated when compared to the contemporary plans. Do you know if the replica ship is this bluff bowed? The plan below is listed at RMG for Enterprize, Surprise (1774) and 23 others of the class. The second one are the decks of the Surprise 1774. The last is Rose 1783.
Thanks again for sharing your build Reg
Allan
Surprise QD and Forecastle.jpg
Surprise decks.jpg
Rose deck plan.jpg
 
Hello Alan,
And thank you for your kind comments. The Drawings of the Surprise decks of 1774 are very close to this A.L. kit. The lower hull in this kit is exactly the same profile as the drawings. However, my plank bending skill is not advanced sufficiently yet, and I caused the upper deck to be more "bluff bowed" than it should have been. The pre-shaped rail for the bow in the kit still fit without much effort though. I am enjoying the build and have learned skills that I never dreamed I'd have; such as: plank bending, tweezer control and 3D model making. Who would have thought? LOL!
 
Last edited:
However, my plank bending skill is not advanced sufficiently yet,
This takes some practice and information on how to spile or edge bend, but I think your planking looks really good.
 
Last edited:
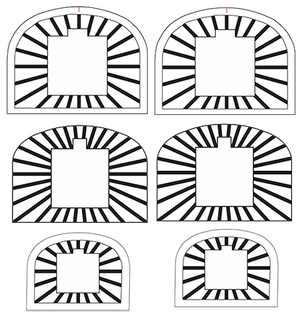
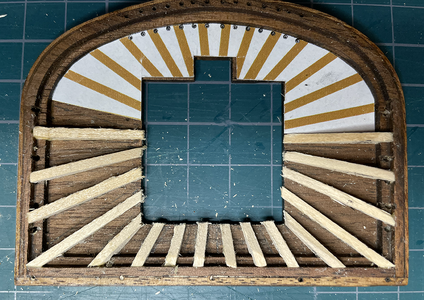
While the final coat of spar varnish is setting I started on the ship tops. As I have never worked with pieces this small I figured I would make templates to help get the tops accurate to the plans that came with the kit.

So I traced the outline of the actual pieces, scanned that and touched the image up before printing:
1 Tops Template.png

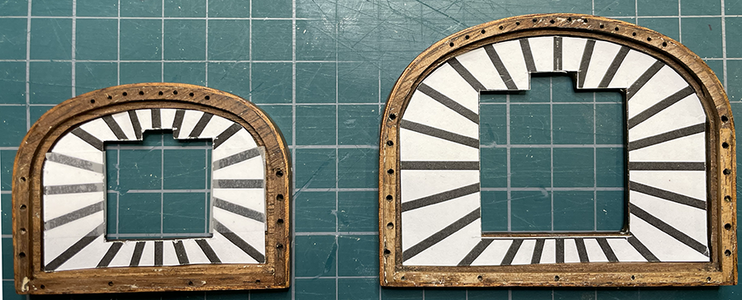
After printing the templates I cut them and fitted to the top bases.
2 Tops.png

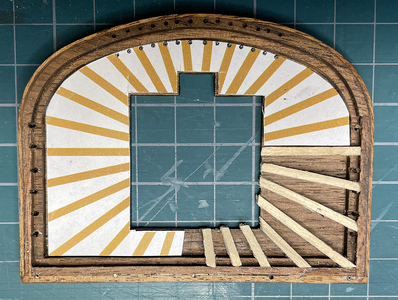
As I attached each radial lug, I would cut the next section out of the template...
3 Tops.png4 Tops.png

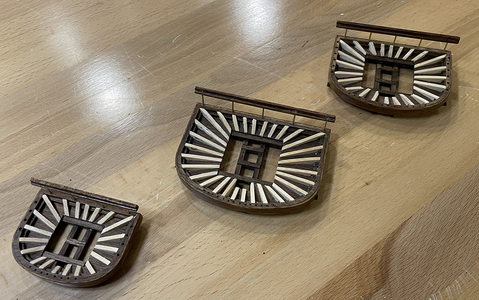
Until the three tops were completed.
Top Finished 1.png
Top Finished 2.png
So I've never worked with compound cut pieces that were this small before, but I'm generally satisfied with the results.
 
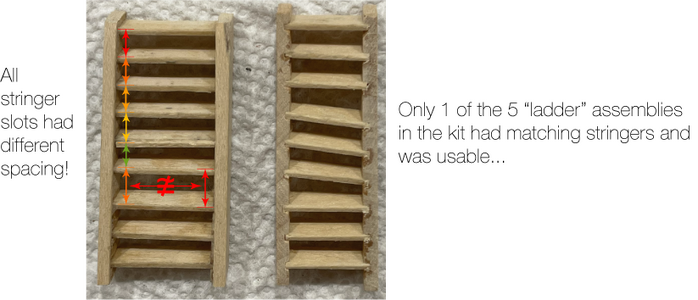
Working on the deck details I found this issue:

Kit Stairs.png
My Stairs.png

Adding items, but the canons are not fixed in position yet. I'll complete the training rigs before final attachment of the canons.
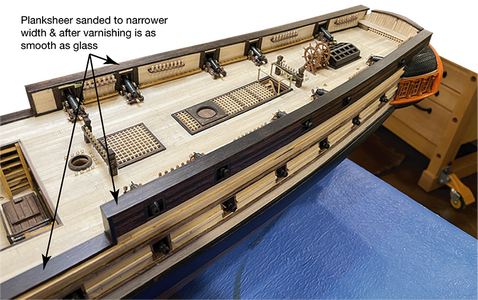
1 Planksheer.png

My rudder assembly used none of the kit parts. My OCD issue said "No".
2 Rudder Gear.png

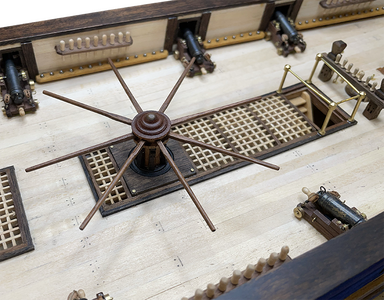
The kit called for 12 levers on the capstan. I couldn't find any reference for more than 8 during the period:
3 Capstan.png 4 Capstan Closeup.png

A couple of stern views:
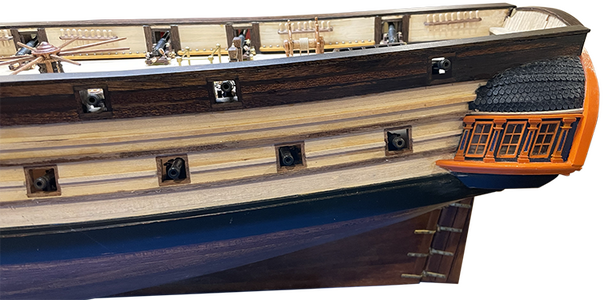
5 Stern View.png. 6  Stern-Port.png

My work schedule is running interference with my build, so I'll probably not complete the canon rigging for a couple of weeks.
 
Last edited:
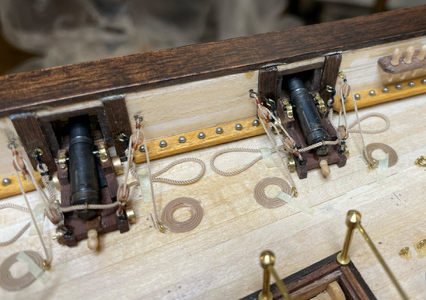
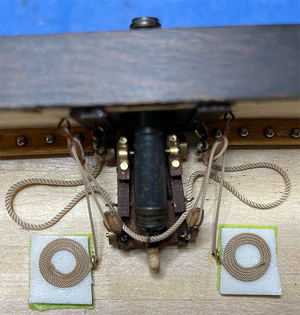
Stern canons are rigged, and the ropes are getting "trained" to hold position (simulate gravity effects).
TrainingTheRopes-01.png TrainingTheRopes-02.png

Assembled a couple of swivel canons. These are different from those included in the kit - which were
much larger than scale and did not look like canons at all. Sorry about the focus here
SwivelCanons   .png

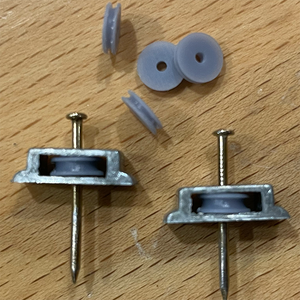
After seeing Johann's work, I tried my hand at metal work and made the stern sheaves.
These are functional / operational.
Pulleys.png SternSheaves.png
... and now I know how to make functional blocks that are 4mm or larger. But will I?
 
Back
Top