H.M.S. Surprise by Artesania Latina - Build log

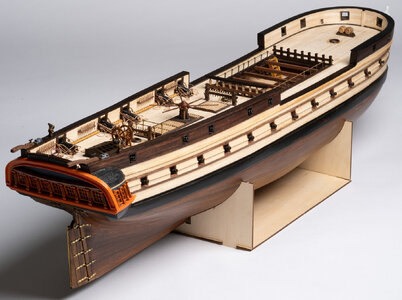
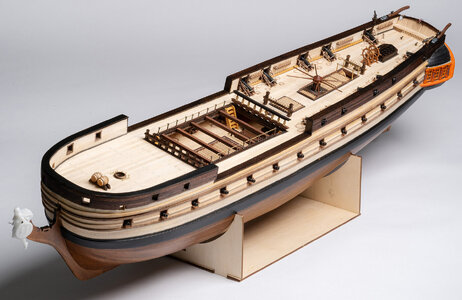
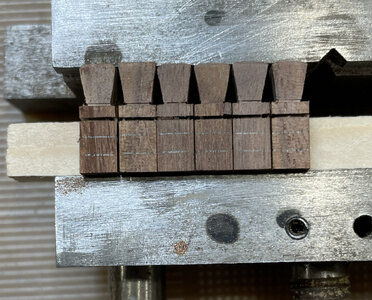
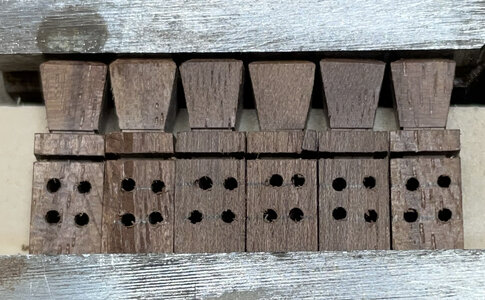
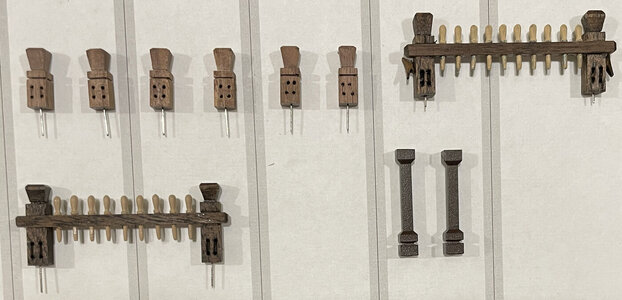
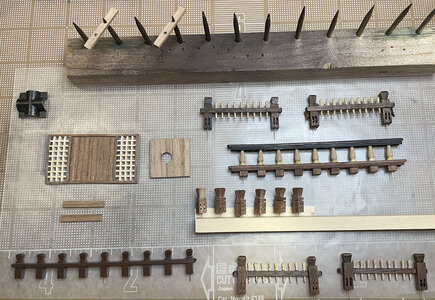
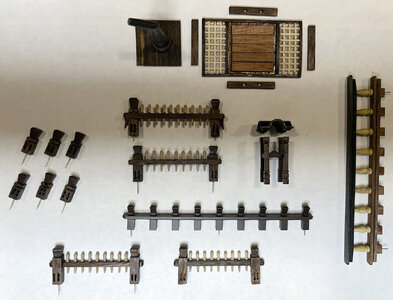
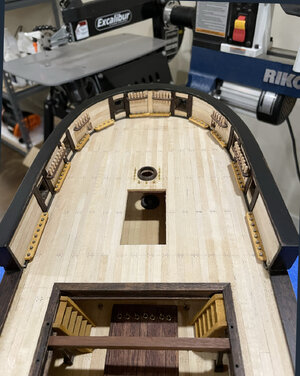
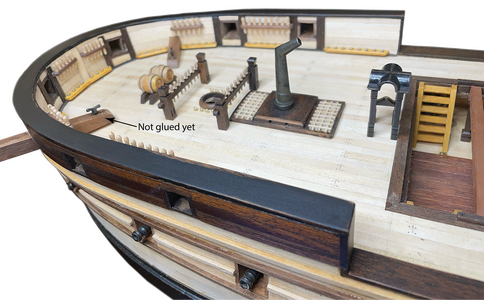
I've found that I am faster with a cursor control device than an X-Acto knife. The cockpit railings have taken me longer than my work on the figurehead. Shrug.
JCKP2264.jpg JCKP2278.jpg
JCKP2284.jpg JCKP2288.jpg

JCKP2299-2.jpg JCKP2303.jpg

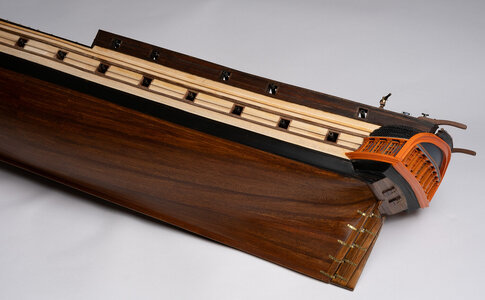
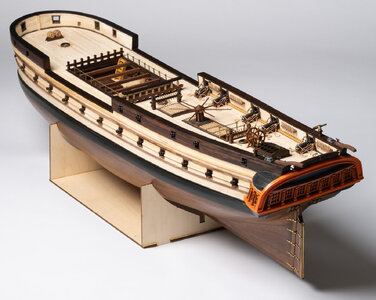
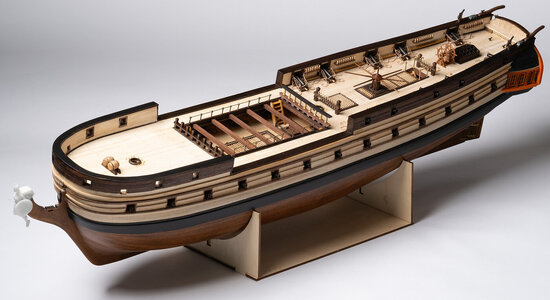
Still enjoying the build after discovering that I was often in error while following the kit instructions. Still glad that I stained the wood;
rather than paint it - and I like the grain (filler free), but sorry that I didn't know the correct planking method for the bow and stern profiles.
 
If this is your first ship model, and if you truly feel, after honing your skills building it, that it is so terribly below your standards.... then make it a fire ship.
I'm not sure what a fire ship is, but I fly water bombers and they look different from this. It's not that I feel my build is below standard, it's that I am learning things that I did not know beforehand. If I work up the courage to build another ship, then I know that I will not repeat the errors that I have made on this one. I'll probably make new ones :D
 
I've found that I am faster with a cursor control device than an X-Acto knife. The cockpit railings have taken me longer than my work on the figurehead. Shrug.
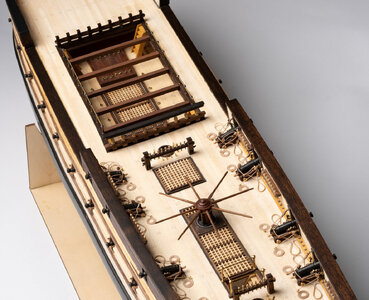
View attachment 459195 View attachment 459196
View attachment 459197 View attachment 459198

View attachment 459199 View attachment 459200

Still enjoying the build after discovering that I was often in error while following the kit instructions. Still glad that I stained the wood;
rather than paint it - and I like the grain (filler free), but sorry that I didn't know the correct planking method for the bow and stern profiles.
Good morning Reg. This is a brilliant model. I enjoy all the detail you have added and the accuracy corrections you made to the kit. Are you sure this is your first model ship ;) ? Seriously tho-great modelling. Cheers Grant
 
I'm not sure what a fire ship is, but I fly water bombers and they look different from this. It's not that I feel my build is below standard, it's that I am learning things that I did not know beforehand. If I work up the courage to build another ship, then I know that I will not repeat the errors that I have made on this one. I'll probably make new ones :D
1721018226837.png
A fire ship or fireship is a large wooden vessel set on fire to be used against enemy ships during a ramming attack or similar maneuver. Fireships were used to great effect against wooden ships throughout naval military history up until the advent of metal-hulled ships; they could also serve a considerable function in shock and awe strategies to harm the morale of enemy crews. Ships used for fireship tactics were sometimes surplus, obsolete or purpose-build vessels filled with gunpowder or other combustibles, but could also be improvised from active warships purposefully set on fire during engagements, such as if a vessel expended its munitions or had some other reason to be abandoned in battle.

... hence the joke.
 
Beautiful !!! and astounding for a first build !
Thank you for the kind words Jeff. I have built many RC aircraft over the years and learned very early that if the build is not straight and true the plane will not fly. Managed to acquire some tools over the nearly 60 years as well. But I will need to purchase a few more for ship building.
 
Last edited:
Good morning Reg. This is a brilliant model. I enjoy all the detail you have added and the accuracy corrections you made to the kit. Are you sure this is your first model ship ;) ? Seriously tho-great modelling. Cheers Grant
Hi Grant, yes this is clearly my first ship build. I've learned a lot of things and have appreciated reading many of the other build logs here - which has been a big help. Thank you for your kind assessment of my progress!
 
Thank you for the kind words Jeff. I have built many RC aircraft over the years and learned very early that if the build is not straight and true the plane will not fly. Managed to acquire some tools over the nearly 60 years as well. But I will need to purchase a few more for ship building.
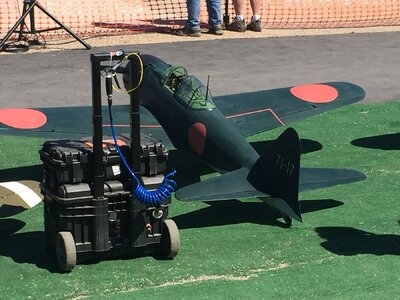
Not sure if you saw it in another post, but here is a picture of my scratch built Ziroli Zeke. :)
Zeke.jpeg
 
Hello Reg

Very nice build Ihave the same kit in dry dock at the moment ready to get done when I have finished the 2 I am doing at the moment.
Coud you send me the file for the stern stachions as will be experimenting as well with a 3d printer as they are now becoming affordable.
Your modifications are all quite good and I look forward to seeing it fully finished. Are you going to fully rig it with furled sails as well?
IT may be your first ship but there is a lot of skills there from your aircraft building showing through.

Rob
 
... Could you send me the file for the stern stachions as will be experimenting as well with a 3d printer as they are now becoming affordable.
Your modifications are all quite good and I look forward to seeing it fully finished. Are you going to fully rig it with furled sails as well?
Hi Rob, I've sent you the stanchion file and converted it to .stl format for 3D printing. If you decide to have the stanchions carved from hardwood, let me know and I'll send you the CNC file. I've tried to limit the amount of resin parts in my wood ship, but clearly I have my own issues. LOL! I have never done any rigging before so I haven't decided if I'll put the sails on her. I will credit AL for providing nicely finished sails in their kit, but I've read other logs here and agree that the cloth is far too thick to look like proper scale. So I'll wait on that decision. I will replace most of the rope (thread) from the kit, and plan to make my own blocks as well. I tried "tumble sanding" the linden blocks that were provided and was unhappy with the results.
 
Last edited:
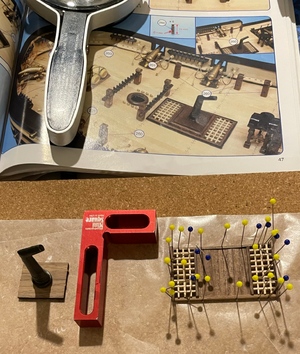
These small units grate on my nerves

Your model looks great and I doubt there are many whose first model is as well done as yours.

Speaking of grates :) ..........making realistic gratings can be a challenge to say the least. And it did not get a lot easier for many of us on the second or third builds. Have you considered making your own gratings from scratch or from after market sources that offer something realistic and easier to shape? Gratings should never have openings next to the head ledges or coamings (as in the upper photo in your post #72) (If this is confusing I can post some drawings that are probably far better than words. This error is not uncommon with some kits and shame on them for missing something so basic. The openings were about 2.5" to 3" so when assembled are quite tight and not so difficult to cut to fit the tight areas in the hatch openings and at the beakhead. I have no connection with the company below but understand the offered gratings are very good. Hopefully there are others. When making and/or assembling these, it is best to make the gratings as close to the size needed so there are no openings on the ends first and with the battens always running fore and aft and the ledges athwartships. Then make the head ledges and coaming assembly to fit the gratingyou already sized.
Allan
 
Your model looks great and I doubt there are many whose first model is as well done as yours.

Speaking of grates :) ...
Thank you for your kind words Allan. I considered jettisoning the kit grates for better ones, but after determining the number of kit changes that I'm planning to make between now and completion, I figured that I would just accept the provided pieces for these grates. I know that they are not correct in a number of ways, and I'll watch for that on my next build - if this ship doesn't put me out of my misery. LOL! Some of this build has made me remember one of the "sayings" that my airforce bomb instructor used all the time: "If at first you don't succeed... destroy all evidence that you even tried."
 
Last edited:
Knightheads-Sheaves.png

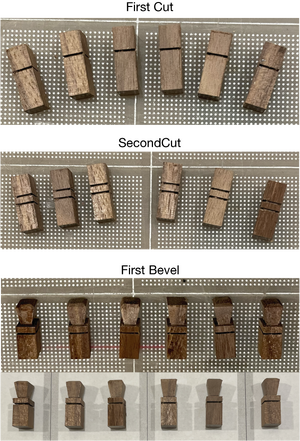
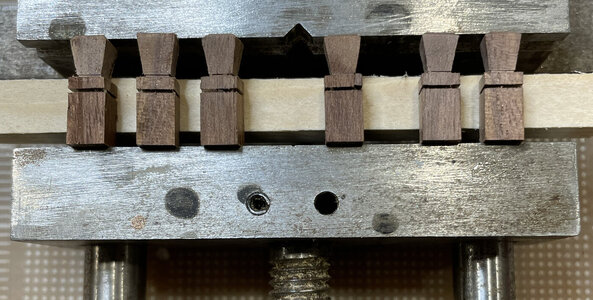
Knightheads and sheaves are not as intimidating after all this practice.

4 Match Length.jpg
5 Sheave Draft.jpg 7 Sheave Drilled-02.jpg

Touch-up time...
8 Pre-stain.jpg

Setup for stain
8 Stain Setup.jpg


Stained. The 3x3mm walnut for the bell tower legs is very course. I may have to use filler and paint that feature to make the tower pass the quality control inspector.
9 Stained.jpg

Bow progress:
10 Bow Progress.jpg

6 canons to rig after the above items are dry. I'll give them a couple of days.
 
Last edited:
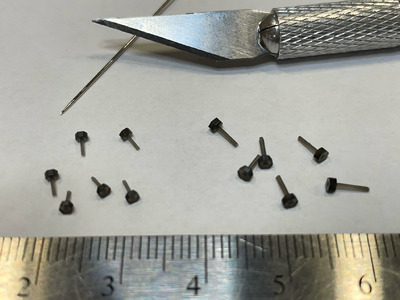
After examining the AL instructions and comparing their parts with my photos of the actual ship, I decided to replace some of the pins (nails) with bolts. However, I was unable to find tiny bolts in my inventory. So I tried my hand at metal work and made a few out of brass and wire, then blackened them. I actually made 12 of each of the two sizes, but only 50% were acceptable. I'll need to make 18 more of the small (1.25mm head size x 0.5mm shaft size) bolts. Maybe tomorrow...

Bolt-Time.png
 
After examining the AL instructions and comparing their parts with my photos of the actual ship, I decided to replace some of the pins (nails) with bolts. However, I was unable to find tiny bolts in my inventory. So I tried my hand at metal work and made a few out of brass and wire, then blackened them. I actually made 12 of each of the two sizes, but only 50% were acceptable. I'll need to make 18 more of the small (1.25mm head size x 0.5mm shaft size) bolts. Maybe tomorrow...

View attachment 461511
wow, those are small! How did you make them?
 
wow, those are small! How did you make them?
Very slowly! LOL! I have several sheets of brass plate that are 5" x 5" (yes, us old guys still use inches here in Canada sometimes) and the sheets are 1/64" to 1/16" thick. So I did some 1/48 scale conversions and determined which sheet would do the job. Then I inscribed the sheet with the bolt head size(s) I wanted, and drilled out the 0.5mm shaft holes first. After that I just used my Byrnes tablesaw with a fine metal cutting blade and the angle gauge that came with the saw. It worked well, but my fingers kept slipping. Thus the 50% completion rate. I think that skill is improving, hopefully. :) The shafts for the small bolts is 0.5mm brass wire, and the larger bolts use 0.625 wire - which I filed smooth after using the wirecutters then roughed up the top edge so the glue would grab for the bolthead attachment.There's probably an easier way that you know how to make these - and I'd be happy to defer to your expertise.
 
Last edited:
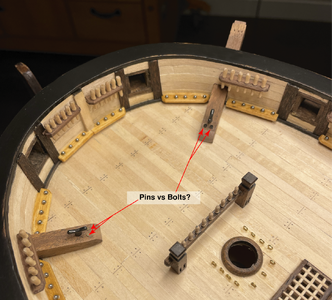
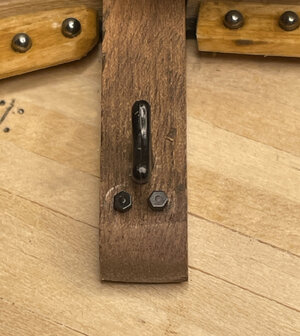
So the photos of the actual ship show bolts attached to the anchor davits. Those also had washers, but I cannot make those without a metal lathe. Now I need to decide to go with the "bling" of brass pins or bolts on the davits...
1 TextBow.png
2 BoltsCloseUp-03.jpg

I would love some suggestions/opinions from those who are following my build. I appreciate the comments, likes and thank you! I accidentally scraped the davit with my tweezers when I installed the left bolt and it looks like a wrench might have done that. I like it, but I haven't completed the sanding and staining of the davit yet, so that mark will probably disappear.
Reg
 
Last edited:
Back
Top