H.M.S. Vanguard 1787 - Amati - 1:72 scale by ALucenti

Joined
May 13, 2021
Messages
70
Points
113

Hello everybody.
A few days ago I finally started building my model.
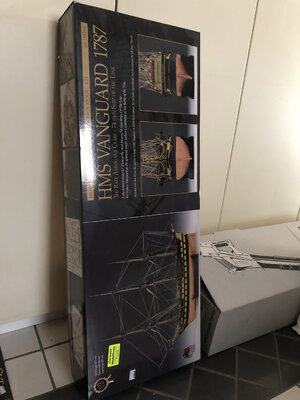
I ordered the Vanguard Amati-Victory kit from my trusted dealer and after two weeks it arrived. Initially I found the kit very expensive but now, that I have seen the contents of the box, I think it is right. The wooden boards are very well cut and the details are very accurate. I hope not to find any surprises during the construction but so far I am very satisfied. I will strive for a good job to come. In my profession I have learned to be mythic and precise and with this hobby I have found a way to satisfy my needs.


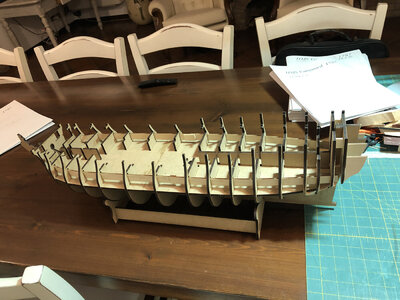
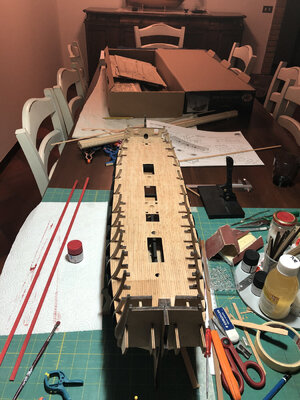
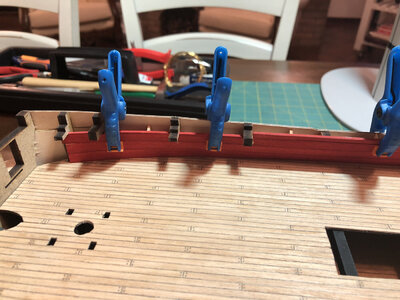
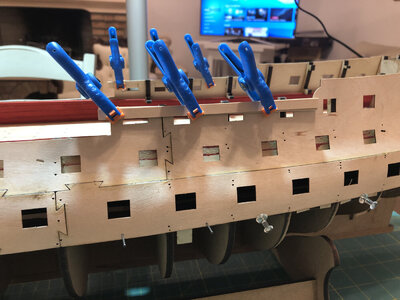
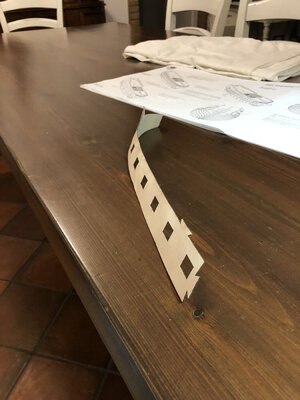
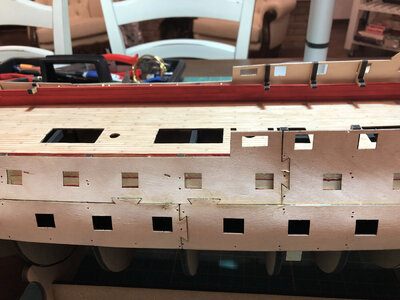
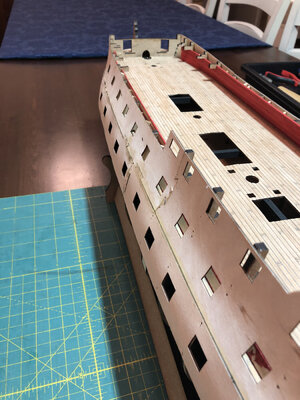
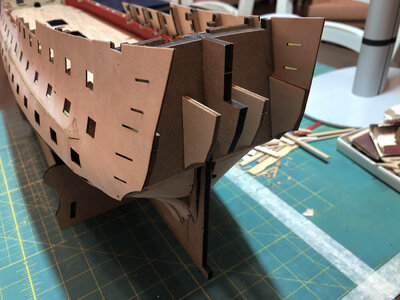
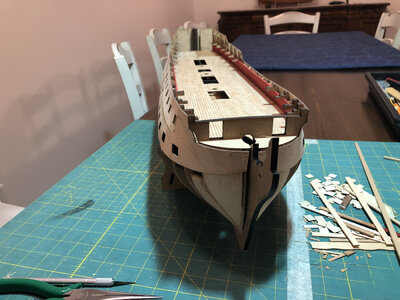
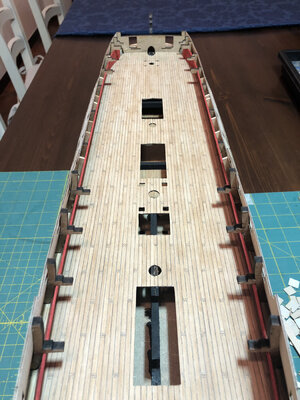
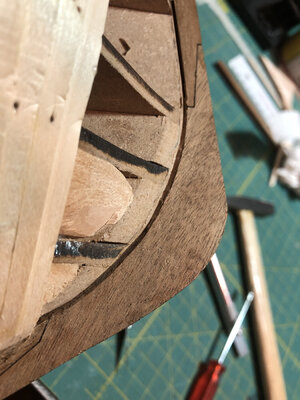
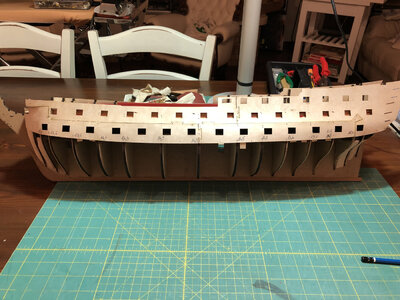
First I numbered all the pieces before detaching them from the boards as recommended in the instructions. I mounted the keel and ordered them dry (without glue) to see if everything was in order then I glued with the vinyl glue. The first bridge fitted perfectly and held the frames perfectly in place. I waited a day for the glue to dry well then I inserted the two strips for the false guns. To pass them through the special slots I had to put them in warm water for half an hour. When they dried I stuck with vinyl glue.
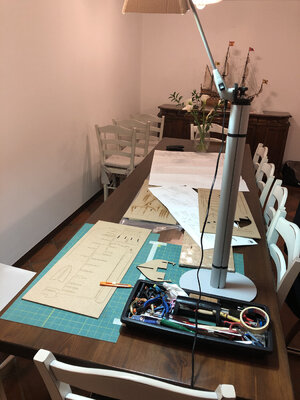
IMG_8249.jpeg

IMG_8354.jpeg

IMG_8384.jpeg

IMG_8399.jpeg
 
Last edited by a moderator:
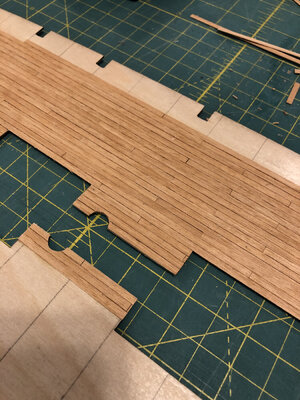
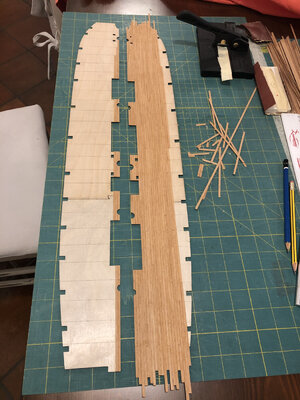
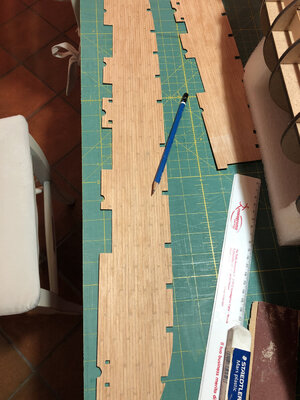
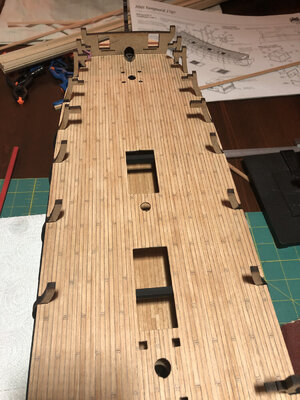
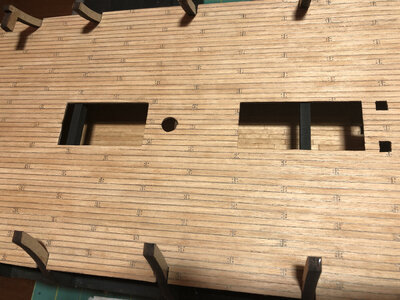
I marked the bridge of the guns in half with a pencil and then cut it because otherwise its positioning becomes impossible. I preferred to cover the bridge with 0.5x3 mm Tanganyika strips before mounting it because it is easier and more precise.

IMG_8412.jpeg

IMG_8411.jpeg
 
Last edited by a moderator:
For the coating I used Aliphatic glue. It is an excellent wood glue and dries earlier than vinyl, plus it can be sanded with sandpaper.
I cut the strips into 10 cm in length and mounted them with a step of 2.5 cm. When the cladding was completed I carefully finished all the openings and edges. I sanded the bridge carefully with sandpaper of different grits until a perfectly flat surface was obtained. So I went over all the edges with a pencil (H) and simulated the nailing on each batten.

IMG_8419.jpeg
 
Last edited by a moderator:
I assembled the two parts of the gun deck. To keep them perfectly flat I had to use several tweezers until the glue dried. Before doing this, I covered the part of the lower deck visible from the openings with the strips.

IMG_8421.jpeg

IMG_8424.jpeg
 
Last edited by a moderator:
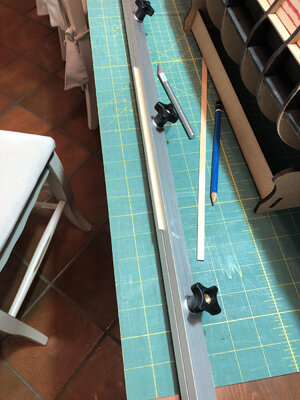
Before proceeding with the internal lining, I made a tool to be able to taper the strips. These are two aluminum profiles and screw knobs to be able to lock the strips. After marking them, I insert them between the two bars and block them with screws. Tapering becomes simple with a blade or a plane.

IMG_8429.jpeg

IMG_8431.jpeg

IMG_8432.jpeg
 
Last edited by a moderator:
I am very happy to see the start of HMS Vanguard building log - and a very interesting log in addition !!!
I will follow your work with big interest .....
 
Hello everybody.
A few days ago I finally started building my model.
I ordered the Vanguard Amati-Victory kit from my trusted dealer and after two weeks it arrived. Initially I found the kit very expensive but now, that I have seen the contents of the box, I think it is right. The wooden boards are very well cut and the details are very accurate. I hope not to find any surprises during the construction but so far I am very satisfied. I will strive for a good job to come. In my profession I have learned to be mythic and precise and with this hobby I have found a way to satisfy my needs.


First I numbered all the pieces before detaching them from the boards as recommended in the instructions. I mounted the keel and ordered them dry (without glue) to see if everything was in order then I glued with the vinyl glue. The first bridge fitted perfectly and held the frames perfectly in place. I waited a day for the glue to dry well then I inserted the two strips for the false guns. To pass them through the special slots I had to put them in warm water for half an hour. When they dried I stuck with vinyl glue.
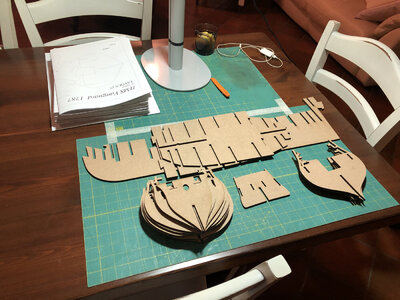
View attachment 239122

View attachment 239123

View attachment 239124

View attachment 239125
One of my "to watch " ships. Good luck. Looks great so far.
 
Très beau travail , j'ai fini la jonque pirate comme échauffement mais je crois que je vais commencer" l'Astrolabe " qui est un ton au-dessus
 
Very nice start to this model! I started shipbuilding in 2005 and enjoyed it immensely. I have built the Constitution, Ocre Diana, Amati Revenge, Amanti Vanguard, and currently Mamoli Constitution. I would say my favorite was the Vanguard. I think Amati has a wonderful product and well worth the expense.

Good luck on your build Tom Doran Atlanta Ga
 
Hi everybody.
I have made some progress. I colored the interior trim strips red before applying them. in this way it did not help to protect the bridge. Use of tweezers with very resistant spring because they are able to keep the strips bent. I immersed in water (about half an hour) the sides with the openings for the cannons then I placed them on the frames. They folded with ease and I nailed them with small dry nails without putting on glue.

IMG_8423.jpeg

IMG_8493.jpeg

IMG_8494.jpeg

IMG_8438.jpeg
 
Last edited by a moderator:
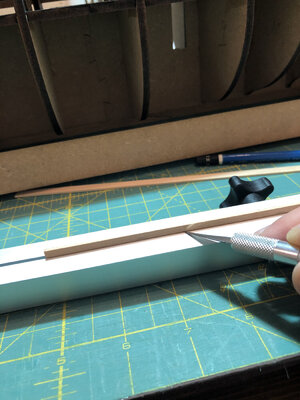
After a few hours the wood dried perfectly and maintained the desired shape. So I placed the hips and this time I added glue. I believe that I will also use this technique for the linden strips of the first planking. A natural fold without using hot irons. The first planking is a good training ground to do the second one well. I will try to use as little wood filler as possible to avoid incorrect hull dimensions.
I glued some shims between the external and internal planking in order to avoid twisting and to keep everything well aligned.
I did an internet search and saw that many specialists recommend TAMIYA colors. I started using them for my model and I have to say that I was happy with it. I will also use Tamiya for clear coatings. With wood I use vinyl glue and aliphatic glue.

IMG_8502.jpeg

IMG_8506.jpeg

IMG_8507.jpeg

IMG_8508.jpeg

IMG_8504.jpeg
 
Last edited by a moderator:
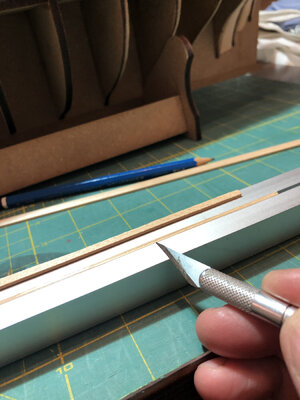
I forgot: I shaped and inserted pieces of balsa wood at the stern and bow. They help a lot to keep the flanks of the guns in the right shape. I believe they will also be very helpful with the first planking.
 
Thanks Uwek, Frankieg, Thomas and Theo.
I really love doing ship modeling and I consider it an excellent hobby.
I would like to try Arsenal Modeling but it is very challenging and I don't have all the time I need.
For the moment I'm having fun with Vanguard.
She was a beautiful ship with an important history, it is fascinating to reproduce it. I hope she turns out well.
I will try to do my best.
 
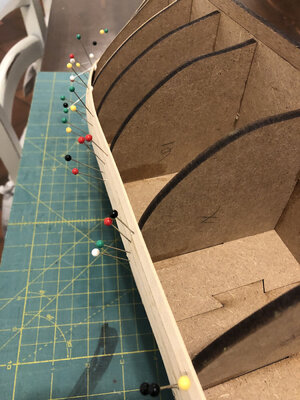
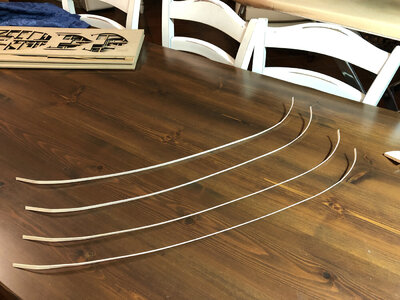
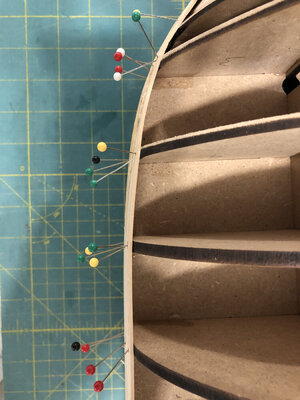
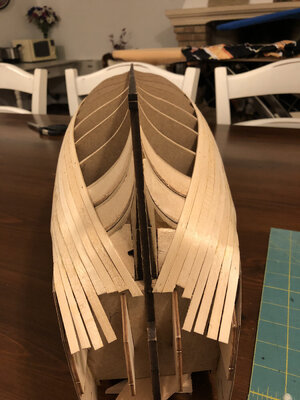
I put the linden strips in water and after an hour I dried them with a cloth. Then I placed them still wet and pinned. After a few hours they were dry and had taken the desired shape. I then glued them stopping them again with pins because they are easy to remove when the glue is dry. I proceed three strips at a time, first to the right then to the left of the hull (as the instructions recommend) to avoid deforming the frames.

IMG_8532.jpeg

IMG_8531.jpeg

IMG_8534.jpeg
 
Last edited by a moderator:
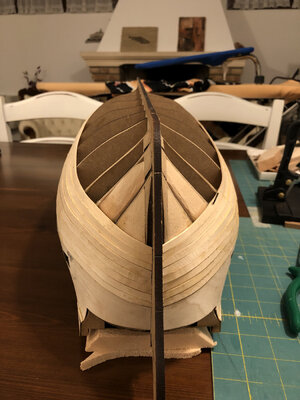
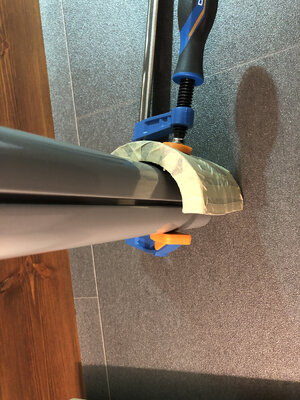
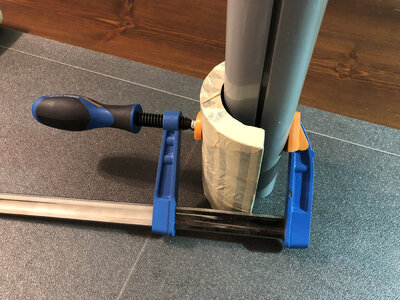
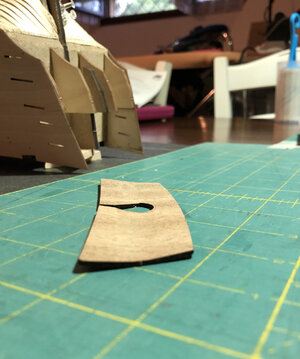
Hello everybody. I've made some progress: Every evening I place three wet strips on each side and the next day, when they are dry, I glue them. In a couple of days I will have finished the first planking. I have prepared the small transom for assembly. It was not easy to shape it because the wood is against the grain. So I built a curved shape with pieces of steel and with an aluminum tube and a clamp I managed to bend the piece. Before finishing the planking I milled the keel to allow the last strip to fit well. This is good advice that ADoyon gave me and will be very useful for the second planking.

IMG_8537.jpeg

IMG_8538.jpeg

IMG_8539.jpeg

IMG_8540.jpeg

IMG_8541.jpeg

IMG_8546.jpeg
 
Last edited by a moderator:
Hi Andre.
I had bought a small cordless cutter to do this kind of work but it is little more than a toy for children and you can't manage it as you want. So I went the old way: patience and time. With a pointed cutter I slowly cut the edges of the groove and with a small scapello with a flat tip I removed the central part. It takes time but I don't miss that. With modeling you have to have a lot of time available.
Often this way is the best - a sharp chisel and patience ....
 
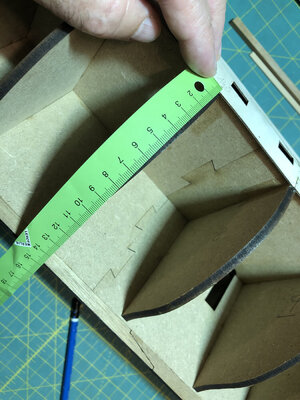
With a meter of paper I measured the part of each frame to be covered for the whole hull, I marked the measurements so I could see how much I had to taper each strip to advance correctly. It is not a perfect method but it helps and avoids putting clips to recover empty spaces. I have almost finished the planking and have used all whole strips without cutting them. I'll post the photos in a couple of days.

IMG_8511.jpeg

IMG_8522.jpeg
 
Last edited by a moderator:
Back
Top