-

Win a Free Custom Engraved Brass Coin!!!
As a way to introduce our brass coins to the community, we will raffle off a free coin during the month of August. Follow link ABOVE for instructions for entering.
-

PRE-ORDER SHIPS IN SCALE TODAY!
The beloved Ships in Scale Magazine is back and charting a new course for 2026!
Discover new skills, new techniques, and new inspirations in every issue.
NOTE THAT OUR FIRST ISSUE WILL BE JAN/FEB 2026
You are using an out of date browser. It may not display this or other websites correctly.
You should upgrade or use an alternative browser.
You should upgrade or use an alternative browser.
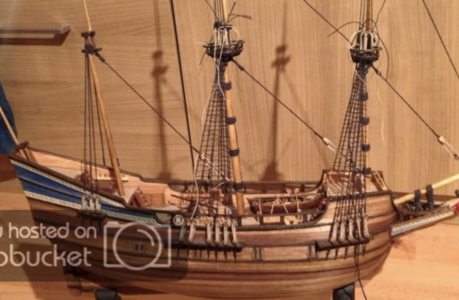
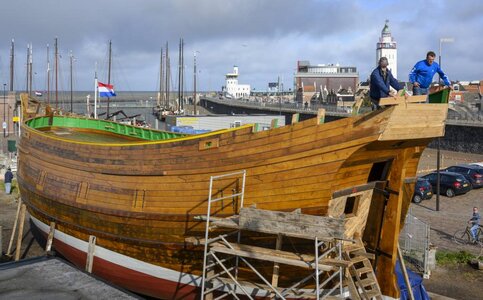
Half Moon (Corel) (SM18) 1:50 Scale [COMPLETED BUILD]
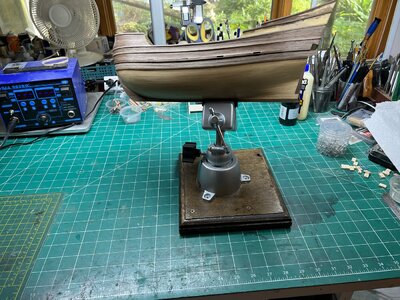
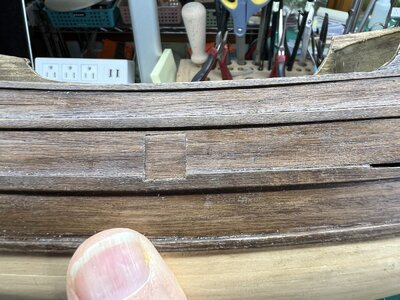
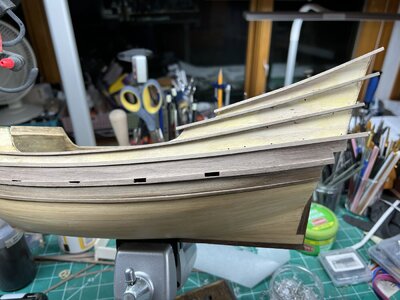
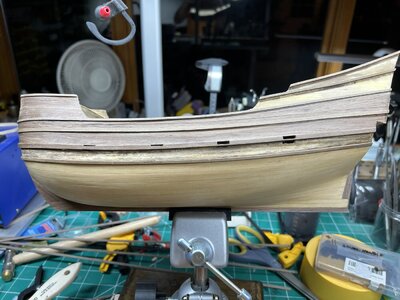
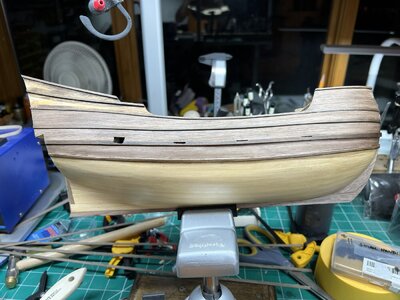
All the walnut is on the hull. The two not-planked upper areas are for the kit provided decorative planks. The 1st row of walnut planking (next to the light colored lower hull) is the European Walnut. The remainder of the walnut rows are American Walnut. Considerable difference. Maybe I should have used the European Walnut all over even though it was different shades of brown. Do I remove/replace the European with American? Or do I just say the heck with it and leave as is? I'll think about that.
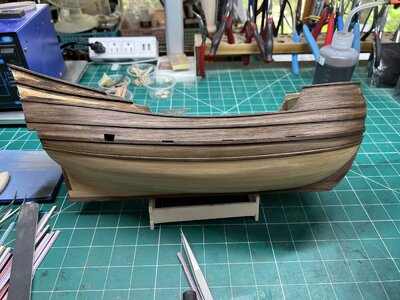
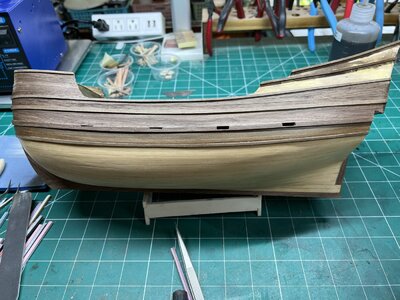


Good morning. That is a serious redo- awesome. When I first saw the pictures I shared Heinrich’s view of just leaving it- maybe the photos hide some of the difference and clearly you just said no way. I definitely prefer the American walnut colour. A good decision for sure. Cheers GrantHi Heinrich. I really didn't like the look. I had removed the planking last night.
View attachment 328995
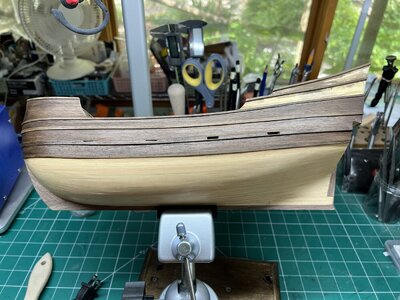
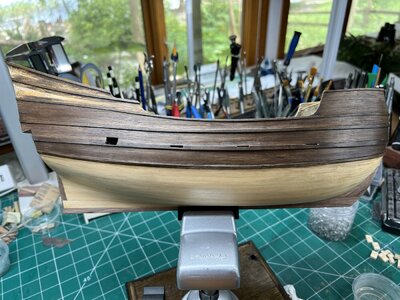
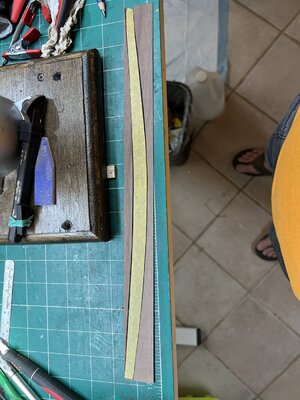
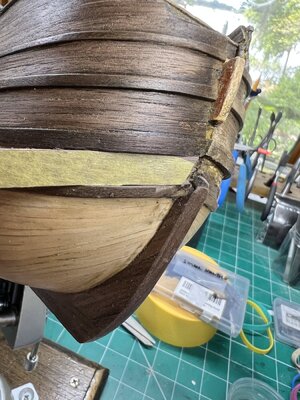
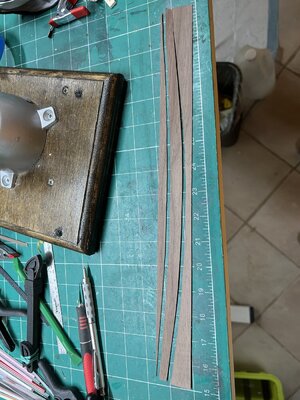
Spent a good part of the day (off/on) planking one side with my walnut.
View attachment 328996View attachment 328997View attachment 328998
I have a little more work to clean it up.
View attachment 328999
I feel a bit churlish pointing this out, but there are established "trade practice rules" fixing the position of joints in the deck planking. These can be found in several reference books, but the main point is that joints should always be centralised on deck beams, secondary to that is that joints should be staggered so that planks with joints at the same deck beam should be separated by a number of planks, such as 3 planks or 5 planks, and joints in adjacent planks should be separated by a minimum number of deck beams, say 3. The way I manage this is to mark out the planking on the plywood sub deck taking account of the various openings and then establishing the best pattern of plank joints, avoiding very short planks wherever possible. I always plank using full length strips and then mark out the joints with a sharp pencil used firmly enough to make a slight depression at the joint. After the planking is complete I scrape the surface with the flat end of a steel ruler held vertically until all the planks are polished with no low spots.
Thanks ChrisP. That's pretty much the planking procedure I usually use to. Heinrich pointed out before I started the decking that Dutch ships decks aren't planked that way, but use random length/width planks - any wood they can find.
Edit: Heinrich post is on pg 4 #67
Edit: Heinrich post is on pg 4 #67
Last edited:
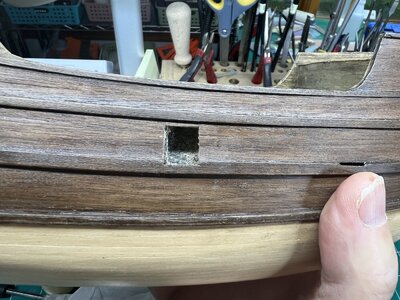
I had notched out the bottoms of the gun ports on the wale before I planked, but haven't done anything else with them. Really be putting off as just didn't want to mess with these ports. Guess I have no choice - sooner or later must be done. So I started...
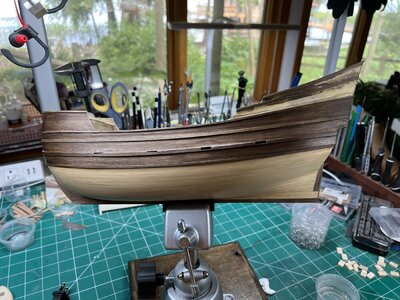
I've only cut one port so far.
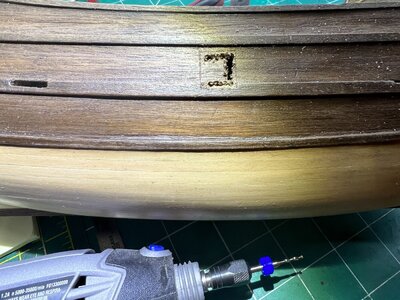
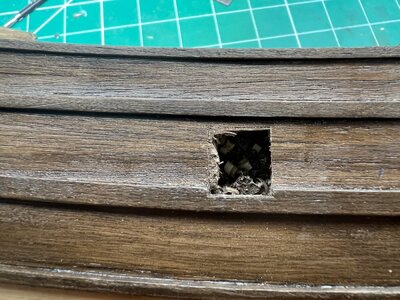
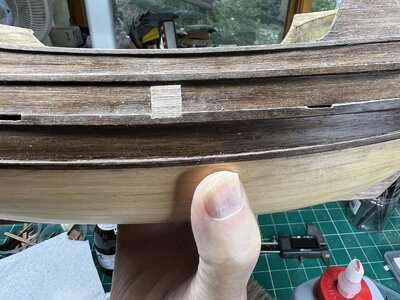
I've made one door. Didn't push into place as it's a tight fit and wouldn't be able to get it out to stain. Guess about 1 hour work total. Only 7 more to go.

I've only cut one port so far.


I've made one door. Didn't push into place as it's a tight fit and wouldn't be able to get it out to stain. Guess about 1 hour work total. Only 7 more to go.

Not sure how the provided gun port hinge's are suppose to work. There's no parts to insert into the eyes on the hinges.
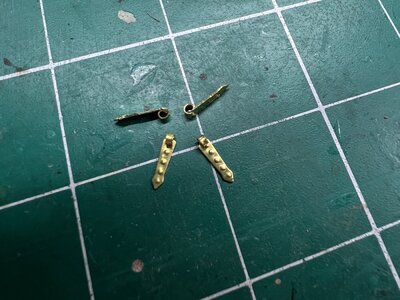
But looks like only one side of the hinge is used and two pegs are inserted into the hull. I'm thinking I use some small nails, bend them 90 degrees, paint them black and use them with the hinges
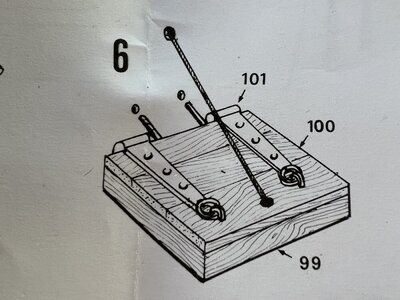

But looks like only one side of the hinge is used and two pegs are inserted into the hull. I'm thinking I use some small nails, bend them 90 degrees, paint them black and use them with the hinges

Last edited:
That is pretty much the standard way, although usually brass rod is bent 90 degrees and used as you suggest. Soft nails would work as well.Not sure how the provided gun port hinge's are suppose to work. There's no parts to insert into the eyes on the hinges.
View attachment 330239
But looks like only one side of the hinge is used and two pegs are inserted into the hull. I'm thinking I use some small nails, bend them 90 degrees, paint them black and use them with the hinges
View attachment 330244
Use bent pins for the hinge pins instead of wire. Insert the pointy end through the loop in the hinge. It may bind a bit as it turns the corner, but it usually works.

Blacken the pins with Brass Black.

After measuring the distance between the hinge pins, pre-drill holes in the hull. The top hole is for the cover lanyard.

The cover lanyard is glued in the to hole, and fed through the cover and left loose there.


Using small needle nosed pliers, insert the pins into pre-drilled holes, inching each pin alternately so the cover approaches the hull evenly and you don't break one of the hinges off the cover.

And add a bit of CA glue to the pin with a toothpick just before shoving each pin all the way in with a needle nosed pliers.

Adjust the slide the cover up the lanyard until it's at the desired position.

Glue the lanyard to the cover.

The other end of the lanyard simulated the cover closing lanyard. It is carefully glued to the hull inside surface to simulate this line.


Blacken the pins with Brass Black.
After measuring the distance between the hinge pins, pre-drill holes in the hull. The top hole is for the cover lanyard.
The cover lanyard is glued in the to hole, and fed through the cover and left loose there.
Using small needle nosed pliers, insert the pins into pre-drilled holes, inching each pin alternately so the cover approaches the hull evenly and you don't break one of the hinges off the cover.
And add a bit of CA glue to the pin with a toothpick just before shoving each pin all the way in with a needle nosed pliers.
Adjust the slide the cover up the lanyard until it's at the desired position.
Glue the lanyard to the cover.
The other end of the lanyard simulated the cover closing lanyard. It is carefully glued to the hull inside surface to simulate this line.
- Joined
- Jan 9, 2020
- Messages
- 10,566
- Points
- 938

Thank you Kurt for the images. Beautiful ship. I think I have some small brass nails. Thank you to Heinrich, I understand.
I'm not sure that the doors shown are outside the hull. There may be just a small gap all around giving that impression. I believe they are flush or nearly so, and all gun doors must be flush with the outer hull planking.I'm gonna do it!! Been thinking about putting the cannon doors on the outside of the hull rather than flush. HERE's an excellent build with the doors on the outside.
View attachment 330067



 You have to be happy with it.