Half Moon (Corel) (SM18) 1:50 Scale [COMPLETED BUILD]

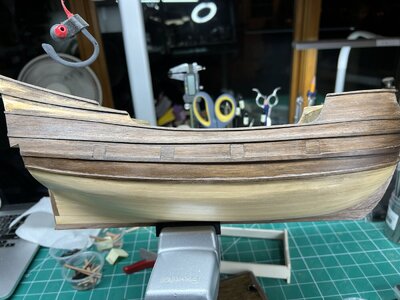
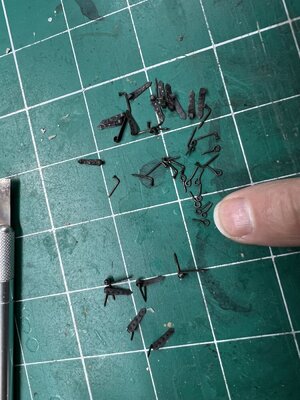
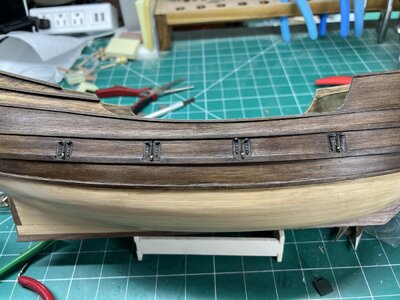
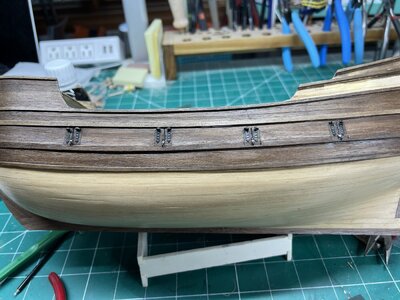
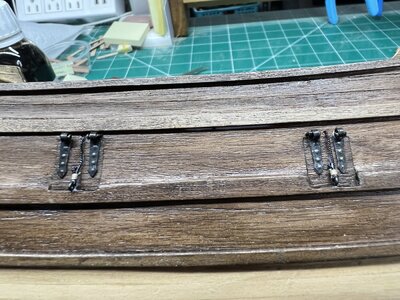
Use bent pins for the hinge pins instead of wire. Insert the pointy end through the loop in the hinge. It may bind a bit as it turns the corner, but it usually works.
I believe you meant to say the square cut end goes through the loop on the hinge, allowing the pointy end to penetrate the hull more easily. Your other pictures appear to confirm this.

BTW, I've never before seen the rope used to open the door extended through the door and back through the opening, although I don't doubt it was done. On the Bonhomme Richard, for example, two ropes attach to rings on the outside of the door. The inside has two additional rings, which ropes could be attached to (but again, I've not seen them installed), or could just be pulled by grabbing the ring, to pull the door into place.
The ropes doing through the door was a simplification for the model, which is small at 1:100 scale. An ring bolt on the gun port cover would look too large for my model. Best of luck! I have 116 of these thing to assembly from scratch on my current model. eek.
 
I'm not sure that the doors shown are outside the hull. There may be just a small gap all around giving that impression. I believe they are flush or nearly so, and all gun doors must be flush with the outer hull planking.
Exactly!
 
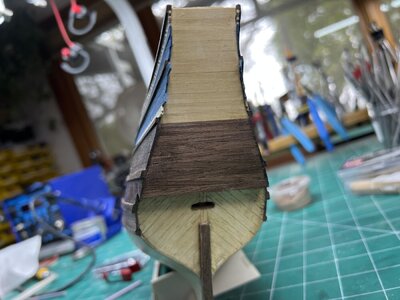
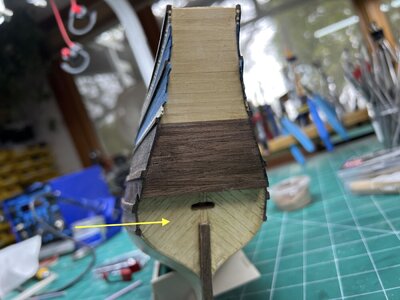
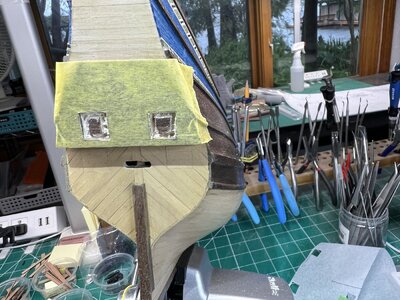
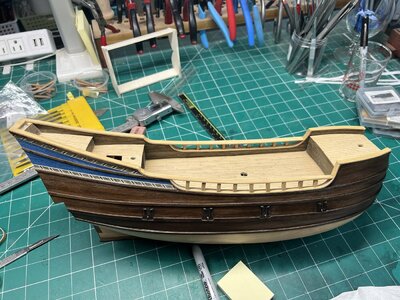
I installed the decorative blue and striped pieces.
IMG_2393.JPG

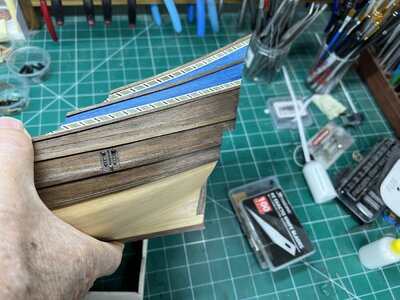
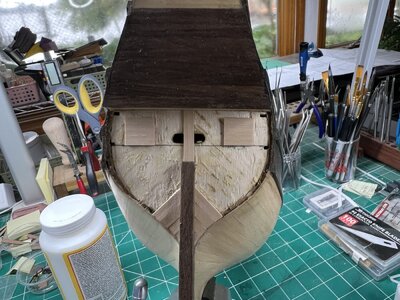
And just when I thought I was finished with the gun ports...
IMG_2392.JPG
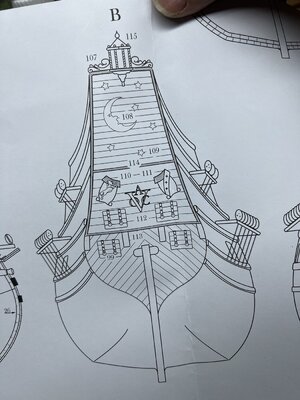
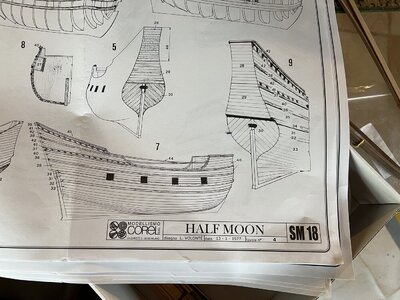
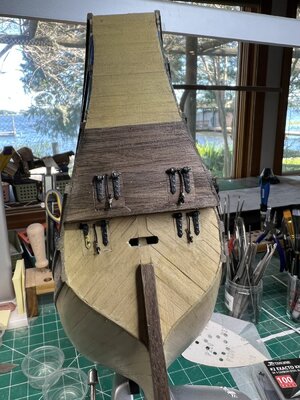
I saw this image on the plans.
IMG_2390.JPG
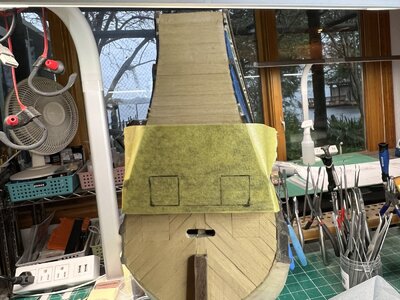
There's nothing on the instruction sheet about ports on the stern.
IMG_2394.JPG

I likely saw the illustration on the plans, but forgot about it. I probably should make a list of things I need to install in each step so I don't miss anything like the gun ports. Now, back to the gun ports... ROTF
 
I'm going to replace this wood when putting in the gun ports. I used the kit hull wood - which I suspect is basswood as it's so soft. After planking the stern and seeing how soft this wood was, I cut my own boxwood to plank the hull with as I didn't like this soft wood for the hull.

IMG_2392.JPG
 
I'm going to replace this wood when putting in the gun ports. I used the kit hull wood - which I suspect is basswood as it's so soft. After planking the stern and seeing how soft this wood was, I cut my own boxwood to plank the hull with as I didn't like this soft wood for the hull.

View attachment 330920
Good morning. This is turning into a beautiful model. Awesome. Cheers Grant
 
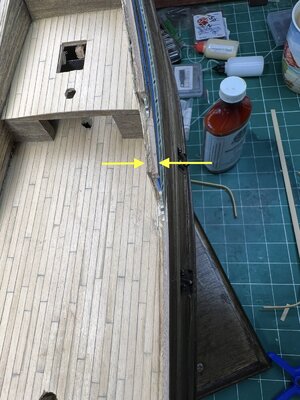
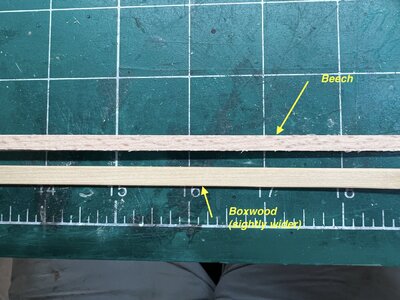
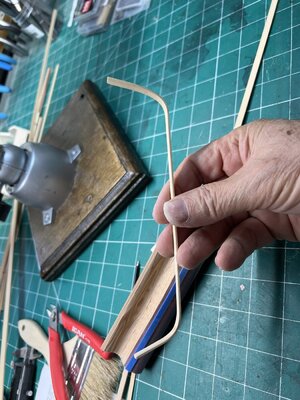
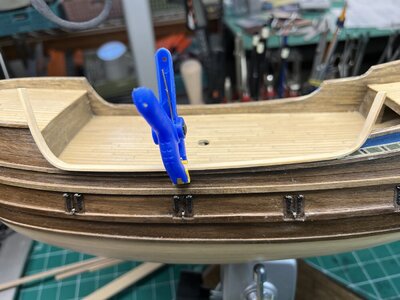
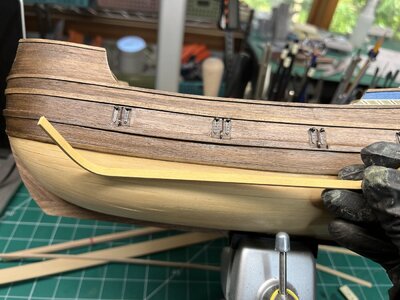
I'm working on the handrails (top rails??) now. The kit comes with beech 2x5mm planks. The surface where the rail mounts is about 4.5 to 5mm. It's a little thicker due to the wood i put on the inside bulwarks.
IMG_2427.JPG

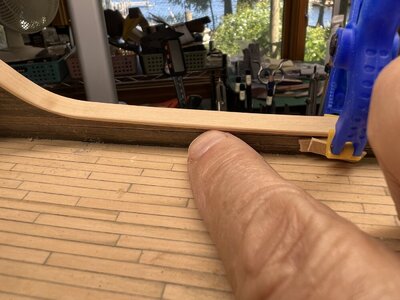
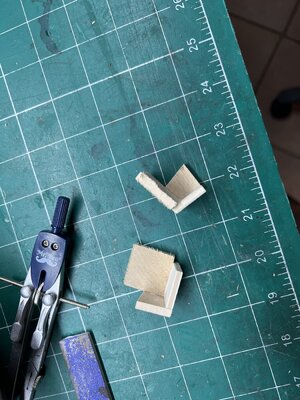
So... 1) Now the kit supplied beech is a little too narrow. 2) And I don't care for the grain in the beech. I cut my own 2x6 Boxwood. It's slightly wider and provided a small lip in the inboard side. Now I can cut and place some stanchions? (probably not the correct word) on the inside bulwark.
IMG_2424.JPG
IMG_2421.JPGIMG_2422.JPG

small lip where my finger is on the bulwark.
IMG_2423.JPG
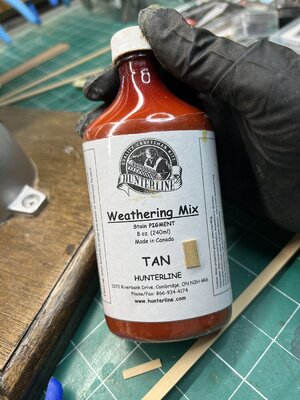
I stained the rail the same color as the lower hull. Color will be the same after I lightly sand and apply a sealant.
IMG_2426.JPG
The stain...
IMG_2425.JPG
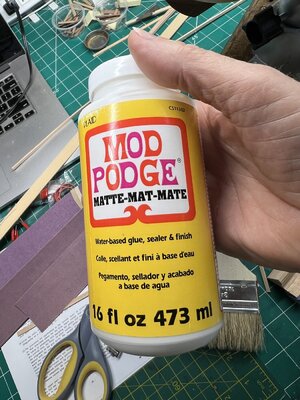
This is the sealant I use. It's a decoupage glue. I put a coat on everything when I'm finished. If I accidentally get stain on the part it easily wipes off. It can be sanded off, parts can be glued to the surface and it brings out a little of the wood color. The ships surfaces will be covered with a satin poly later.
IMG_2428.JPG
 
Back
Top