Hannah 1/48 - Lumberyard

Joined
Oct 28, 2018
Messages
169
Points
253

Location
Kansas City, Missouri
This has been updated!

Hello all!

This is going to be my build log for the Colonial Schooner Hannah in 1/48. The Hannah is going to be built using Harold Hahn's plans and a timbering set from the Lumberyard. The plan is to do a full rigging as well. Sails may or may not be included, that will be determined much later. The model with masting is 25 1/4 x 21 x 6 3/4.

The timbering set is a collection of Swiss pear, maple, and ebony. The majority of the Hannah will be built in Swiss pear, and the maple will be used for fittings, deck planks, planking, and probably some of the deck accessories. Changes will probably be made along the way but that's the general idea right now. I also imagine some pieces will be imported from the Syren ship model co. (Blocks, pintles & gudgeons, and possibly cannons). I also have received a rope walk and serving machine so I hope to make all my own rope for the rigging here as well.
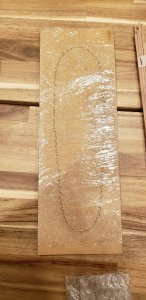
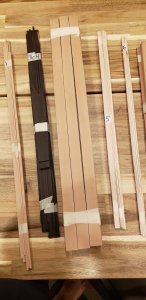
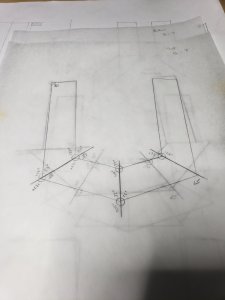
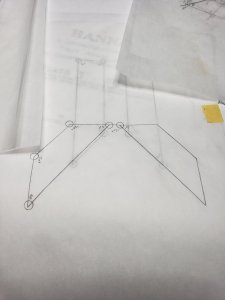
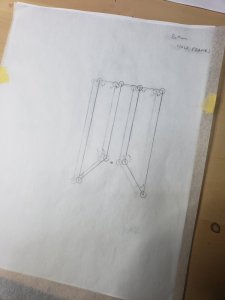
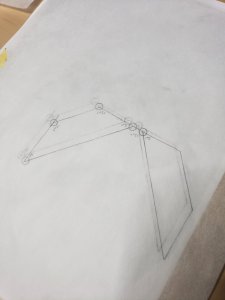
20190214_182928.jpg 20190214_182936.jpg. 20190214_182940.jpg

In terms of references I'll be using The Colonial Schooner by Harold Hahn for reference and assistance, Building a Miniature Navy Board Model by Philip Reed, and what has become one of my favorite books The Art of Ship Modeling by Bernard Frolich.

In terms of tools:
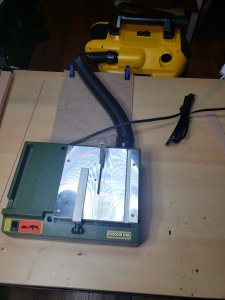
  1. Proxxon table Saw
  2. Proxxon Disk Sander
  3. Proxxon Scroll Saw,
  4. Proxxon Mill MF 70
  5. Proxxon Lathe
  6. Dremel and various attachments and routing table
Also a few books that I found very useful and I would highly recommend:
  1. The Art of Ship Modeling - https://ancre.fr/en/basic-books/16-l-art-du-modelisme-bernard-frolich.html
  2. An Introduction to Planked on Frame Scale Model Ship Building - https://ancre.fr/en/basic-books/101-introduccion-al-modelismo-de-arsenal.html
  3. The Colonial Schooner - https://www.dlumberyard.com/Shopping Cart/Out/index1.html?c8.html&1
Also this ruler I wish I had from the beginning

Please feel free to offer comments/advice/suggestions. I've recently completed the Model Shipways Longboat 1/24, and am working through some issues on the Blandford Cross section 1/48 so I still have plenty to learn but I'm excited about this build. Away we go!
 
Last edited:
I will follow this log as well. Model Shipways Longboat 1/24 was very nice, congratulations.

Thanks! Appreciate that.

Welcome to everyone else!

So I've been on a little break before starting the Hannah. I just got the Colonial Schooner book so I'm starting to read that.

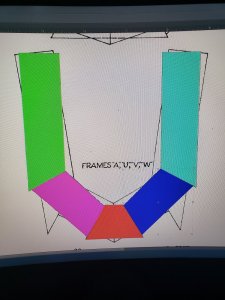
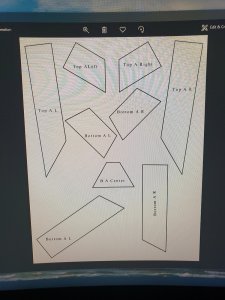
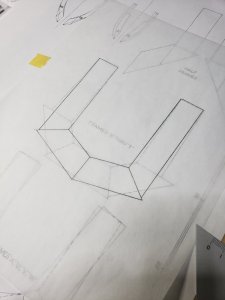
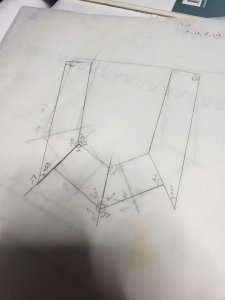
The first thing I'm doing is transferring the plans to templates. I scanned in sections of the plans and put them in Photoshop so I could trace them and start making copies.

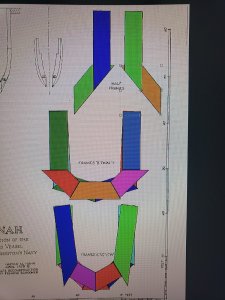
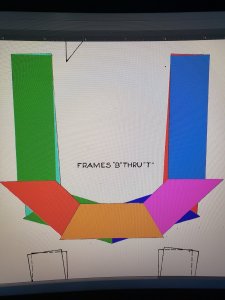
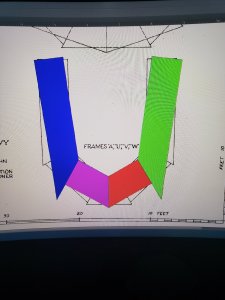
79667 79666 79665 79663

Each color is a different pieces of wood that will need to be cut. The process of doing this is kind of boring but I think will be much more accurate than the alternatives. Here is the result:

79664

The lines are done so that they are INSIDE the area to be left, so when cutting/sanding I'll be cutting right up to the line and the black line should be kept completely in tact. I'll be print and testing these out to make sure the fit is appropriate but they look good so far.

I have a very large scanner and my plan is to scan in a lot of different portions to make different templates. I'll go through and scan in all of the rib templates next. Lots of little things to do before even touching the wood. But hopefully this will all make the work more accurate a little easier later on.
 
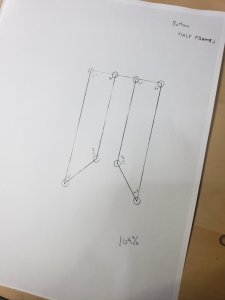
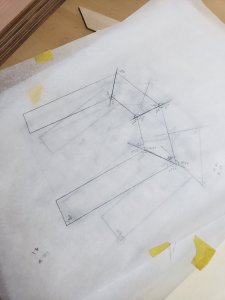
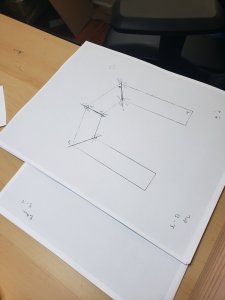
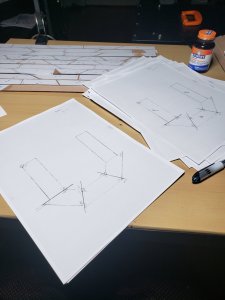
I've been experimenting with different ways to make templates based upon the plans. Above is my attempt at scanning and using photoshop to build templates. Here I was more traditional and used sketch paper.

80978

One for each layer of wood. One reason why I tried this with the sketch paper is because my electronically made templates came out distorted for some reason. They were too wide in some cases, it also concerned me that the angles might not be correct. So I took my drafting tools to work on the sketch paper.

80979 8098080982

Measuring the angles on the plans wasn't as straightforward as I had hoped since the boards on the plans aren't all at the same width or it seems all at the same angles.

I've been following along with Master Model Shipwright Harold M Hahn thread and have been considering different ways to determine the templates. This is only the first of hopefully many scratch builds and so I want to think through a number of different ways of doing this before even getting down to cutting.

I think at the end of the day the angles on the wood I cut don't have to match exactly to those on the plans, so long as they're consistent and cover the entire area they are supposed to for the frame templates that will be pasted on them later. I think my ultimate plan is to do something like this or even exactly this (instead of cutting every piece individually/according to the plan, just use one uniform set):

https://shipsofscale.com/sosforums/threads/master-model-shipwright-harold-m-hahn.2952/post-54600
 
very interested in this build as my goal is to someday build a lumberyard kit, currently working on the MS Rattlesnake just starting the planking so a long way to go , but someday, continued good luck with the build

Ed
Hi Ed,maybe you can show us more of your Rattlesnake as a build log,not a problem if not from the beginning .
 
very interested in this build as my goal is to someday build a lumberyard kit, currently working on the MS Rattlesnake just starting the planking so a long way to go , but someday, continued good luck with the build

Ed

lol to echo every one else, yes, hopefully you make a build log. Lumberyard has a 1/48 Rattlesnake, it is on my list of future builds. Once I get a hang of the Hannah I will likely move on to the Halifax, and then the Rattlesnake.

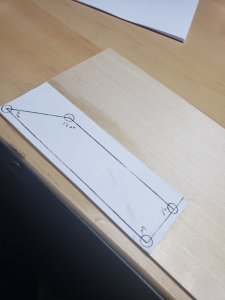
In the meantime I've made some progress with the Hannah. I decided to use the sketch plans as templates, I already know the angles are right. So I scanned these in and the only adjustment I had to make was printing at 104% scale to get them to line up perfectly.

82523 82540 82537

I think this is going to use up a lot of paper, but I know its accurate and its relatively simple to do. I decided to test it out on a scarp piece of balsa.

82528

82522

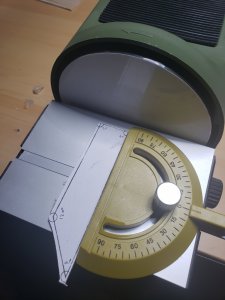
The plan will be be to cut the 2' long 1"+ wide pearwood strips down to a smaller width, closer to the .8" that appear on the plans, or at least a consistent 1" all the way along. Then I'll glue the new outlines and cut out the pieces. Using the sander pictured to get a perfect edge on all four sides.

I did want to use the wood templates I had talked about earlier, I got so far as putting the templates on a MDF panel. But I realized my workshop is just too small to handle cutting up MDF board and cutting out the holes, and I don't have a machine big enough to hold the MDF templates and cut perfect lines on the pearwood. So I'm going to do this like the Blandford build instead.
 
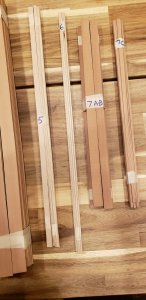
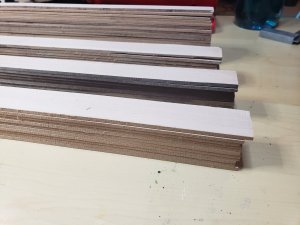
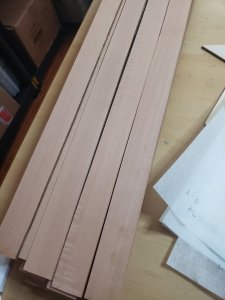
And we're cutting. So I took another inventory of all the supplies that came from Lumberyard, everything appears to be in order again. I pulled out all the pearwood cuts that I have. They fall into roughly 4 different groups, each group roughly a different length. There's no reason for this, I don't think, but I'm still grouping them separate before I commit to there be no reason for the different lengths.

82894

Like I said these cuts are just over an inch wide, and according to the plans they should be .8" I would say that .2" doesn't matter but I think it does after some more thought. Because I'm not using a wood template like discussed above for cutting I think these need to be exactly .8 so that the angles match up perfectly and consistently. So I set up the saw and went to work. I had to find the straightest side on each strip, since none of them are square and feed them through the saw. Was not easy. But I think they came out very well.

8289782899

Comparison of the pearwood v. the balsa wood practice cut.

82895

I now have a lot of pearwood strips, I'm already going to be sanding away/or using a jigsaw to cut away, a lot of pearwood, so I feel like the extra benefit of cutting these strips down is getting a lot of .2" x 2' pearwood strips.

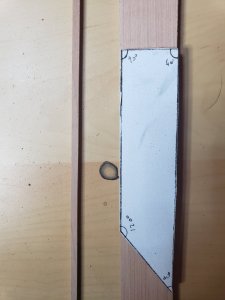
Theres a couple more to cut but overall almost done with that step. Next up was printing the templates. I scanned all of them in and printed out copies at 104% to match the plans perfectly. I needed to print x2 of each template (like I said this is going to take a lot of paper) for cutting purposes. So I ended up with 22 sheets for the half frames, 76 sheets for frames B-T, and 16 sheets for the remaining frames.

8289682898

Next, I'll be finishing up the cuts on the remaining pearwood; then cutting templates on a paper cutter to insure perfectly straight lines and begin gluing them all on the pearwood with elmers rubber glue. Also of note I found I'm probably going to be wearing some basic fabric or rubber gloves from now on; the pearwood really absorbs oils from your fingers, I have left a couple of serious fingerprints in a couple places already. So something to watch out for.
 
Hi Gventura.
Nice to see you are building Lumberyards Hanna, I too are building Hanna I noticed you mentioned the strips of wood are not straight. I solved the
problem by using a piece of wood 18 inches long by 5/8 thick, then the important thing is to get it nice and straight, I then made some wooden
clamps to clamp the wood to using screws. Then take your piece of you are using for your build and clamp it down to your straight piece of wood leaving
about 1/4 of inch projecting past the edge all the way along, then run it through the saw slowly against the guide and cut off just enough to clean up the edge you can if you want to clean up the other side if you want to. I have other Lumberyard boats waiting to build and in all of them the wood supplied
is not straight. Dearest regards JANET
 
Back
Top