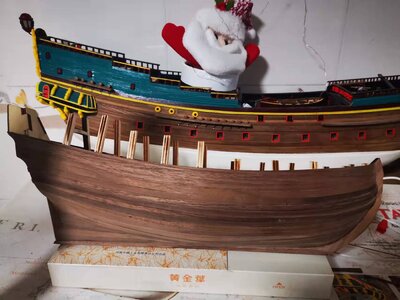
Today was the turn of the centre keel to be laid down. For this I followed the same method that I used on installing the stern and stem keel sections, and which is probably the used by most modelers to secure keels – that of brass pins, wooden dowels, cocktail sticks, toothpicks, etc.
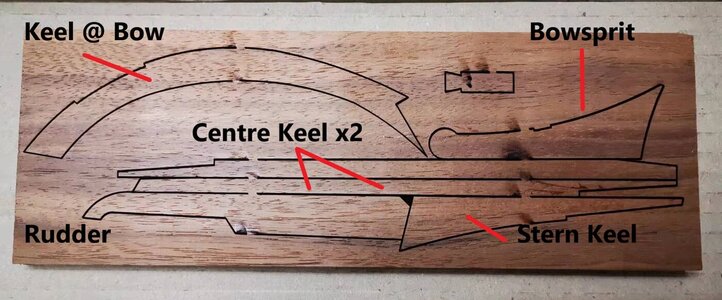
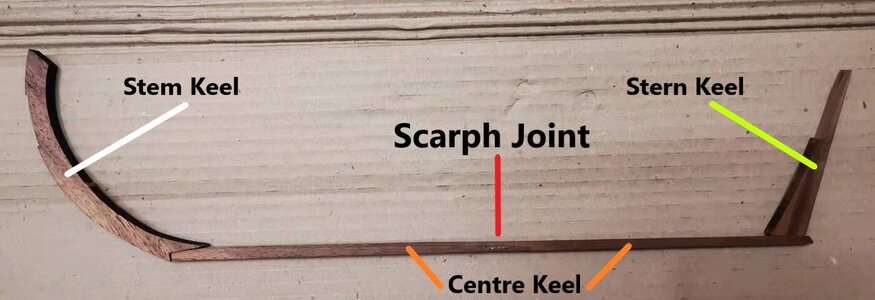
Earlier on in my postings I have already mentioned that the centre keel comes in two sections which are joined by a scarf joint.
View attachment 281093
View attachment 281094
I had already joined these two pieces ages ago so I test-fitted the centre heel onto the hull making sure that it fits snugly into the notch provided by the stem keel and does not overlap too much at the stern keel. When I had a more or less satisfactory fit, I marked out the positions where I wanted to insert my toothpicks.
By now you all know I love working with walnut, but if it has one drawback it is the fact that it has a tendency to crack open along the grain when drilling a hole or inserting a pin. Therefore, I started by hand-drilling five 0.8mm pilot holes into the keel which were then enlarged to 1.5mm and finally to 2,0mm.
Next, I applied glue to the keel, waited 10 minutes or so until the glue was really tacky and then carefully placed the keel onto the hull in its correct position. Then I inserted push pins (the same ones I used while planking the hull), into the pre-drilled holes and tapped them lightly into position with a hammer. 30 minutes later, one push pin was removed, and using the 2.00mm hole as a guide, I drilled a 1.5mm hole into the hull. A toothpick was cut in half, dipped in glue and inserted into the keel. The 2.0mm hole in the keel provides a snug fit for the toothpick while the 1.5mm hole in the hull is just big enough for the sharpened tip of the toothpick to go into. Grab aforementioned hammer and hammer home the toothpick until it is fully home and starts to mushroom from the hammer blows. Cut off the remainder of the toothpick with a side cutter and move on to the next one. In my case I used five.
View attachment 281095
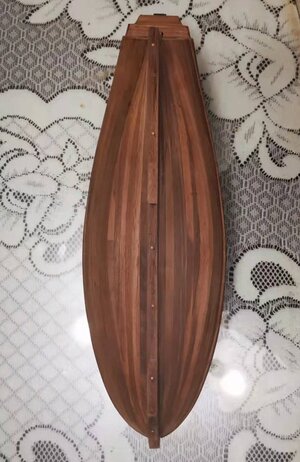
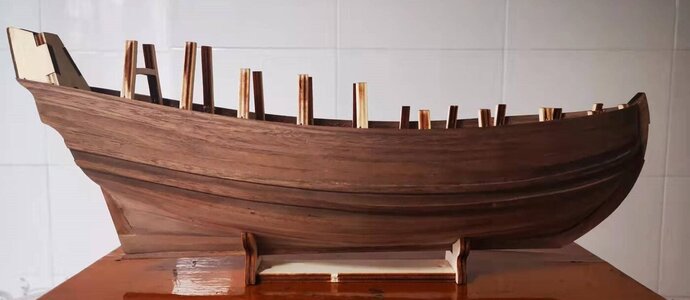
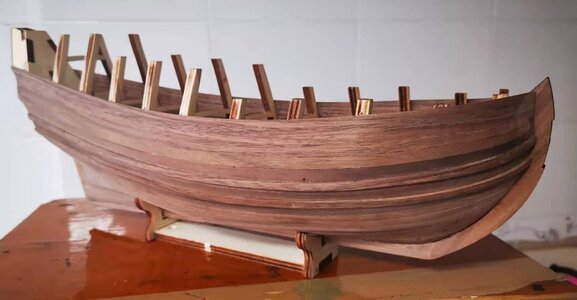
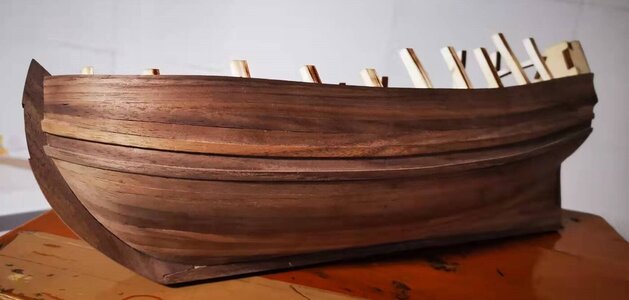
Her you can see the centre keel installed on the hull and the five toothpicks that were used to secure the keel permanently. That keel is not going anywhere in a hurry!
View attachment 281096
Port Side
View attachment 281097
Starboard Side
View attachment 281098
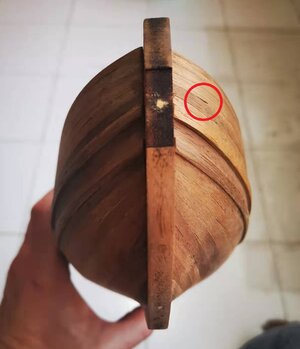
Starboard Side: Front Three-Quarter view
View attachment 281099
Thanks to this pic, I see I still have some "surgery" to carry out in the red circle.

So, at the end of the keel assembly the obvious question is: Which method is best? Placing the keel first and then doing the planking (like I have done and which is also the way the instructions advise) or placing the keel first and then doing the planking? My honest answer: I am not sure

Whilst I did the planking, I loved the fact that I did not have to worry about a keel that got in the way of pinning the planks properly and giving them a good sanding. But getting that keel to fit afterwards without gaps and be perfectly aligned on both sides, was no joke. It took me many hours of filing, fiddling and sanding. The main issue was that when sanding the hull, the starboard side required more sanding than the port side. This meant that the planks on the port side were thicker and therefore fit better into the rabbet than on the starboard side where the planks were thinner (however small that difference might have been). I countered that by sanding a very slight bevel on the starboard side of the hull edge which allowed the keel to be moved closer to the starboard planks, thus ensuring a proper fit.
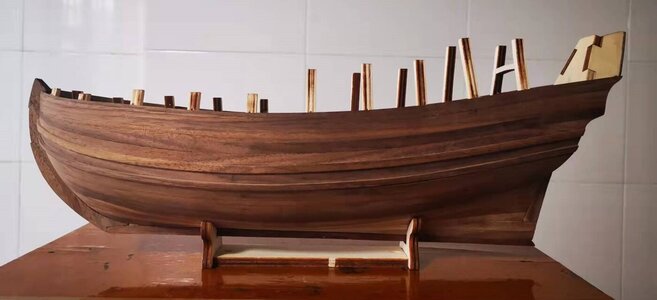
And here is a last look this evening at a hull that is intact. The next step? Gunports!
View attachment 281100
View attachment 281101
All while Big Brother is watching ...

The red is indeed a modern measure which I can only assume is to combat fouling.


