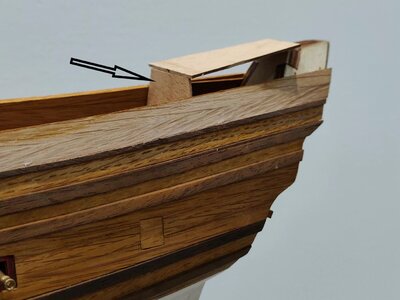
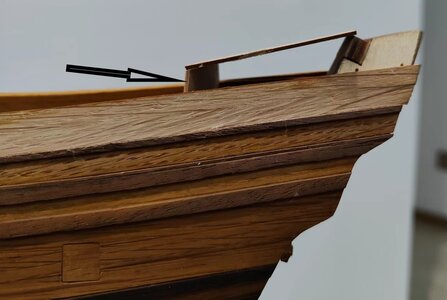
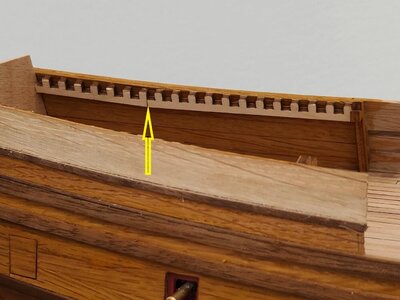
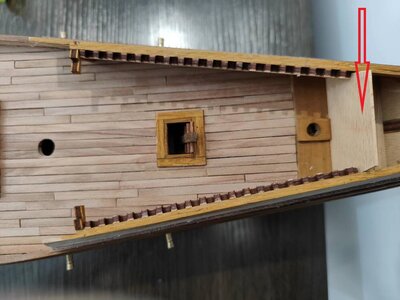
And in real time ... the progress report.
View attachment 330309
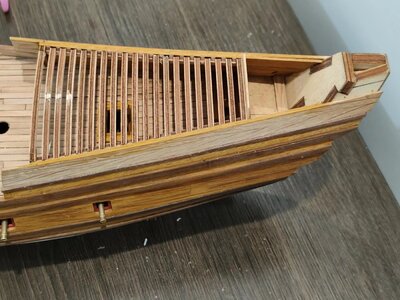
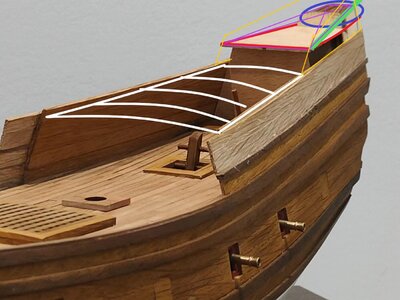
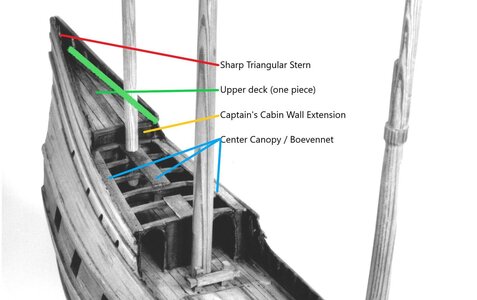
Canopy deck beams installed. Generally speaking, it was a straightforward process, except for the fact that my much wider hull meant that none of the first deck beams fitted - they were all too short. Luckily
@Kolderstok Hans supplied me with extra laser cut sheets, so I could use the beams of the front canopy. The three beams on which the laser cut tabs are still visible are all beams from the front canopy.
View attachment 330310
I am very happy with the line that stanchions follow - seeing that I only eyeballed it.
View attachment 330311
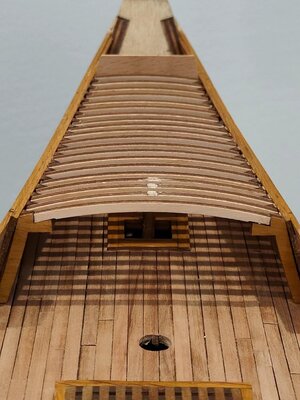
As you can see the fit of the beams into the notches are perfect and what will eventually become the captain's cabin front wall with extension (the part protruding above the center canopy) also butts up beautifully against the roof beams.
View attachment 330312
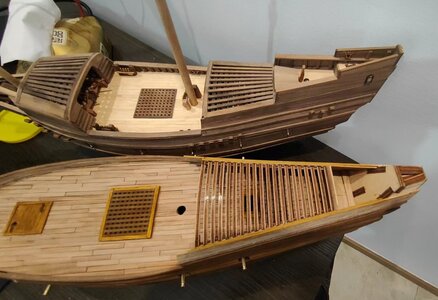
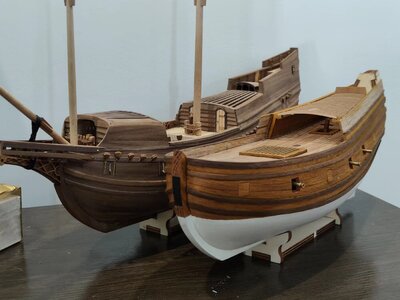
A direct comparison between the two ships highlights the much wider beam and much longer center canopy of WB#2. WB#2 obviously has the correct layout.
But despite the inaccuracies of WB#1 she remains a beauty (at least in the eyes of this beholder).
View attachment 330313
Side by side ...
And then I went out on the balcony:
View attachment 330314
The Pear Wood deck planking is natural light ..,.
View attachment 330315
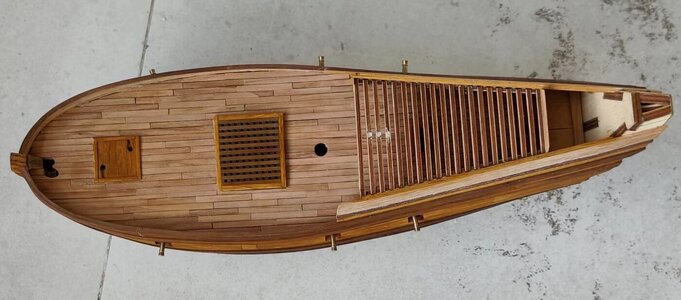
Another close up of the center canopy ...
View attachment 330316
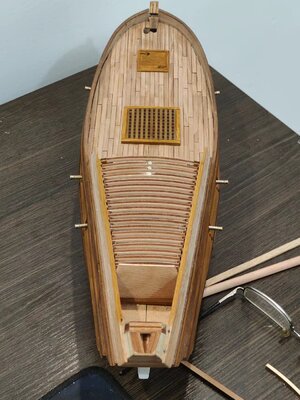
And finally, an overview.
Everything is still dry fit at this stage as the char still needs to be removed from the roof beams, they need to be stained and the stanchion posts still need to be installed - not that they are necessary (with those roof beams in place the hull and bulwarks are as strong as one can possibly hope for), but for accuracy's sake. Only then can everything be glued in place.


