• Win a Free Custom Engraved Brass Coin!!!
    As a way to introduce our brass coins to the community, we will raffle off a free coin during the month of August. Follow link ABOVE for instructions for entering.

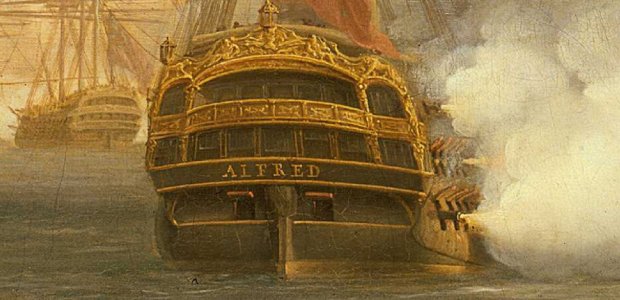
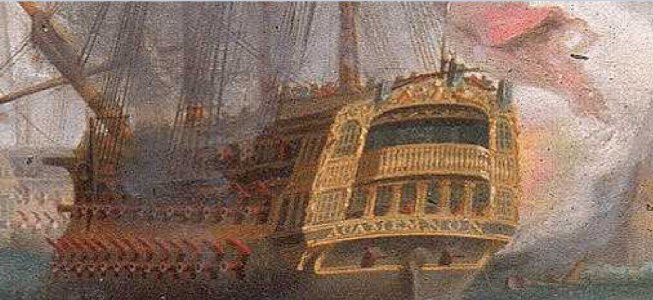
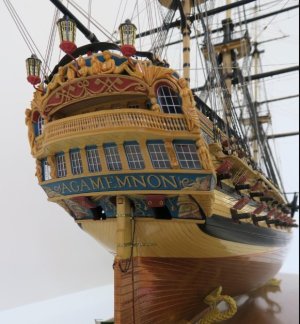
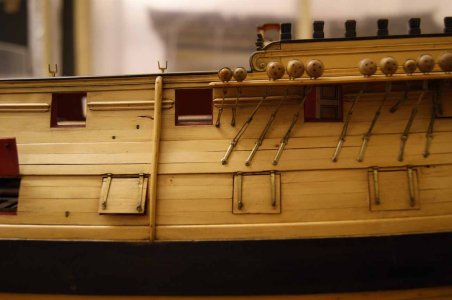
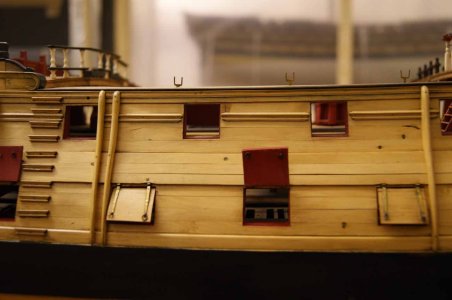
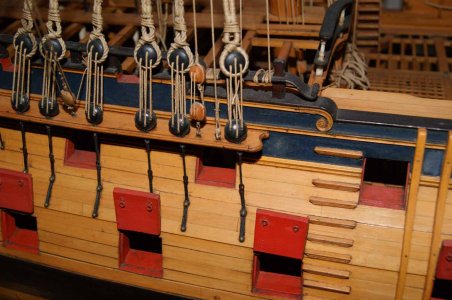
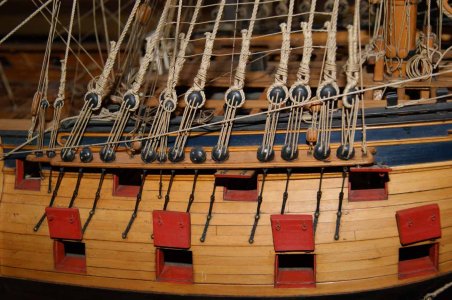
HMS Agamemnon by Caldercraft

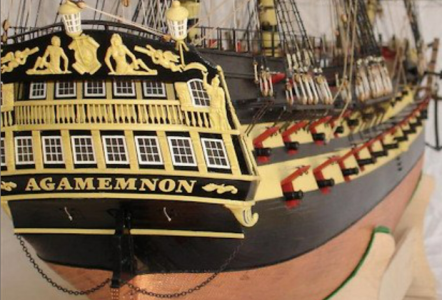
Dear Mark, If you choose the "ship under Nelson's command" option, then you definitely and without the slightest doubt need to choose the strictly black and yellow option, as you showed in the picture.
1756996596674.png

In this case, you can already paint the central line in the middle (in the blue version - in no case!!!).
Don't forget, in this photo the white ropes in the deadeyes are a mistake, they should be black. The ship's copper sheathing was installed before 1783, which means it should have a wooden elm plank at the top.

Chris Wotton showed the stern decorations incorrectly.
I'm traveling now, if I have time, I'll definitely tell you how to do it correctly.

I think the lesson topic hi-hi-hi is closed (it's nice that Mark also came across information similar to mine!) But I'll say it again: the biggest stupidity that Malcolm Darch made was the old paint job, but for some reason with a new black stripe in the middle. Here he contradicts himself, because even if the ship had not been painted, then in principle this stripe could not have existed. But even so the ship would have perished, because this is enemy paint.
 
Dear Mark, If you choose the "ship under Nelson's command" option, then you definitely and without the slightest doubt need to choose the strictly black and yellow option, as you showed in the picture.
View attachment 542439

In this case, you can already paint the central line in the middle (in the blue version - in no case!!!).
Don't forget, in this photo the white ropes in the deadeyes are a mistake, they should be black. The ship's copper sheathing was installed before 1783, which means it should have a wooden elm plank at the top.

Chris Wotton showed the stern decorations incorrectly.
I'm traveling now, if I have time, I'll definitely tell you how to do it correctly.

I think the lesson topic hi-hi-hi is closed (it's nice that Mark also came across information similar to mine!) But I'll say it again: the biggest stupidity that Malcolm Darch made was the old paint job, but for some reason with a new black stripe in the middle. Here he contradicts himself, because even if the ship had not been painted, then in principle this stripe could not have existed. But even so the ship would have perished, because this is enemy paint.
Thanks!

I'll wait until you are back from travel....
 
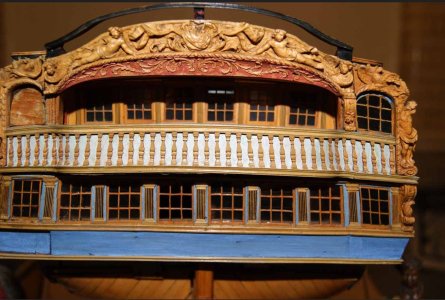
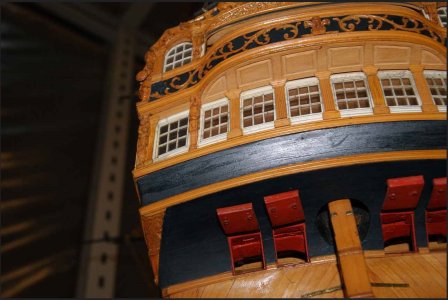
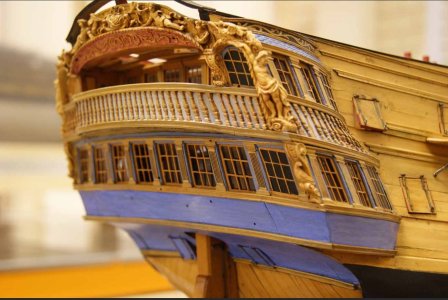
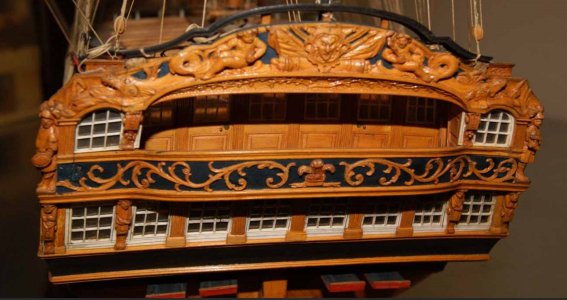
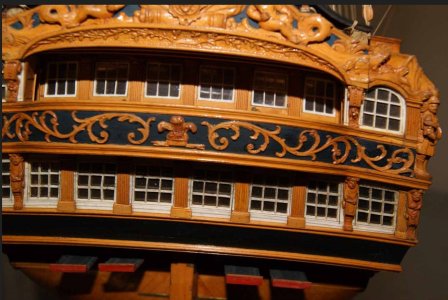
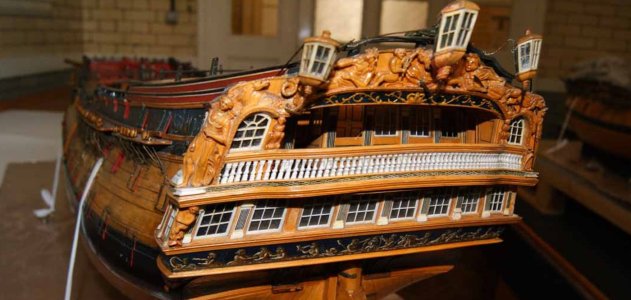
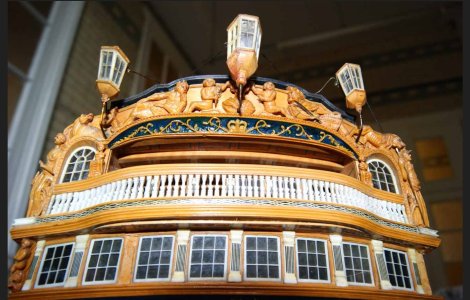
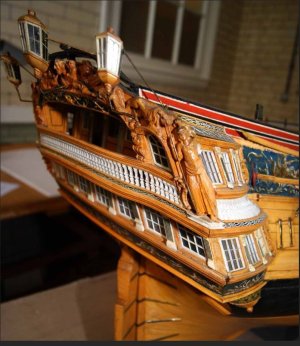
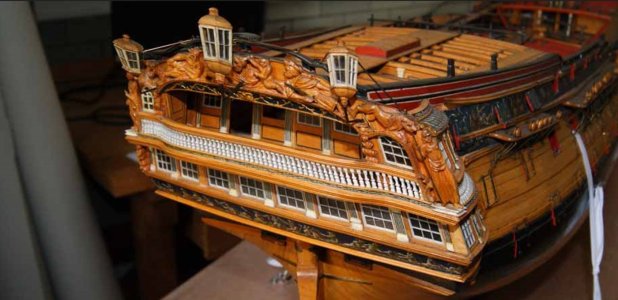
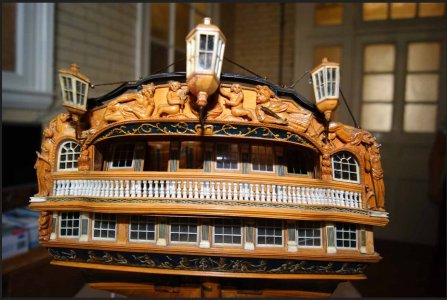
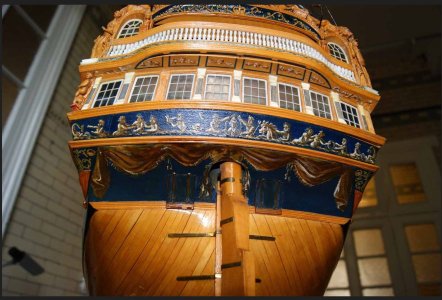
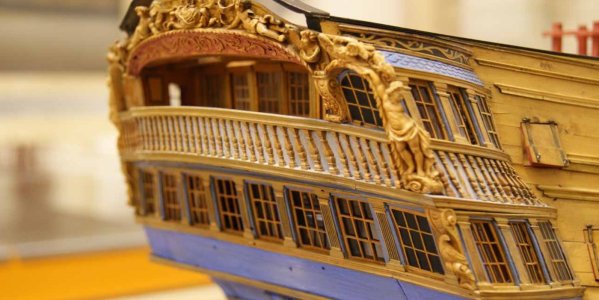
Dear Mark! Here are some photos. Look carefully, draw conclusions. Perhaps you will want to improve something in your model.
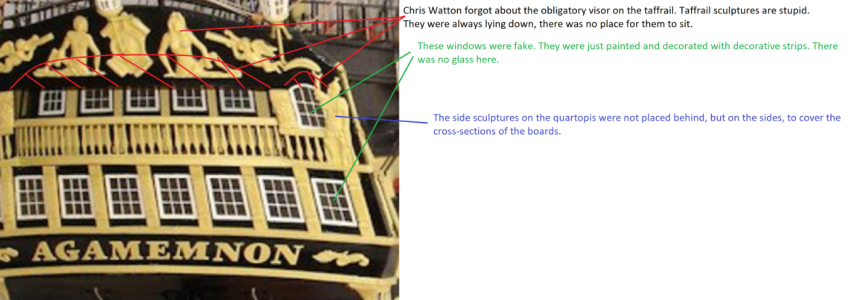
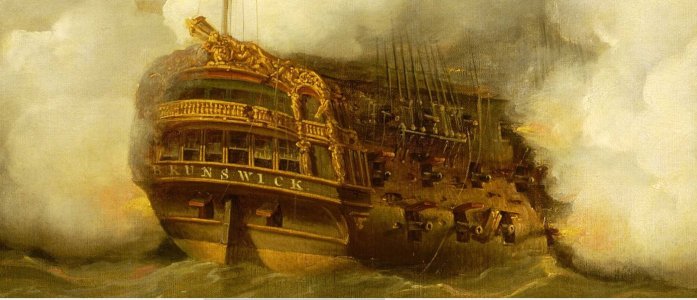
Chris Watton greatly simplified the stern of his model.
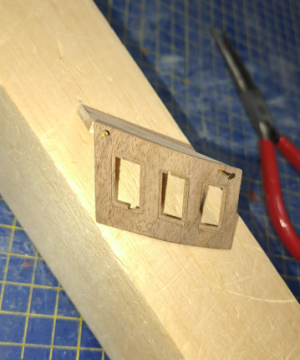
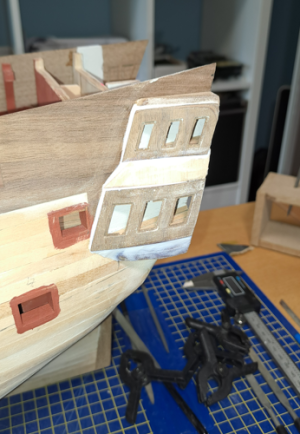
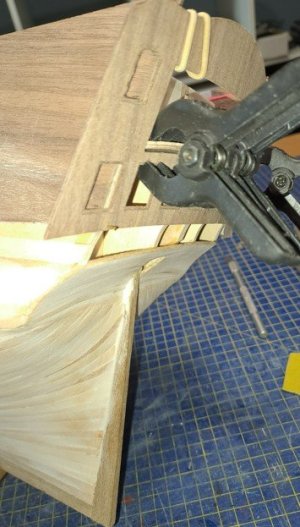
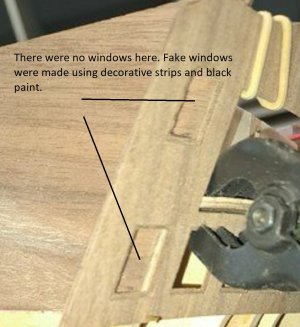
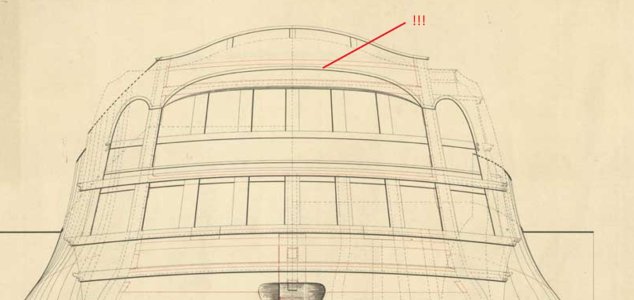
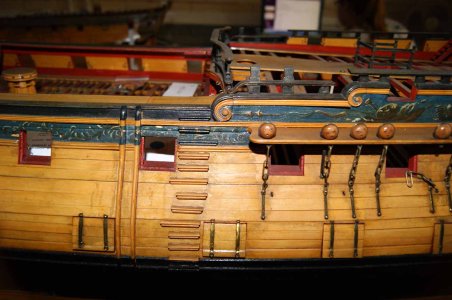
1. The side windows of the galleries, both floors, were blind, not real. There were wooden plates on which all the side galleries were supported. The windows were simply painted black, and the window frames were made of decorative strips. In the last quarter of the century, this was the case from the third rank and below.

2. The taffrail always had a wide, large, beautiful visor on which the taffrail sculptures rested. This visor was always there. It was usually painted red.

2.a. Because of the visor, there was less space for the taffrail sculptures, so on English ships the sculptures were always reclining, but never sitting, like on Chris.


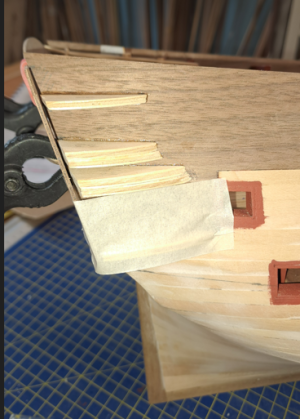
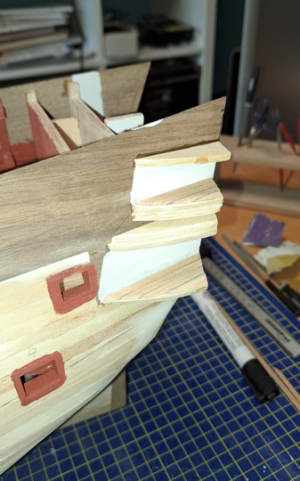
3. The side sculptures on the quartopics stood on the sides, not behind. They buried the end cuts of the boards and protected them from rotting.

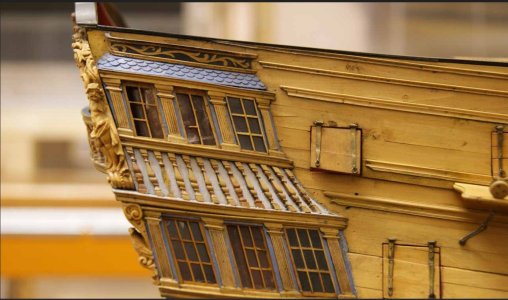
Also pay attention to how the balcony looks from below.


Aga156.jpg
1756996596674.png
а 1.jpg а 2.jpg а 5.jpg а 4.jpg а 6.jpg а 7.jpgа 9.jpg а 10.jpg а 12.jpgа 11.jpg а 13.jpg а 14.jpg а.jpg а 15.jpg
 
Dear Mark! Here are some photos. Look carefully, draw conclusions. Perhaps you will want to improve something in your model.
Chris Watton greatly simplified the stern of his model.
1. The side windows of the galleries, both floors, were blind, not real. There were wooden plates on which all the side galleries were supported. The windows were simply painted black, and the window frames were made of decorative strips. In the last quarter of the century, this was the case from the third rank and below.

2. The taffrail always had a wide, large, beautiful visor on which the taffrail sculptures rested. This visor was always there. It was usually painted red.

2.a. Because of the visor, there was less space for the taffrail sculptures, so on English ships the sculptures were always reclining, but never sitting, like on Chris.


3. The side sculptures on the quartopics stood on the sides, not behind. They buried the end cuts of the boards and protected them from rotting.

Also pay attention to how the balcony looks from below.


View attachment 543019
View attachment 543024
View attachment 543025 View attachment 543026 View attachment 543028 View attachment 543027 View attachment 543029 View attachment 543030View attachment 543031 View attachment 543032 View attachment 543034View attachment 543033 View attachment 543035 View attachment 543036 View attachment 543037 View attachment 543038

Wow! I'm definitely going to do something with this! I just need to think about how first!

Thx Iutar!
 
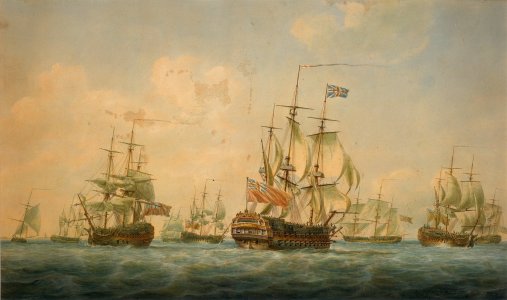
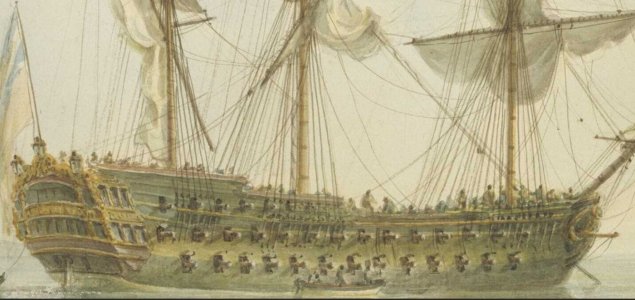
Without a doubt, the most accurate depiction of the coloring of ships of the last quarter of the century was given by the famous sailor and artist Nicholas Pocock.
You can see more than a hundred of his paintings at this link.

Ships_at_Spithead_1797.jpg

вв.jpg

вм.jpg
ва.jpg

Here's what Malcolm Darch says about the coloring of his model:

"The stern carving was researched from a painting by Nicholas Pocock of the stern of the ship painted at Chatham in 1784 from life, whilst undergoing repairs for damage sustained at the Battle of the Saints two years earlier in the West Indies. The painting, an oil, was commissioned by Admiral Hood. It depicts Paris on the port quarter and Helen on the starboard quarter in all her beauty & finery. Three naked Trojan women hold aloft two silhouettes, one of George III and the other of his wife Charlotte. On the stern below are the usual female figures completing the stern figure decoration."

1. As I said, Malcolm contradicts himself: first he says that the ship was not repaired until the nineties, but then he says that he obviously knows perfectly well that the ship was repaired and was even painted by Nicholas Pocock. And on the basis of this painting Malcolm depicted the sculptures of the stern.
2. Maybe the painting Malcolm refers to will give us some pointers on how to paint the model? Malcolm spent 8 months studying the ship, you and I can find the painting in a couple of seconds, and spend another couple of minutes studying the ship's paint scheme. The painting is called "The Battle of the Saints, 12 April 1782"

вл.jpg
вн.jpg

Draw your own conclusions.
 
I hesitated for a long time before purchasing the kit. I actually wanted to start with building plans: this involved the purchase of an (expensive) milling machine...and when I calculated the purchase of materials, etc., I arrived at the price of the kit.
Hello Marc, one more beautiful build, you're really fast. I'll stay tuned. I agree with Iutar. Building a model from scratch is more economical and you have everything under control. You invest in a milling machine once, and once you've completed a model, it pays for itself, saving you money on future models. :)
 
Last edited:
Hello Marc,

I came across your build report of the HMS Agamemnon and am totally blown away. So much so that I read it from the beginning. It is amazing. Alan and Iutar alone have amazed me with their expertise. What great people and great modellers we have here on the forum! I'm interested and pulling up my chair to see what happens next. I've learnt a lot ... I hope I can put it all to good use. You build really well. Keep up the good work ...

Best regards
 
Hello my Marc, one more beautiful build, you're really fast. I'll stay tuned. I agree with Iutar. Building a model from scratch is more economical and you have everything under control. You invest in a milling machine once, and once you've completed a model, it pays for itself, saving you money on future models. :)
Dear Mustafa,

As I've already told you, this is the last time I'll be building a kit ;)
The next model will be from scratch, believe me... You're absolutely right.
I want to gain some more experience with this one and, above all, learn how to make a ship as historically accurate as possible. Hence the discussion about paint, etc.... See also my next question... Greetings
Marc
 
Hello Marc,

I came across your build report of the HMS Agamemnon and am totally blown away. So much so that I read it from the beginning. It is amazing. Alan and Iutar alone have amazed me with their expertise. What great people and great modellers we have here on the forum! I'm interested and pulling up my chair to see what happens next. I've learnt a lot ... I hope I can put it all to good use. You build really well. Keep up the good work ...

Best regards
Thx !
 
Gentlemen,

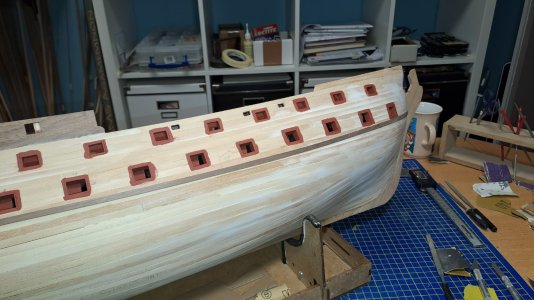
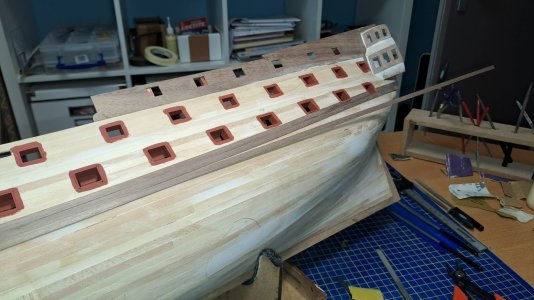
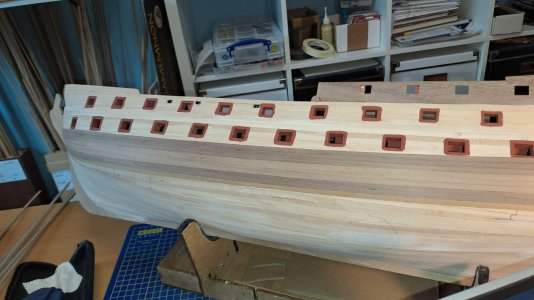
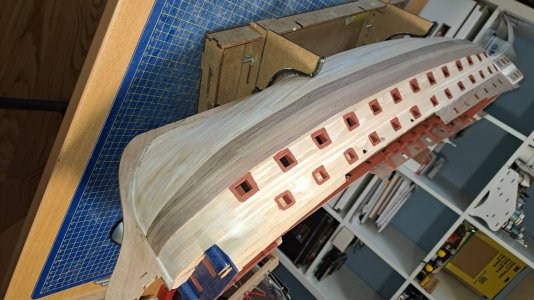
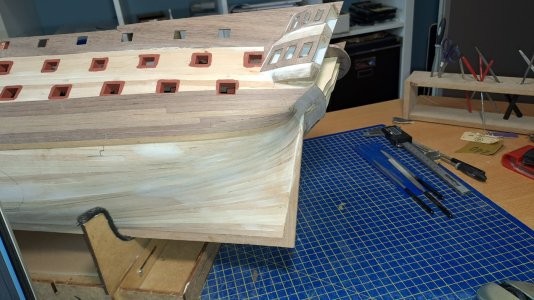
I'm busy with the second planking. I'm already trying to think ahead and have already run into the following problem: making the main wall...
This kit says seven strips of 1 x 3 mm and go ahead. Nothing of the sort.

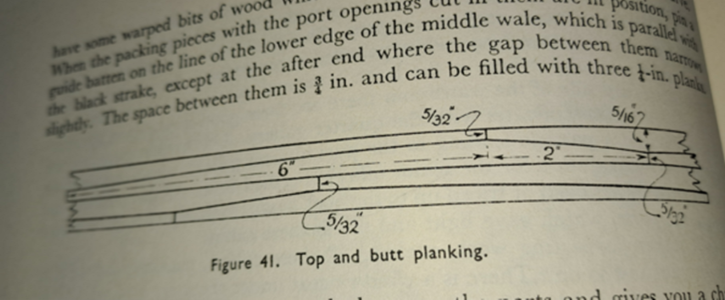
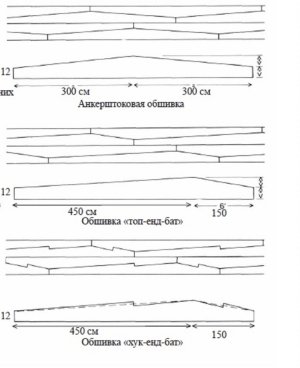
I want to use the top and butt planking as before. See photo. However, I don't know what lengths to use for the model, i.e., 1/65 scale... Can anyone help me?
1757693616491.png
 
Hey Marc,

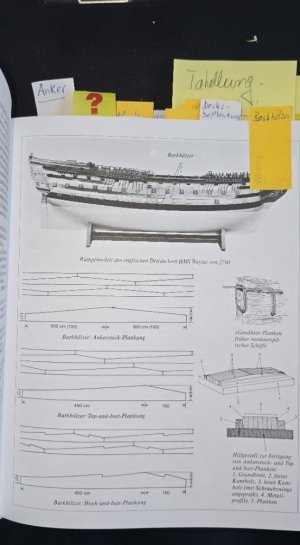
Wolfram zu Mondfeld writes in his book "Historische Schiffsmodelle" that the barque timbers (top-and-butt and

hook-and-butt) had an average length of 6 metres. Anchor planks had an average length of 3.84 metres. However, this length could vary because the ends of the planks were always butted against a frame.

Mondfeld Buttplanken.jpg
 
Уважаемый Марк, ширина и количество досок в модели указаны неверно. Крис Уоттон просто подобрал соответствующие размеры из готовых заготовок.
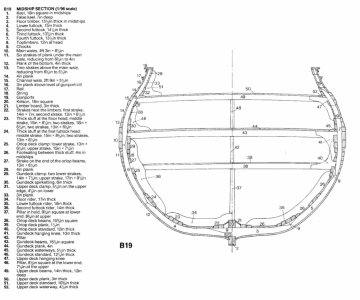
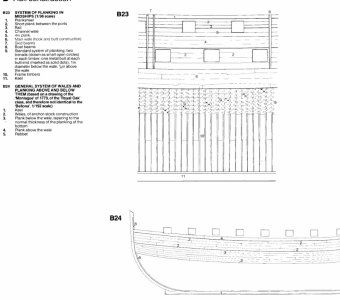
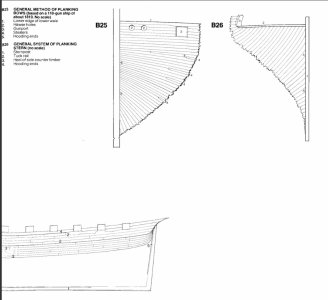
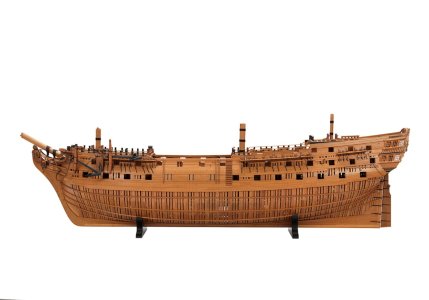
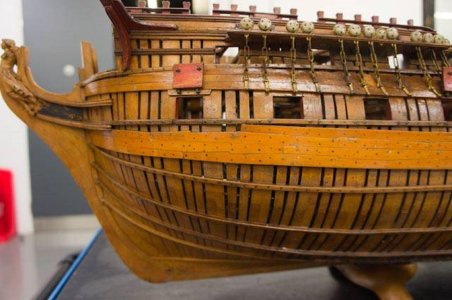
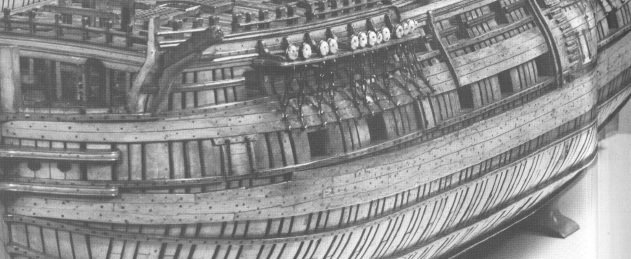
Предлагаю вам правильное количество и размеры досок согласно таблицам для третьего ряда. Всё это Брайан Лавери смонтировал на фотографиях, и я отправляю их вам. Правильное количество и размеры досок также подтверждены музейными макетами. Обратите внимание, что в третьем ряду использовались соединения «крюк в стык», а не «верх в стык». Вам придётся пересчитать все доски самостоятельно. Но это будет круто!


сечение.jpg сечение 1.jpg сечение 2.jpgхук-энд-батт.jpg хук-энд-батт 1.jpg

большой (48).jpg
6_zobj_bellona_20111208_7_621.jpg
Безымянный.jpg
галерея_10197_919_50551.jpg
gallery_10197_919_78567.jpg
галерея_10197_920_17254.jpg

галерея_10197_920_18084.jpg

галерея_10197_945_112192.jpg

1-1 — копия.jpg
1-7.jpg 1-8.jpg
 
Last edited:
I want to use the top and butt planking as before. See photo. However, I don't know what lengths to use for the model, i.e., 1/65 scale... Can anyone help me?

Mark, I'm not an expert. I asked the same question to an AI. Here's the answer I got.

Understanding Real Plank Lengths
Historically, hull planks—especially for top and butt planking—were typically between 20 to 24 feet long on full-size ships. These lengths were chosen based on timber availability and structural needs.
Scaled Length Calculation
To convert full-size lengths to 1:65 scale:
• 20 ft (240 inches) → \frac{240}{65} \approx 3.69 inches → ~93.8 mm
• 24 ft (288 inches) → \frac{288}{65} \approx 4.43 inches → ~112.5 mm
So for your model:
• Plank lengths between ~94 mm and ~113 mm would be historically accurate and visually proportional.

Practical Considerations
• If you're using basswood or similar strip stock, check what lengths are available commercially. You might need to cut longer strips down to size.
• For top and butt planking, consistency in length helps preserve the visual rhythm of the pattern. You could standardize at ~100 mm for simplicity unless the curvature of the hull demands shorter pieces in certain areas.
 
It's up to Mark to decide, of course.
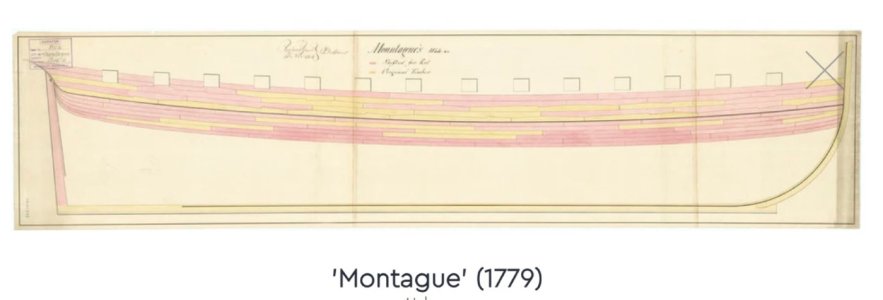
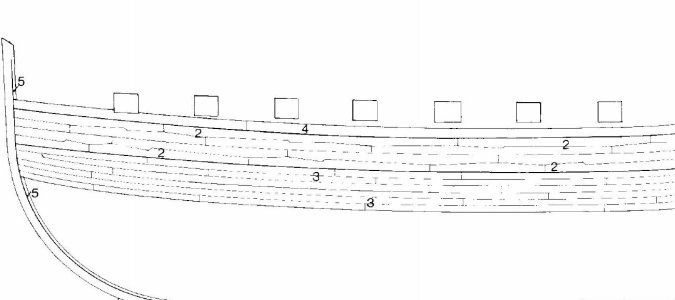
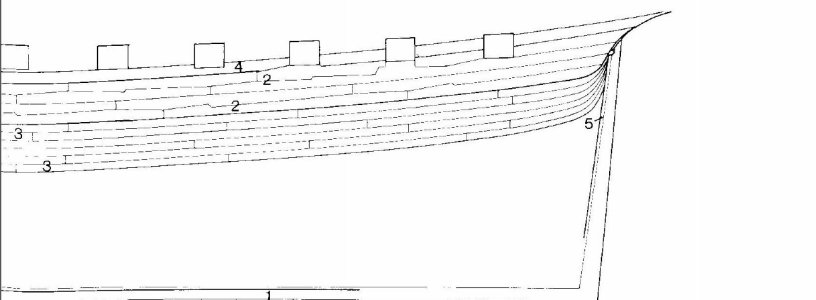
I would recommend taking a closer look at the actual drawings of Brian Lavery and the actual drawings of the HMS Montague. All the lengths of the planks and their shape are already shown there. It is easy to see that all the sizes of the boards were not chosen by chance, the shipbuilders made calculations and built diagrams to arrange the boards rationally and taking into account the shape of the hull. That is why all the boards are different.
All that's left is to simply transfer those drawings onto the body of the model.
 
As far as I understand from the posts of other friends, the length of these planks on the real ship is around 6 meters. The AI gave a similar response too.
 
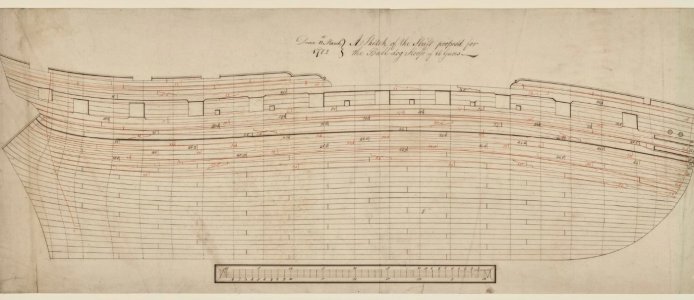
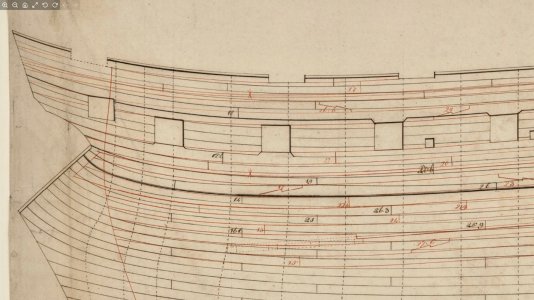
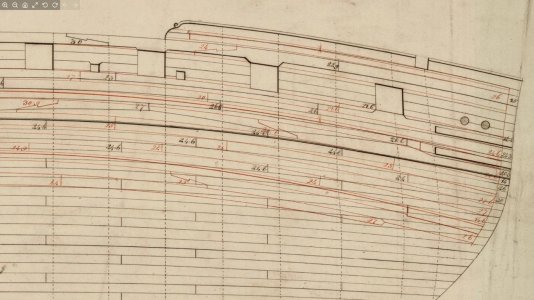
Dear Mustafa! In fact, English shipbuilders made complete plans for the inner and outer hull planking. Some of these plans have survived to this day, and historians such as B. Lavery use them in their scientific works. Professional shipbuilders calculated each plank by length, thickness, width and shape. Nobody sawed "just boards" six meters long. A ship is a complex engineering structure, so every nail, every board was calculated.
Here is one of such drawings. It shows the inner hull plating (red lines) and the outer plating (black lines).
The boards, their shape, location, and width are shown. If you look closely, you can even see the meanings written on the boards. The location of each joint of the boards has a specific meaning, the ways of their connection are shown. There is nothing "random" here.
бульдог 18.jpg
бульдог 19.jpg
бульдог 21.jpg
 
Last edited:
Back
Top