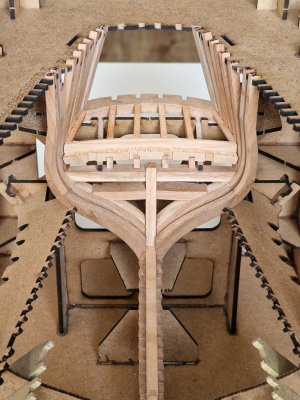
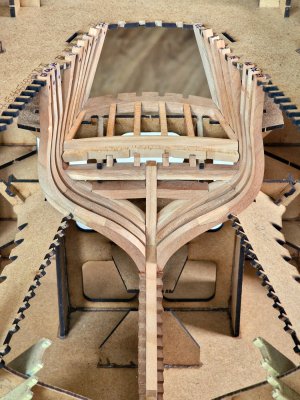
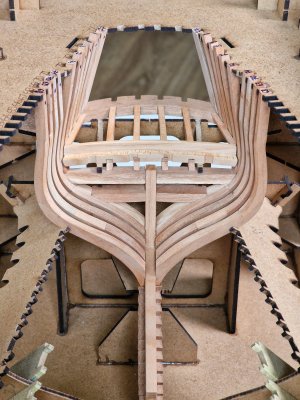
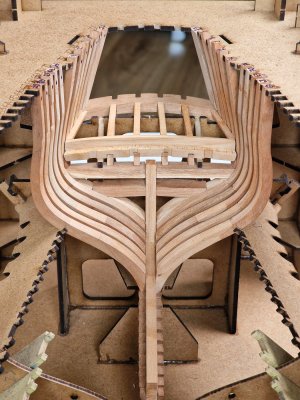
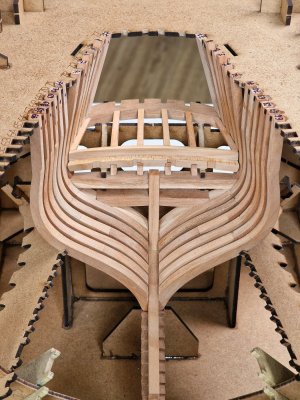
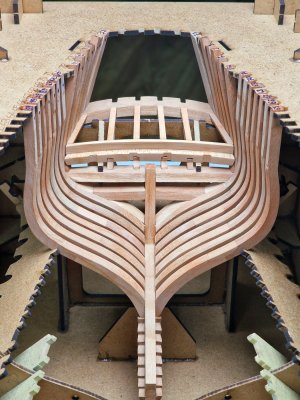
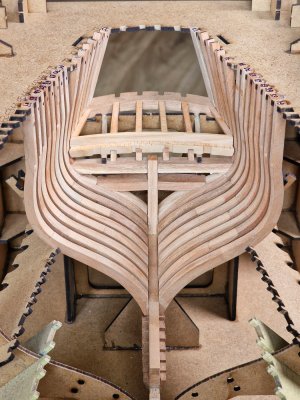
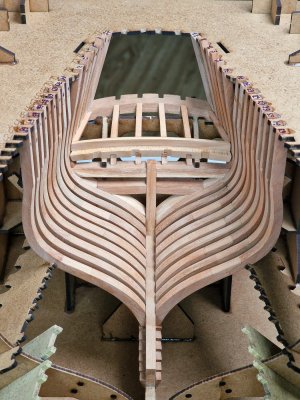
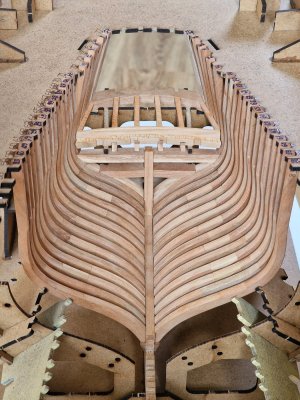
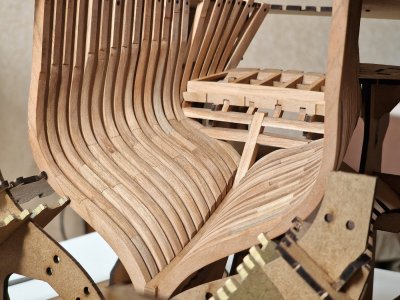
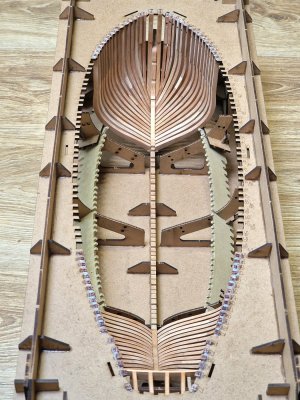
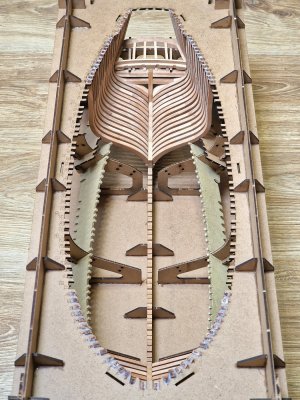
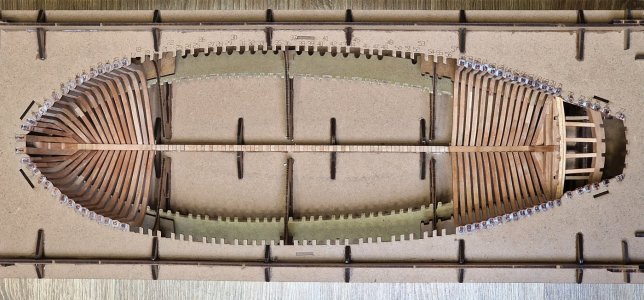
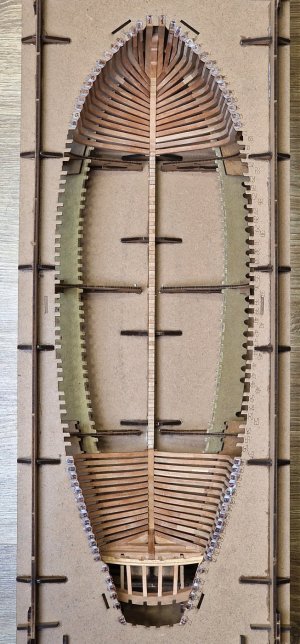
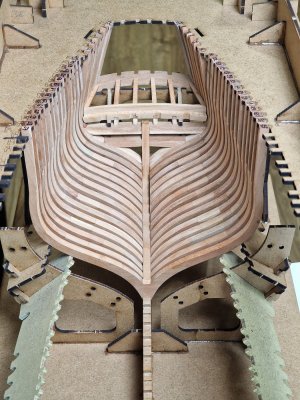
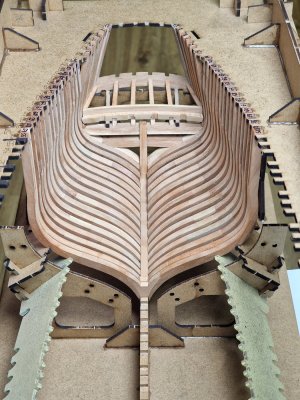
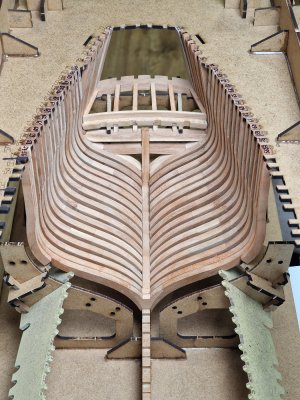
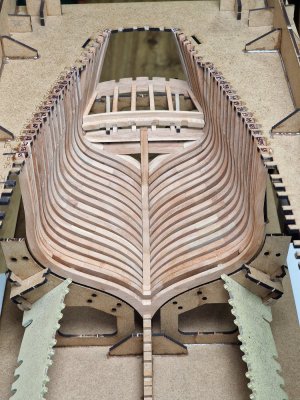
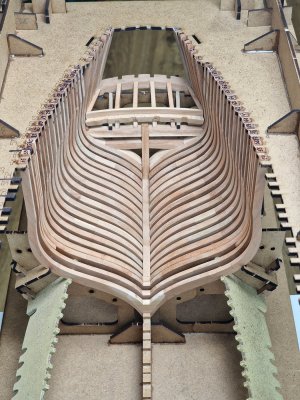
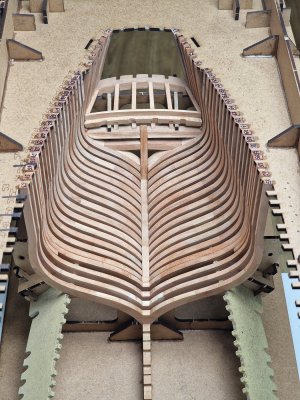
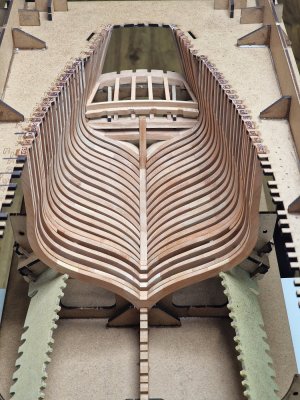
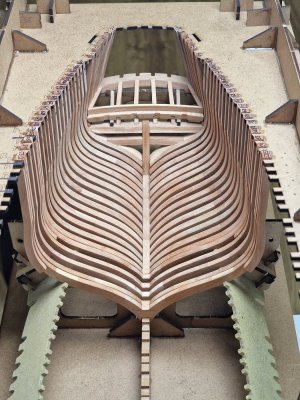
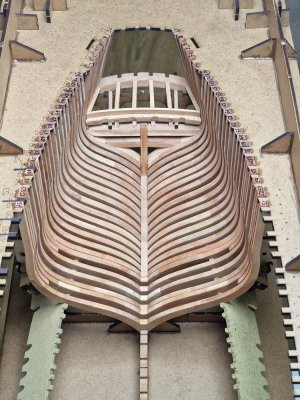
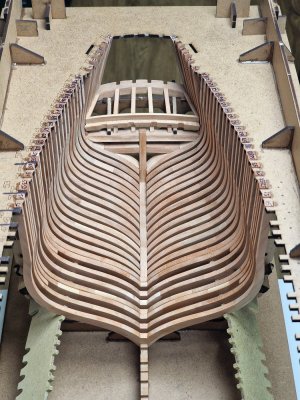
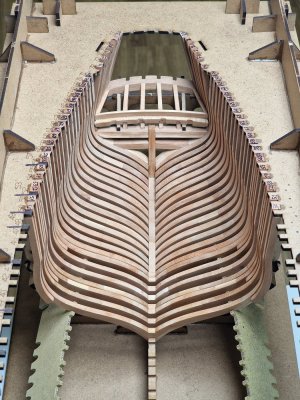
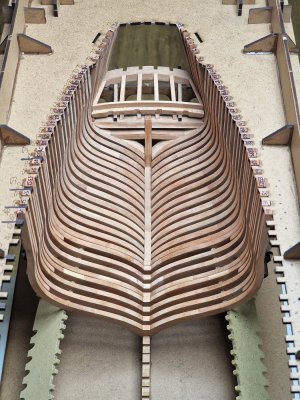
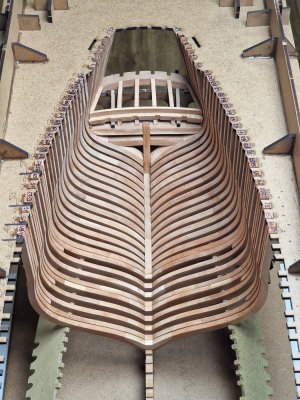
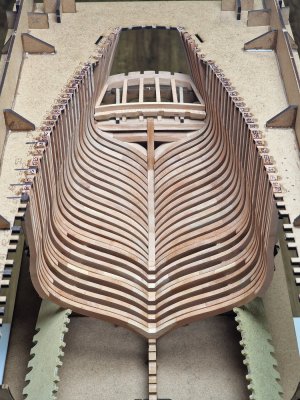
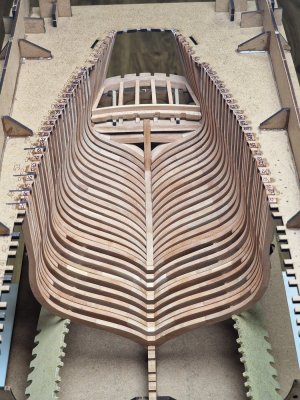
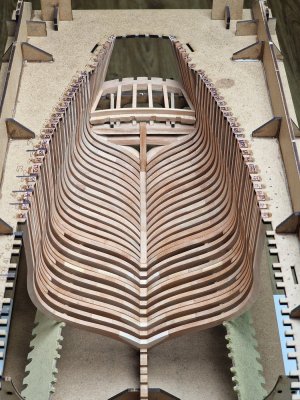
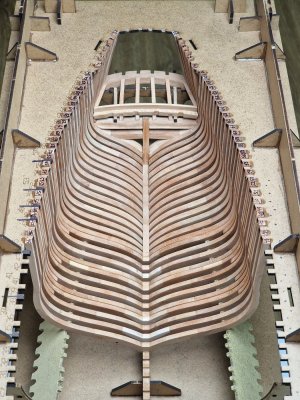
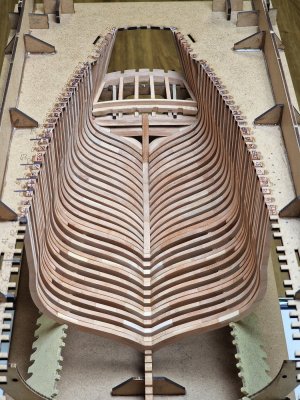
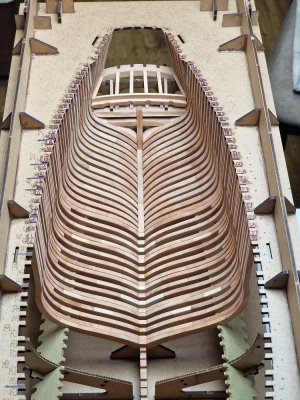
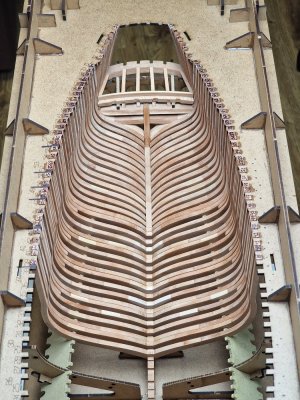
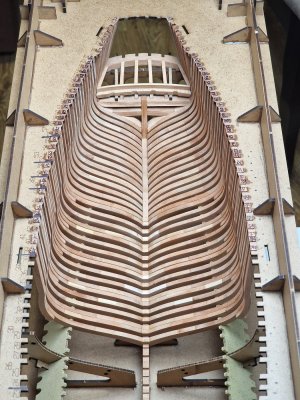
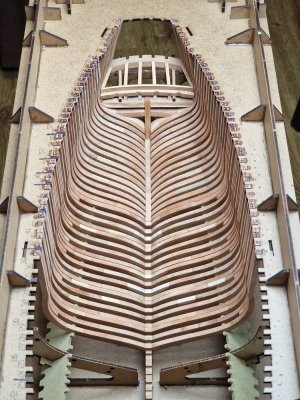
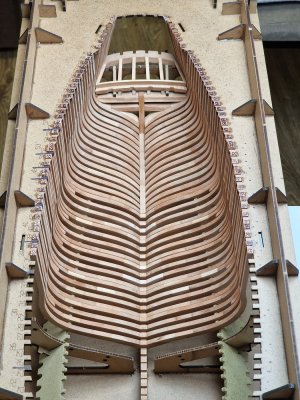
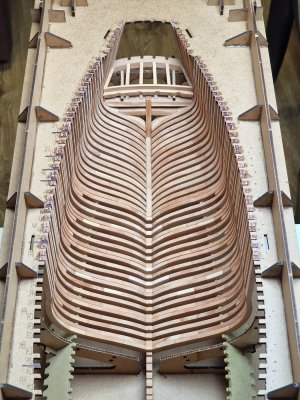
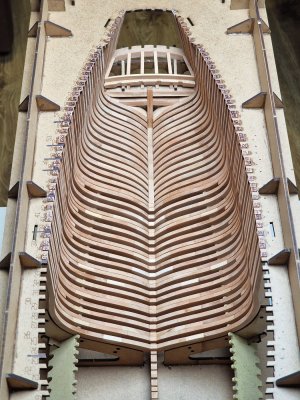
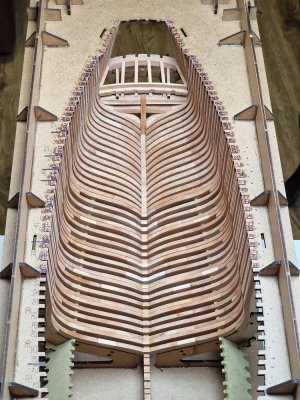
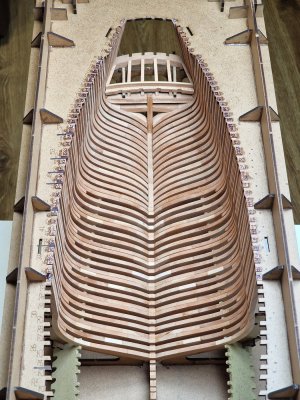
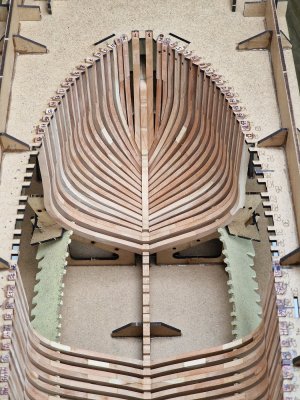
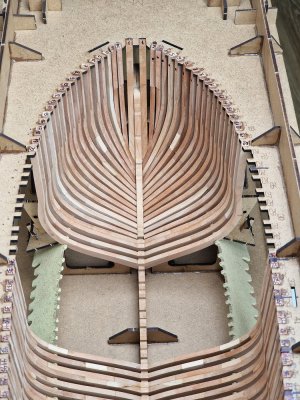
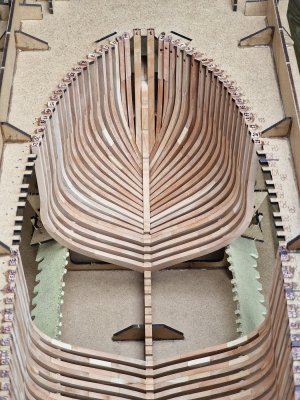
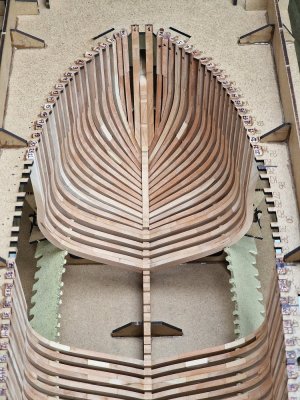
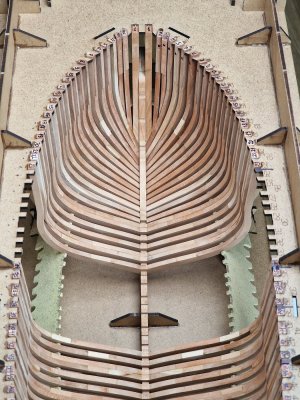
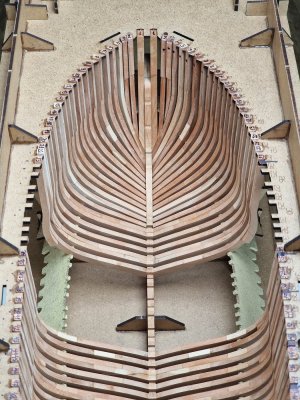
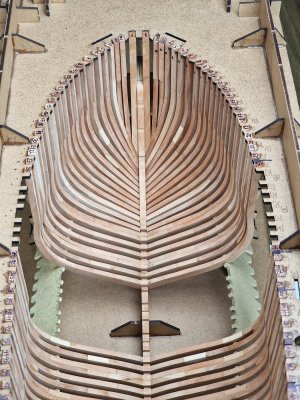
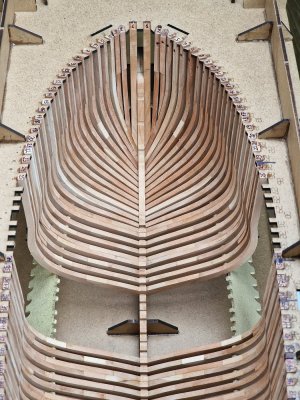
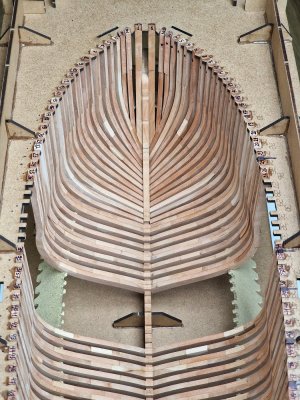
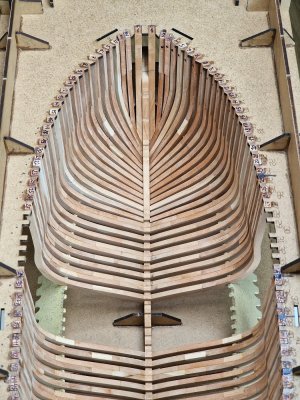
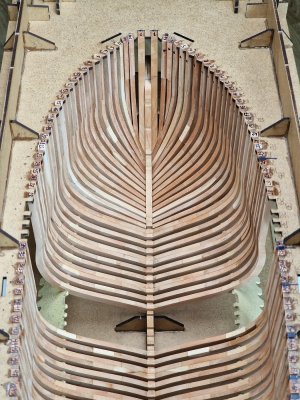
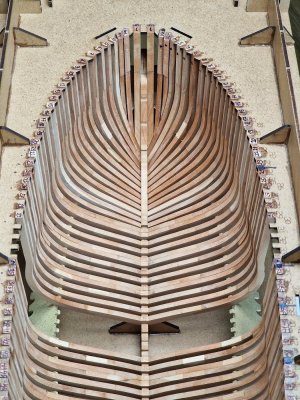
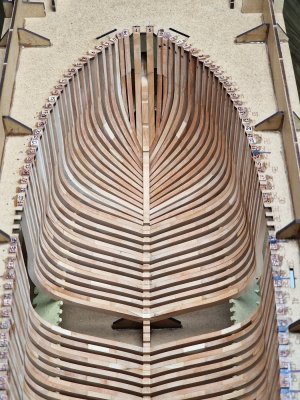
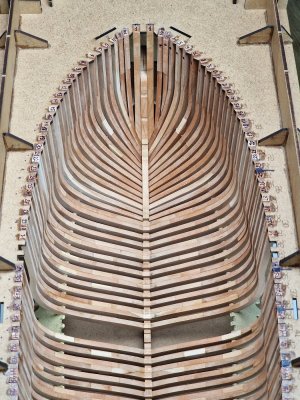
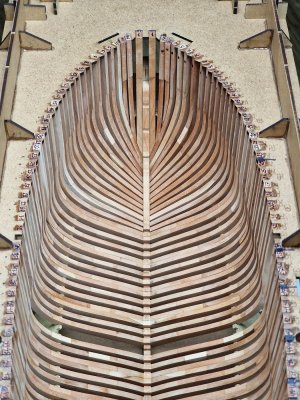
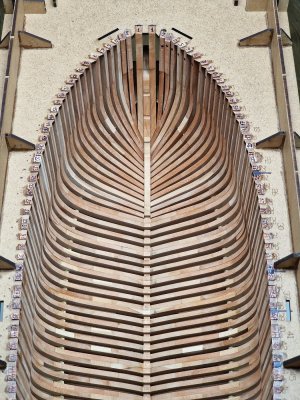
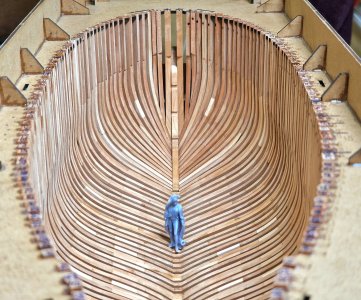
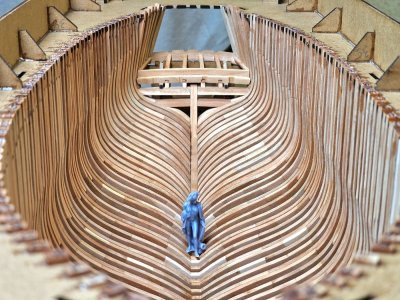
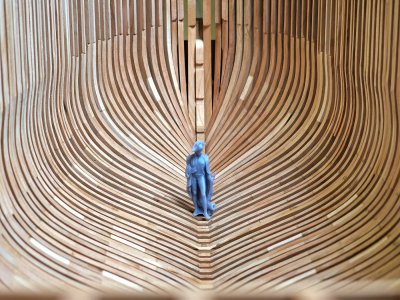
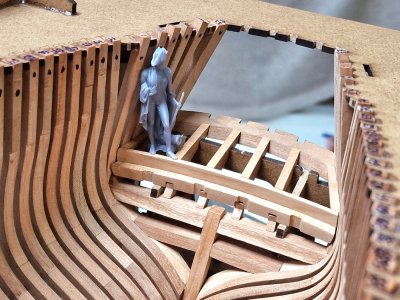
3.7 Middle frames (fixation of solid, paired and half-frequent frames).
In addition to just solid frames, which are fixed separately, there are also paired ones. Let's start with them. Paired because they should be glued together, but not separately, but in the case in a slipway. Because gluing separately can give them the wrong geometry.
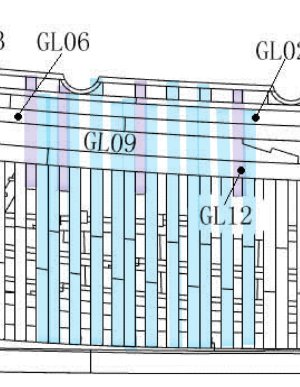
To begin with, I make imitation bolts on paired frames on the sides.
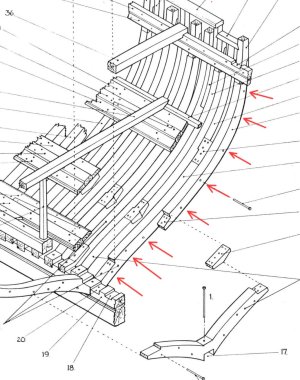
The drawings show that there are 8-9 of them throughout the frame. They are arranged a little in a checkerboard pattern, and that's what I implemented.
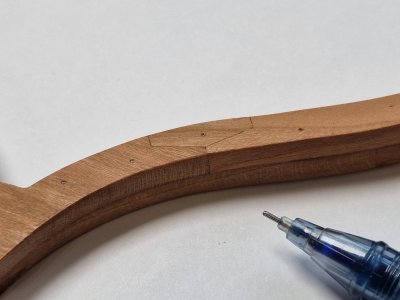
I made the cylindrical recess with the same gel handle without a ball at the end. The main thing is not to get into places where the same imitation bolts are transverse. So that there is no conflict between them, that is, so that they do not intersect.
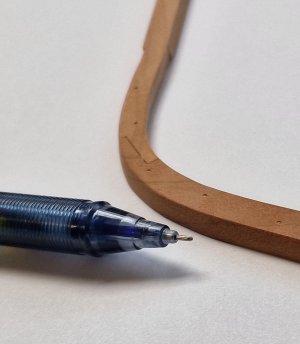
In the beginning, I thought not to make them, but after I saw that they would still be visible, I realized that they were needed.
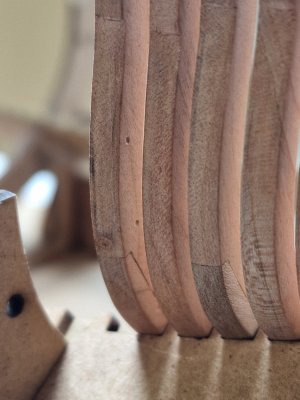
So how I glued paired and half-frequent frames to each other.
At first, I collected several frames in front to check the geometry and remove unnecessary ones while it is convenient to do.
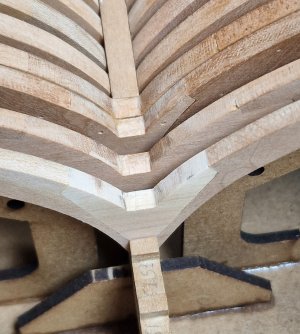
Then I glue the first frame (which should be paired) separately with CA gel on the lower contact point...
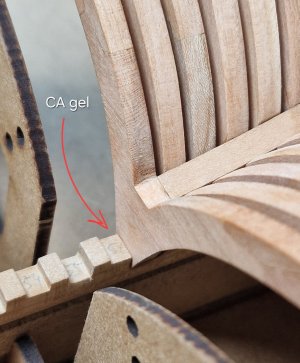
... then I stick this frame on top with a point CA gel.
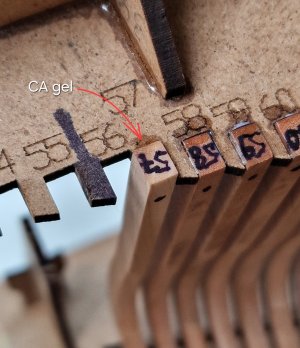
Then I first apply PVA glue to almost the entire surface of the second frame from the pair and dot CA gel at the bottom.
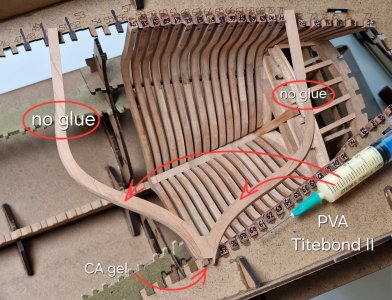
And I glue it to the first frame, after that fixing the upper points to the slipway.
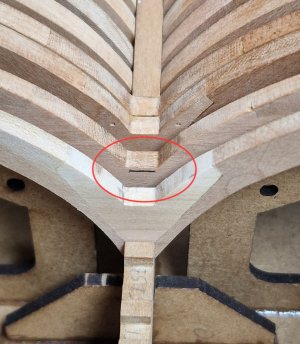
Attention!! No need to apply glue to the place marked with a red oval. This place will be a zone of separation of the body from the excess part of the frames. And since the cuts are staggered and if there is glue there, it will be difficult for you to separate the vertical parts glued together. (review the instructions in advance and you will understand what I mean).
So the two frames are paired and now we need to glue a half to them. But before that, you need to apply an imitation of bolts on a one-piece frame, which will be next to the half. He will close this bundle.
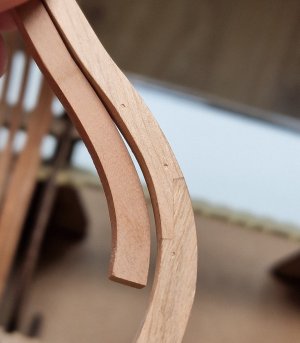
We must not forget everything, and think over all the steps in advance, because after fixing it will be impossible to do it.
Then, I glue half of the frame onto the PVA, but again I do not glue the separation zone.
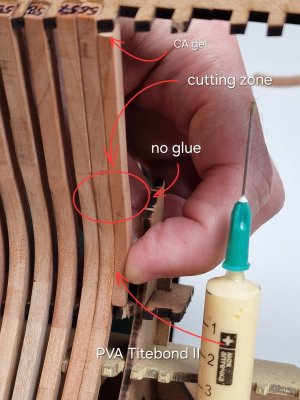
Fix the upper part with CA gel for stability.
Well, then I glue the closing one-piece frame, on which I previously made an imitation of bolts.
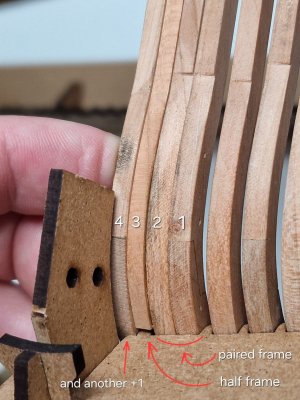
That is, let's repeat again: 1 - first a single frame is glued to 3 points of CA (bottom and top to the slipway), 2 - then the second frame from this pair is glued to the PVA and 3 points of the SA, 3 - then it is glued to this pair on the PVA (and pointwise from the top of the CA) half of the frame, 4 - and then the closing one-piece frame is glued to the PVA and 3 points of the CA. The combinations throughout the body will be different, but the principle remains the same. The main thing is not to forget the imitation of bolts where it is needed.
By the way, I hold the paired frames while the glue dries like this. And since this happens in 5 minutes, it is only necessary to create the initial pressure.
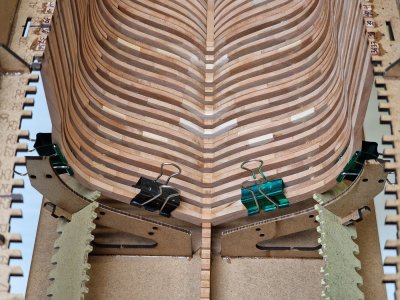
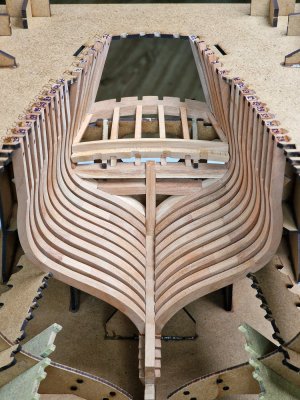
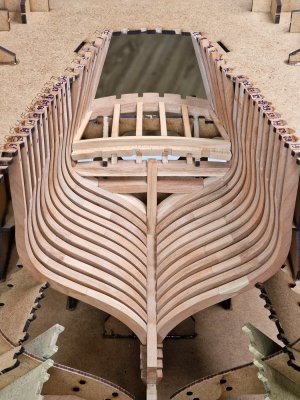
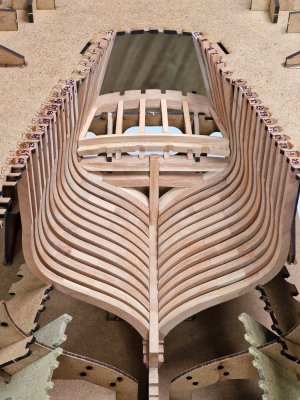
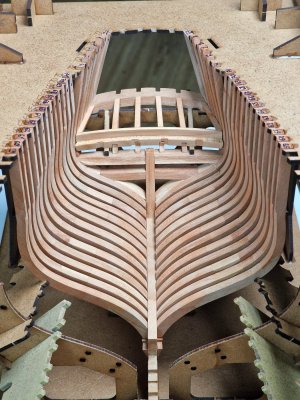
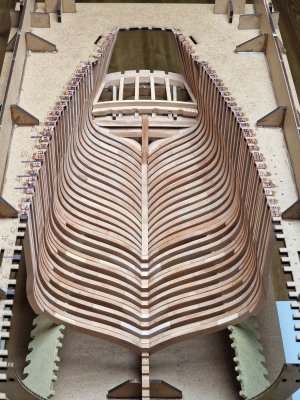
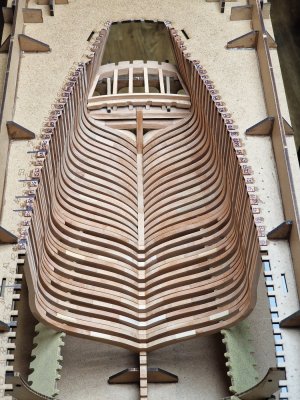
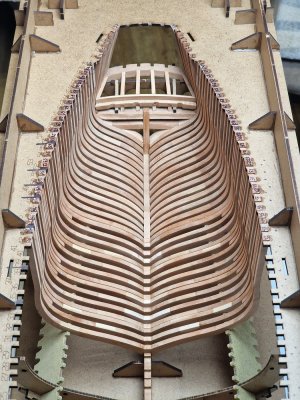
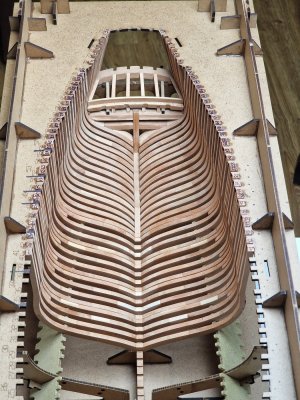
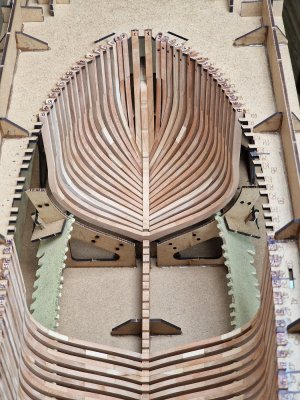
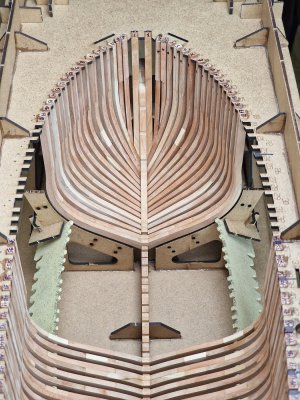
Well, then there will be our traditional slideshow.


