HMS ALERT 1777 cutter POF by shota70 [COMPLETED BUILD]

happy "July 4" to Our American members and to the American nation
Screenshot_20220704-175031_Chrome.jpg
 
happy "July 4" to Our American members and to the American nation
View attachment 317043
Hear, hear!
 
hello dear friends
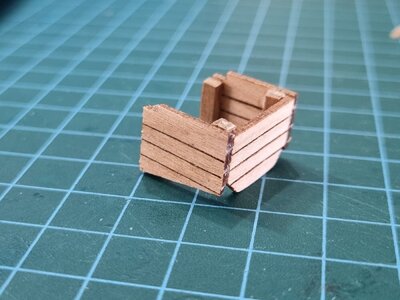
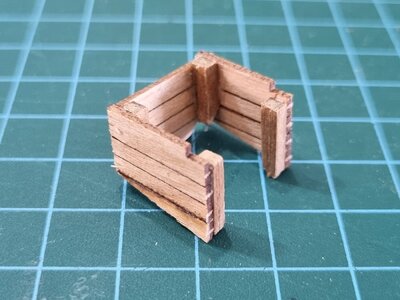
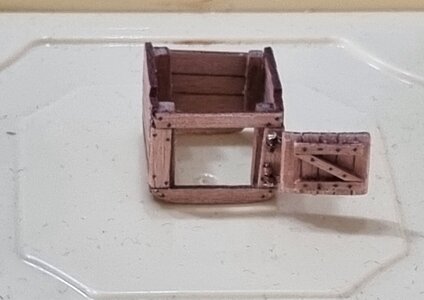
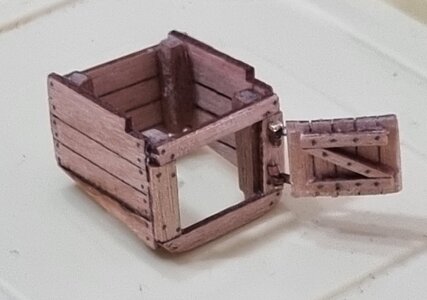
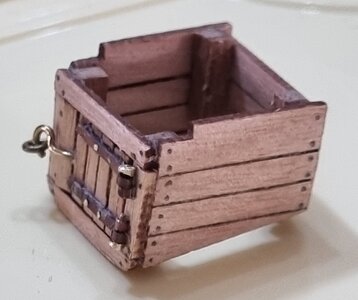
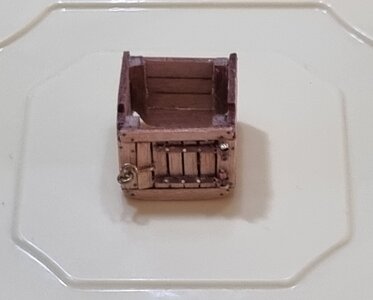
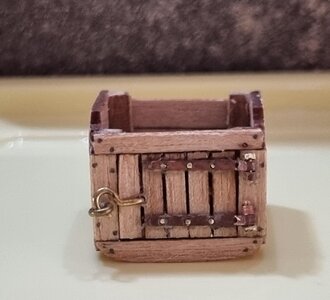
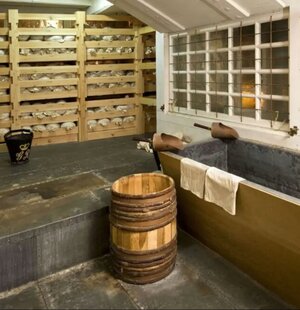
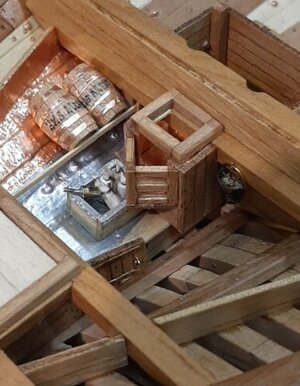
Today I decided about 6 hours creating the powder room. The beautiful work that our dear friend Maarten did in post # 330 was an inspiration for me and a point of reference for the level of product to which I aspire. :DOkay
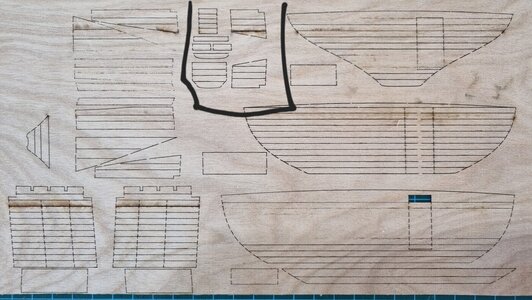
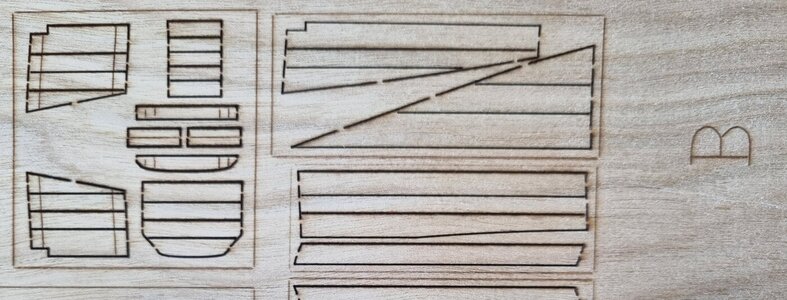
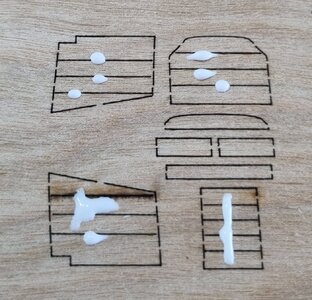
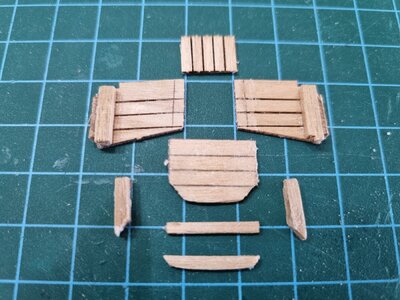
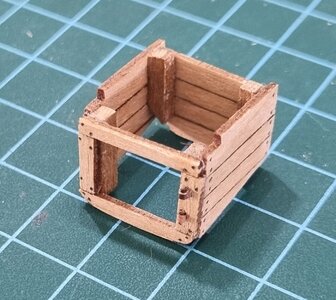
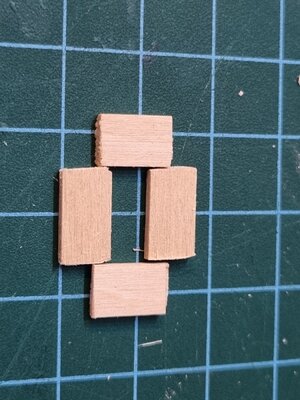
The process began with locating the parts needed to create the room in board number B. As usual I started by applying glue to the inside of the boards in order to strengthen them for further work.
then I cut the pieces from a wooden board in which they are placed.
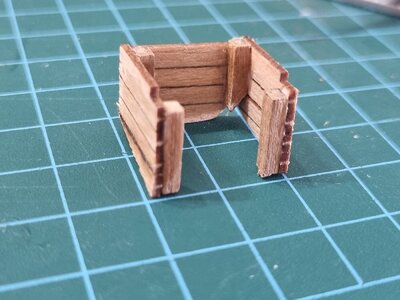
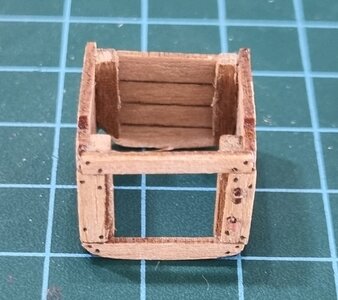
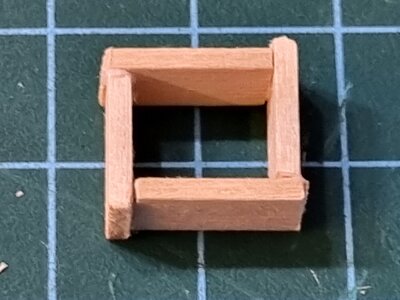
In addition, I made the wooden beams / pillars that are used to support and connect the walls of the room in the corners. I also sanded and smoothed the different parts.
You are probably starting to ask why it took 6 hours to create the room, so the answer is, in order to get an accurate / square room equal to sides and at 90 degree angles, I had to disassemble and re-layer twice until the intermediate result was acceptable to me.
Do not worry, this was not the only challenge that required me time and correction, I will detail later in the report.
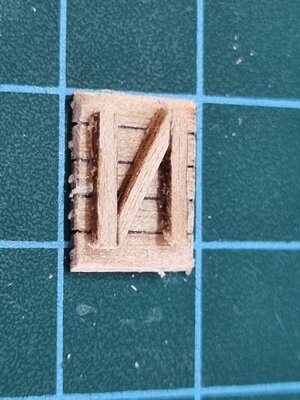
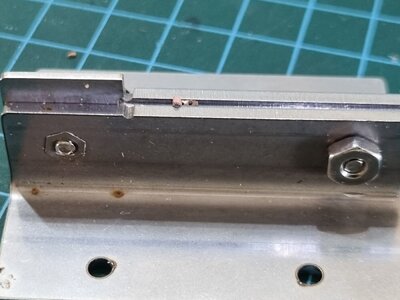
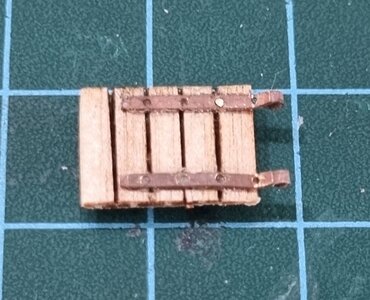
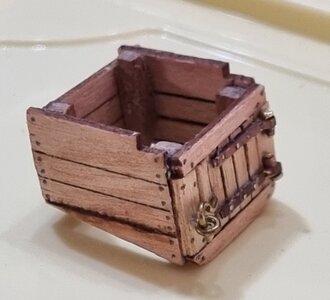
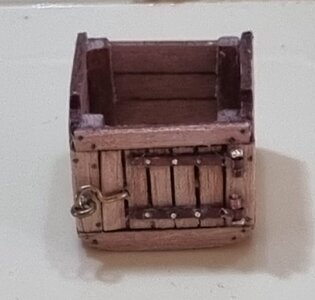
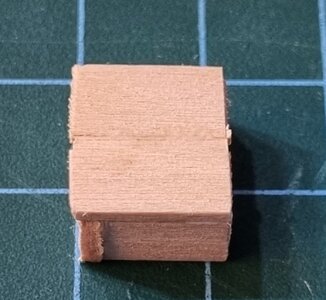
Once the frame of the room with its walls was ready, I proceeded to create the door. At first I glued on the inside the wooden boards that together form the letter Z. Later I created the different parts that form the hinges of the door, as part of their creation I used the jig I developed.
Before connecting the door to the room together with the hinges, I created a relatively simple locking mechanism (a hook that goes into the ring - I have not yet developed the skills required to create the tiny lock that Maarten created:D).
Overall I am satisfied with the work process and the result. :cool:
Wishing us all a continued happy weekend and a good and blessed week
20220709_131708.jpg20220709_131817.jpg20220709_132043.jpg20220709_141758.jpg20220709_141820.jpg20220709_141912.jpg20220709_150722.jpg20220709_152852.jpg20220709_161325.jpg20220709_171631.jpg20220709_171744.jpg20220709_171737.jpg20220709_175453.jpg20220709_175622.jpg20220709_184810.jpg20220709_184732.jpg20220709_184819.jpg20220709_185002.jpg20220709_185050.jpg
 
Good evening friends
Today I came home from work a little tired, however I told myself that I must build another part of the fire dust room. So I chose to build the powder bath located under the safety window. It can be clearly seen on Maarten's blog.
Screenshot_20220710-211110_Chrome.jpgScreenshot_20220710-210949_Chrome.jpg
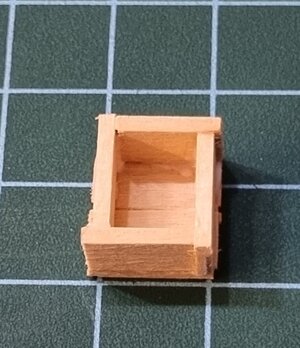
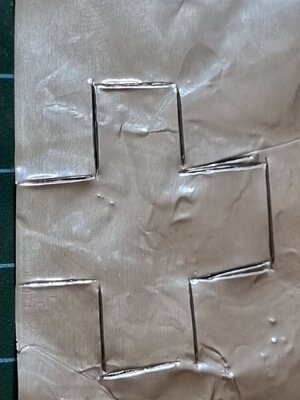
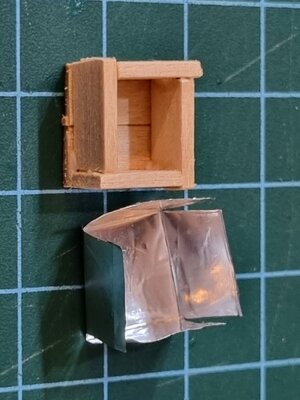
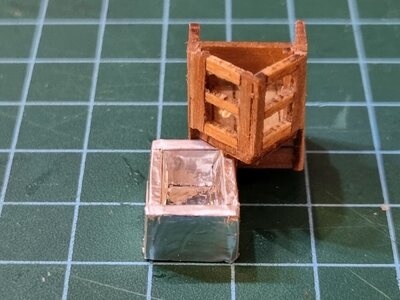
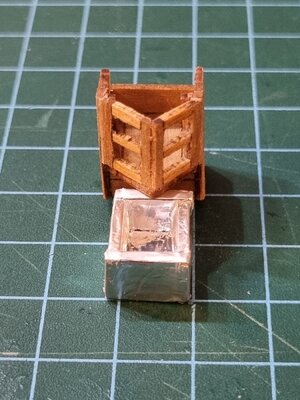
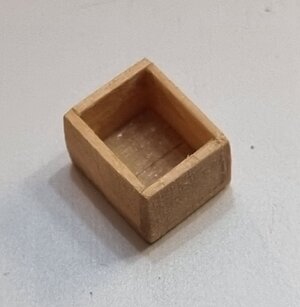
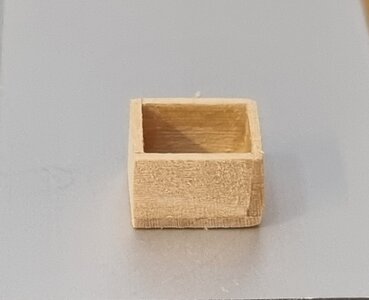
I started by preparing the sides and bottom of the tub, the parts were glued together so that a rectangular wooden tub was created. I then took Silver Paper and cut it so that it could go inside and out and wrap the tub outside as well. Of course I sanded the outer walls so that a smooth / straight wall was created and only then was it wrapped in paper
I will let you be impressed by the process and the result in the attached photos.
20220710_193812.jpg20220710_194727.jpg20220710_195141.jpg20220710_195508.jpg20220710_195840.jpg20220710_200151.jpg20220710_205230.jpg20220710_205359.jpg
Good night
 
20220710_195508.jpg
Hi Shota, Forgive me, but small word of criticism. Why don't you use a file or a sanding board to sand the sides nice and straight. Small effort but that's that little bit extra which makes the end result just a bit nicer.
In the end result you can see it is not straight.
 
Hi Shota, Forgive me, but small word of criticism. Why don't you use a file or a sanding board to sand the sides nice and straight. Small effort but that's that little bit extra which makes the end result just a bit nicer.

In the end result you can see it is not straight.
You're right in your distinction, I'll probably have to disassemble and fix. I thought the sanding smoothed them out as required. :)
 
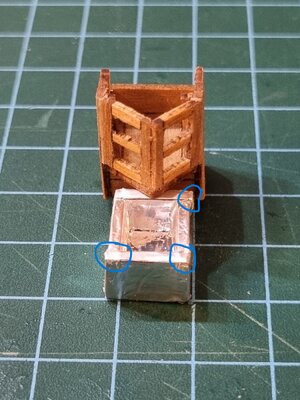
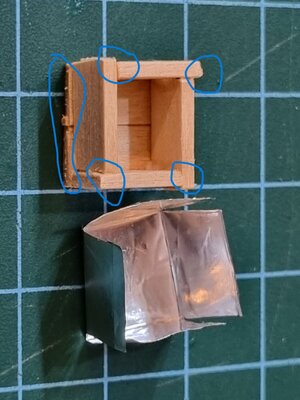
I actually will correct Steph, it is not a criticism, it is a learning curve! ;) But no matter how you might be called it, Steph is correct. The time when you just do it in the past. You advanced yourself into POF model building which required a bit more precision. A person who can carve an owl should do the box perfectly square. I am sure, when you looked at your photos now you said - Yea... I better make the corners flush. I think you were just tired... Check the blue corners on the wooden box, and then those corners stick thru the foil.

20220710_200151.jpg 20220710_205359.jpg

I mean...it is your model, and you call obviously!
 
Maybe a good advice, I glued a piece of sanding paper on a glass plate I use to work on when making tiny parts. I just rub the parts over it when I make them. Easy and you will not forget to do. Yes it is a learning curve where we all have to do with.
These tiny adjustments, extra time and efford you put in your model just makes a hugh improvment in the end. And most of all make you even more proud on your work.
20220710_210140.jpg
 
Since I could not stand the insufficient quality, I started the repair work already tonight.
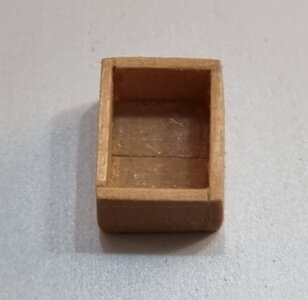
I peeled the Silver Paper from tub ,
after that I sanded the face and bottom.
I think the sanding also gave the bath a proper proportion both in the thickness and height of the bath.
Tomorrow we will wrap ourselves in foil again.
20220710_220929.jpg20220710_221052.jpg
20220710_222241.jpg
Now it will be a good night :) :cool:
 
Last edited:
Dear Shota. I really like your powder room and agree with Paul that it is your best work on the small construction items to date. I am also very glad that you followed Jimsky and Stephan's advice by redoing the corners of the powder bath. That will all add to the pride of ownership that you will have towards your model.
 
Back
Top