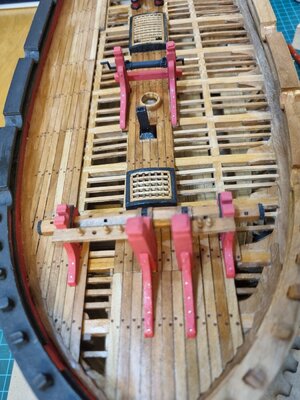
Outstanding Shota, I know that was not easy with all the tapering.
-

Win a Free Custom Engraved Brass Coin!!!
As a way to introduce our brass coins to the community, we will raffle off a free coin during the month of August. Follow link ABOVE for instructions for entering.
-

PRE-ORDER SHIPS IN SCALE TODAY!
The beloved Ships in Scale Magazine is back and charting a new course for 2026!
Discover new skills, new techniques, and new inspirations in every issue.
NOTE THAT OUR FIRST ISSUE WILL BE JAN/FEB 2026
- Home
- Forums
- Ships of Scale Group Builds and Projects
- HMS Alert 1777 1:48 PoF Group Build
- HMS Alert 1777 1:48 Group Build Logs
You are using an out of date browser. It may not display this or other websites correctly.
You should upgrade or use an alternative browser.
You should upgrade or use an alternative browser.
HMS ALERT 1777 cutter POF by shota70 [COMPLETED BUILD]
Very impressive. The pumps look great.
Jan
Jan
With each posting your work gets better and better!
- Joined
- Dec 16, 2016
- Messages
- 1,181
- Points
- 493

Hi Shota, brilliant, This was one of the logs that I enjoyed so much when I re visited the site after my break and was amongst some of the others that gave me inspiration to re start my build. Thanks for that. Kenthank you very much my dear friend's for your kind words and compliments
- Joined
- Apr 20, 2020
- Messages
- 6,242
- Points
- 738

it's my pleasure and pleasureHi Shota, brilliant, This was one of the logs that I enjoyed so much when I re visited the site after my break and was amongst some of the others that gave me inspiration to re start my build. Thanks for that. Ken
thanks for your kind words
Such small items with the all those parts and tiny details gives a great result. Nice work, Shota.good evening dear friends
I spent the last week creating the pumps. They consist of a pair of 8 strips milled into a triangular shape and which need a lot of fine tuning to create the slanted octagon of the pump.
The pump is strengthened by 5 octagonal rings from a tin as well as the pumping assembly with the handle.
First I cut the triangles with a scalpel and then I sanded the triangles. it's required to produce an accurate octagon.
first I glued 4 triangles that came to two halves that eventually fit together as one pump.
Unfortunately, when I came to fit the five rings to the pump body, I discovered that it was too thick. Therefore I sanded gently to reach the required width. However, since in one of the pumps I was not able to maintain an exact octagonal line and slope, I made a new pump using the mf 70. I was only able to achieve a good result on the second attempt.
Later I painted the body of the pumps in
red (in the same shade as the other parts that were painted in the same color).
then I assembled the pump assembly parts with the handle and installed them on the pumps as well as the octagonal rings.
Finally I hand made two black wooden rings that would fix and connect the pumps to the ship's deck.
I am satisfied with the result I achieved after several days of hard work and while overcoming practical challenges.
wish all of us A pleasant and calm weekend
View attachment 386008View attachment 386009View attachment 386010View attachment 386011View attachment 386012View attachment 386024View attachment 386013View attachment 386014View attachment 386015View attachment 386016View attachment 386017View attachment 386018View attachment 386019View attachment 386021View attachment 386022View attachment 386023
Regards, Peter
- Joined
- Apr 20, 2020
- Messages
- 6,242
- Points
- 738

good evening dear friends
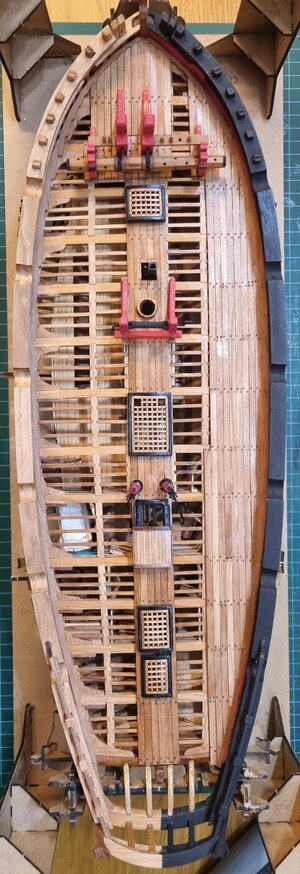
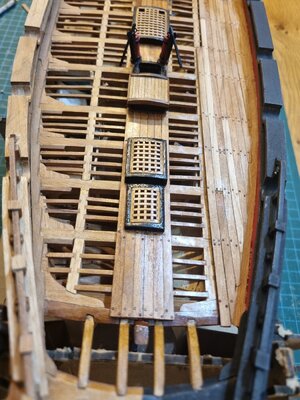
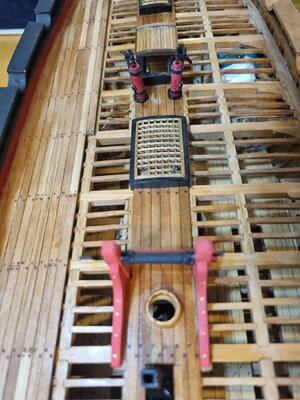
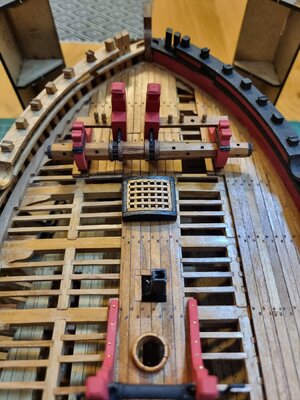
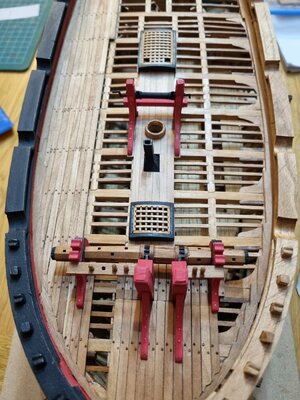
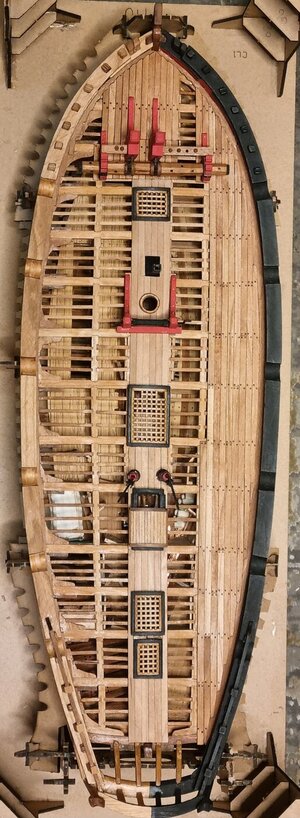
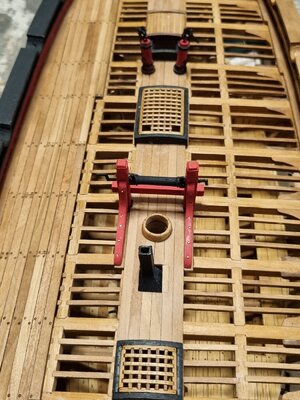
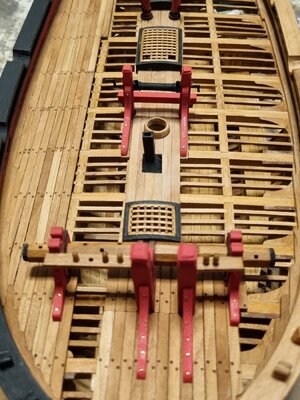
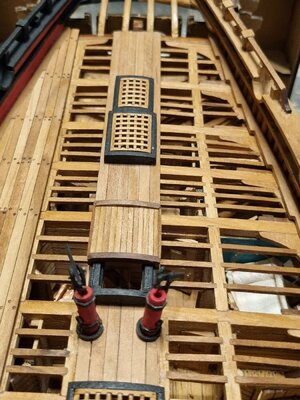
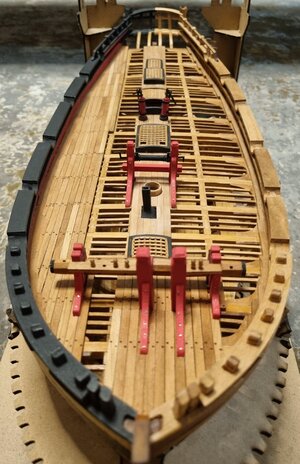
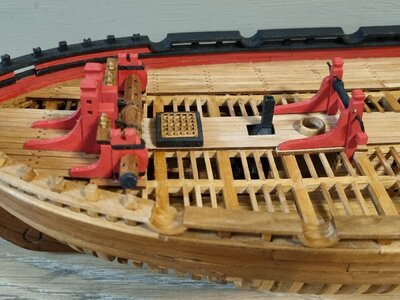
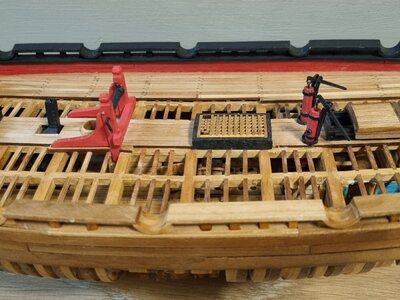
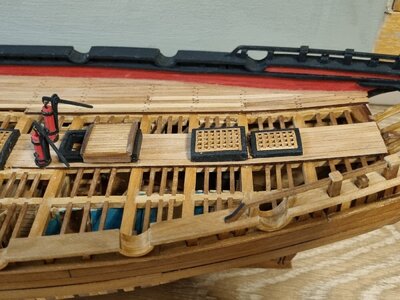
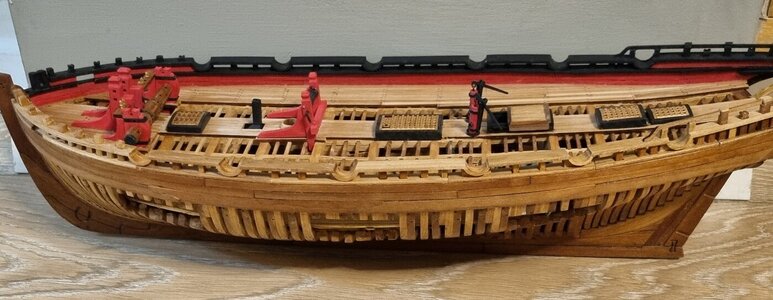
After about 7 hours of continuous and Sisyphean work, I installed the horizontal part of the deck (the central that starts at the bow and ends at the stern), to which the hatches, pumps and pulleys are connected. In order to be precise in the locations, I created a stencil from wax paper and after transferring it to the deck boards, I adjusted and cut the required openings. It's still not 100% finished (cleaning off glue residue, marking with nails/board pegs and applying oil), but overall 90% of the substantial work is done. So I go to sleep with a feeling of satisfaction.
good night everyone


Last edited:
- Joined
- Apr 20, 2020
- Messages
- 6,242
- Points
- 738

Such small items with the all those parts and tiny details gives a great result. Nice work, Shota.
Regards, Peter
With each posting your work gets better and better!
Very impressive. The pumps look great.
Jan
thanks my friend's for your kind words and compliments, I'm trying to improve my work constantlyOutstanding Shota, I know that was not easy with all the tapering.
Did you install the center planking already?
How will you make the treenailing? or can you remove all the fittings.....
How will you make the treenailing? or can you remove all the fittings.....
- Joined
- Apr 20, 2020
- Messages
- 6,242
- Points
- 738

my dear friendDid you install the center planking already?
How will you make the treenailing? or can you remove all the fittings.....
Some of the fittings are glued and some are removable. The treenailing will be done with a light burn with a soldering iron head that I have used in the past.
I had to go back a few pages to catch up. Those hatches are great and the pumps very well done.
- Joined
- Apr 20, 2020
- Messages
- 6,242
- Points
- 738

thank you very much my dear friend for your kind wordsI had to go back a few pages to catch up. Those hatches are great and the pumps very well done.
- Joined
- Apr 20, 2020
- Messages
- 6,242
- Points
- 738

my dear friendVery good result - Looking good my friend
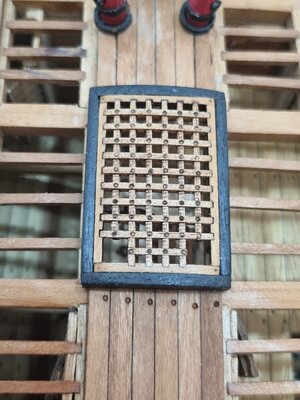
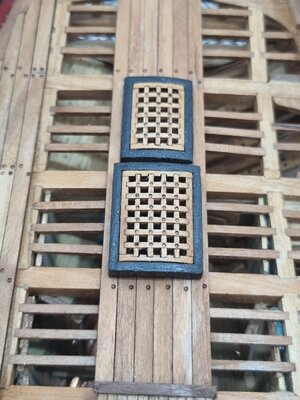
just only realized, that on some of the grids you made the small nail dott - on some not - especially on one you made the "nails" on half of the same grating.
I would do it everywhere
Further to your question about some of the grids I have made the small nail.
Today I did some experiments on the subject, the first similar to our friend Maarten who heated the tip of a pin using a small hand torch, but it was less successful for me and the mark was relatively small and less visible.
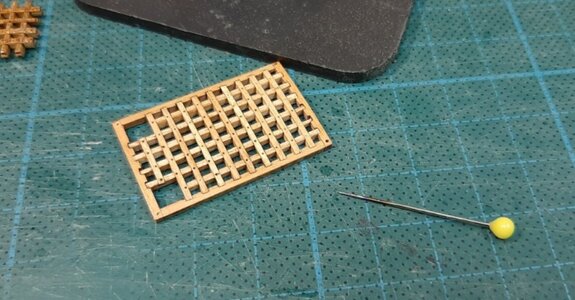
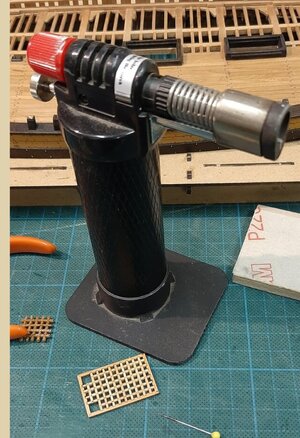 I tried two soldering heads (with a hole in the center) with the smallest head I have with a total diameter of 0.5 mm and I liked it because of the visibility even though in terms of proportion in reality the nail had a relatively small diameter.
It was a bit challenging to damage the soldering iron stably enough to mark the connection point between the plates, the solution was to rest the hand on a support point and lower the heat in the soldering iron. There were a few points among the dozens that were a little off the mark and I tried to correct as much as possible. 90% came out very well and in the center point.
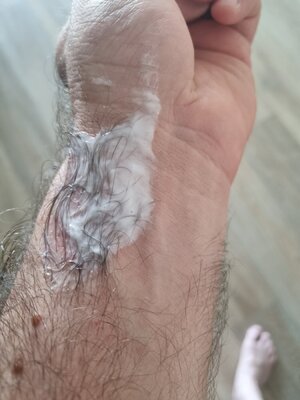
And one last anecdote, I managed to get a small burn
I'll let you and the rest of you friends be impressed
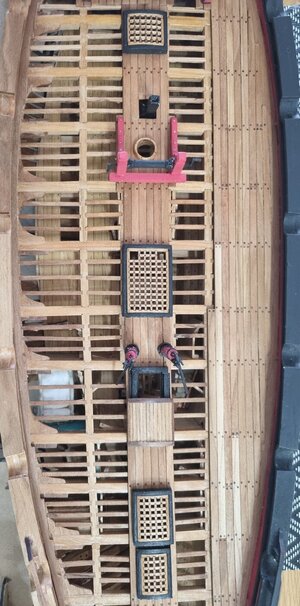
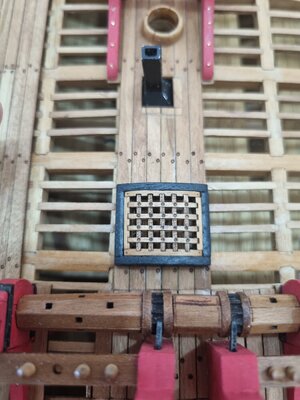
Last edited:
Looking good shota! Ouch on the burn.
- Joined
- Oct 23, 2018
- Messages
- 886
- Points
- 403

Hi Shota, it‘s looking really good.
Are your sure that the openings of the gids are not to big? If you have a look to Uwe‘s log, you will see that the timbers have thewrong direction.
I do not know, if you want to change it, perhaps my hint can help someone else.
Are your sure that the openings of the gids are not to big? If you have a look to Uwe‘s log, you will see that the timbers have thewrong direction.
I do not know, if you want to change it, perhaps my hint can help someone else.
- Joined
- Apr 20, 2020
- Messages
- 6,242
- Points
- 738

I'm not sure I understood you correctly, I'd appreciate it if you could mark on a picture the place you think needs to be fixed and I'll gladly check it out.Hi Shota, it‘s looking really good.
Are your sure that the openings of the gids are not to big? If you have a look to Uwe‘s log, you will see that the timbers have thewrong direction.
I do not know, if you want to change it, perhaps my hint can help someone else.
Thank you for your attention
- Joined
- Apr 20, 2020
- Messages
- 6,242
- Points
- 738

good evening dear friends
first of all, thank you very much for all attention, likes and smileys, I really appreciate it it's give me a motivation to improve my skills
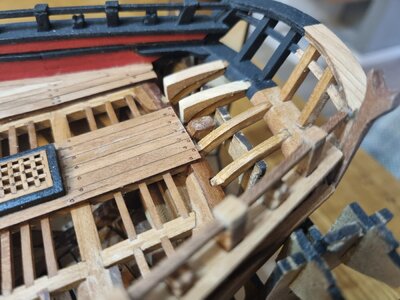
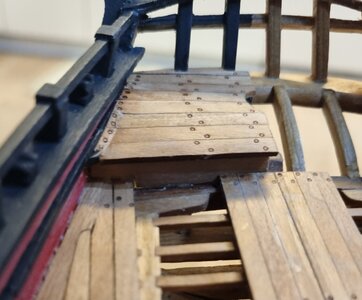
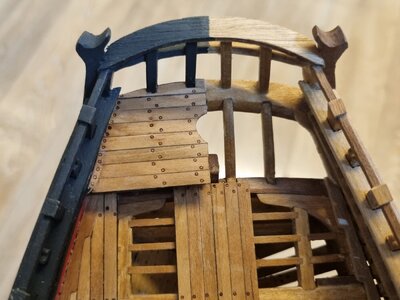
today I continued the work on the small stern deck which is not part of the kit.
I was helped by our friend's amazing blog Maarten!
The carry the deck I have added additional beams, one on each transome frame. On top of those I have added deck planking which is following the curvature of the stern. After burning the nail marks this is the result finished with a touch of
tung oil .
good night to all of us
first of all, thank you very much for all attention, likes and smileys, I really appreciate it
today I continued the work on the small stern deck which is not part of the kit.
I was helped by our friend's amazing blog Maarten!
The carry the deck I have added additional beams, one on each transome frame. On top of those I have added deck planking which is following the curvature of the stern. After burning the nail marks this is the result finished with a touch of
tung oil .
good night to all of us


Good morning Shota. Bravo! Bravo. Cheers Grantgood evening dear friends
The finishes were done
View attachment 386490View attachment 386491View attachment 386492View attachment 386493View attachment 386494


