Hms Alert by Maarten [COMPLETED BUILD]

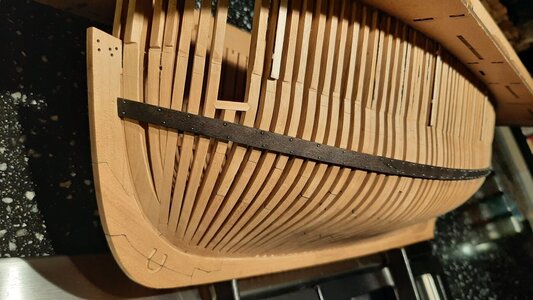
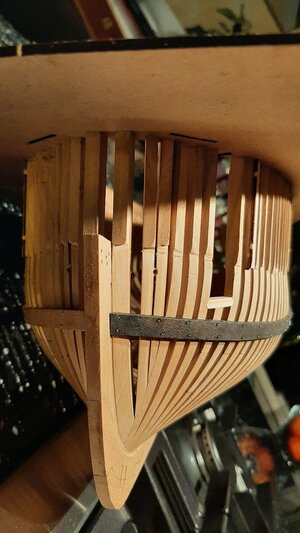
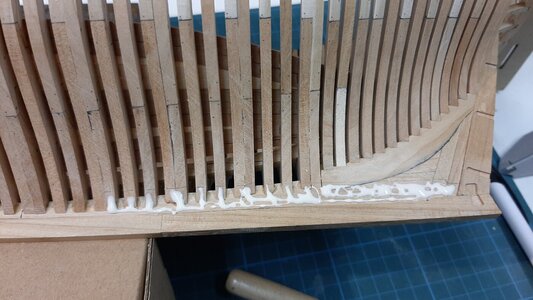
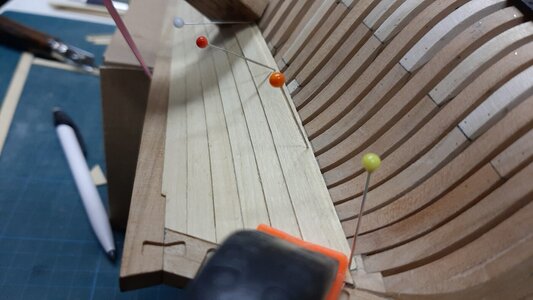
After the lower transome parts dried the PS side is sanded to a flat surface.
20210119_204923.jpg

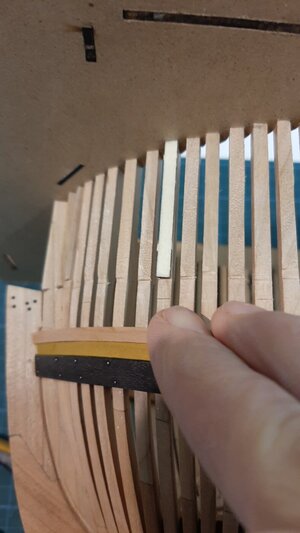
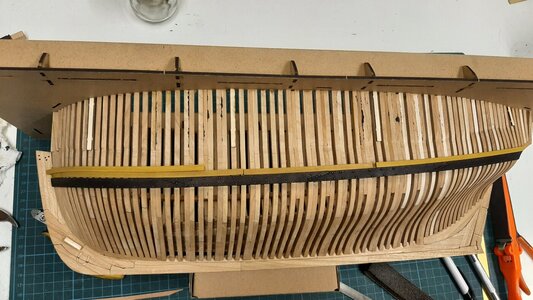
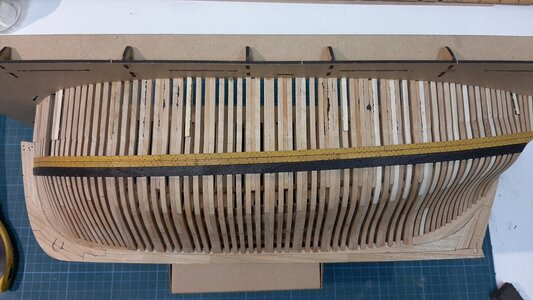
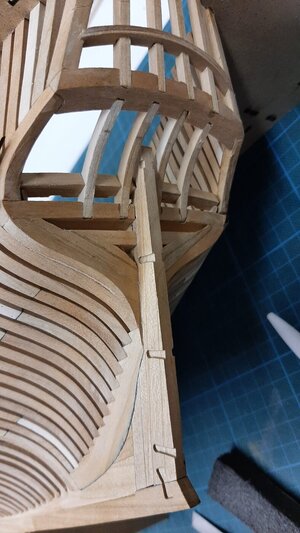
Next the PS wale is recolored with ecoline.
Now I will prepare the planking above the wale.
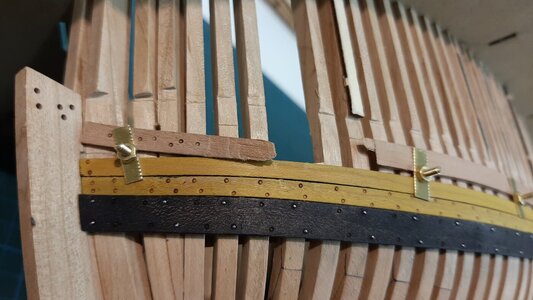
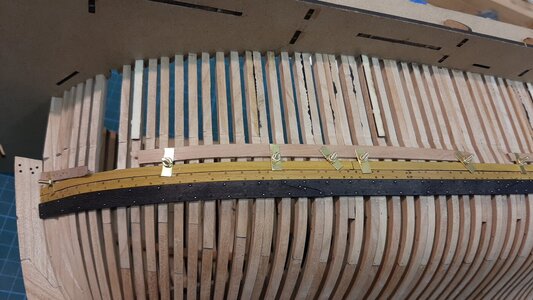
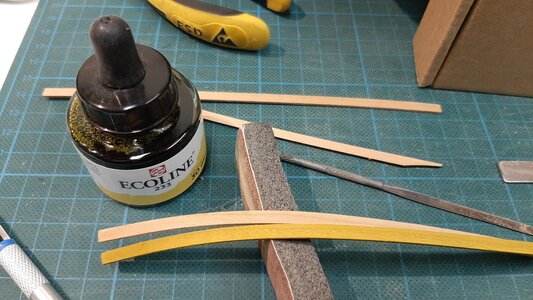
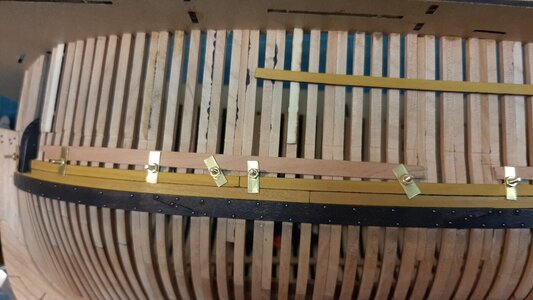
This planking will be yellow ocre, I color again with ink, dark yellow ecoline. The ink will keep the woodgrain visible which fits the model.
See below the first plank colored yellow with ink.
20210119_202450.jpg

And the look on the model.
20210119_202607.jpg
20210119_204819.jpg

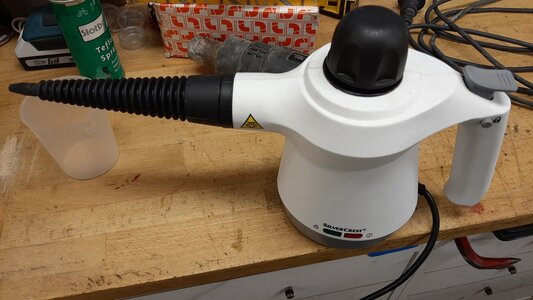
The planks I first steam with a household steamer.
20210119_204900.jpg

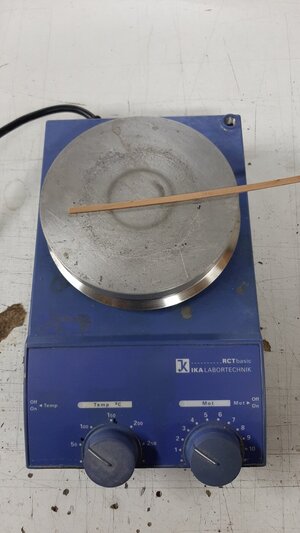
Then I bend and curve them on a laboratory type hot plate. This can be set at every temperature between 20-250 deg C, I bend at 50 deg C.
20210119_204840_001.jpg

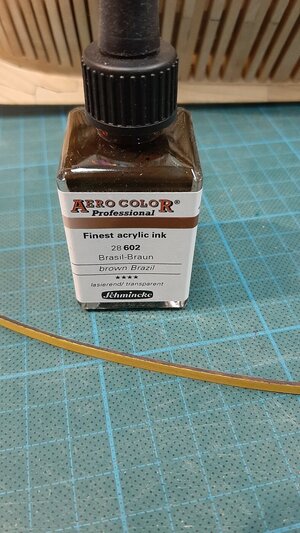
The sides of the planks I colour with dark brown ink to simulate caulking.
20210120_181646.jpg

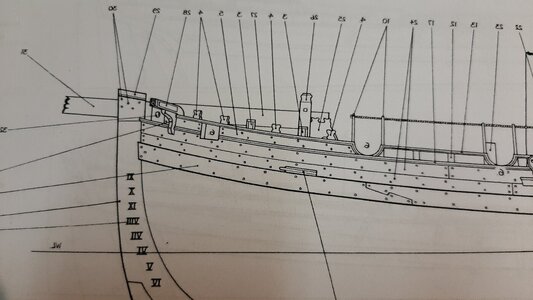
But before fitting the planks I first have to install the fwd chase port as this protrudes into the planking.
20210120_191727.jpg

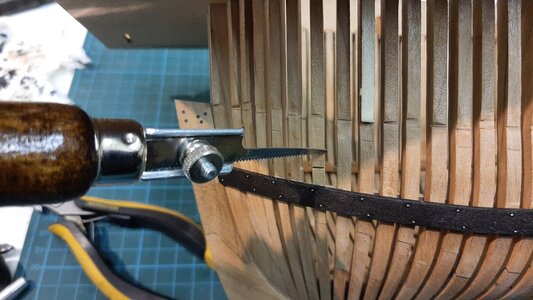
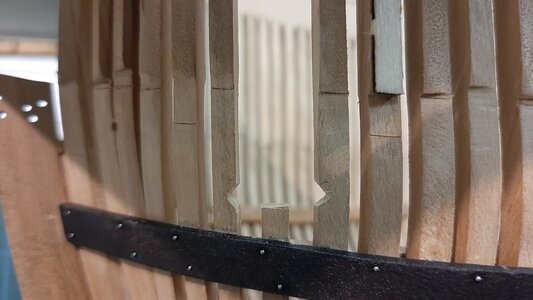
This means the first frame is cut.
20210120_173229.jpg

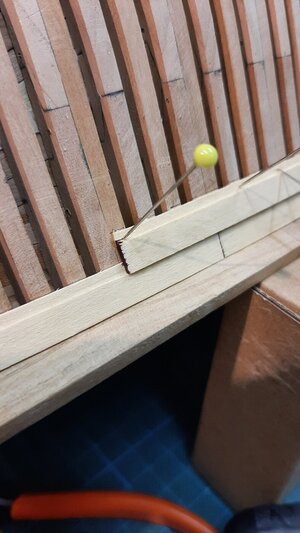
The place of the cut I determined by dry fitting and marking the top of the two planks. The top of the gun port sill is fitted on the same height. The sill is at an angle in the hull, flat to the waterline and not to the ships shear.
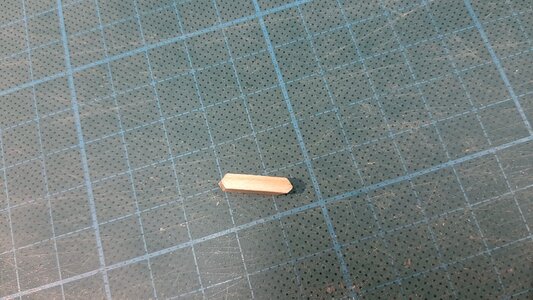
The lower sil of the gun port is joined between the frames with two pointed ends. These joints I filed on the sill and into the frame sides.
20210120_175636.jpg20210120_175643.jpg

If the joints properly fit you just slide it into place with some glue.
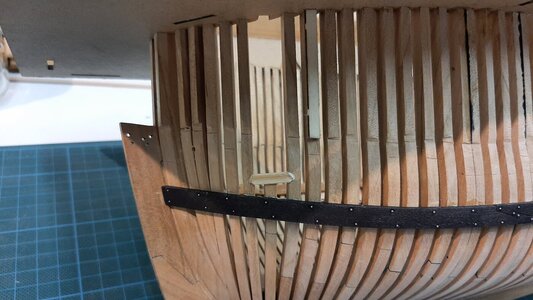
20210120_180128.jpg

After drying sand it flush with the hull, in and outside.
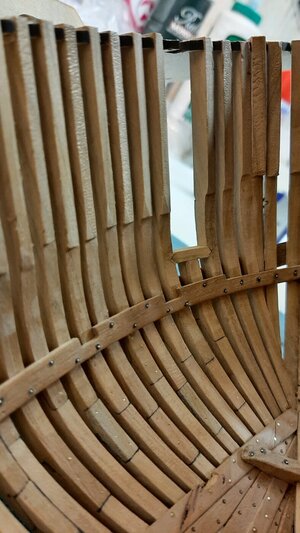
20210120_183455.jpg20210120_184434.jpg
20210120_184453.jpg

Next will be fitting the planks.
 
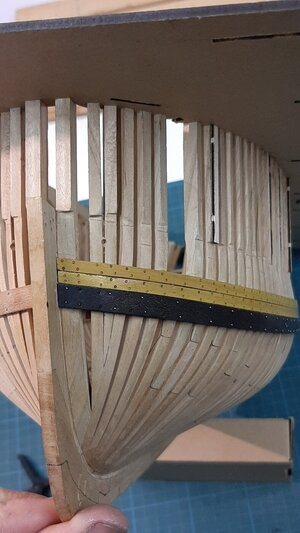
Finally the first outside planking is fitted. As mentioned before colored with dark yellow Ecoline and the edges with dark brown acrylic ink from Schmincke.
20210122_180841.jpg

The planks fit perfectly, a great job from Trident.
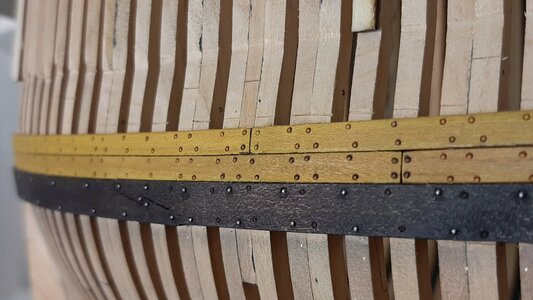
I have decided to treenail the wales on the frames between the bolted frames. The planks are fully treenailed on every frame.
20210122_183924.jpg
20210122_183930.jpg

After treenailing the planks.
20210122_190011.jpg

And some close ups
20210122_190045.jpg
20210122_190236.jpg

Finally the planks will be finished with oil but that will be done later.
 
From DYI clamps to Ecoline ink, I'm learning so much. You are doing a great job and I can't wait to start. I just waiting on Trident now.
Just one addition to ecoline, this is not the best in uv resistence, you can use a UV blocker to improve uv resistence.
I have used ecoline already for a few years and had no major issues with UV.
If you have a lot of sunlight on your model you can use aerocolor of schminke.
 
Last edited:
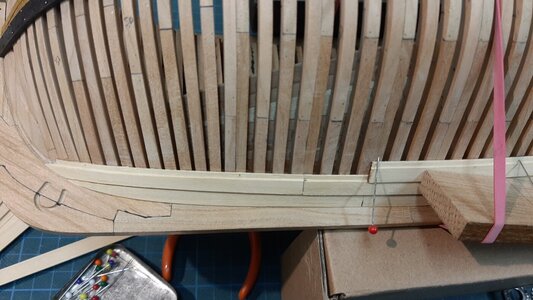
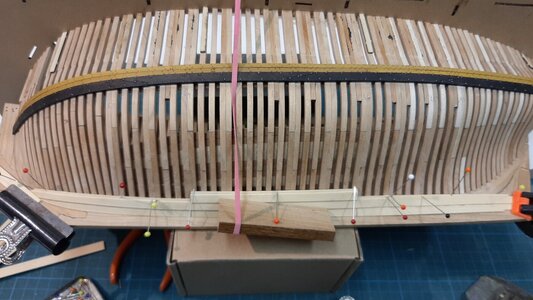
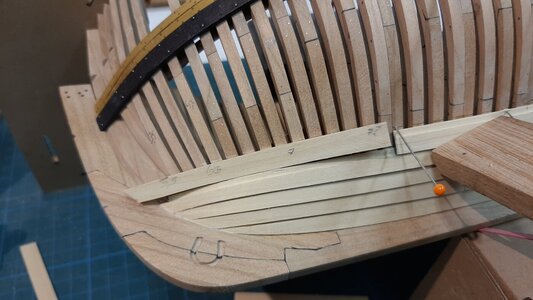
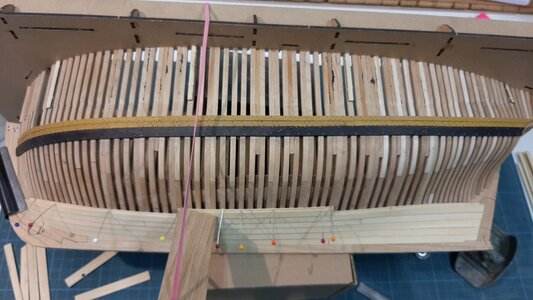
I started with the planking of the PS side of the hull below the wale. The Alert is clincker build which means the planks are overlaying each other.
20210124_135639.jpg

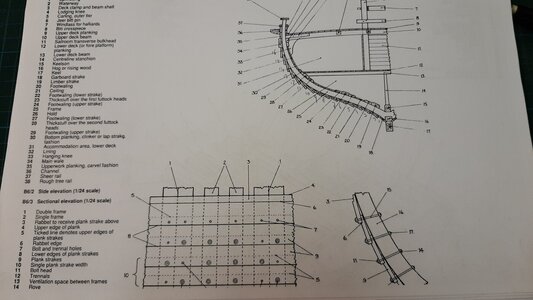
There are 16 planks below the wale, this means 6,6 mm width per plank at its widest point of the hull. The total width of the plank is calculated by addind the overlay, I kept 2mm for this, taken from the detail drawing.
20210124_172740.jpg

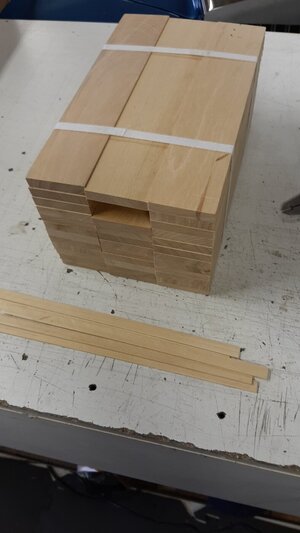
So I will prepare 8,6 mm planks. Below the waterline I will use a light coloured wood in this case Guatambu which I got a while ago from a parquet maker. These are slabs of 10mm thickness.
20210124_133038.jpg
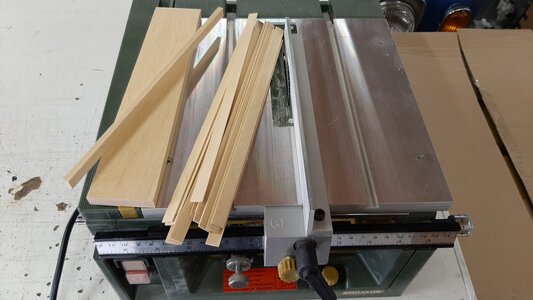
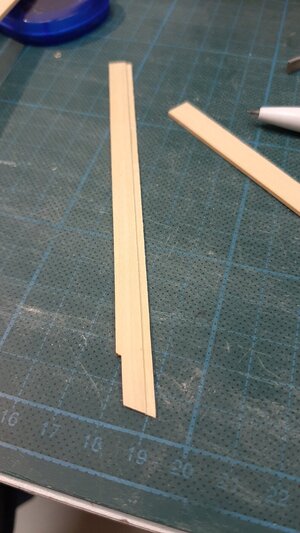
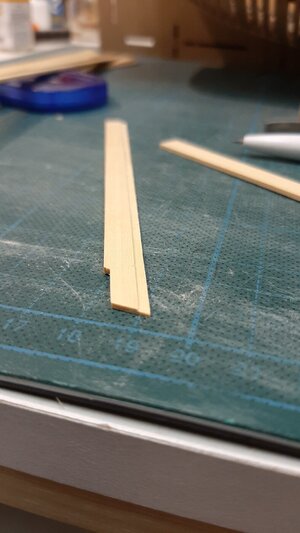
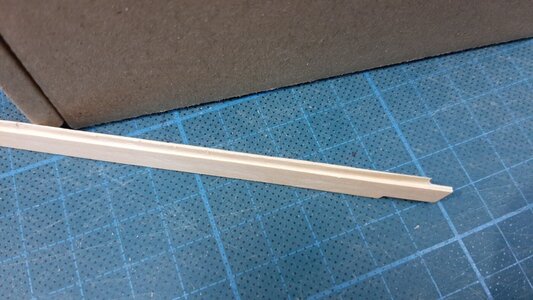
Sawn to planks of 8,6 mm width and 1,2 mm thick.
20210124_135020.jpg

These planks need a rebate which I mill into the plank, 2 mm wide at half the thickness of the plank.
20210124_153908.jpg

The setup for doing this is easy. I have a plank with a nail in it. Along the nail you feed your plank under the mill. You set up the height of the mill and the rake of the mill into the width of the plank to remove 2mm of wood.
20210124_153956.jpg
20210124_154014.jpg

Turn on the mill and slide the wood under de mill along the nail and every rebate into the plank will be the same.
20210124_153838.jpg20210124_153854.jpg

Next will be fitting the planks.
 
Nice work. And thanks for the lesson how to.

About the saw blade, which are you using? I got 2 types, the standard and the super with 250 tooth.
 
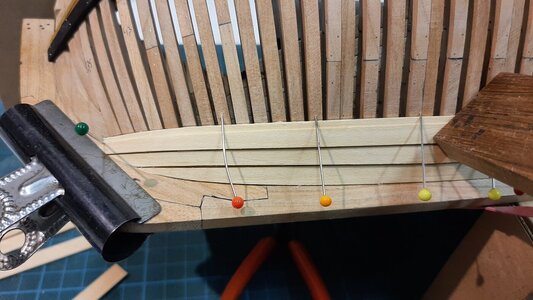
Back to planking. The first is the stern plank along the keel. On the end I have to file down the rabate as at the stern and also the bow the planks go from clincker to carvel build.
20210124_154409.jpg

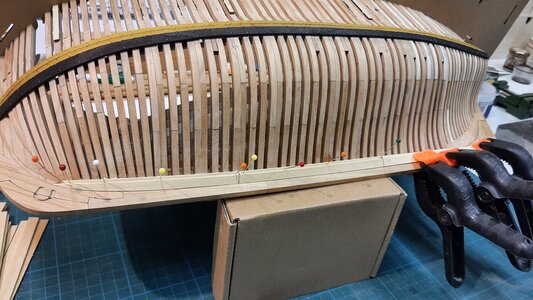
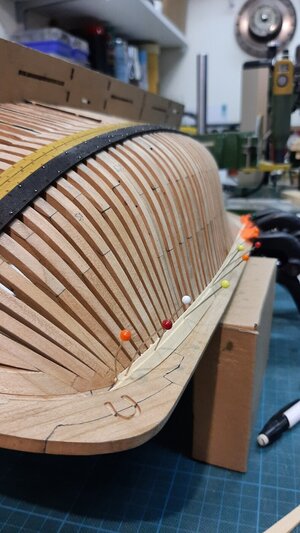
After bending the plank into shape with steam and a heatplate I dry fit, mark the outlines and put the glue on the frames and egdes.
20210124_155651.jpg

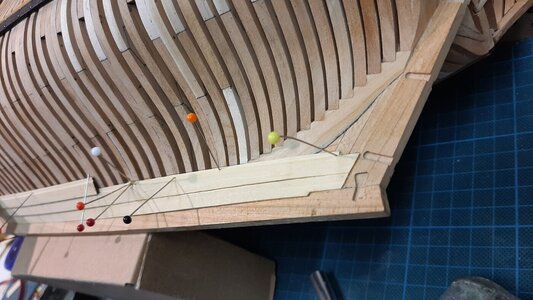
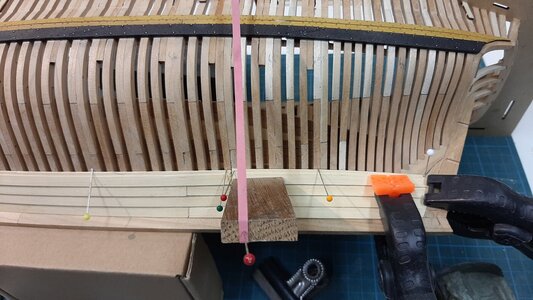
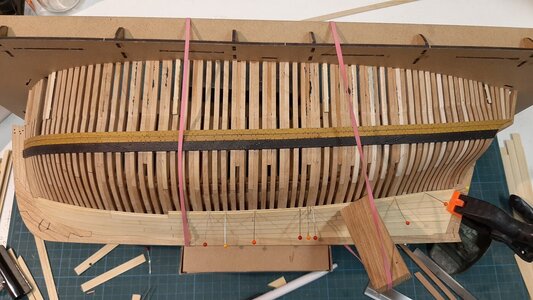
The planks I keep in place with pins during initial 30 min drying. The firstrow of planks fitted.
20210124_164013.jpg
20210124_164005.jpg

The edges of the planks treated with brown ink.
20210124_174732.jpg

The second raw of planks is layed on top of the rebate of the first row and as you see flush to the end.
20210124_192906.jpg

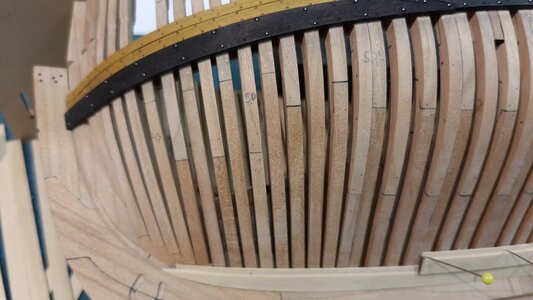
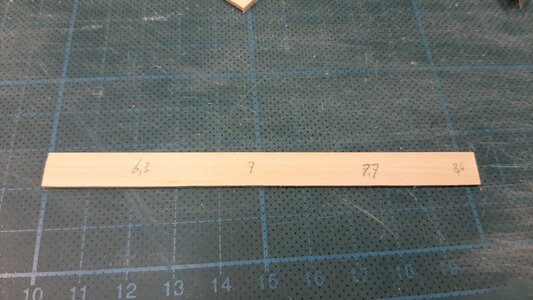
The width of the planks I write on the frames.
20210124_174954.jpg

When dry fitting I take over the width onto the plank on the respective spot, measure and mark the width and sand in into shape on the sanding disk. The 2 mm difference is the 2 mm for the rebate.
20210124_175232.jpg

After shaping, mill the rebate, steam into the shape needed, color the end and glue it jnto place.
20210124_190717.jpg

Plank by plank she is growing.
20210124_190106.jpg20210124_192744.jpg20210124_222907_001.jpg

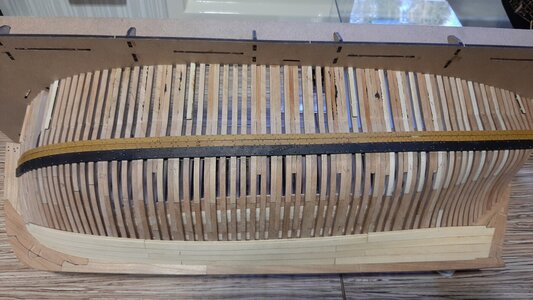
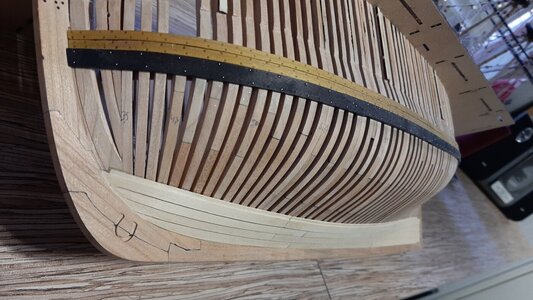
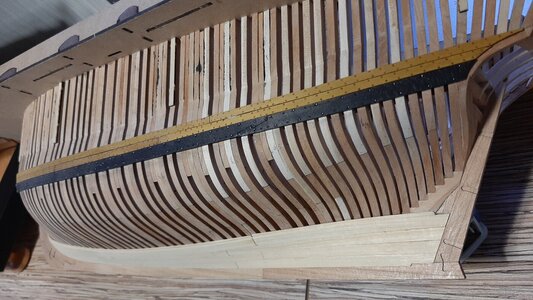
Now 4 rows of planks fitted, 12 more to go
20210125_091642.jpg20210125_091654.jpg20210125_091708.jpg

More planking todo in the comings weeks :)
 
Last edited:
Great job! 1 question though, how much of the rebait do you remove at the end and how far do you taper it for the carvel portion of the streak when going to carvel?
Hi Gents, thx for the comments.

The rebait removed is approxx 1 cm and is tapered for about 3-4 cm. But I do not measure it, just file by gut feeling.
 
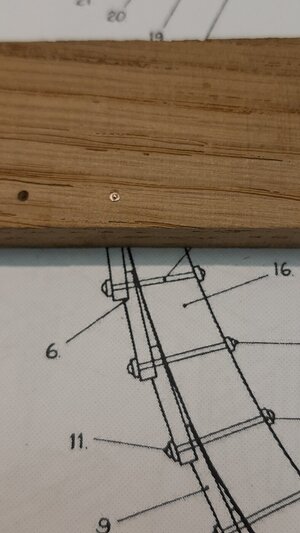
Hello, Mon Amie! What are the size of the bolt's head and the washer on your image? I guess this is the test for outer planking?

View attachment 208915

Thank you!
Hi Jim,

You have eagle eyes, yes this was a test.
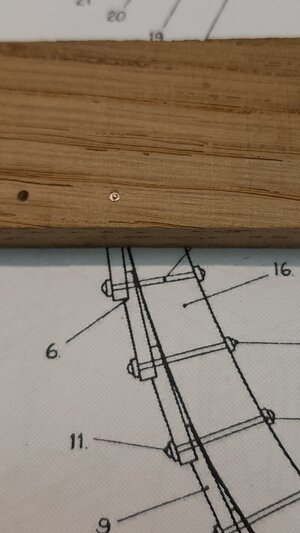
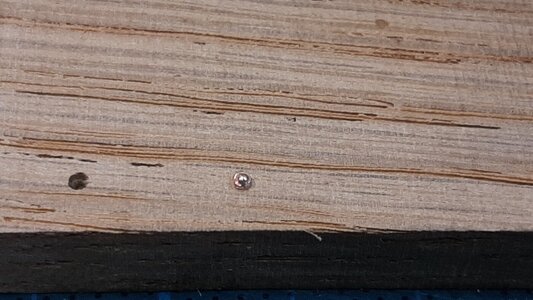
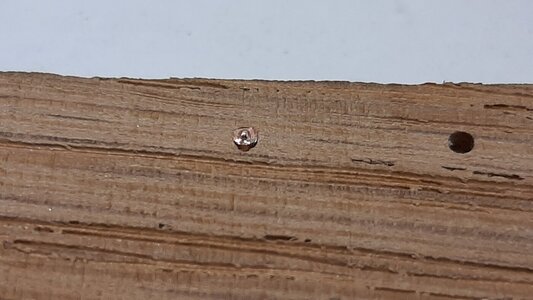
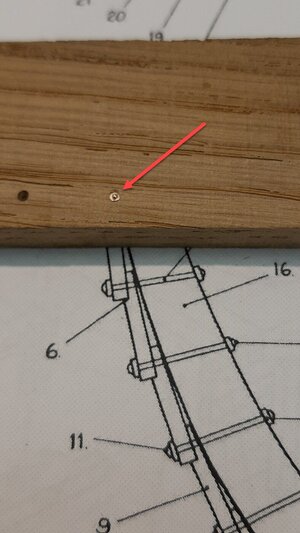
The planks are fitted with copper bolt and shims between these.
20210124_172740.jpg

The bolts go all the way through so will ne visible on the inside ceiling also. Still thinking if I will do that.

The outside of the shim is accrding this drawing 1,38 mm, which is 2 1/2 ".
I used a solid core 1,5 mm2 electricity wire which is 1,38 mm in diameter.

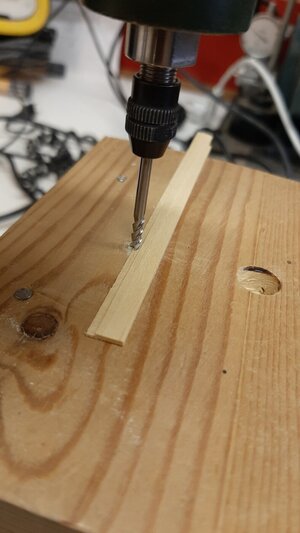
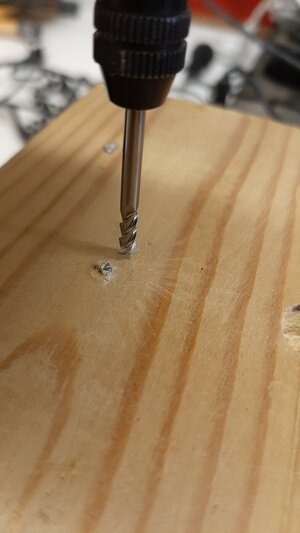
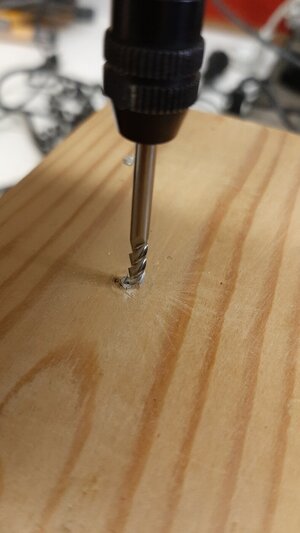
I first used a large cup burr to create a pointed tip to the wire, then I use a smaller burr of 1,2 mm followed by a 0,8 cup burr.
Now you have the outside diameter of the wire creating the look of a shim with a small 0,8 mm bolt head.
20210124_165238.jpg
20210124_172527.jpg
 
Last edited:
Hi gents,

Yes electrical wire is in 99,9 % of the cases copper due to its conductivity vs price ratio.
Larger cables like ground cables etc are mostly solid core instead of the wired core as you see in a cable from a lamp or so.
The 1,5 mm2 is just the right size for these rings and as here in the Netherlands electrical installations in houses are wired with solid core wires 1,5 mm2 and
2,5 mm2 in tubes I do have plenty in stock.

When the bolting starts I will discuss it step by step. Allthough a part of the planking is also treenailed.

In the meantime also the planking continues.
Below measuring and shaping a plank in the bow.
20210125_220913.jpg

And fitted.
20210126_202146.jpg

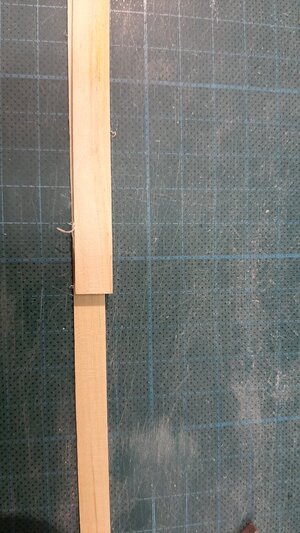
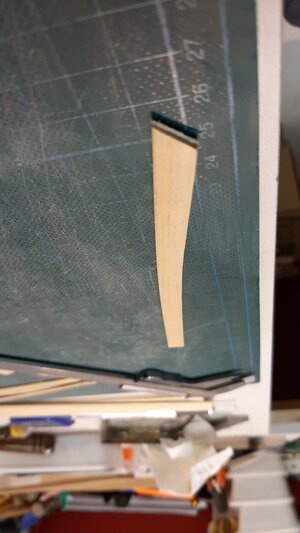
To avoid stealers in the stern section I have sawn slightly wider planks for this part.
20210126_202450.jpg

If I don t do this the curvature in the height of the plank would be to much.
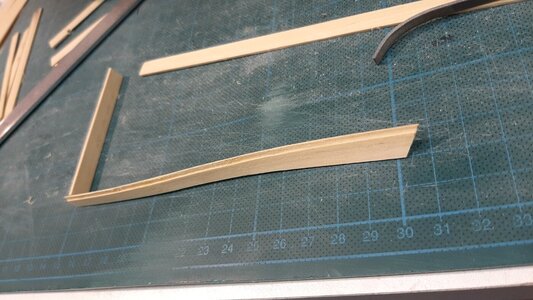
See below the curvature I already need now. Due to the wider plank I sand in the rest of the curvature and keep it at its maximum size at the stern to reduce the curvature of the next plank.
20210126_203936.jpg

Then I bend them over the thicknes, which is easy, and you can see the total shape of the plank.
20210126_204631.jpg

And finally fitted with as less force as possible.
20210126_210449.jpg
20210126_210524.jpg
 
Last edited:
Hoi Maarten,
After catching up in the BN Group Build, I found some time to look in the other Group Builds. In the Alert-Group I found a lot of interesting build-log’s. Also yours, Jim’s and Uwe’s about the trennels. Where did you ordered the burr’s? In the Netherlands or abroad with acceptable postage?
Regards, Peter
 
Back
Top