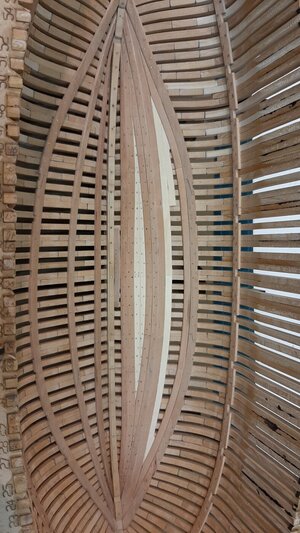
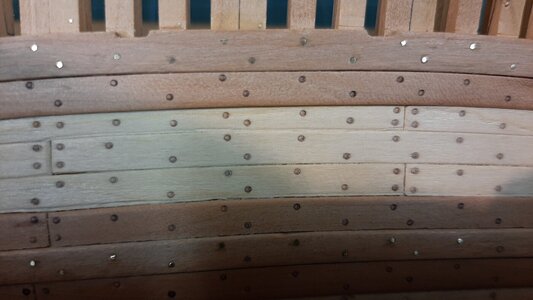
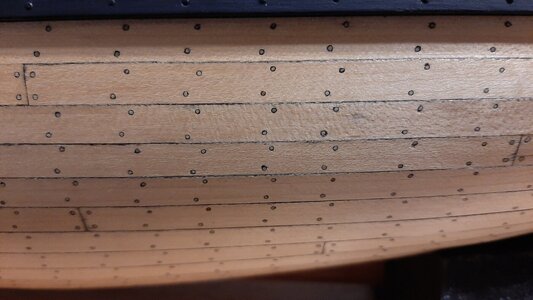
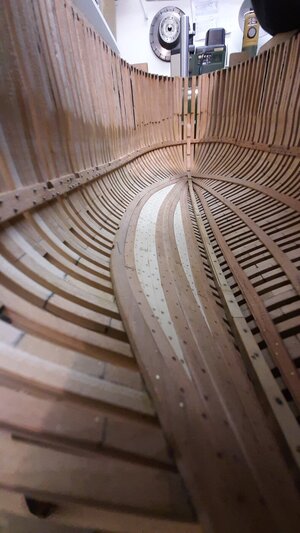
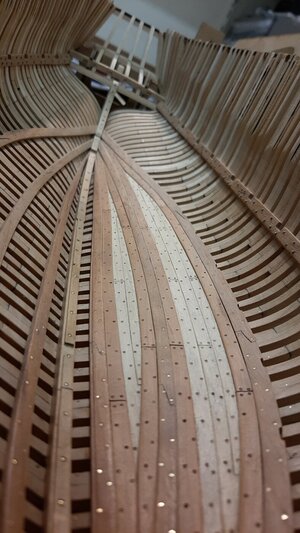
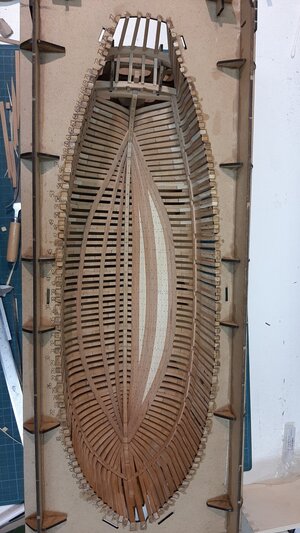
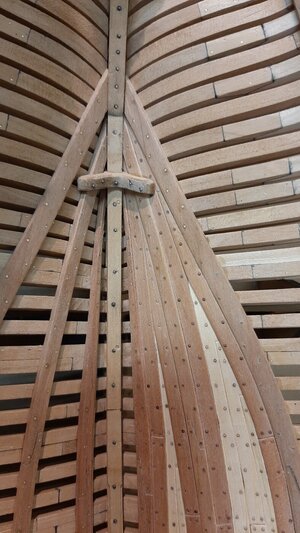
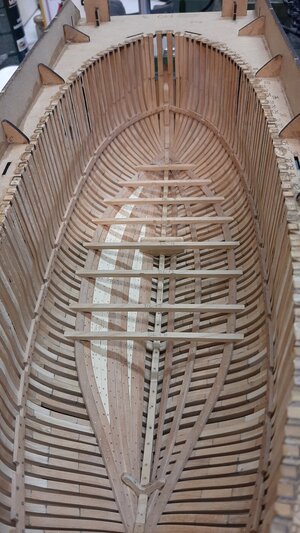
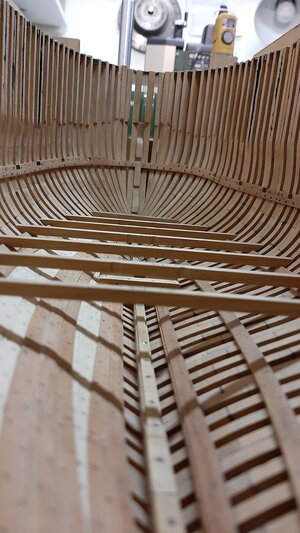
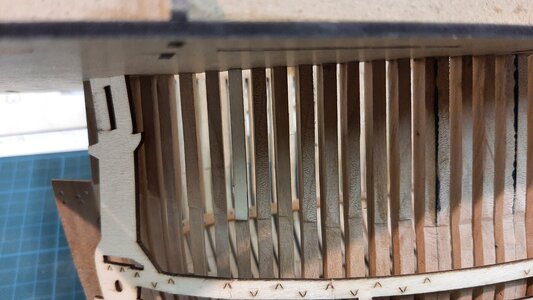
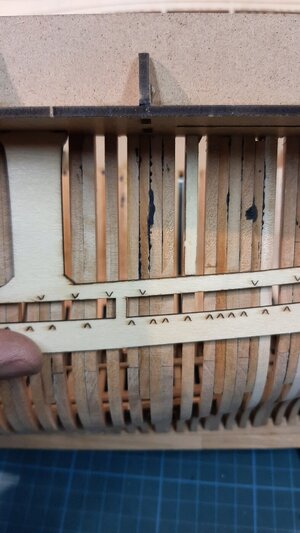
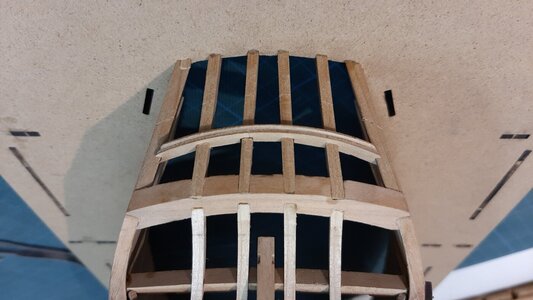
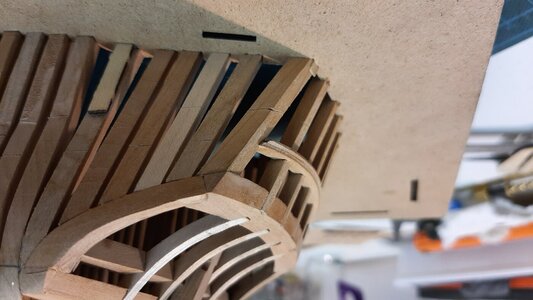
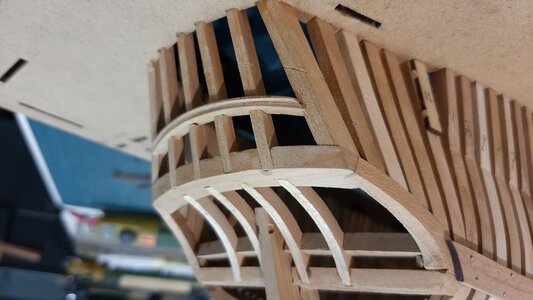
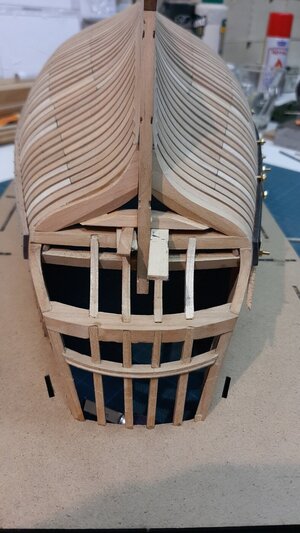
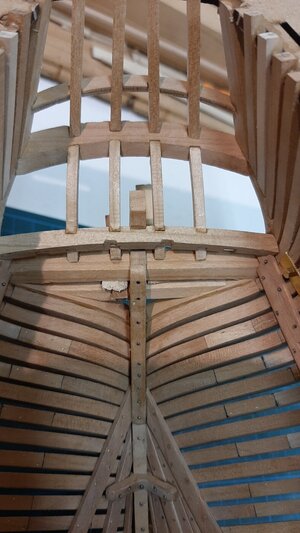
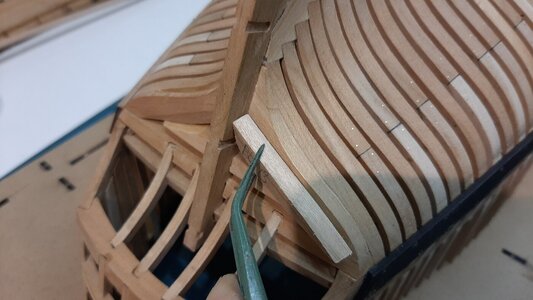
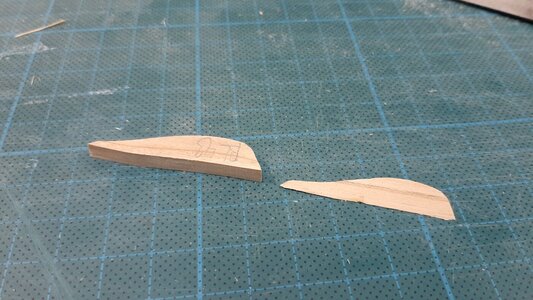
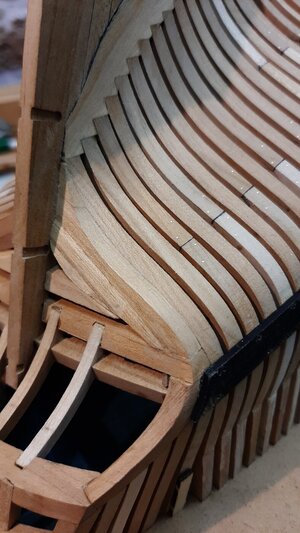
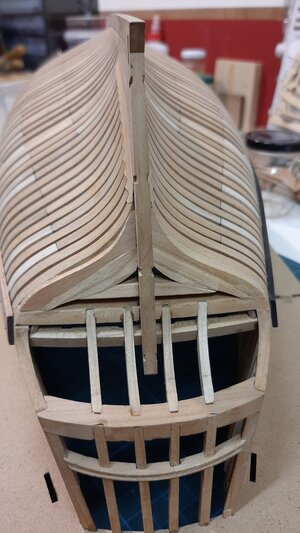
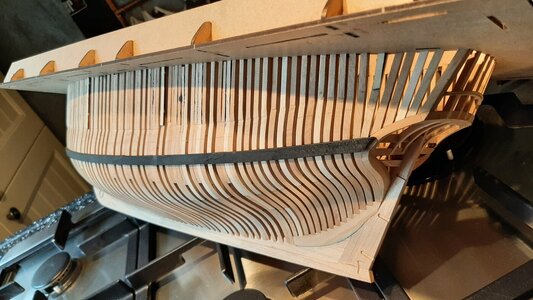
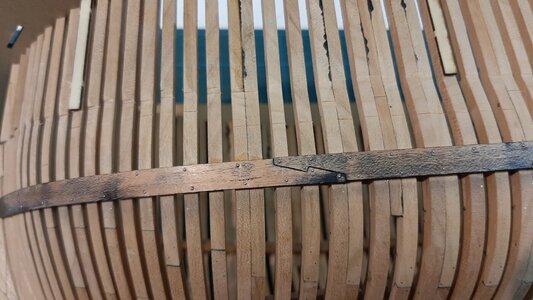
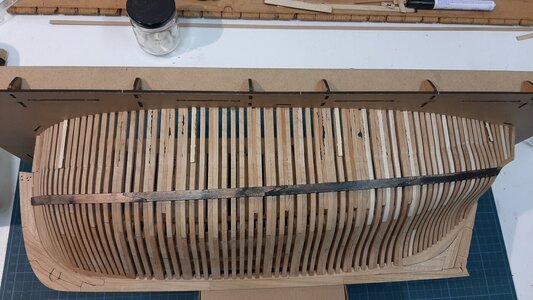
After filling in the first two areas between the thickstuff with ceiling planks it is now time for something else before finalizing the last ceiling.
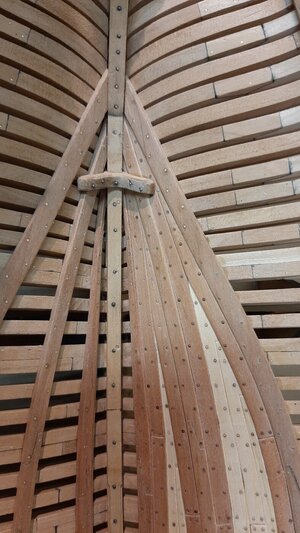
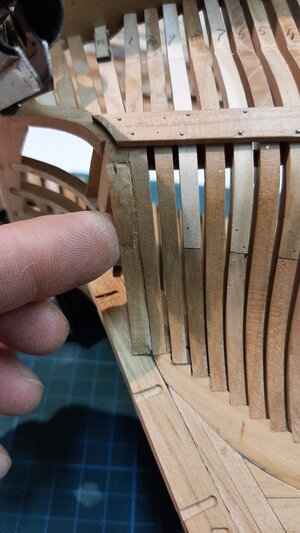
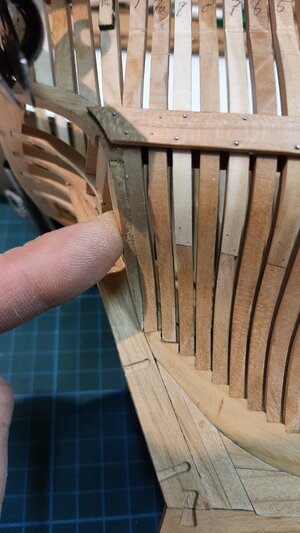
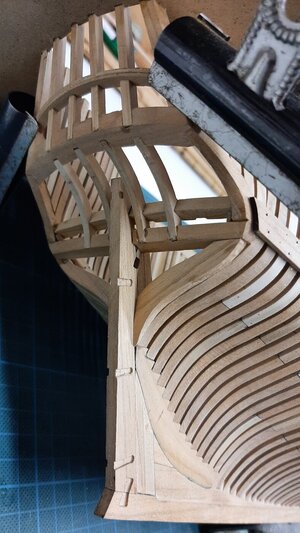
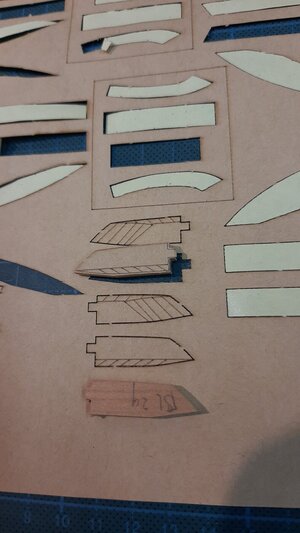
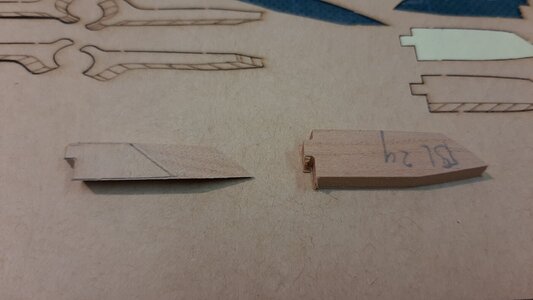
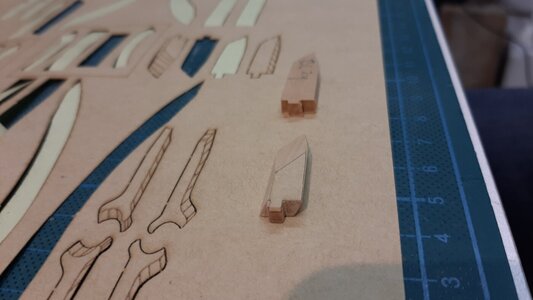
I will fit the first knee in the stern and bow as well as the mast step.
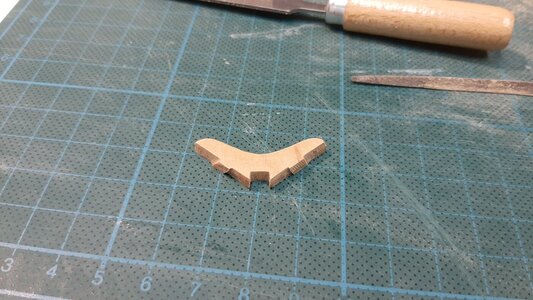
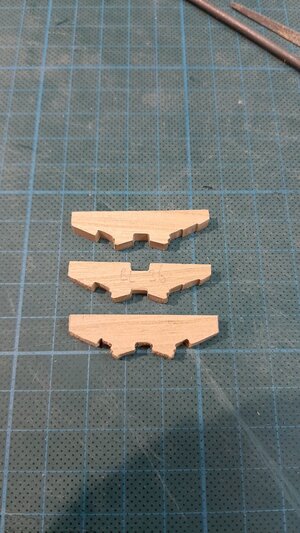
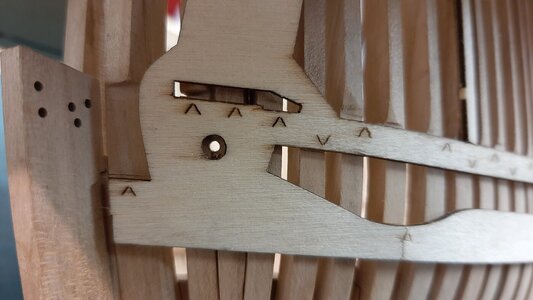
These knees are pre milled but need a lot of work to fit properly, especially on one side where I added the ceiling planks.
View attachment 204804
After filing, fitting, filing, fitting etc it finally fits and is glued in place, bolted with 0,6 mm steel wire and left to dry.
View attachment 204808
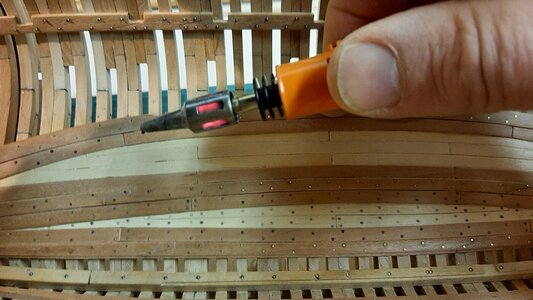
After drying the bolthead are cut and rounded with the cup burr.
View attachment 204809
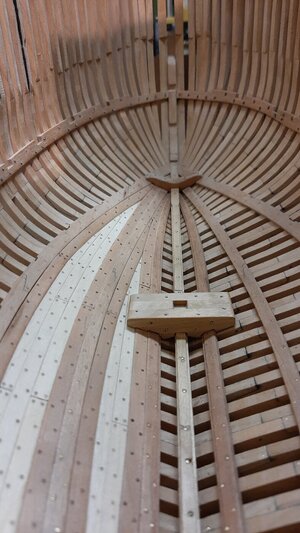
Next is the mast step, build from 3 parts. The top 2 are already modified for fitting my ceiling.
View attachment 204810
After glueing, finishing and bolting fitting into the hull.
View attachment 204811
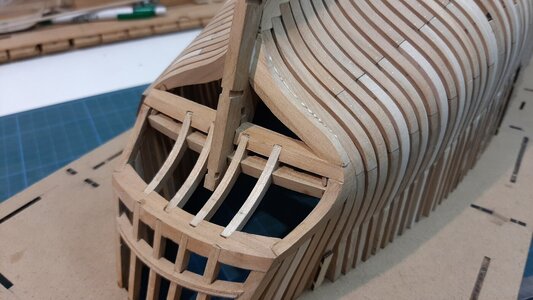
Now I will temporary fit the lower deck beams, just trim and make these properly fit before finishing the ceiling.
View attachment 204812
View attachment 204813
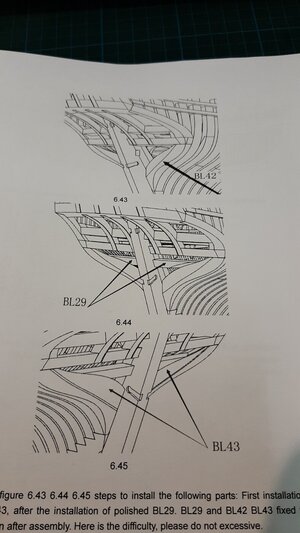
If other Alert builders think what is he doing, the manual is showing other things, yes you are right. I don t follow the manual as I plan to do something different so I determined my own building sequence which will be different then the manual shows.
I removed the hull from the berth again and glue in the distance pieces for the template to mark the cutting spots for the frames.
View attachment 204814
The template is fitted and at the marked positions I mark the frame with a knive.
View attachment 204815
In the bow I drill the hawser hole position.
View attachment 204820
After removing the template all the cutting spots are clearly marked.
View attachment 204821
Now I will set out the main wale.
The cutting markers are the timber tops which I use as reference to determine the wale position.
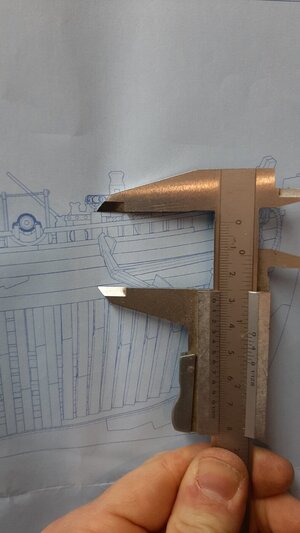
I recalculate the dimensions as the model is 1,031 x the drawing dimension.
View attachment 204822
This I do at multiple frames and mark the wale lower edge into the frames.
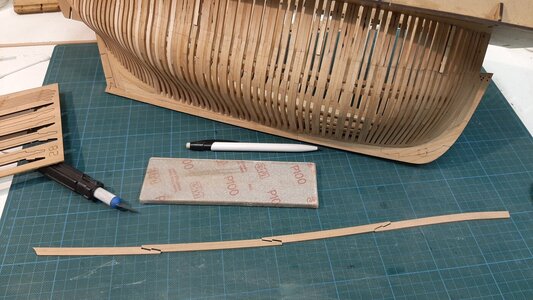
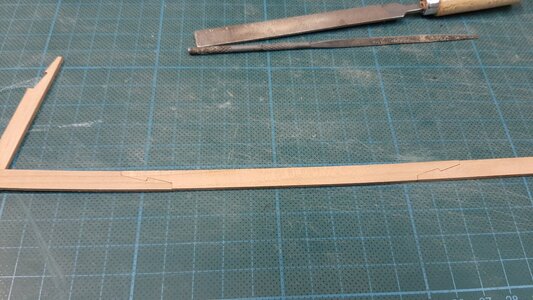
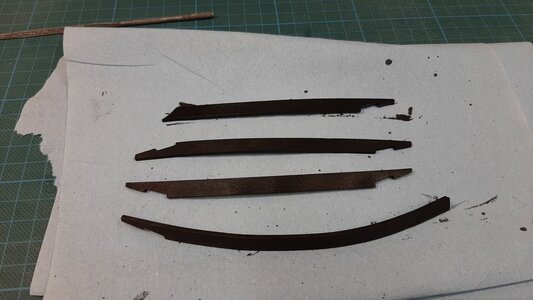
The wale is made of 4 scarphed planks and for these I make the scarph joints fit properly.
View attachment 204825
View attachment 204823
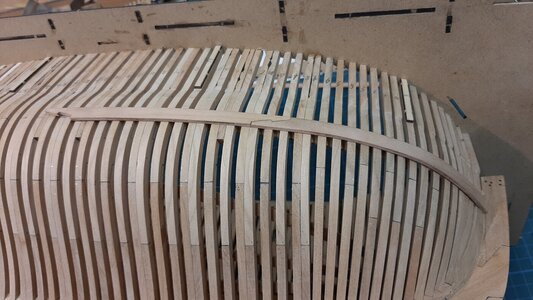
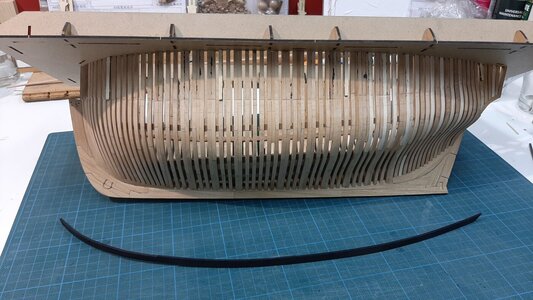
Then sanding followed by steaming them into the proper shape by steam and drying and bending on a heat plate.
A proper bend plank fit into place without applying to much pressure.
View attachment 204824
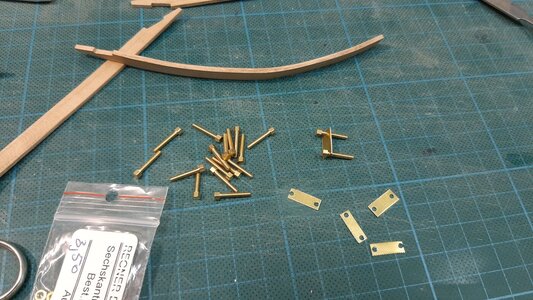
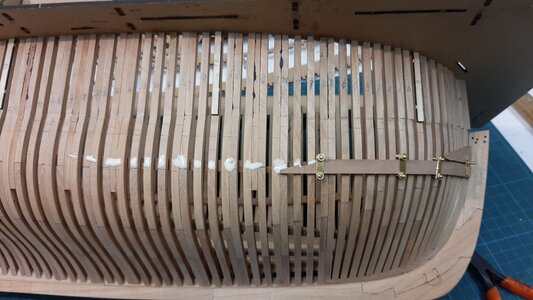
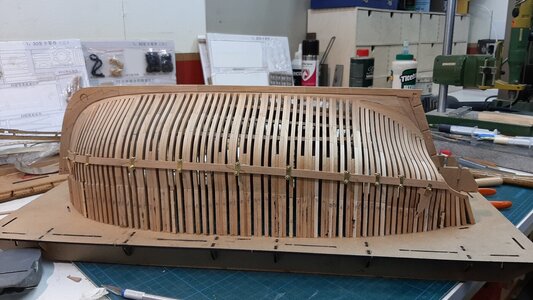
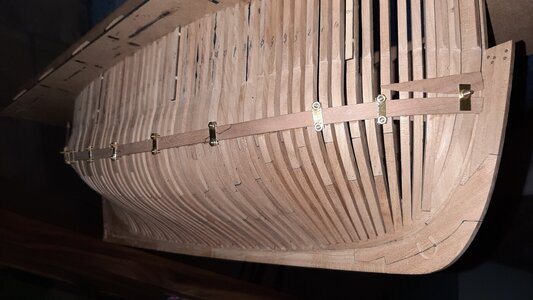
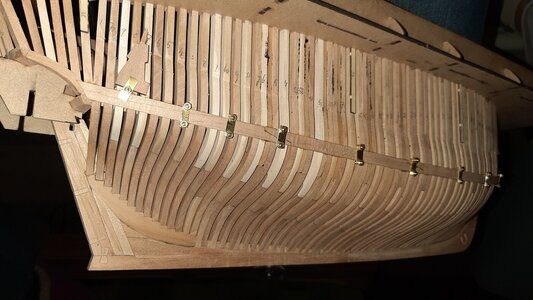
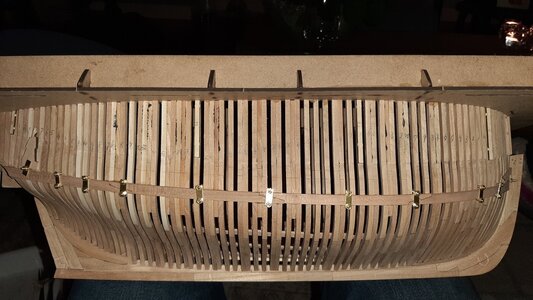
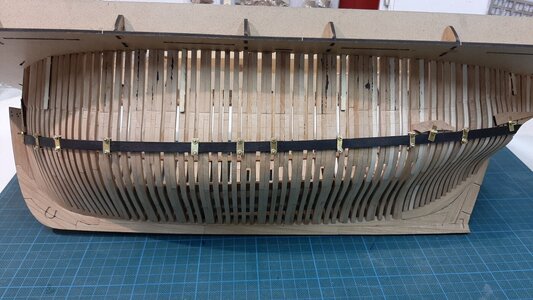
To glue the wale in place I made some DYI clamps from m2 bolts and brass plate.
View attachment 204826
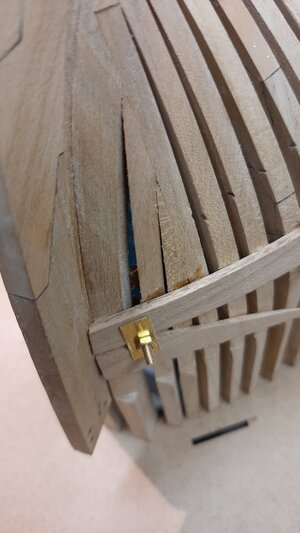
A single clamp at the bow.
View attachment 204828
The first wale section glued and clamped, the second ready for fitting.
View attachment 204827
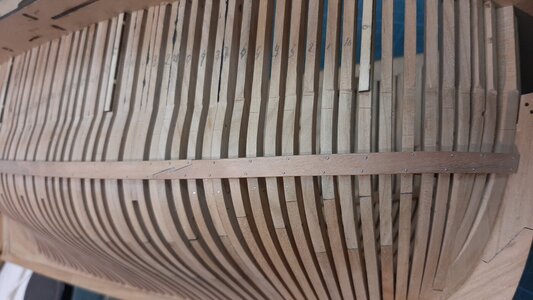
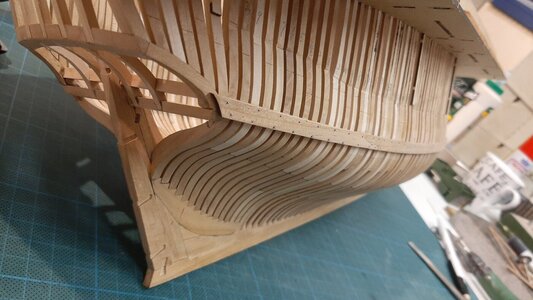
All fitted with clamps in place to dry the pva glue in 24hrs.
View attachment 204833
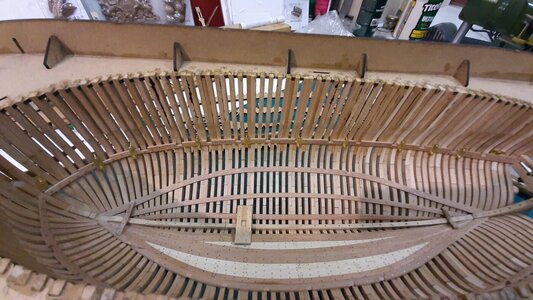
The clamps on the inside around the clamp shelf.
View attachment 204834
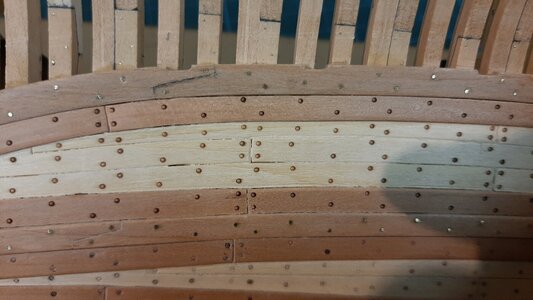
Now ready for receiving the bolts after the glue has dried.
View attachment 204835
View attachment 204836
View attachment 204837
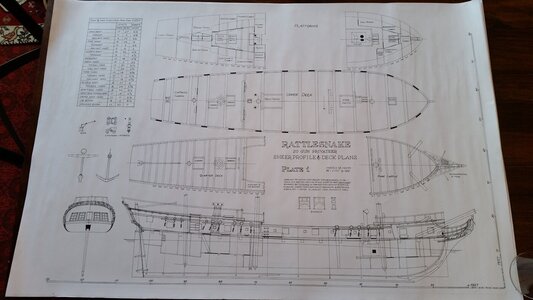
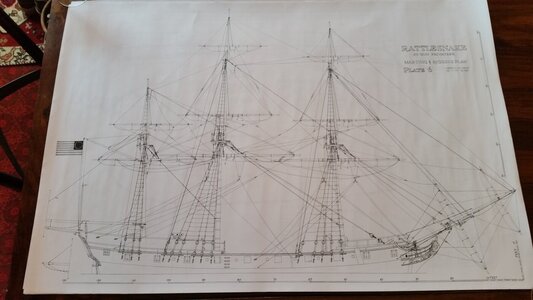
 Not only 2 but not less than 10 ships in the Royal Navy has been named HMS Rattlesnake according to Wikipedia:
