Thx again for your comments and likes.
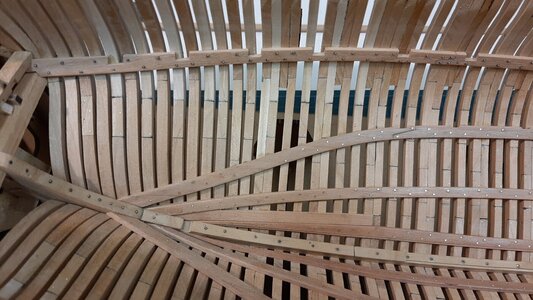
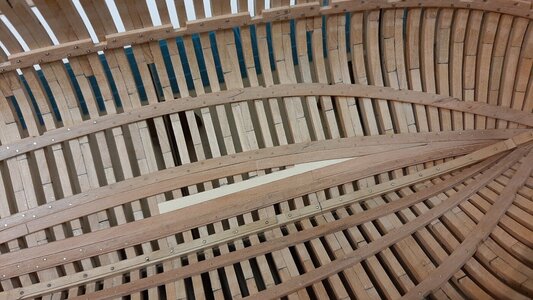
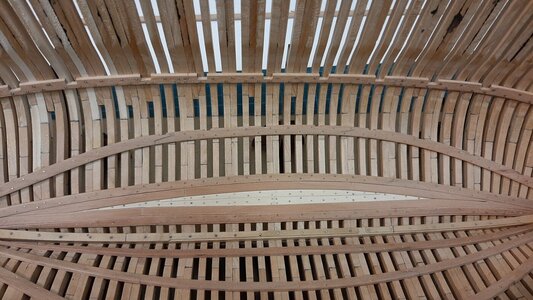
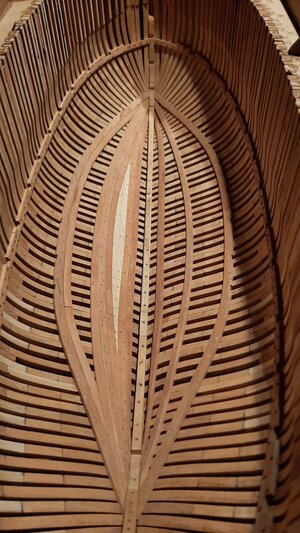
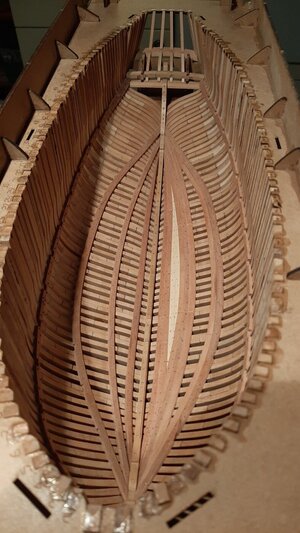
Today I am stil working on the thickstuff and shelf clamps.
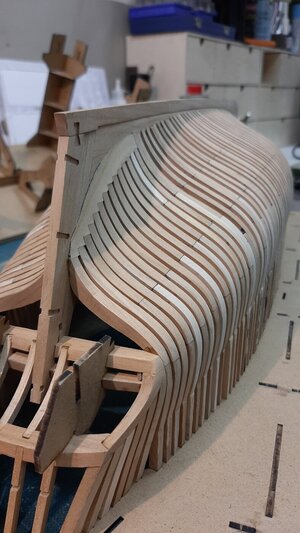
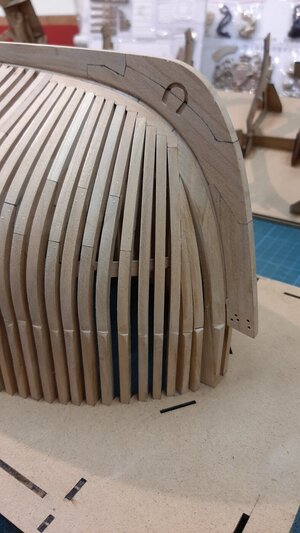
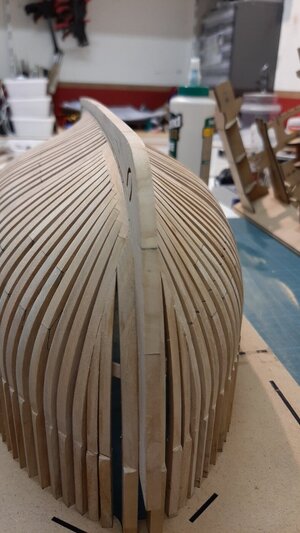
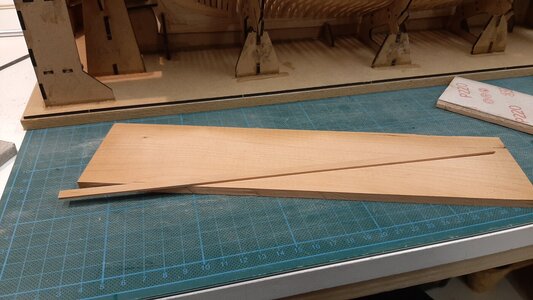
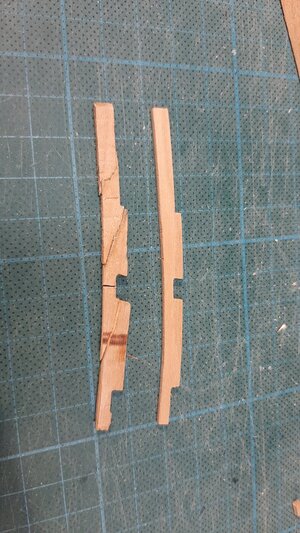
The last three are placed of which the shelf clamp is the most critical. The SB shelfclamp had its wood grain positioned under and angle causing the strake to brake into pieces when steaming and bending in the bow section.

I have decided to remove the complete front section and from the remaining wood of this board I made a new part.
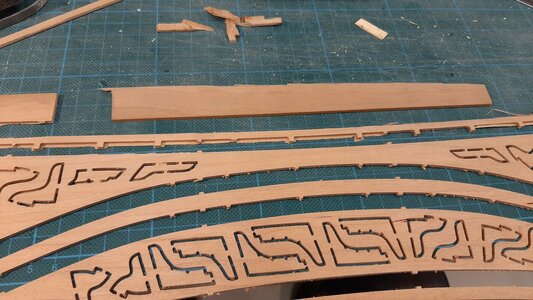
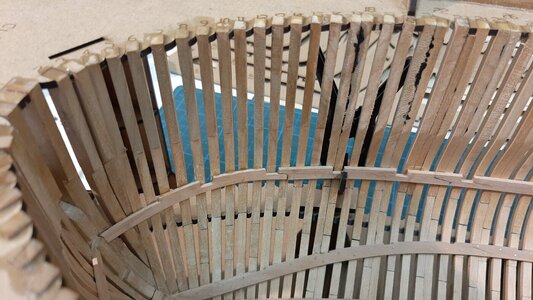
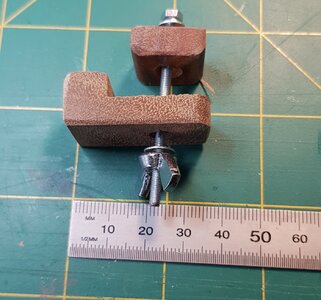
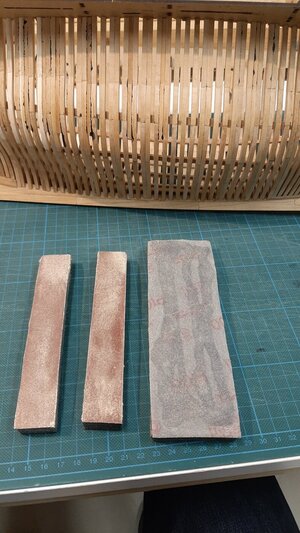
For clamping I use my file set, works perfectly.
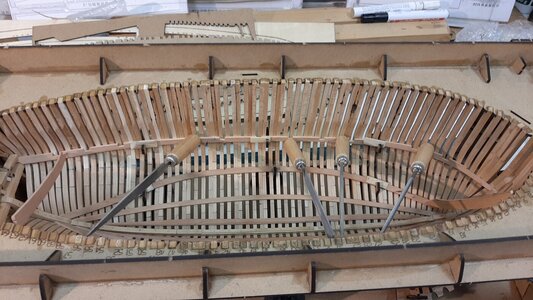
After all thickstuff and shelfclamps are placed it is time for additional fastening.
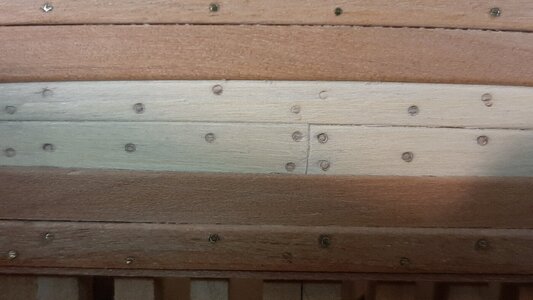
The thickstuff is treenailed and the upper shelfclamps bolted.
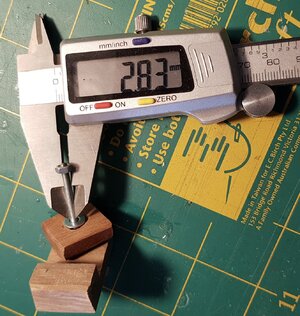
I decided to take 1" treenails or 0,6 mm to scale. This is too small to make these from wood there fore these will be from brass.
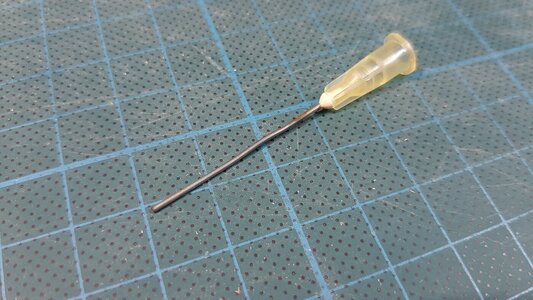
Inside the hull I use a very small handdrill. The drilled holes I colour black on the inside with a pencil.

Then the brass pen is glued inside.
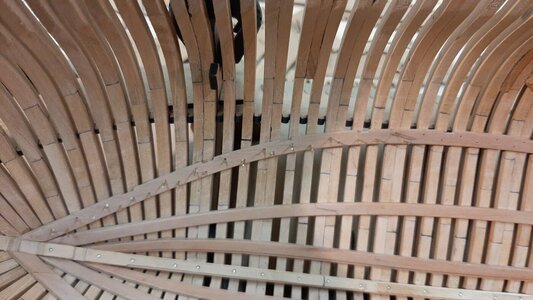
Then cut off flush, filed and sanded down so a flat treenail with a tiny black circle is the end result.
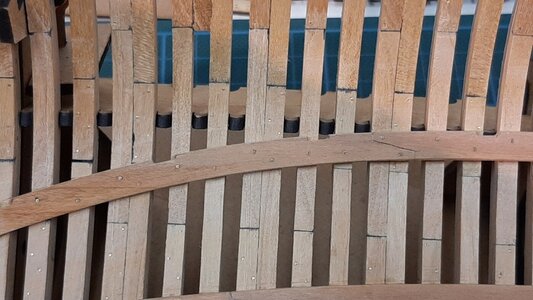
This I repeat on all the thickstuff at every frame but the result is an extremely strong hull.
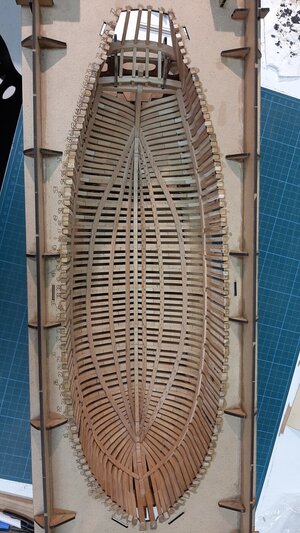
As mentioned the top deck shelf clamp is bolted to the frames, for this I use 0,6 mm anealed steel wire. This is heat treated and therefore soft like brass wire but it is Iron.
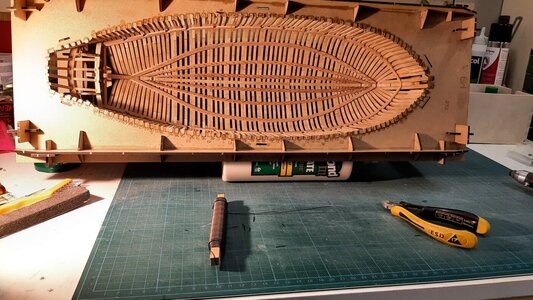
The rest of the process is the same, drill, glue and cut of. But I dont cut it flush but keep a tiny piece of wire which I finish with a cup burr.
After that I touch them with a cotton swap with some iron burnishing fluid and you have a perfect black bolthead.
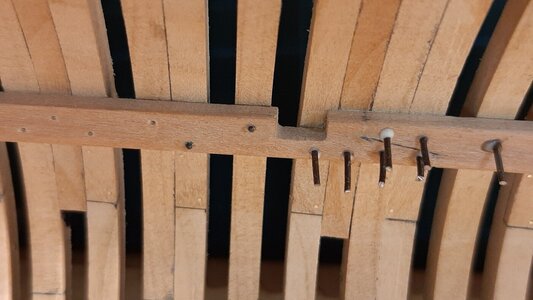
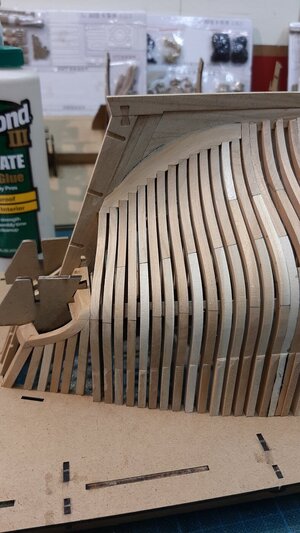
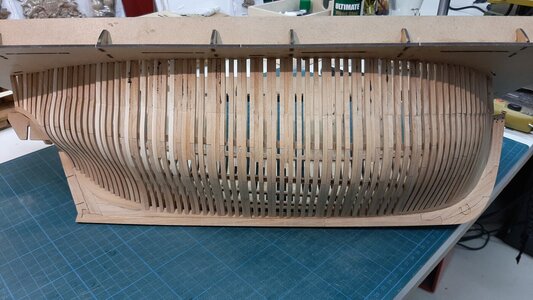
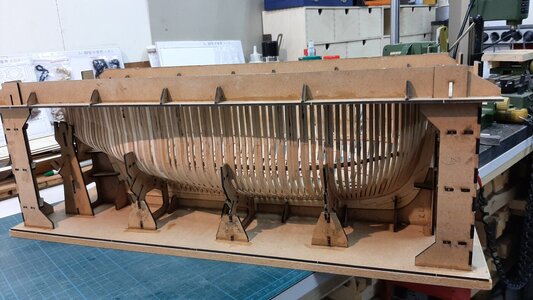
Now the internal structure is fitted I can release the hull from the berth. This was actualy very simple, it just slides out.

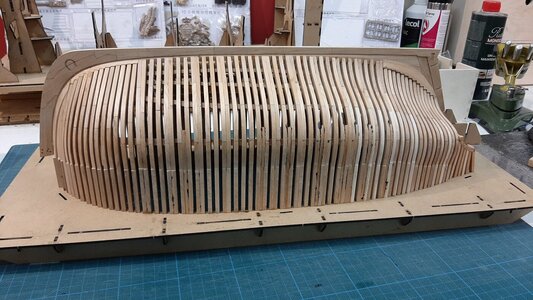
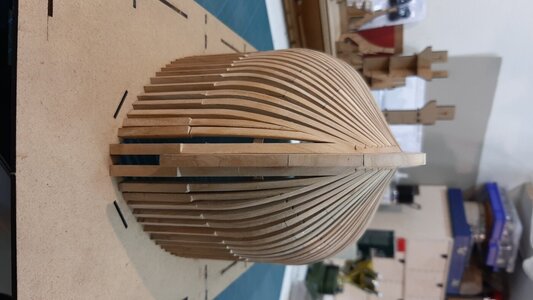
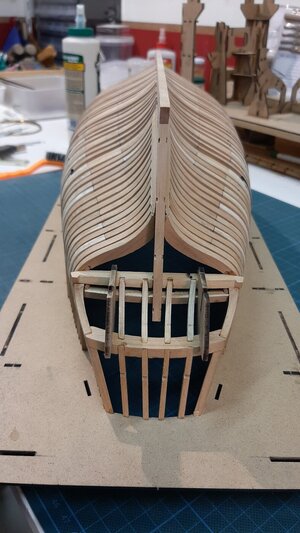
Hopefully tomorrow some time to sand the outside of the hull.
Today I am stil working on the thickstuff and shelf clamps.
The last three are placed of which the shelf clamp is the most critical. The SB shelfclamp had its wood grain positioned under and angle causing the strake to brake into pieces when steaming and bending in the bow section.

I have decided to remove the complete front section and from the remaining wood of this board I made a new part.


For clamping I use my file set, works perfectly.

After all thickstuff and shelfclamps are placed it is time for additional fastening.
The thickstuff is treenailed and the upper shelfclamps bolted.
I decided to take 1" treenails or 0,6 mm to scale. This is too small to make these from wood there fore these will be from brass.
Inside the hull I use a very small handdrill. The drilled holes I colour black on the inside with a pencil.

Then the brass pen is glued inside.

Then cut off flush, filed and sanded down so a flat treenail with a tiny black circle is the end result.

This I repeat on all the thickstuff at every frame but the result is an extremely strong hull.

As mentioned the top deck shelf clamp is bolted to the frames, for this I use 0,6 mm anealed steel wire. This is heat treated and therefore soft like brass wire but it is Iron.

The rest of the process is the same, drill, glue and cut of. But I dont cut it flush but keep a tiny piece of wire which I finish with a cup burr.
After that I touch them with a cotton swap with some iron burnishing fluid and you have a perfect black bolthead.

Now the internal structure is fitted I can release the hull from the berth. This was actualy very simple, it just slides out.


Hopefully tomorrow some time to sand the outside of the hull.


