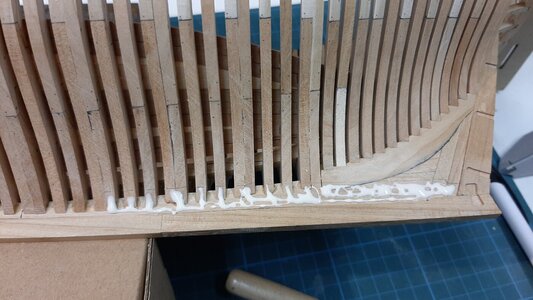
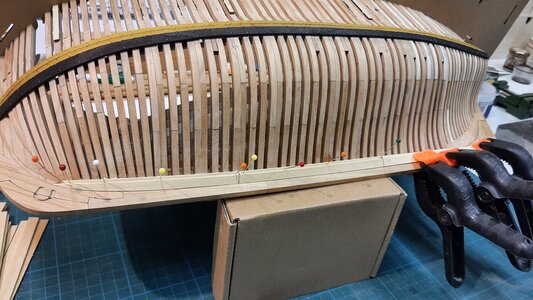
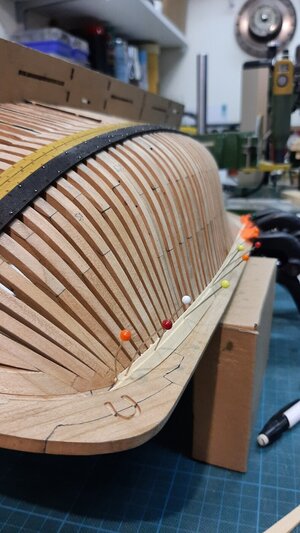
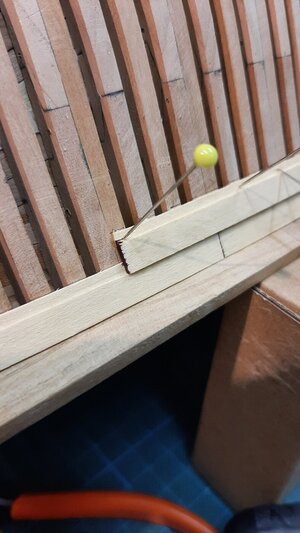
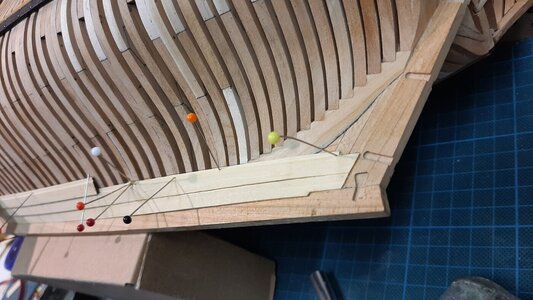
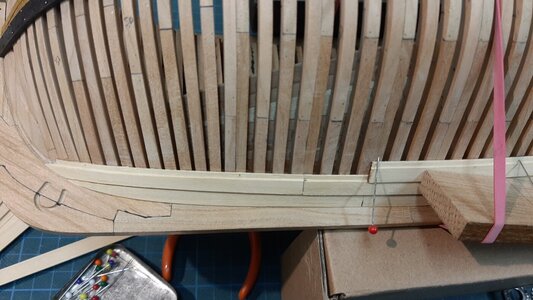
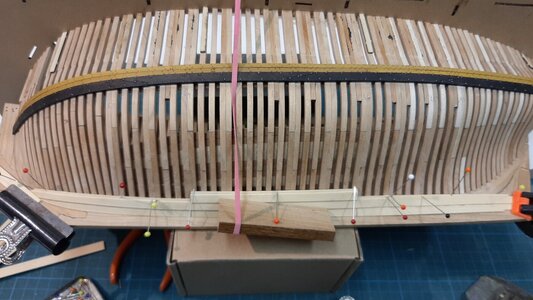
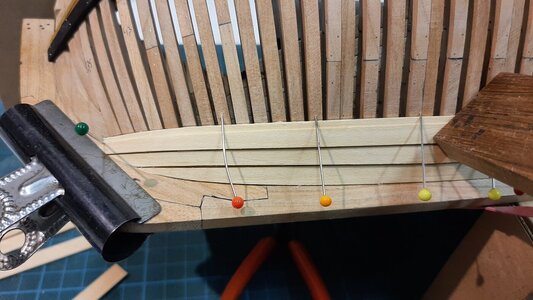
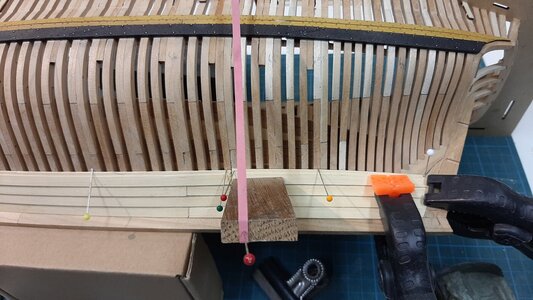
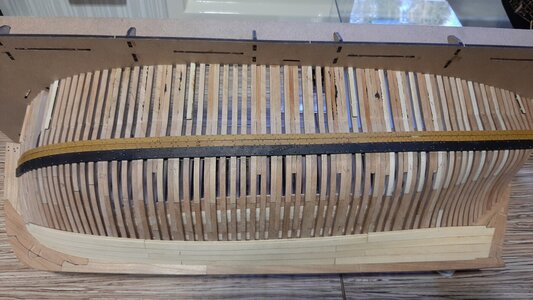
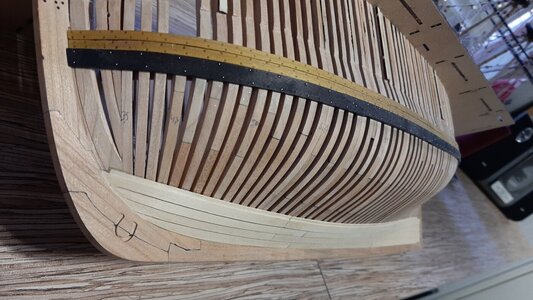
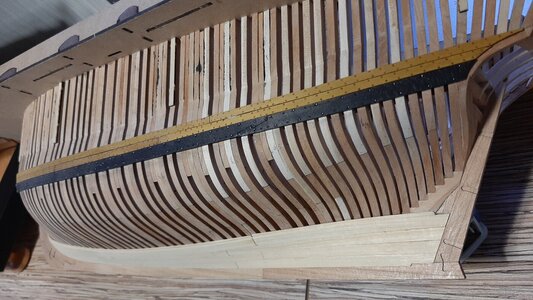
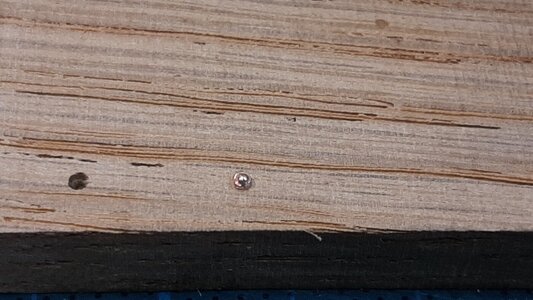
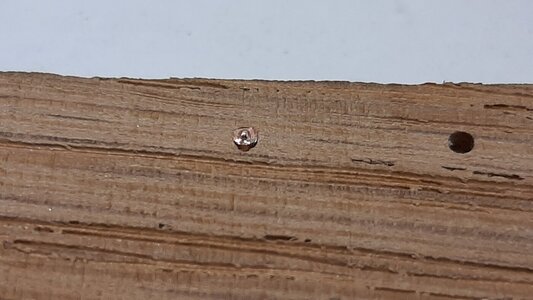
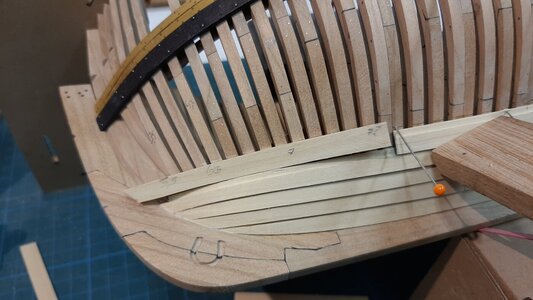
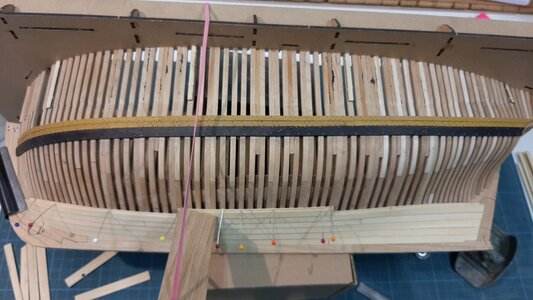
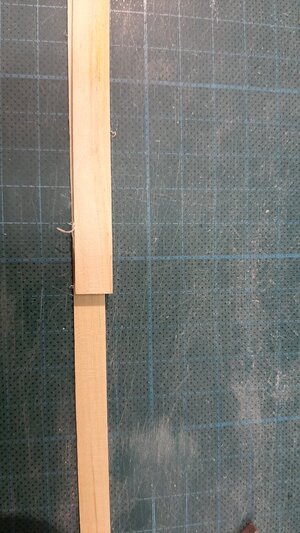
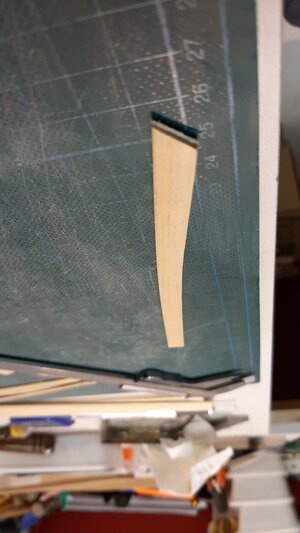
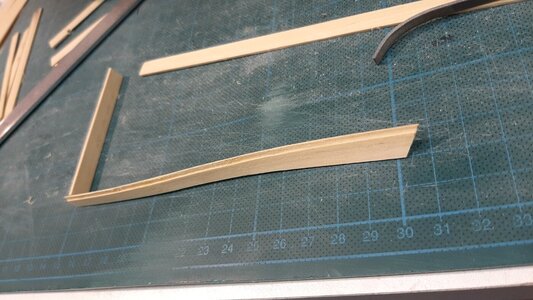
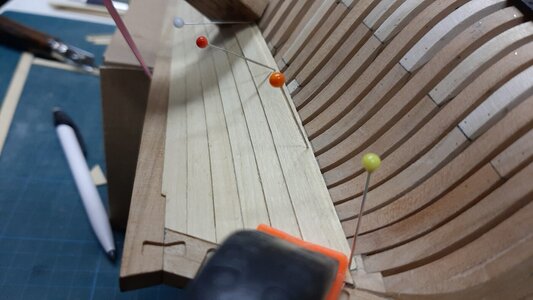
After the lower transome parts dried the PS side is sanded to a flat surface.
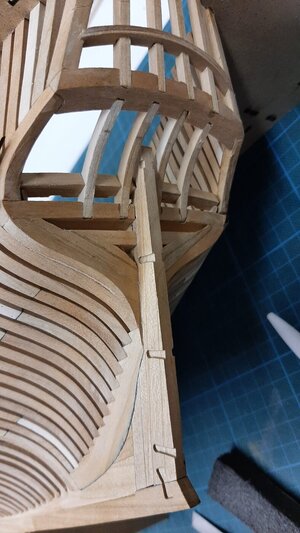
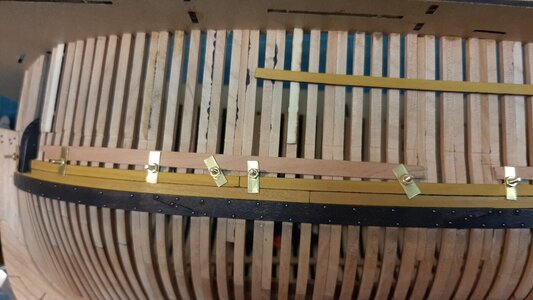
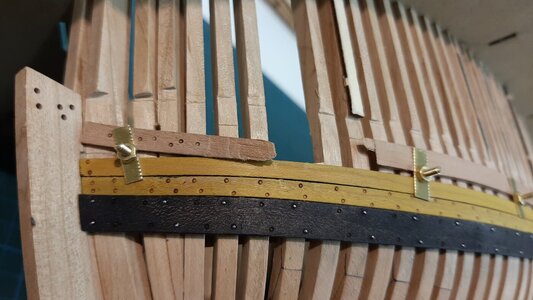
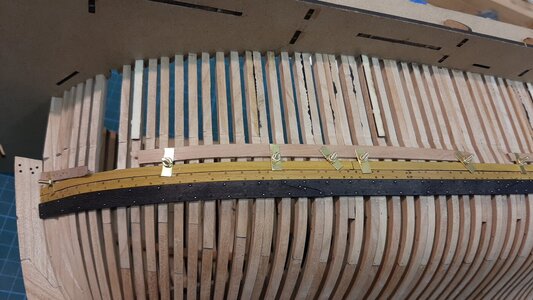
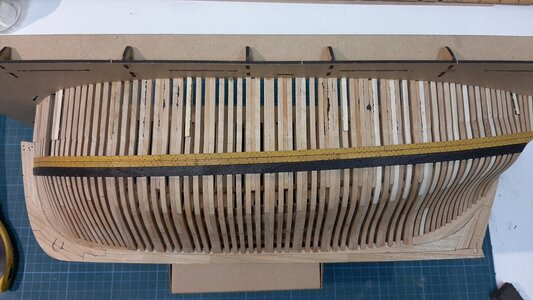
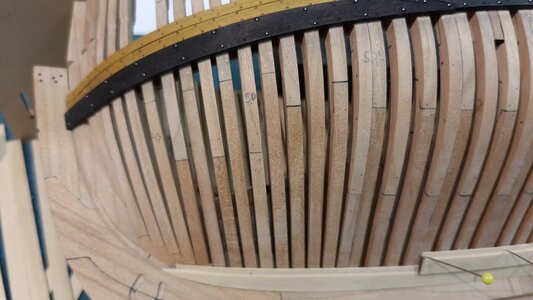
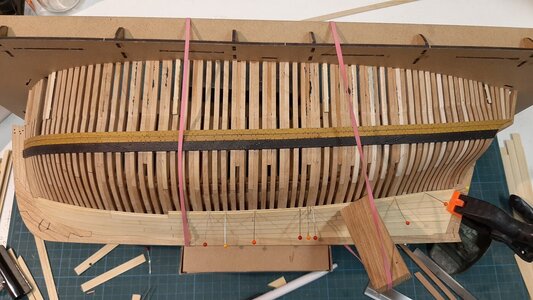
Next the PS wale is recolored with ecoline.
Now I will prepare the planking above the wale.
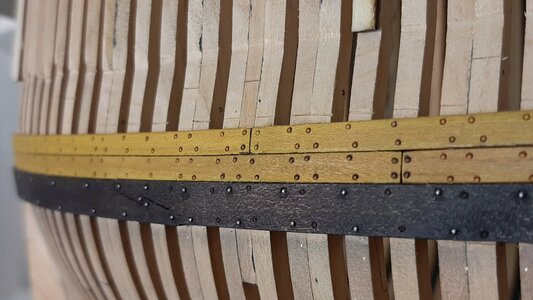
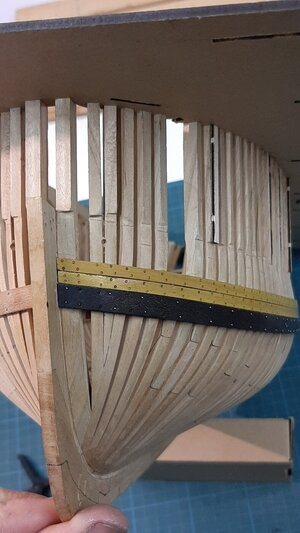
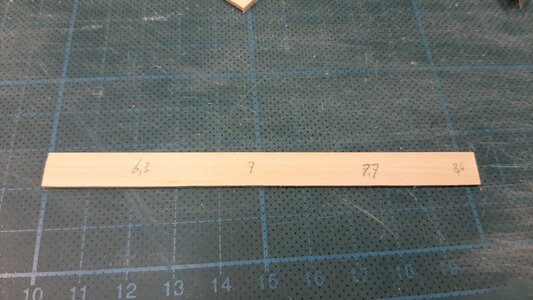
This planking will be yellow ocre, I color again with ink, dark yellow ecoline. The ink will keep the woodgrain visible which fits the model.
See below the first plank colored yellow with ink.
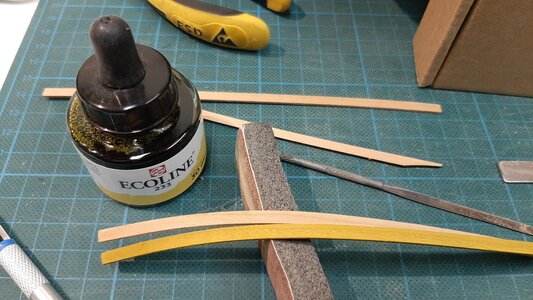
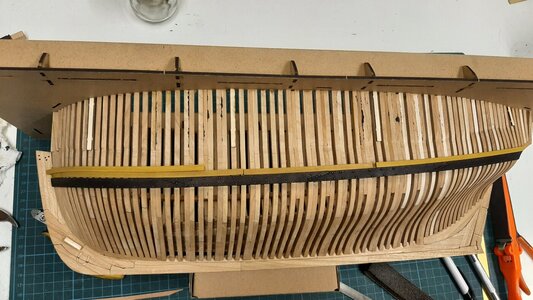
And the look on the model.
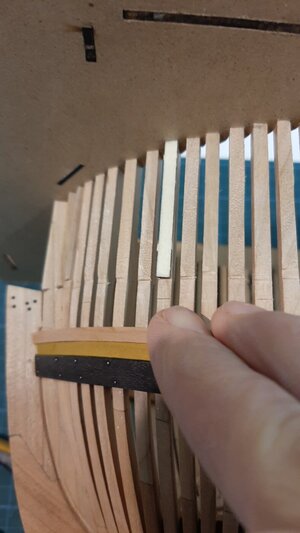
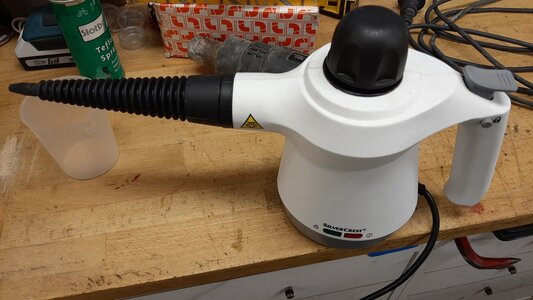
The planks I first steam with a household steamer.
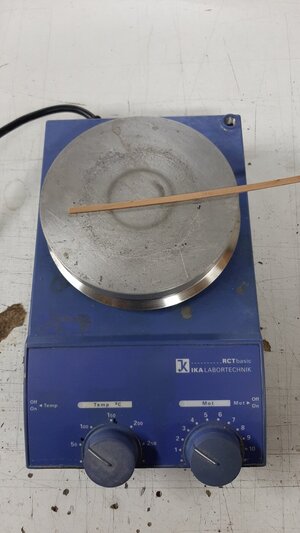
Then I bend and curve them on a laboratory type hot plate. This can be set at every temperature between 20-250 deg C, I bend at 50 deg C.
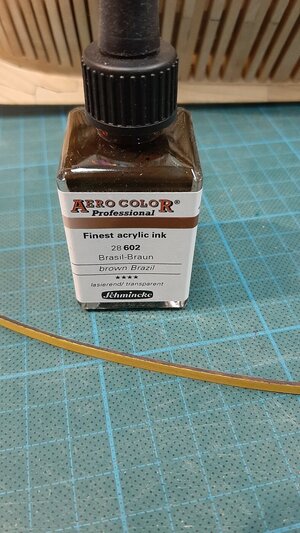
The sides of the planks I colour with dark brown ink to simulate caulking.
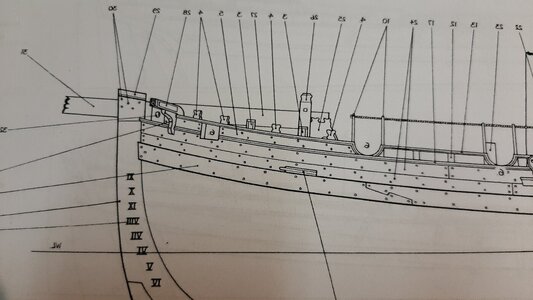
But before fitting the planks I first have to install the fwd chase port as this protrudes into the planking.
This means the first frame is cut.
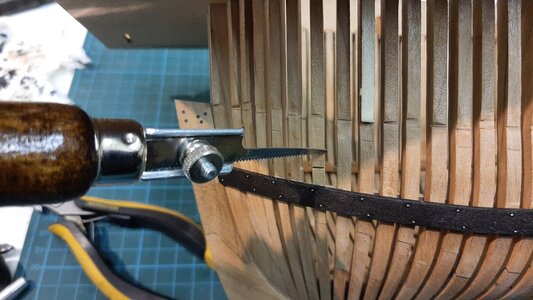
The place of the cut I determined by dry fitting and marking the top of the two planks. The top of the gun port sill is fitted on the same height. The sill is at an angle in the hull, flat to the waterline and not to the ships shear.
The lower sil of the gun port is joined between the frames with two pointed ends. These joints I filed on the sill and into the frame sides.
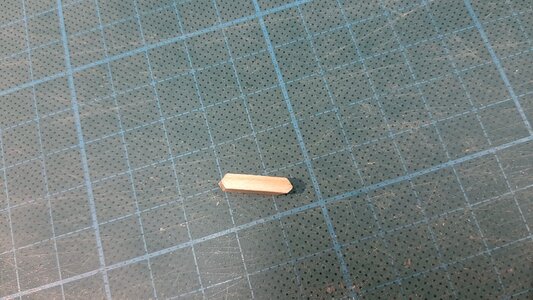
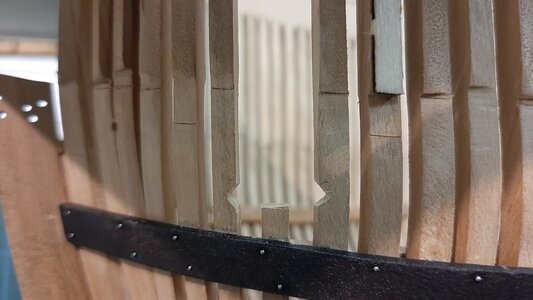
If the joints properly fit you just slide it into place with some glue.
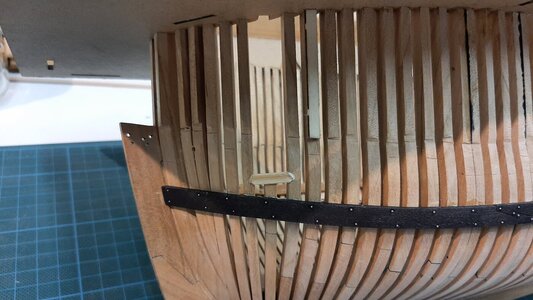
After drying sand it flush with the hull, in and outside.
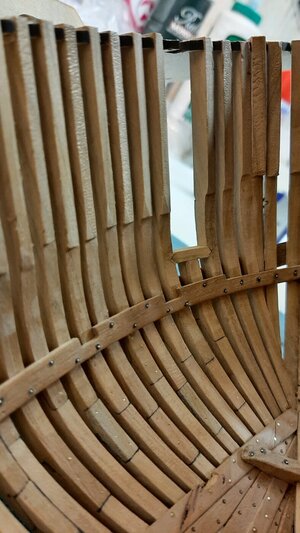
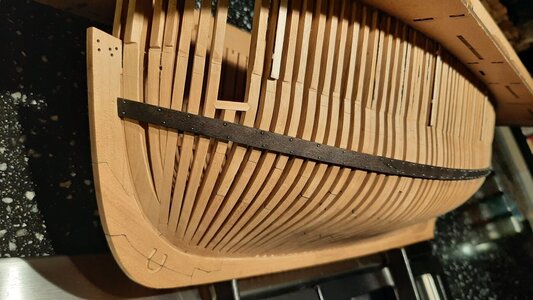
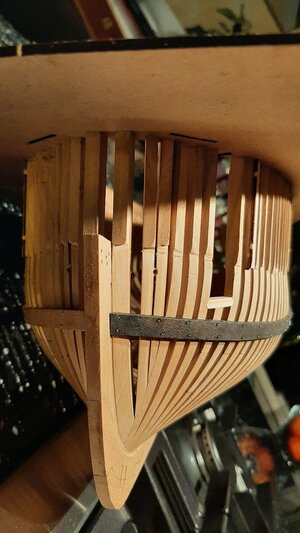
Next will be fitting the planks.

Next the PS wale is recolored with ecoline.
Now I will prepare the planking above the wale.
This planking will be yellow ocre, I color again with ink, dark yellow ecoline. The ink will keep the woodgrain visible which fits the model.
See below the first plank colored yellow with ink.

And the look on the model.


The planks I first steam with a household steamer.

Then I bend and curve them on a laboratory type hot plate. This can be set at every temperature between 20-250 deg C, I bend at 50 deg C.

The sides of the planks I colour with dark brown ink to simulate caulking.

But before fitting the planks I first have to install the fwd chase port as this protrudes into the planking.

This means the first frame is cut.

The place of the cut I determined by dry fitting and marking the top of the two planks. The top of the gun port sill is fitted on the same height. The sill is at an angle in the hull, flat to the waterline and not to the ships shear.
The lower sil of the gun port is joined between the frames with two pointed ends. These joints I filed on the sill and into the frame sides.


If the joints properly fit you just slide it into place with some glue.

After drying sand it flush with the hull, in and outside.


Next will be fitting the planks.


