Good morning. I have only heard good things about Admiralty paints and their colours are always very accurate. To get them to SA is off the charts expensive, but for future builds is probably worth it. Cheers GrantThank you all for your likes and comments on my HMS Blandford build. They are very much appreciated. In regard to the Admiralty paint. l have been using this brand for a few years on various models l have built, paints, varnishes and primers and found them to be very good
-

Win a Free Custom Engraved Brass Coin!!!
As a way to introduce our brass coins to the community, we will raffle off a free coin during the month of August. Follow link ABOVE for instructions for entering.
-

PRE-ORDER SHIPS IN SCALE TODAY!
The beloved Ships in Scale Magazine is back and charting a new course for 2026!
Discover new skills, new techniques, and new inspirations in every issue.
NOTE THAT OUR FIRST ISSUE WILL BE JAN/FEB 2026
You are using an out of date browser. It may not display this or other websites correctly.
You should upgrade or use an alternative browser.
You should upgrade or use an alternative browser.
- Joined
- Jan 10, 2022
- Messages
- 860
- Points
- 403

Hi Grant. Check out Cornwall Model Boats Ltd. A UK based company. They stock a huge range of Admiralty paints and distribute world-wide. l use them a lot and have always found them to be very reasonable and reliable. Maybe they can help?Good morning. I have only heard good things about Admiralty paints and their colours are always very accurate. To get them to SA is off the charts expensive, but for future builds is probably worth it. Cheers Grant
- Joined
- Jan 10, 2022
- Messages
- 860
- Points
- 403

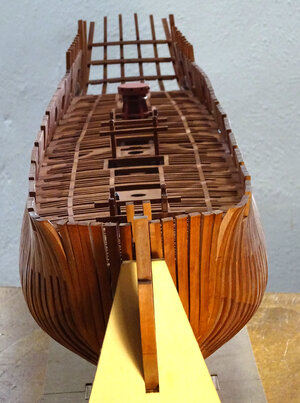
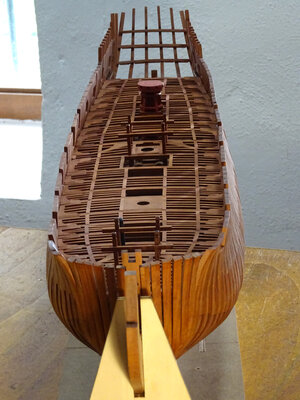
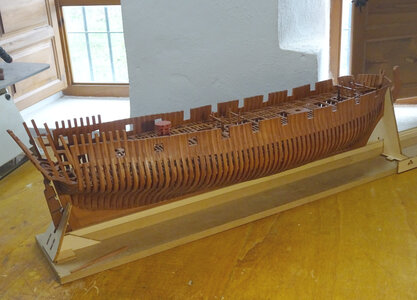
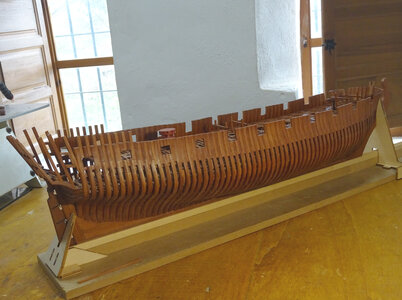
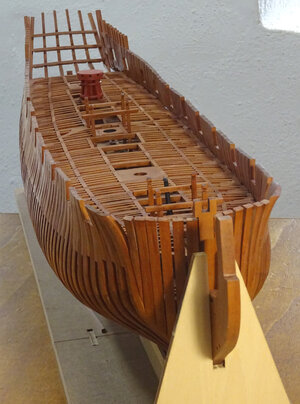
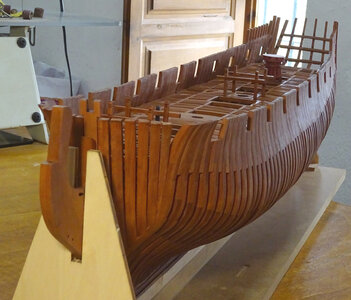
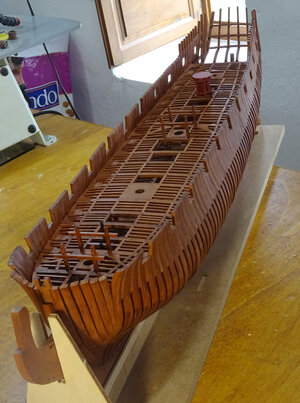
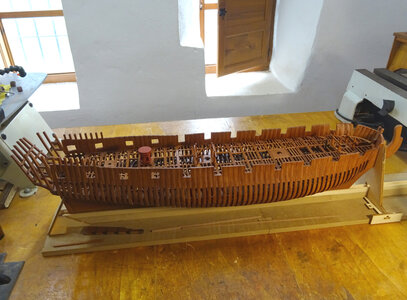
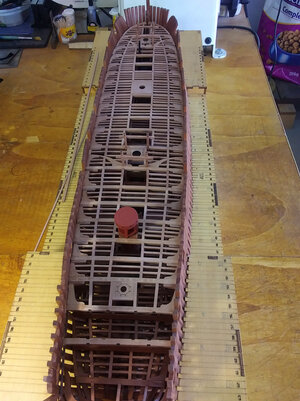
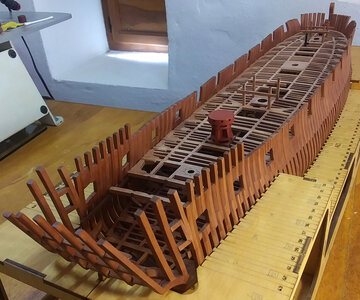
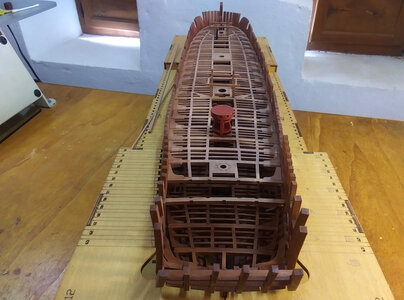
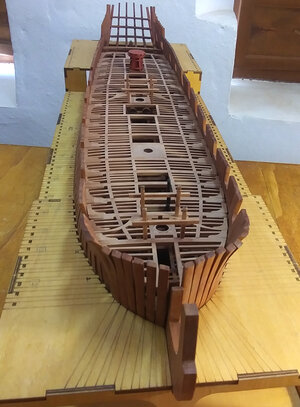
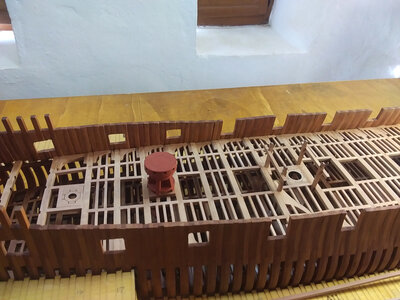
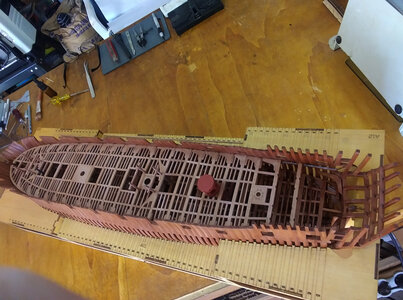
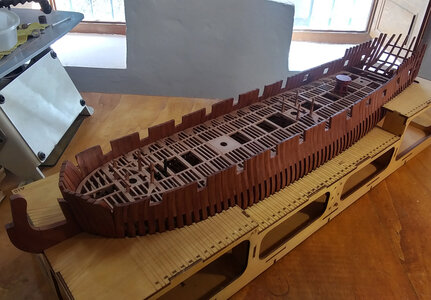
Hi. Hope everyone had a great Christmas. With the onset of improved weather here on the Costa del Sol (Got up to 24 deg. C on Christmas day) I have been able to make steady progress on the upper deck structure of this 1:48 scale Blandford build. All 3 mast positions are now in, and moving towards the stern. l will very soon reach the stage where the hull will once again have to be removed from the building cradle, as the rudder must be fitted. One more set of beams and carlings can be installed before it blocks access to the installation of the tiller assembly which is situated between decks. If the hull is to be returned into the cradle, l will have to modify it, as there is no room for a hull with attached rudder or come up with another solution to support the complete hull in it's final stages of construction.


- Joined
- Jul 24, 2016
- Messages
- 540
- Points
- 188

Keef's frames look perfect to me. JJ.
panicked a bit when i came to it my vertical deck beam supports - thought id got my thick stuff placed wrongly but each of the supports need trimming to fit each beam and thick stuff - Not mentioned in the in structionsThe first beams and carlings going down in the lower deck
View attachment 330555
View attachment 330556
View attachment 330557
View attachment 330558
View attachment 330559
View attachment 330560
View attachment 330561
View attachment 330562
View attachment 330563deck beam supports
- Thank goodness for Keefs work
- Joined
- Jan 10, 2022
- Messages
- 860
- Points
- 403

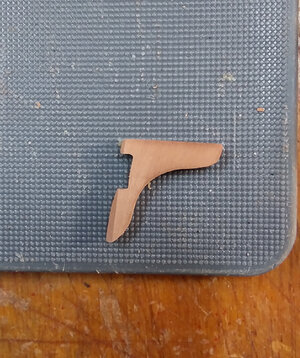
Yes. All the hanging knees need to have a notch cut to fit over the deck clamp, as per photo attachedpanicked a bit when i came to it my vertical deck beam supports - thought id got my thick stuff placed wrongly but each of the supports need trimming to fit each beam and thick stuff - Not mentioned in the in structions
- Thank goodness for Keefs work
- Joined
- Jul 24, 2016
- Messages
- 540
- Points
- 188

glad ive seen these - following behind you. if you look at the plans it gives the impression thatThe first beams and carlings going down in the lower deck
View attachment 330555
View attachment 330556
View attachment 330557
View attachment 330558
View attachment 330559
View attachment 330560
View attachment 330561
View attachment 330562
View attachment 330563
glad ive seen this. from the drawings i would have thought that the for and aft filler sections would have been pre cut. but that is not true.The first beams and carlings going down in the lower deck
View attachment 330555
View attachment 330556
View attachment 330557
View attachment 330558
View attachment 330559
View attachment 330560
View attachment 330561
View attachment 330562
View attachment 330563
i therefore assume you have cut each one to size then filled the cross section pieces afterwards. The plans give the impression that each piece has to be tenion joined but you have not done this so i am very happy to follow your lead as so far your work looks outstanding !!
- Joined
- Jan 10, 2022
- Messages
- 860
- Points
- 403

Hi Paul. Luckily l don't have to do that. With this kit the deck beams are made of 3 sections. The main beam which is made from 5mm x 4mm pearwood and glued to that, font and back, is a 1mm piece with the notches formed for the carlings
Yes that's right. The 4mm carlings are cut to fit into the notches on the beams, as on the real ship but to cut notches into the carlings and knees to accommodate the ledges as depicted on the plans would be next to impossible for me to do with any degree of accuracy so a tight butt joint is good enough for me. You have to look close to see it anywayglad ive seen these - following behind you. if you look at the plans it gives the impression that
glad ive seen this. from the drawings i would have thought that the for and aft filler sections would have been pre cut. but that is not true.
i therefore assume you have cut each one to size then filled the cross section pieces afterwards. The plans give the impression that each piece has to be tenion joined but you have not done this so i am very happy to follow your lead as so far your work looks outstanding !!
Last edited:
- Joined
- Jan 31, 2021
- Messages
- 566
- Points
- 353

Thanks! that makes it easier!
Hi Paul. Luckily l don't have to do that. With this kit the deck beams are made of 3 sections. The main beam which is made from 5mm x 4mm pearwood and glued to that, font and back, is a 1mm piece with the notches formed for the carlings
Yes that's right. The 4mm carlings are cut to fit into the notches on the beams, as on the real ship but to cut notches into the carlings and knees to accommodate the ledges as depicted on the plans would be next to impossible for me to do with any degree of accuracy so a tight butt joint is good enough for me. You have to look close to see it anywa
- Joined
- Jan 10, 2022
- Messages
- 860
- Points
- 403

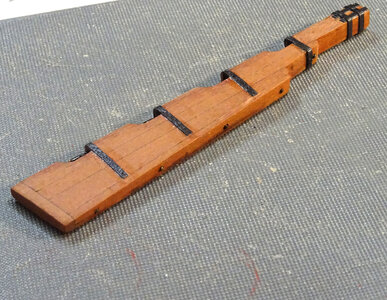
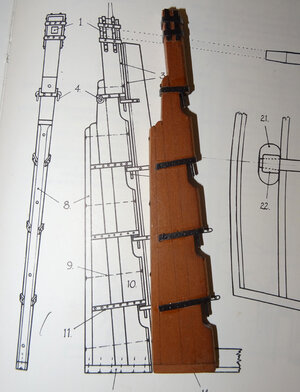
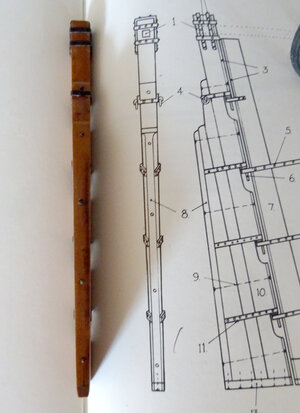
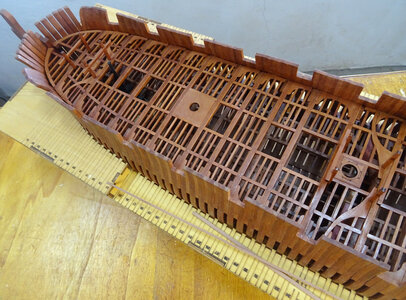
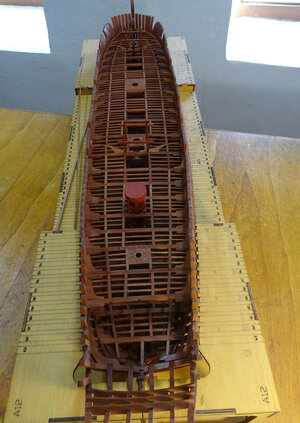
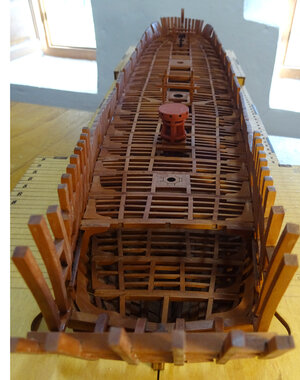
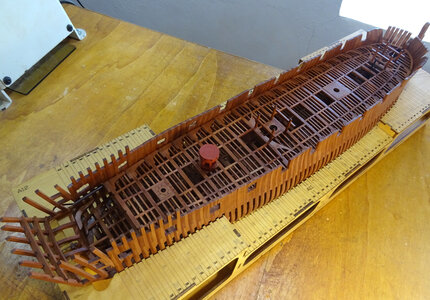
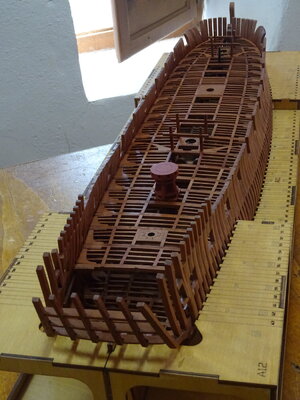
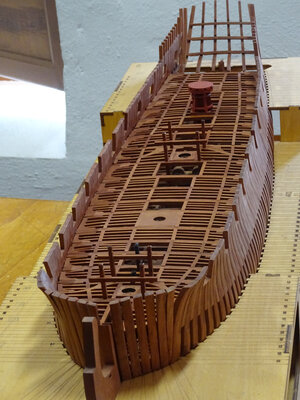
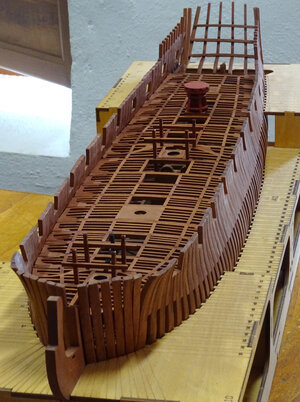
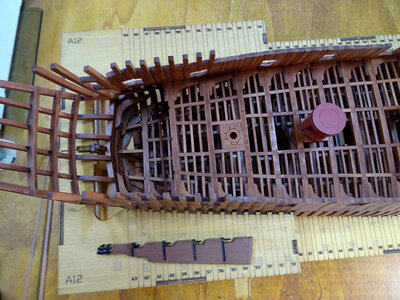
l have gone as far as l can with the upper deck beams and timbers for the moment, as l now have to work on the rudder assembly, while there is still room for access. l have given the upper deck 2 coats of Xylandecor wood preservative. The sanded deck woodwork looked quite white and it took your eye away from everything below, but now it is the same colour as the rest of the model everything has settled down so to speak and it is much easier to view the lower deck work. There is no mention of the rudder assembly in the instruction manual, only a rough diagram showing the numbered parts (6 in all), so it's difficult to find the parts that make up the rudder from the remaining sheets. Once assembled l have compared it with the 'Anatomy of the Ship' and it is a perfect replica. The 'iron work' l made from cartridge paper, cut into 2 mm strips and coated with watered down white wood glue to give it a bit of strength. Once fitted a coat of semi-gloss acrylic varnish was applied to seal it. l don't think there are parts supplied for the tiller which goes between the decks, so will have to scratch build that part.


Last edited:
- Joined
- Jan 10, 2022
- Messages
- 860
- Points
- 403

That shaped up nicely. You must be very pleased with how this build is turning out.
- Joined
- Jan 10, 2022
- Messages
- 860
- Points
- 403

Thank you very much Paul. l am very pleased with the result so far. When l began this project, 9 months ago, l was determined to do the best l could as this looked such an interesting subject. The result is not just down to me, it's the accuracy of the laser cutting and quality of the wood that is supplied with this kit. l'm loving every minute (mostlyThat shaped up nicely. You must be very pleased with how this build is turning out.
- Joined
- Apr 20, 2020
- Messages
- 6,241
- Points
- 738

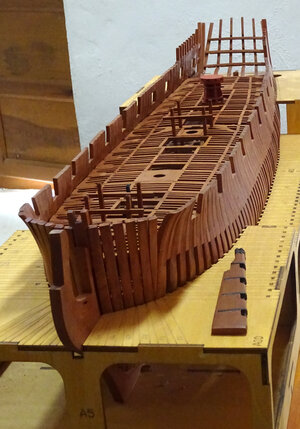
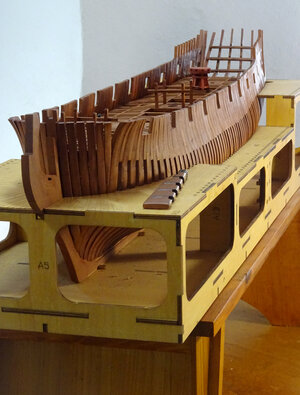
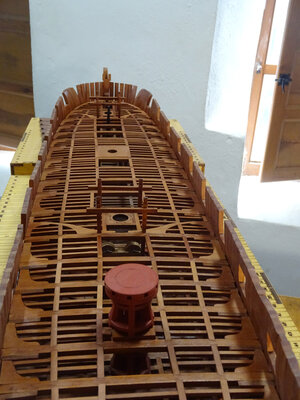
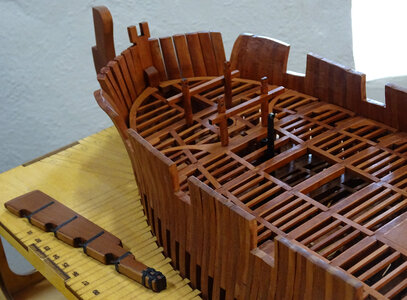
it's looks wonderful, you are doing great workl have at last trimmed the frames of the hawse pieces to their correct heights and added the knightshead (l think that's what it's called) to the bow, completing that part of the build in readiness to take the hull from the cradle to fit the rudder. l think it looks a lot better at the front now
View attachment 349447
View attachment 349448
View attachment 349450
View attachment 349452
View attachment 349454


Thats incredible work. Well done so far. 
- Joined
- Jul 24, 2016
- Messages
- 540
- Points
- 188

These little cross members made out of 1mm stuff will take ages - just started on lower deck and done 1 !!!The first beams and carlings going down in the lower deck
View attachment 330555
View attachment 330556
View attachment 330557
View attachment 330558
View attachment 330559
View attachment 330560
View attachment 330561
View attachment 330562
View attachment 330563
- Joined
- Jul 24, 2016
- Messages
- 540
- Points
- 188

me again - have the upright "hanging" knees caused any problems - they certainly dont appear to fit as hanging kneesContinuing work with the lower deck, stern section. The circular aperture in the middle of the deck between beams 15 and 16 is a support for the central column of the capstan which will be made up later. The upright ''hanging knees'' are not interfering with any structure so l will carry on as per the kit instructions. lf this is not technically accurate, it's not really a problem for me
View attachment 335738
View attachment 335739
View attachment 335740
View attachment 335741
View attachment 335742
View attachment 335743
View attachment 335744
View attachment 335745
View attachment 335747
View attachment 335748
View attachment 335749
Getting the lower deck 1mm fillerpices are a real pain - how long did it take you keef
- Joined
- Jan 10, 2022
- Messages
- 860
- Points
- 403

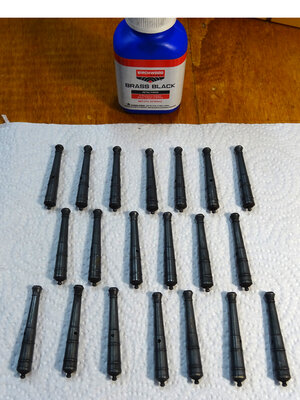
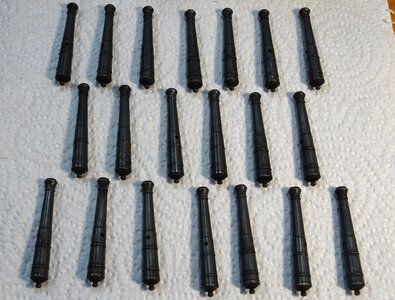
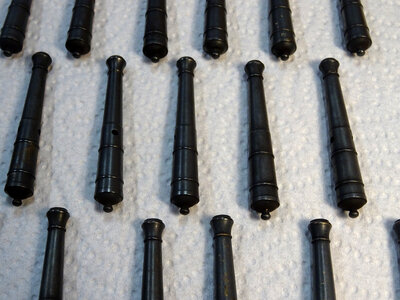
hi guys. Out of interest, l've been experimenting with blackening the cannon barrels supplied with this kit. l think this is much better than painting them, although the result is not truly black. Does anybody know if the gun barrels on a ship were actually black as would be achieved with painting or this kind of lighter, gun metal black? l do like this finish anyway.


- Joined
- Jan 10, 2022
- Messages
- 860
- Points
- 403

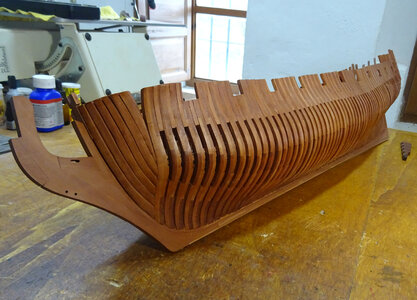
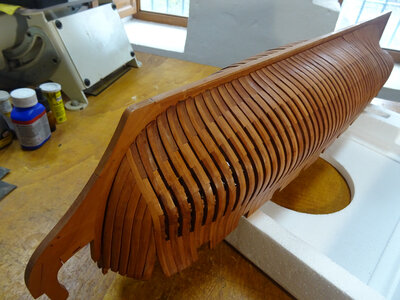
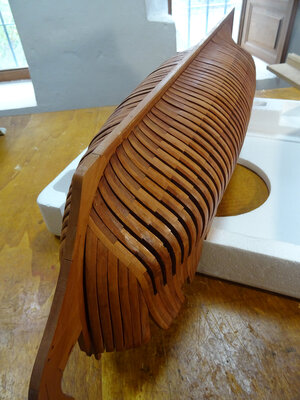
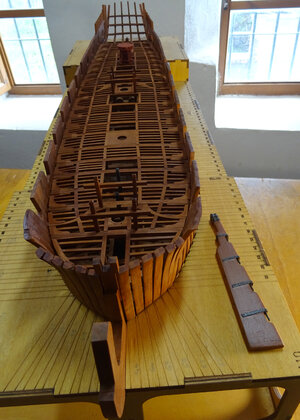
It's been a busy week and today is the day Blandford left her cradle for a new, permanent, support which she fits into perfectly. We can now see the true shape of her hull and l can even fit the rudder without having to take her out, so now l can get on and finish the upper deck once the rudder is fitted.
