HMS Blandford POF by Keith [COMPLETED BUILD]

Nice progress

Handy and simple solution the rubbers

Actually so simple that I never thought of doing this like this

Just shows that your photos have an added value

Thanks for sharing
Regards
Henk
Thank you very much for your comments Henk. The rubber bands are not my idea, l saw it on another log but yes, you're right, the idea is simple and very effective :)
 
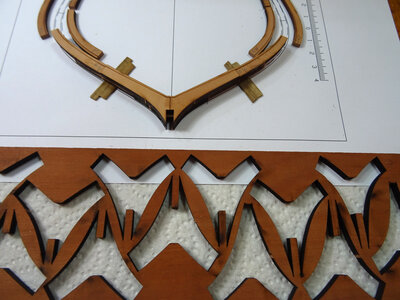
After a bit of experimentation, l have decided on the finish l will apply to the wood after the final sanding. First of all l wanted to use a Tung oil product. The colour was great but after applying it to a bit of scrap pearwood and leaving it to dry for several days l found the wood glue l'm using did not want to stick to the treated surface. I found another product that gave an almost identical finish and colouring. l did the same test for the glue and it works perfectly. l love the colour, what do you guys think?

DSC04910.JPG
 
After a bit of experimentation, l have decided on the finish l will apply to the wood after the final sanding. First of all l wanted to use a Tung oil product. The colour was great but after applying it to a bit of scrap pearwood and leaving it to dry for several days l found the wood glue l'm using did not want to stick to the treated surface. I found another product that gave an almost identical finish and colouring. l did the same test for the glue and it works perfectly. l love the colour, what do you guys think?

View attachment 317843
The dark, red stain(?) is beautiful.
 
I love the deep, rich finish, beautiful. So much so I'd like to test it myself. What substitute did you find for the Tung Oil?

Thanks,
Ken
 
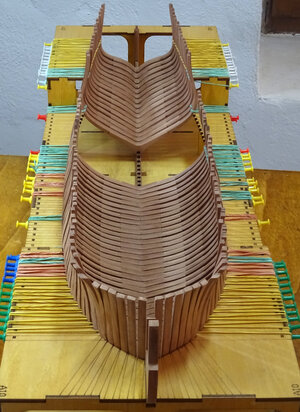
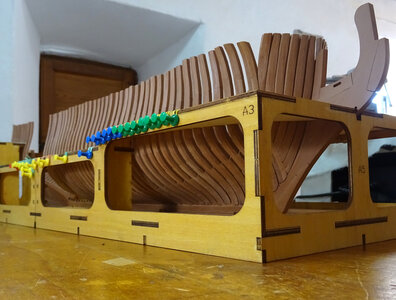
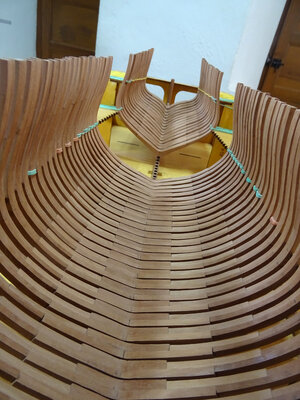
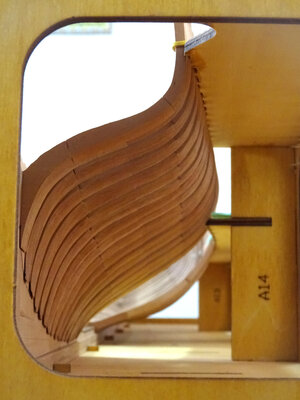
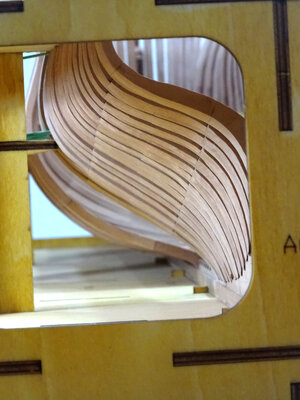
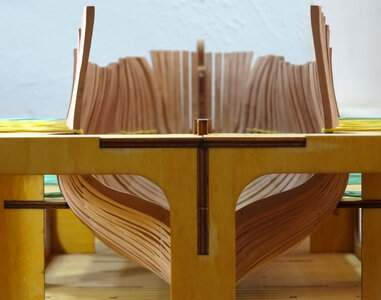
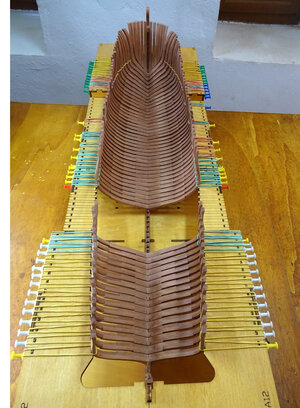
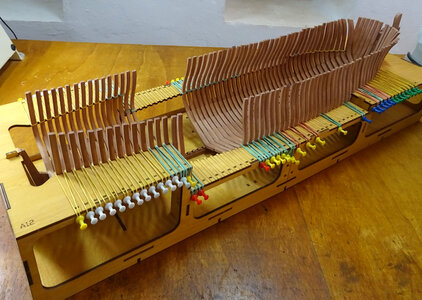
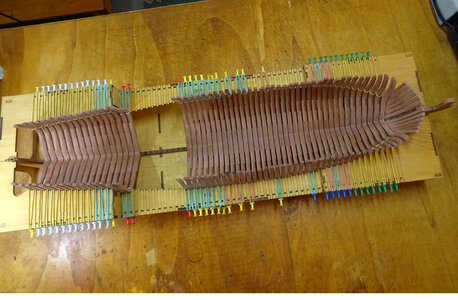
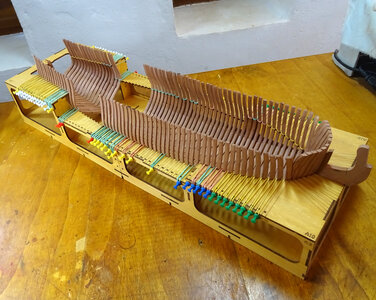
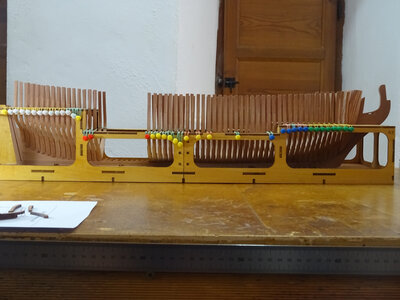
The gap is closing. Working from both stern and bow, should finish on rib number 44. lt will be shame to finish this part of the build though, l've really enjoyed the experience of making up the ribs. Next job will be the spacers, which are placed between every rib and will bring them all in to line and strengthen the assembly ready for removing it from the cradle for the final sanding

DSC04917.JPG

DSC04918.JPG

DSC04925.JPG

DSC04928.JPG

DSC04929.JPG

DSC04930.JPG

DSC04934.JPG

DSC04936.JPG

DSC04938.JPG

DSC04945.JPG

DSC04948.JPG
 
The dark, red stain(?) is beautiful.
I thinks so too. Two coats make for a richer colour and gives it a very slight sheen (not too much) which l like very much. btw is the 1954 in your title your date of birth. lf so, you and l are the same age. :D (17th July, 1954)
 
I love the deep, rich finish, beautiful. So much so I'd like to test it myself. What substitute did you find for the Tung Oil?

Thanks,
Ken
Ken, l bought it locally here in Spain, so l´m not sure if it is sold in the States. I will post a photo of it so you can see if there is a similar product that you can buy
 
I thinks so too. Two coats make for a richer colour and gives it a very slight sheen (not too much) which l like very much. btw is the 1954 in your title your date of birth. lf so, you and l are the same age. :D (17th July, 1954)
Our birth years are indeed the same and our birthdays are one day apart, mine is on the 16th of July! :D
 
The gap is closing. Working from both stern and bow, should finish on rib number 44. lt will be shame to finish this part of the build though, l've really enjoyed the experience of making up the ribs. Next job will be the spacers, which are placed between every rib and will bring them all in to line and strengthen the assembly ready for removing it from the cradle for the final sanding

View attachment 317846

View attachment 317847

View attachment 317848

View attachment 317849

View attachment 317850

View attachment 317851

View attachment 317853

View attachment 317854

View attachment 317855

View attachment 317856

View attachment 317858
it's looks beautiful, great job Okay :)
 
Back
Top