HMS Blandford POF by Keith [COMPLETED BUILD]

Hello Keef.
I have caught up with your construction log and must say you have made good progress. A beautiful shaped hull and the finish you applied works out great.
I like the weathered look on the decorations.
Thank you very much Herman. Really glad you like it
WOW, Keef!! I love it! Very good decision and nice results! Thumbsup
Thank you Jimsky . That's great!

DSC05237.JPG

DSC05238.JPG

DSC05240.JPG

DSC05241.JPG
 
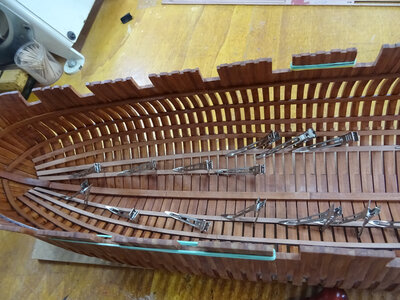
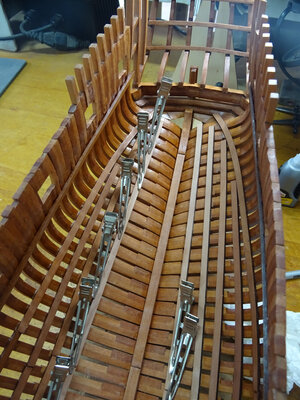
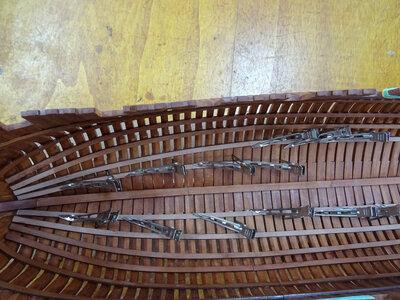
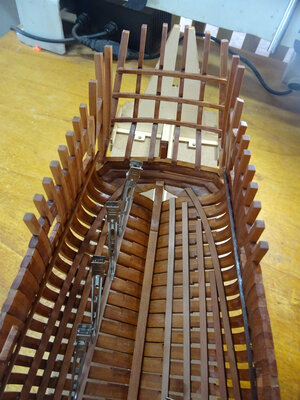
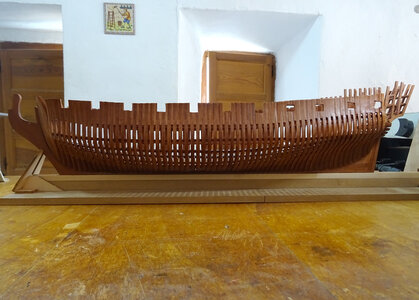
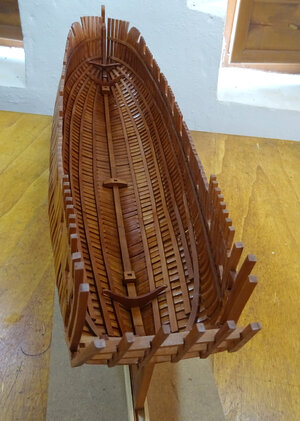
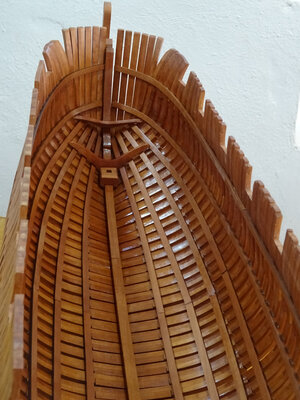
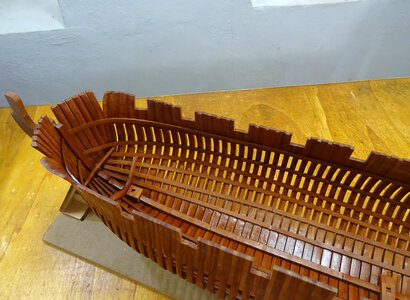
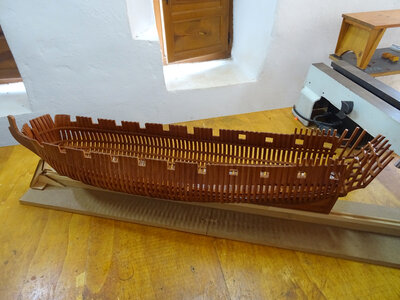
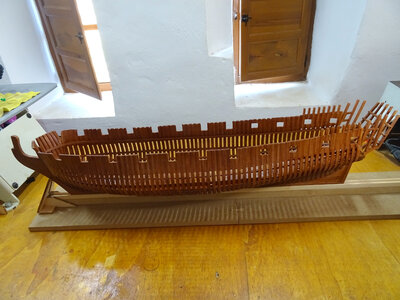
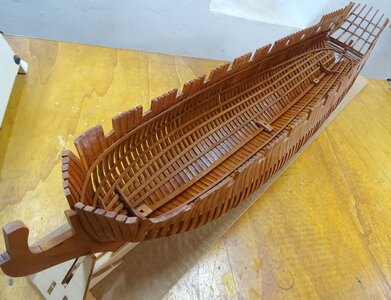
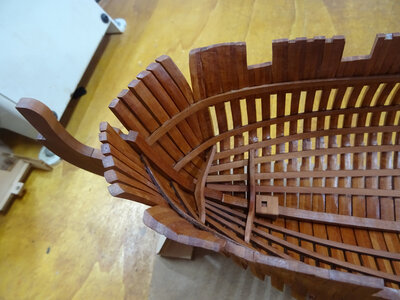
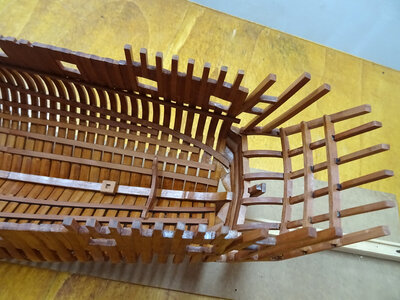
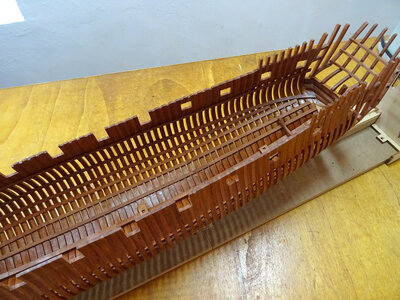
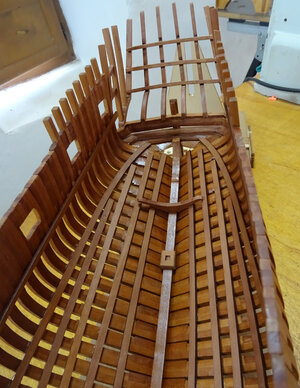
Deck clamps fitted and inner strakes in the process of fitting. 3 1/2 weeks work but not a lot to show for it. l had to improvise as l don't have clamps deep enough to reach the lower planks and as you can see the curves are pretty tight so the timbers have to be held securely while the glue dries. l came up with this idea using hair clips, bent to fit and it works surprisingly well
 
It's like just about any POF-build is balm to sore eyes. Your build is no exception. Thumbsup
Keef, Beautiful work, what did you use for the finish, also, the jig the hull is in now, did you build that or Purchase? Thanks, Paul
 
Keef, Beautiful work, what did you use for the finish, also, the jig the hull is in now, did you build that or Purchase? Thanks, Paul
Thank you Paul. The jig is part of the kit. It's the first thing that is made up. Very clever isn't it. the finish is a wood preservative that l bought locally here in Spain
 
Here is the result of of the hair clip exercise and with the addition of the crutches and mast steps, l think l can now safely say the basic hull is finished. Now with the first step completed, it's on to the second stage which is all the interior structure including the timbers for the two decks and all their fittings. Exciting times ahead!!

DSC05243.JPG

DSC05246.JPG

DSC05247.JPG

DSC05261.JPG

DSC05265.JPG

DSC05268.JPG

DSC05270.JPG

DSC05272.JPG

DSC05273.JPG

DSC05275.JPG

DSC05277.JPG
 
Here is the result of of the hair clip exercise and with the addition of the crutches and mast steps, l think l can now safely say the basic hull is finished. Now with the first step completed, it's on to the second stage which is all the interior structure including the timbers for the two decks and all their fittings. Exciting times ahead!!

Okay Thumbsup :) View attachment 328342

View attachment 328343

View attachment 328344

View attachment 328345

View attachment 328346

View attachment 328348

View attachment 328349

View attachment 328350

View attachment 328351

View attachment 328352

View attachment 328353
no doubt that you are doing wonderful work and it's looks beautiful :)OkayThumbsup
 
Beautifully clean work Keef. Sorry to ask about the mundane - but how are you cleaning up the char? Sandpaper? Files? Spindle sander? Have you left the char at the joints where pieces connect or cleaned everything prior to glue up? Thanks for indulging my 'beginner-level' questions.
i used a dremmel sander fitted to a Proxxon drill - ive just cut \away the main parts will clean up and make it all fit
Looks like frame 2 and 3 are different at the top

View attachment 329052
 
After a bit of experimentation, l have decided on the finish l will apply to the wood after the final sanding. First of all l wanted to use a Tung oil product. The colour was great but after applying it to a bit of scrap pearwood and leaving it to dry for several days l found the wood glue l'm using did not want to stick to the treated surface. I found another product that gave an almost identical finish and colouring. l did the same test for the glue and it works perfectly. l love the colour, what do you guys think?

View attachment 317843
i built my frames the other way round - ie single keel piece on top - this ment the two frames where flat. it also meant that you pnly need a piece of 1 mm wood rather than two

View attachment 329053
 
Hi @Uwek,

I may build this kit in the future. Can you explain why the frame should be glued up the way you have described? Why can't it just be done on the flat side as Keef is doing? Thanks for helping me understand this. I'm assuming it has to do with the orientation of the drawing but...
KEEF has unfortunately not laid the frames correctly. Instructions are not good. I got it wrong buT put it right
Build the frames the other way around the single kee; piece should be on the to this means that the next 2 (5v and 6 i think) are flat. I al;so meens that you only ned single pieces of 1 mm piece of wood to build the rest of the kit up. WE are lucky that Keef has dne it before us
I had problems with bits moving so now i just do the first three let it set then do the next 4 and finally the next 4/6

THANKs

View attachment 329054

View attachment 329055

View attachment 329056
 
Back
Top